DIYCraft logoDIYCraft

Shed Foundation Types: How to Choose

12 min read · Updated August 9, 2026

There are six common shed foundations: a gravel pad, concrete deck blocks, timber skids, concrete piers, a poured slab, and a pole-barn (post-in-ground) base. For most small and medium sheds, a compacted gravel pad with pressure-treated skids is the simplest, best-draining, most forgiving choice. Move up to concrete piers for large sheds, slopes or frost-prone ground, and to a poured slab for a garage, workshop or anywhere you want a hard, flat, level floor. The first real decision is whether you need an on-grade (floating) foundation or a frost-proof one that reaches below your local frost line — everything else follows from that and from drainage.

Top-down framing diagram of a shed's pressure-treated floor frame sitting on its foundation runners
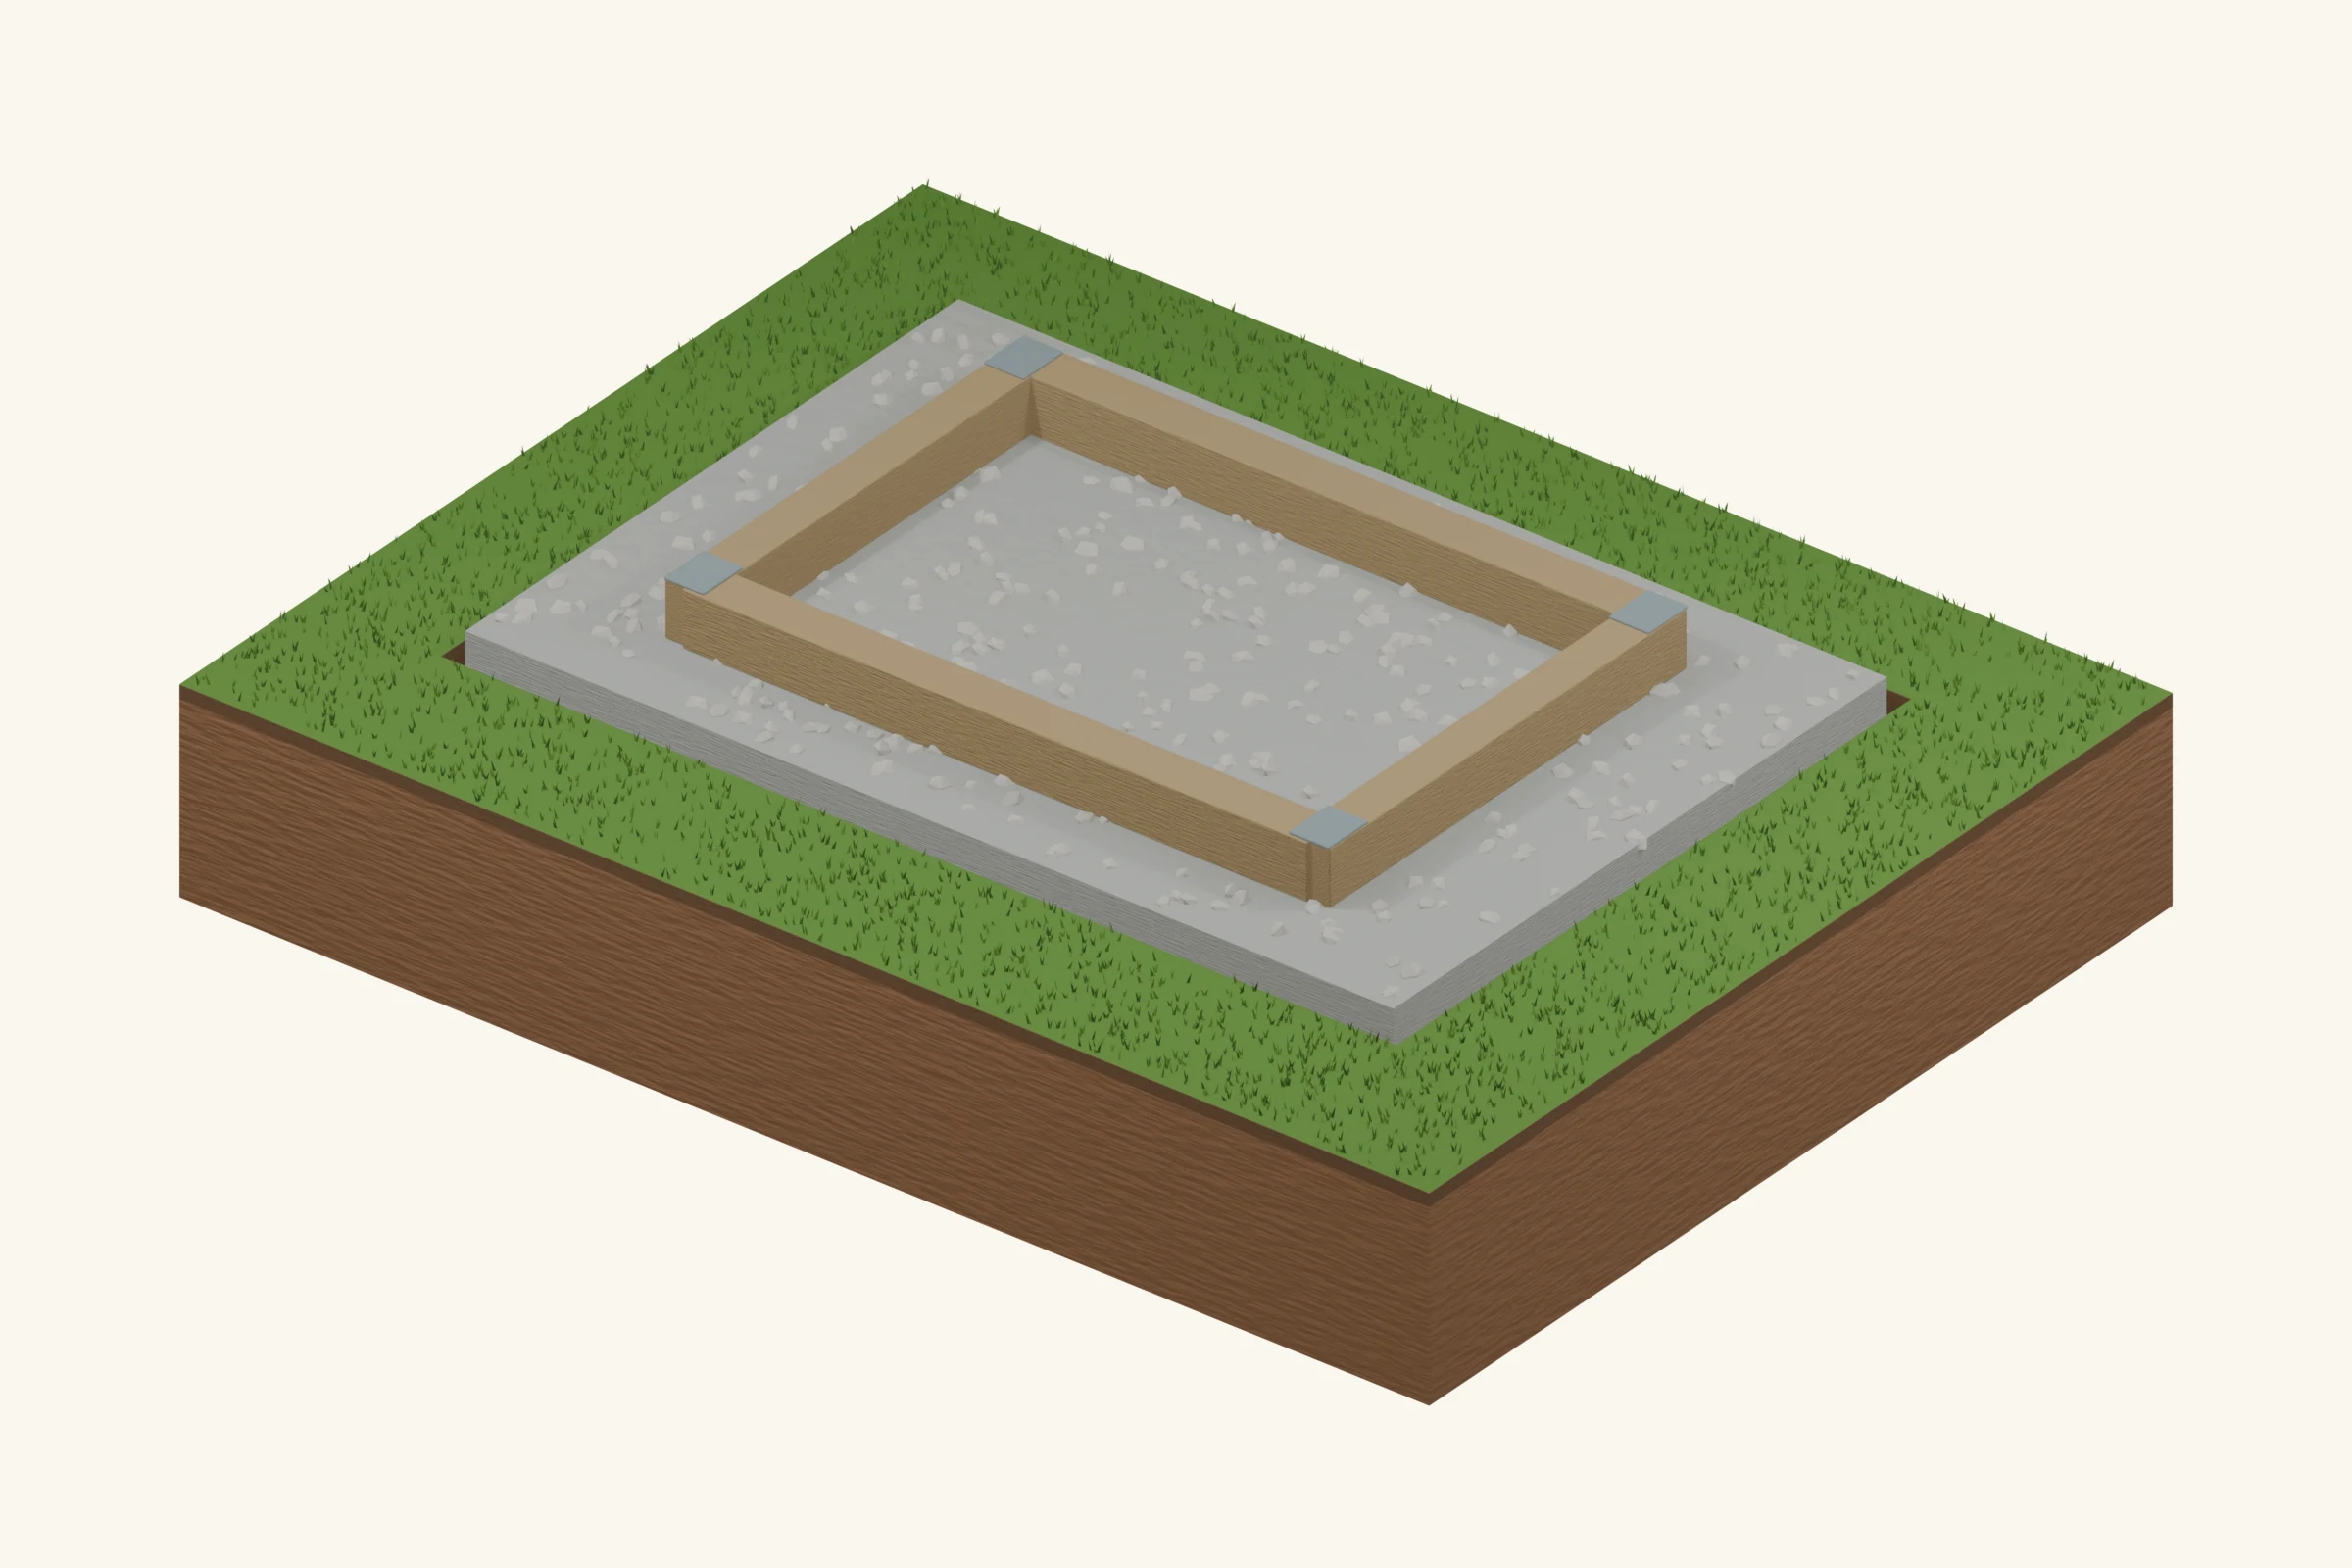
The floor frame is what the foundation carries. Skids or blocks sit under this pressure-treated perimeter and its joists, spreading the shed's weight onto a level, drained base.

The foundation is the one part of a shed you can't easily fix later. Get it flat, level and well-drained and everything above it goes together cleanly and lasts for decades; get it wrong and the shed racks, the door binds, the floor rots, and no amount of good framing saves it. The good news is that shed foundations aren't complicated — there are really only a handful of types, and picking the right one comes down to your shed's size and weight, your ground and climate, and how permanent you want it. This guide walks through all six, with the trade-offs and rough effort and cost of each.

Quick answer: which foundation for which shed

If you want a shortcut, match the shed to the foundation like this:

  • Small storage or garden shed on decent ground: a gravel pad with timber skids, or concrete deck blocks.
  • Medium shed you may want to move someday: a gravel pad with pressure-treated skids (runners) — the shed slides as one unit.
  • Large shed, a sloped site, or deep-frost ground: concrete piers or footings set below the frost line.
  • Garage, workshop or anything with heavy equipment or a vehicle: a poured concrete slab.
  • Large barn or pole building: a pole-barn (post-in-ground) foundation, where the posts are both foundation and frame.

Whatever you choose, it should sit on a flat, level, compacted, well-drained base — almost always a layer of gravel. Picking the right, legal, level spot for it comes first; our best shed location guide covers choosing well-drained ground and staying inside your setbacks.

The key decision: on-grade vs. frost-proof

Before you compare the six types, settle the one question that shapes them all: does your foundation need to reach below the frost line, or can it float on the surface?

An on-grade (or floating) foundation sits on or just below the surface — a gravel pad, skids or deck blocks. It's allowed to rise and settle a little with the seasons, and because the whole shed sits on one connected base, it moves as a single unit rather than cracking. On-grade foundations are simpler, cheaper and faster, and they suit the great majority of sheds.

A frost-proof (frost-protected) foundation reaches below your local frost line on piers or footings, or uses a slab with an insulated, thickened edge, so the ground freezing and thawing underneath it can't heave it up and drop it. You want frost-proof for large, heavy or permanent buildings, for structures tied to the house, and wherever your local building department requires footings below frost depth. In a cold climate a big shed on shallow footings can be lifted and cracked by frost heave over a few winters; a small floating shed on a good gravel pad usually rides it out because it moves all together.

Frost depth is local. It ranges from essentially zero in mild regions to several feet where winters are hard, and the required depth is set by your building code — not by us. Look up the frost depth for your area or ask your local building department before you decide between on-grade and frost-proof.

Gravel pad

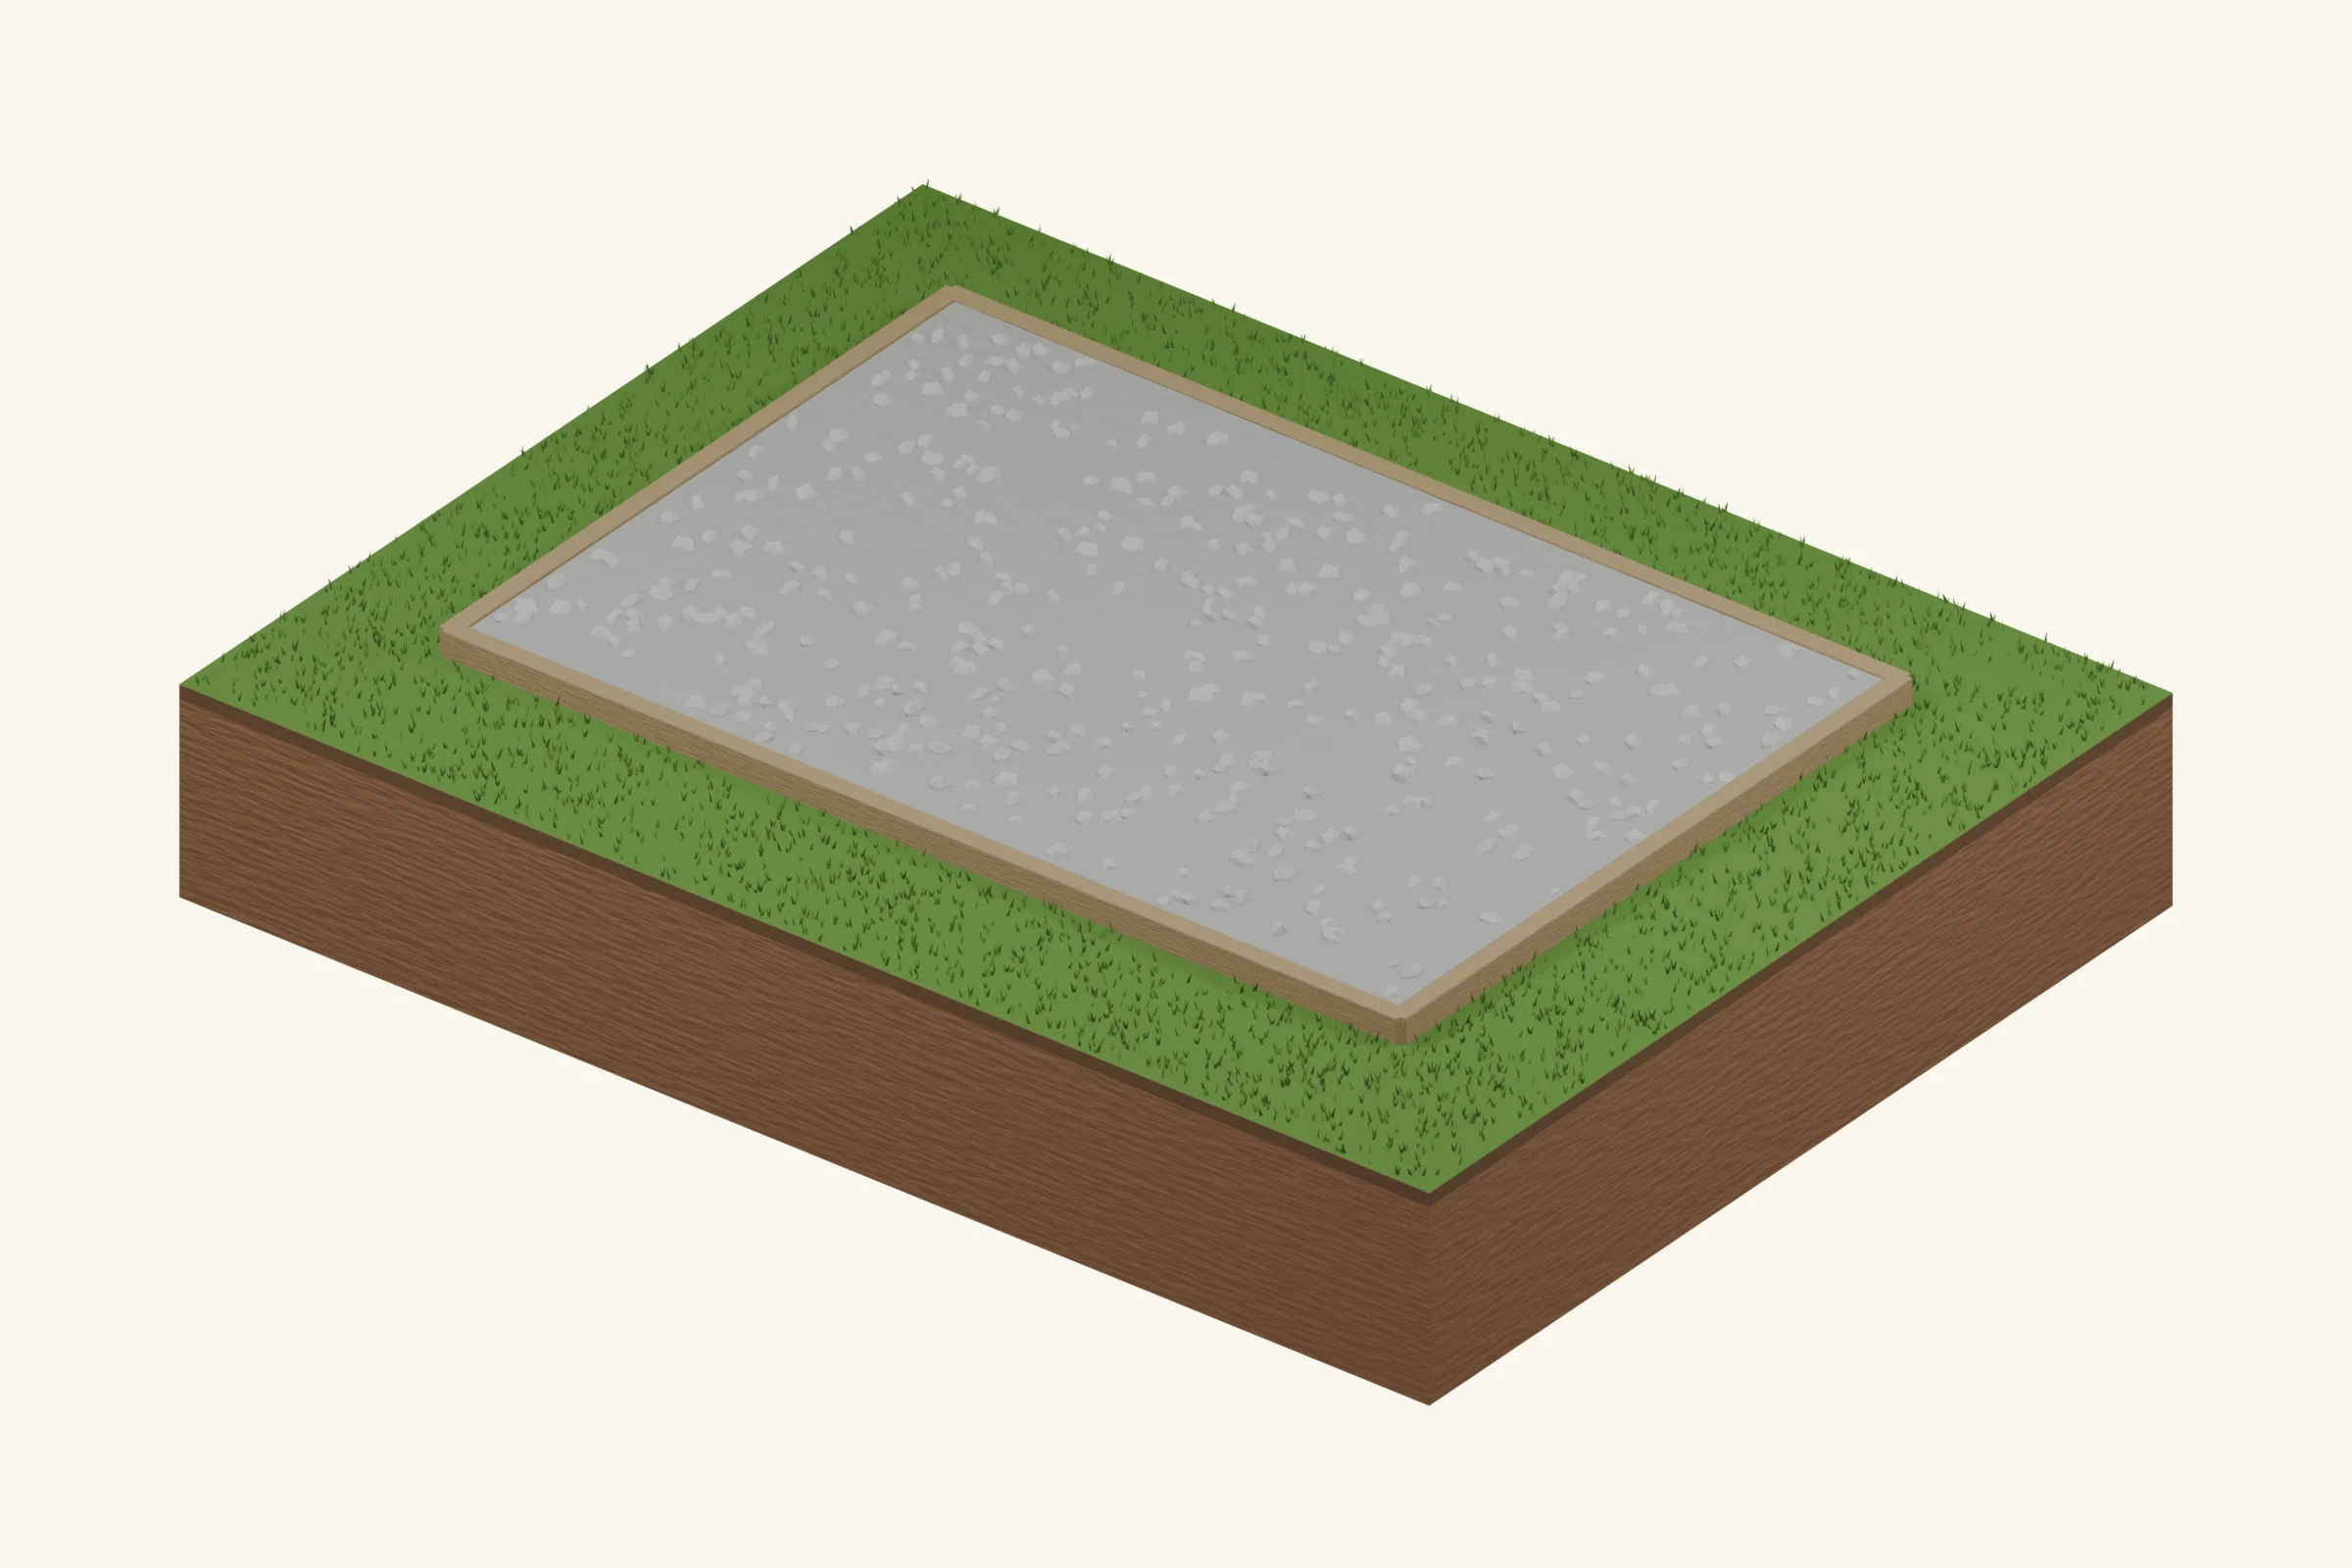
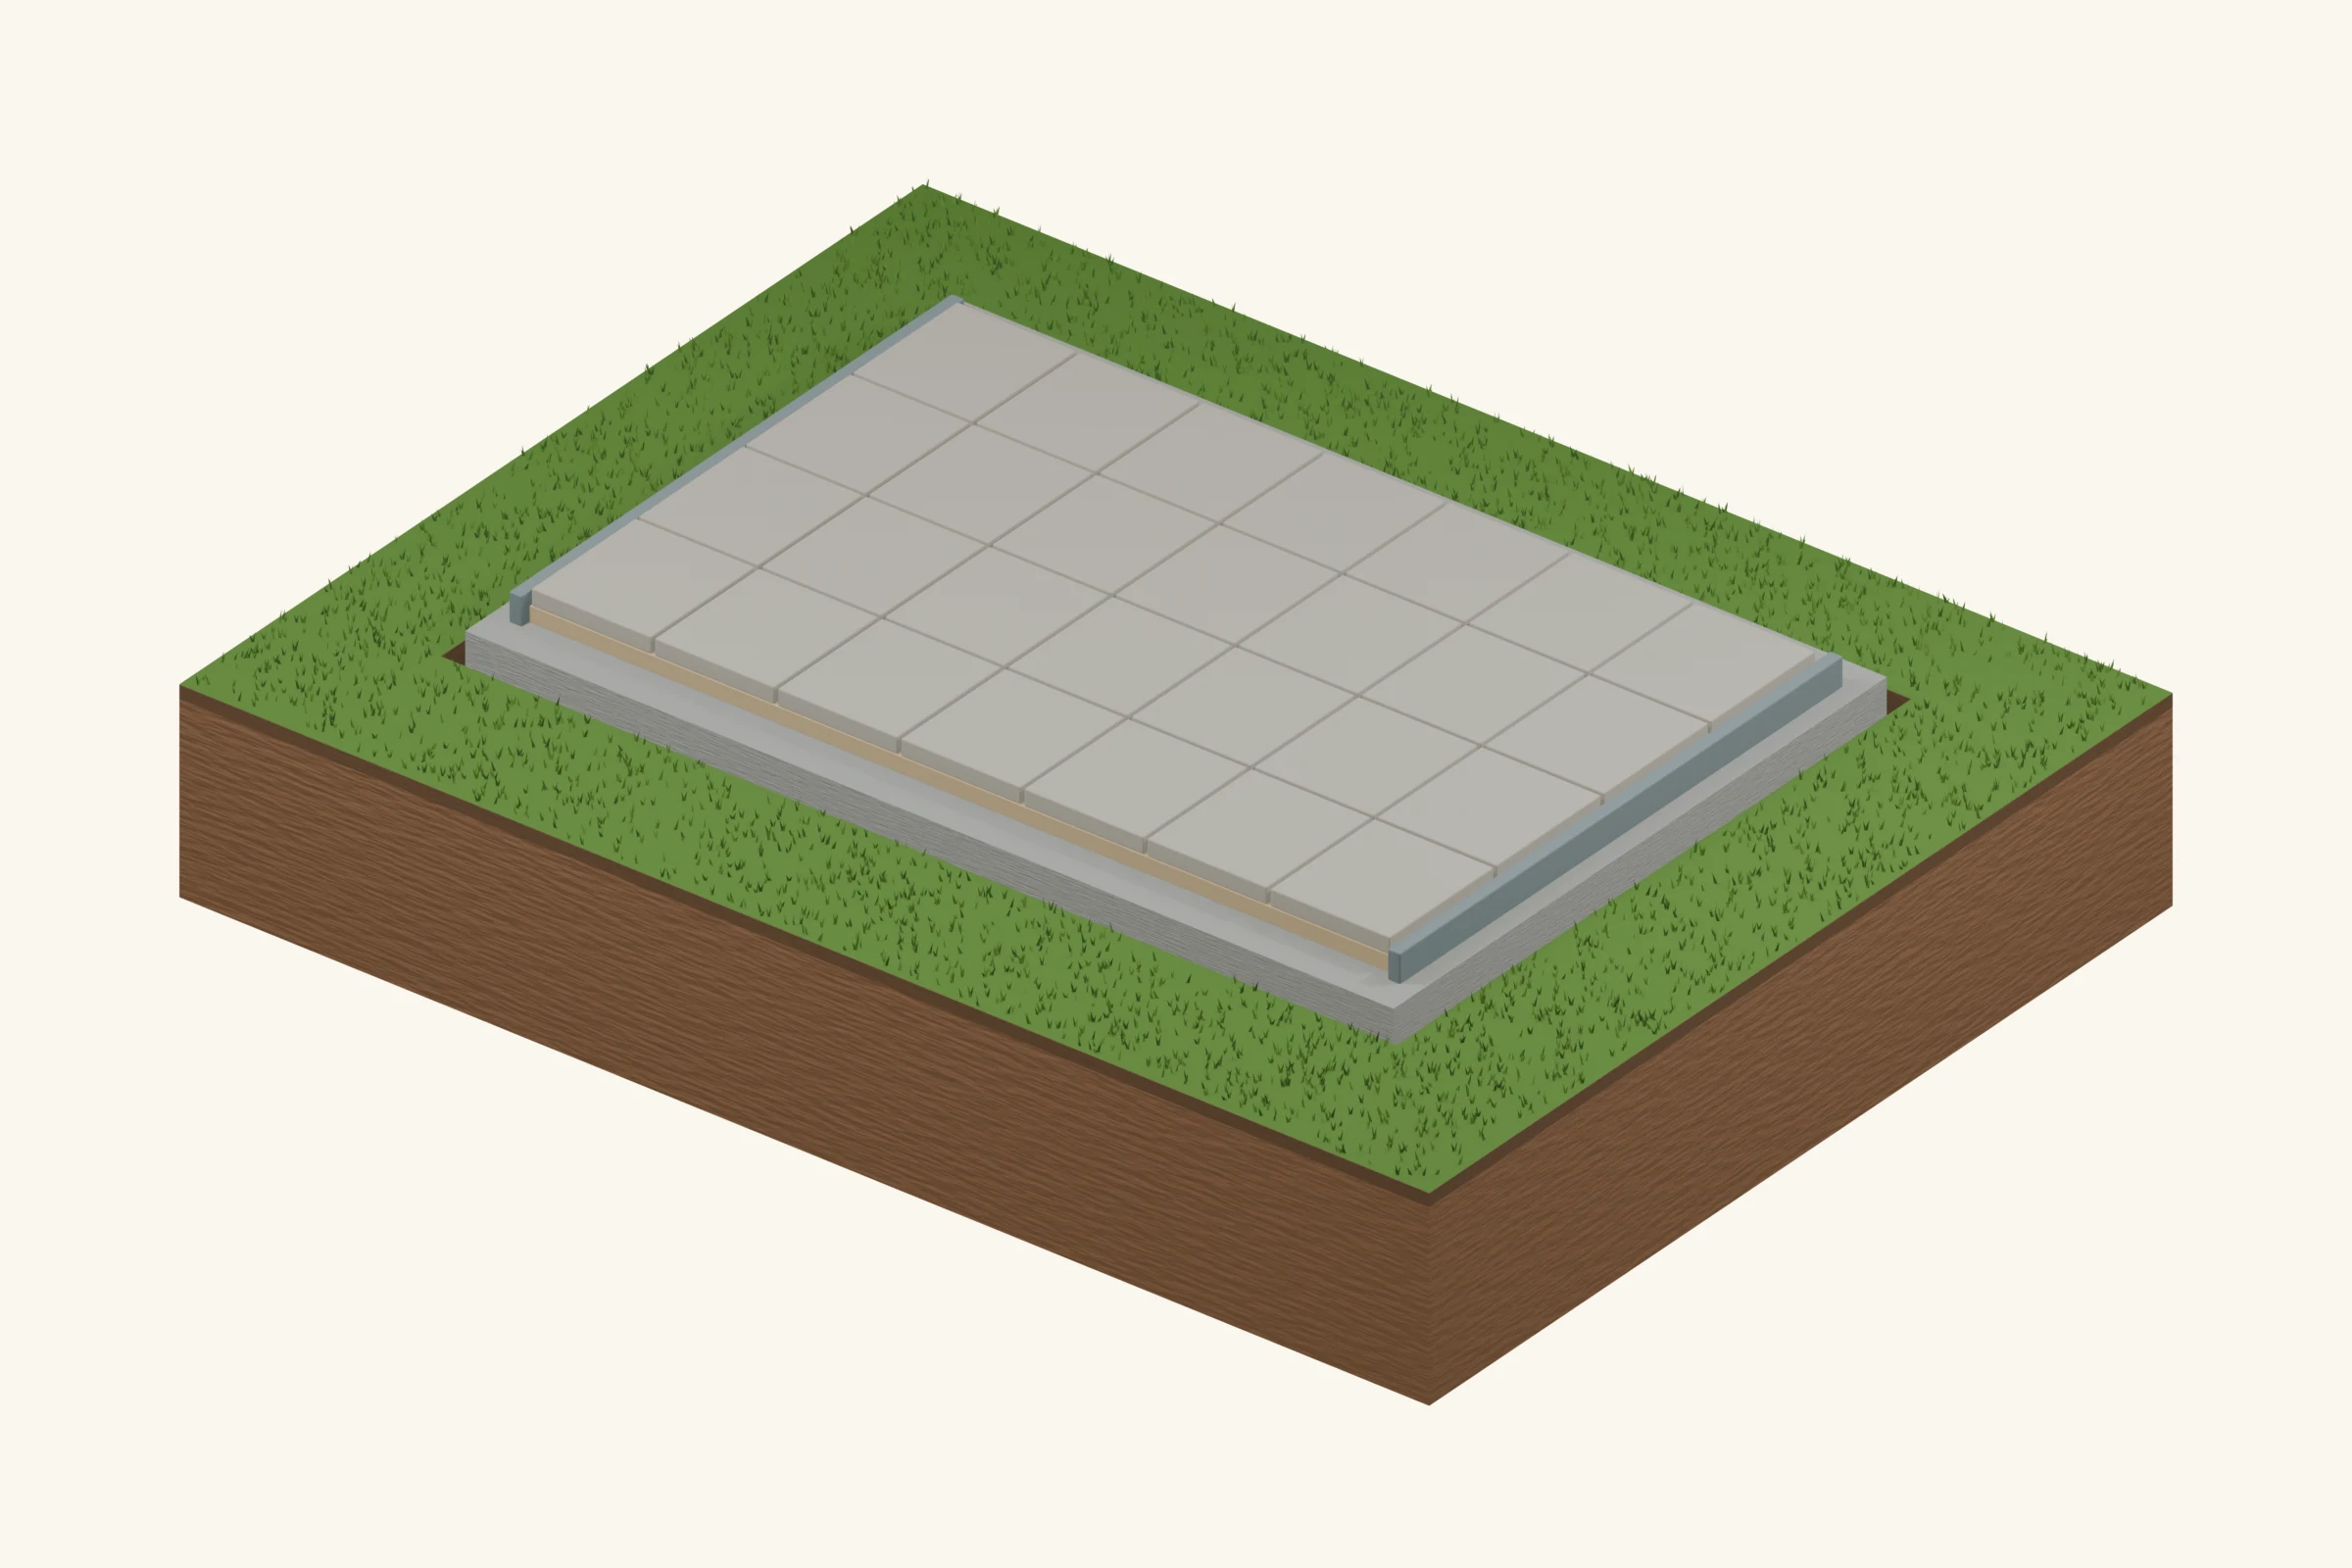
A gravel pad is a level bed of compacted crushed stone, usually held in a shallow timber or paver frame. It's the most versatile shed foundation and, just as importantly, the drained base that sits under most of the other types — skids and blocks both want gravel beneath them. Strip the sod, level and compact the ground, then lay and compact three to four inches (more in soft ground) of crushed stone, checking level in both directions as you go.

Pros

  • Excellent drainage — water runs through, not into the shed.
  • Cheap, no concrete, and buildable in a day.
  • Forgiving of minor ground movement; floats as one.
  • Works as the base under skids and deck blocks too.

Cons

  • Not a finished floor on its own — you build over it.
  • Needs a border to stop the gravel spreading over time.
  • Not frost-proof; it's an on-grade foundation.
  • Wants a fairly level starting spot to be efficient.

Effort & cost: low effort, low cost. The hand-tool option most DIYers should start with.

Concrete deck blocks

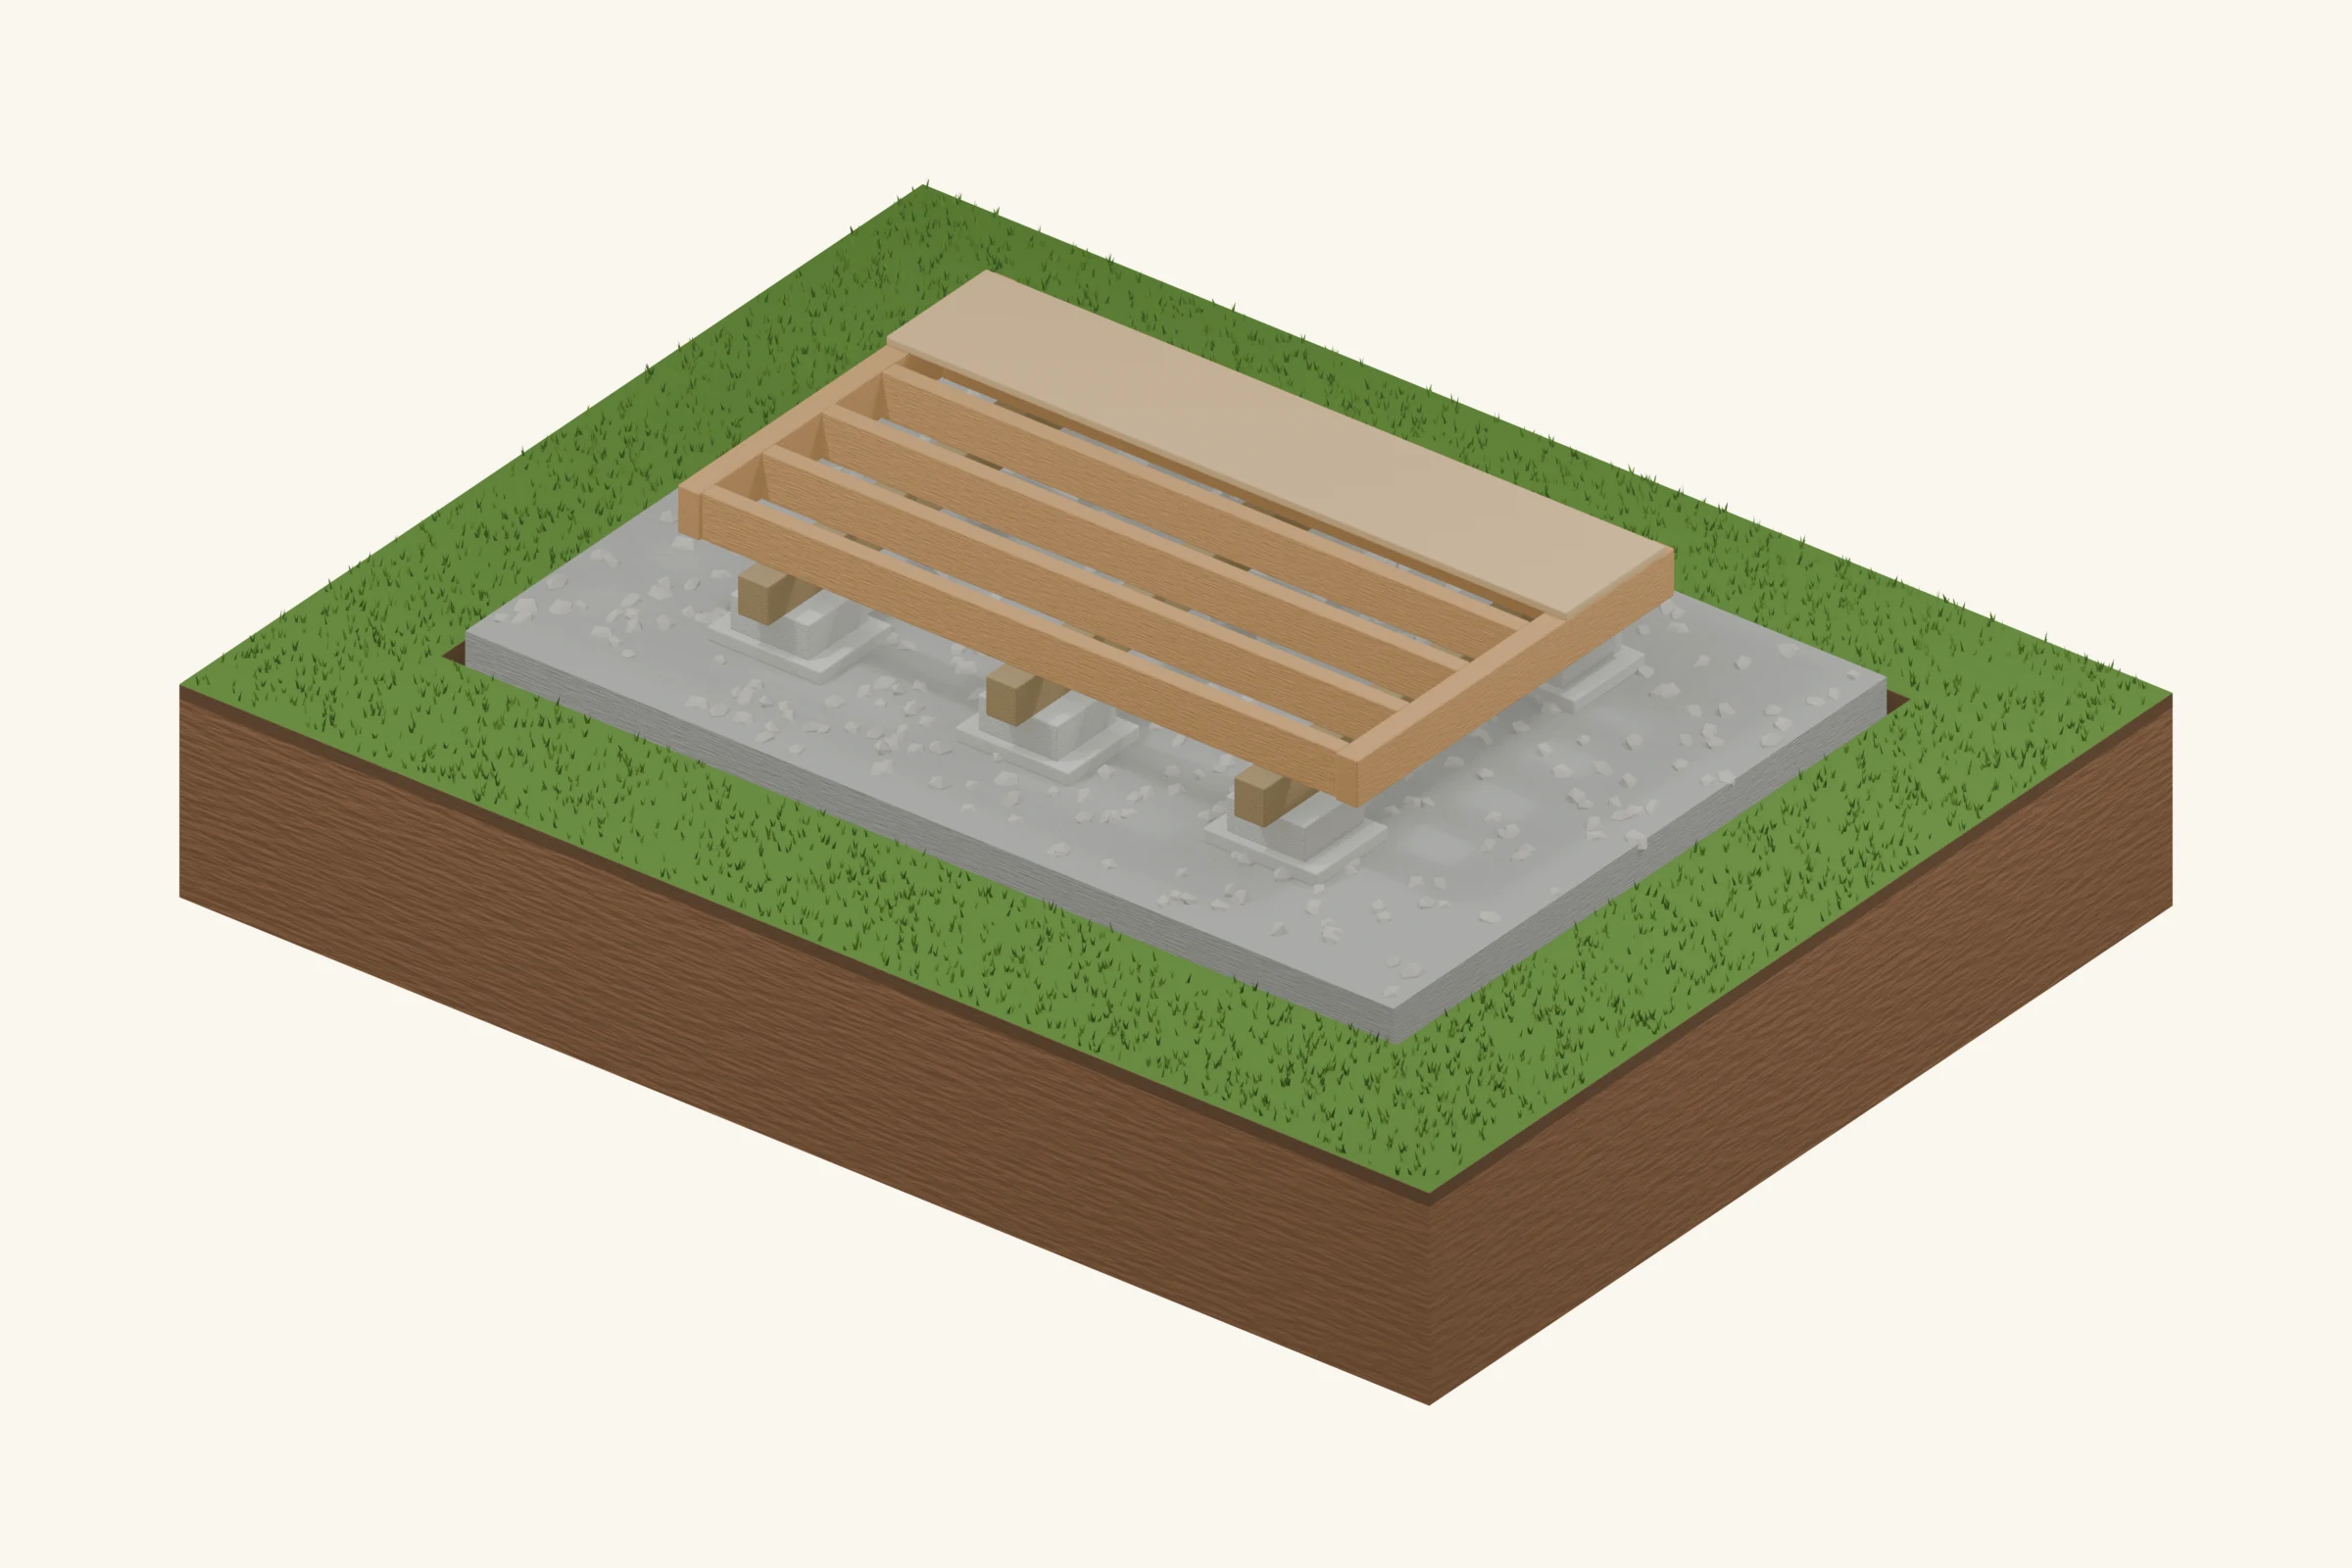
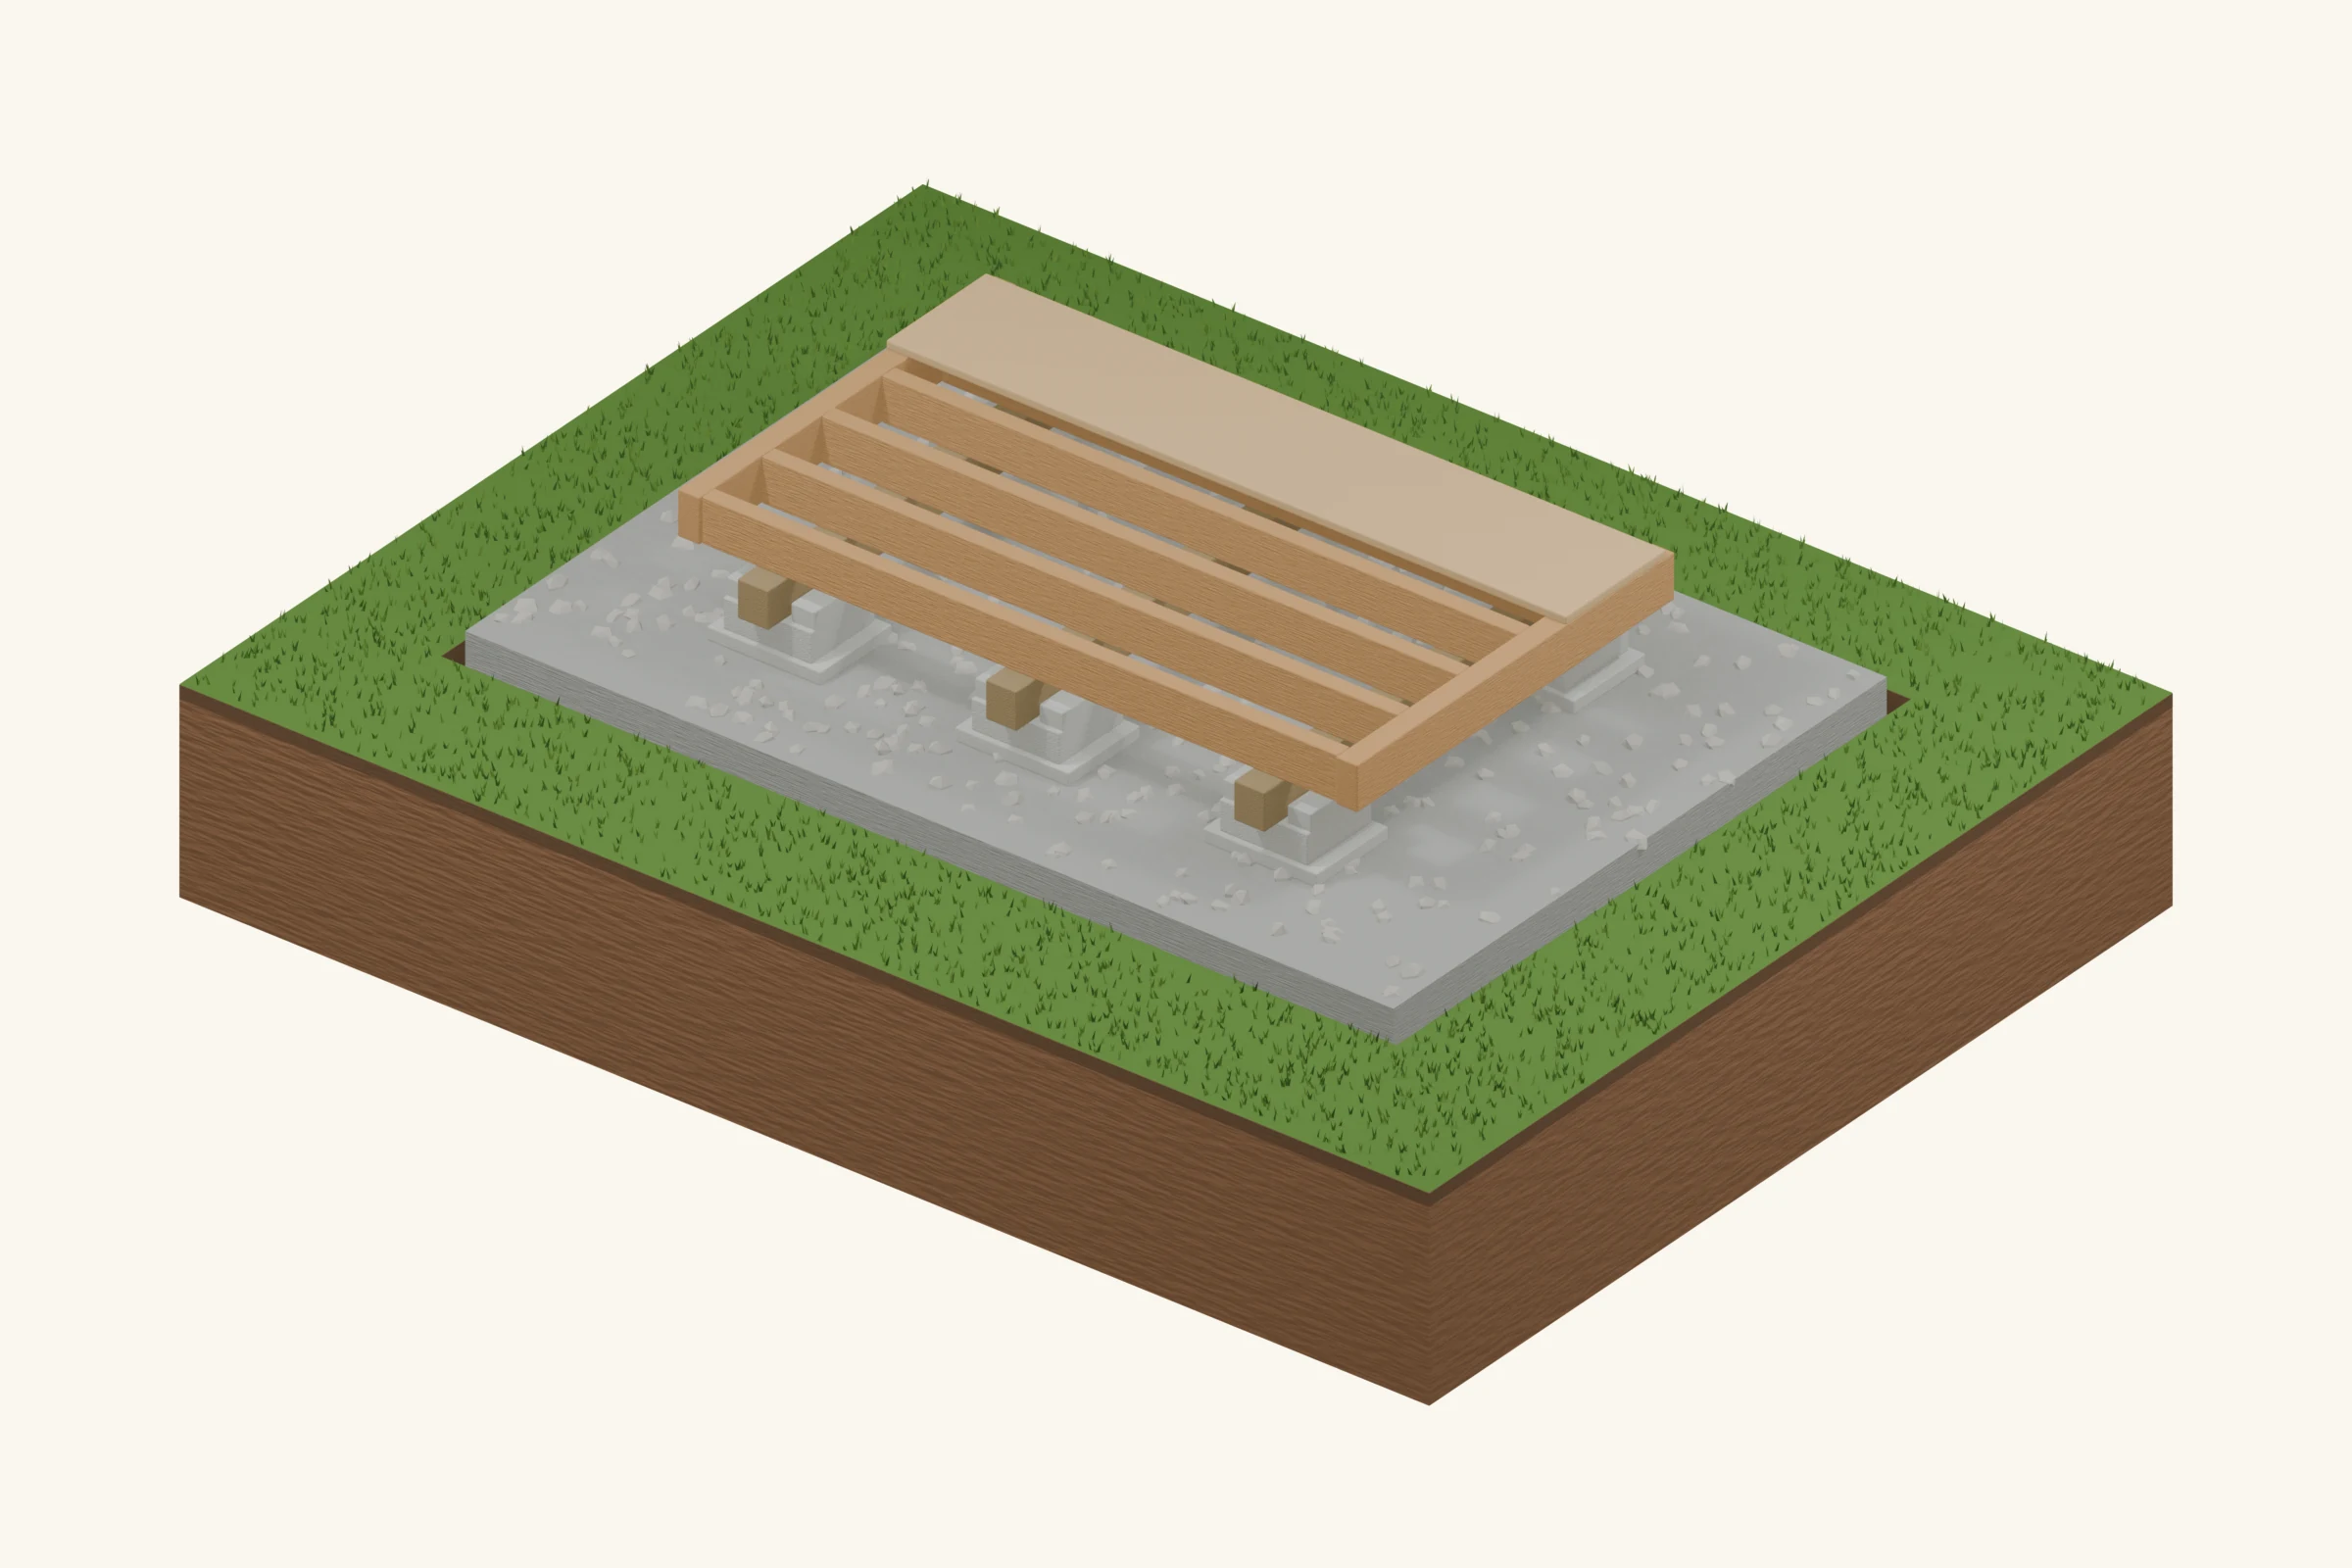
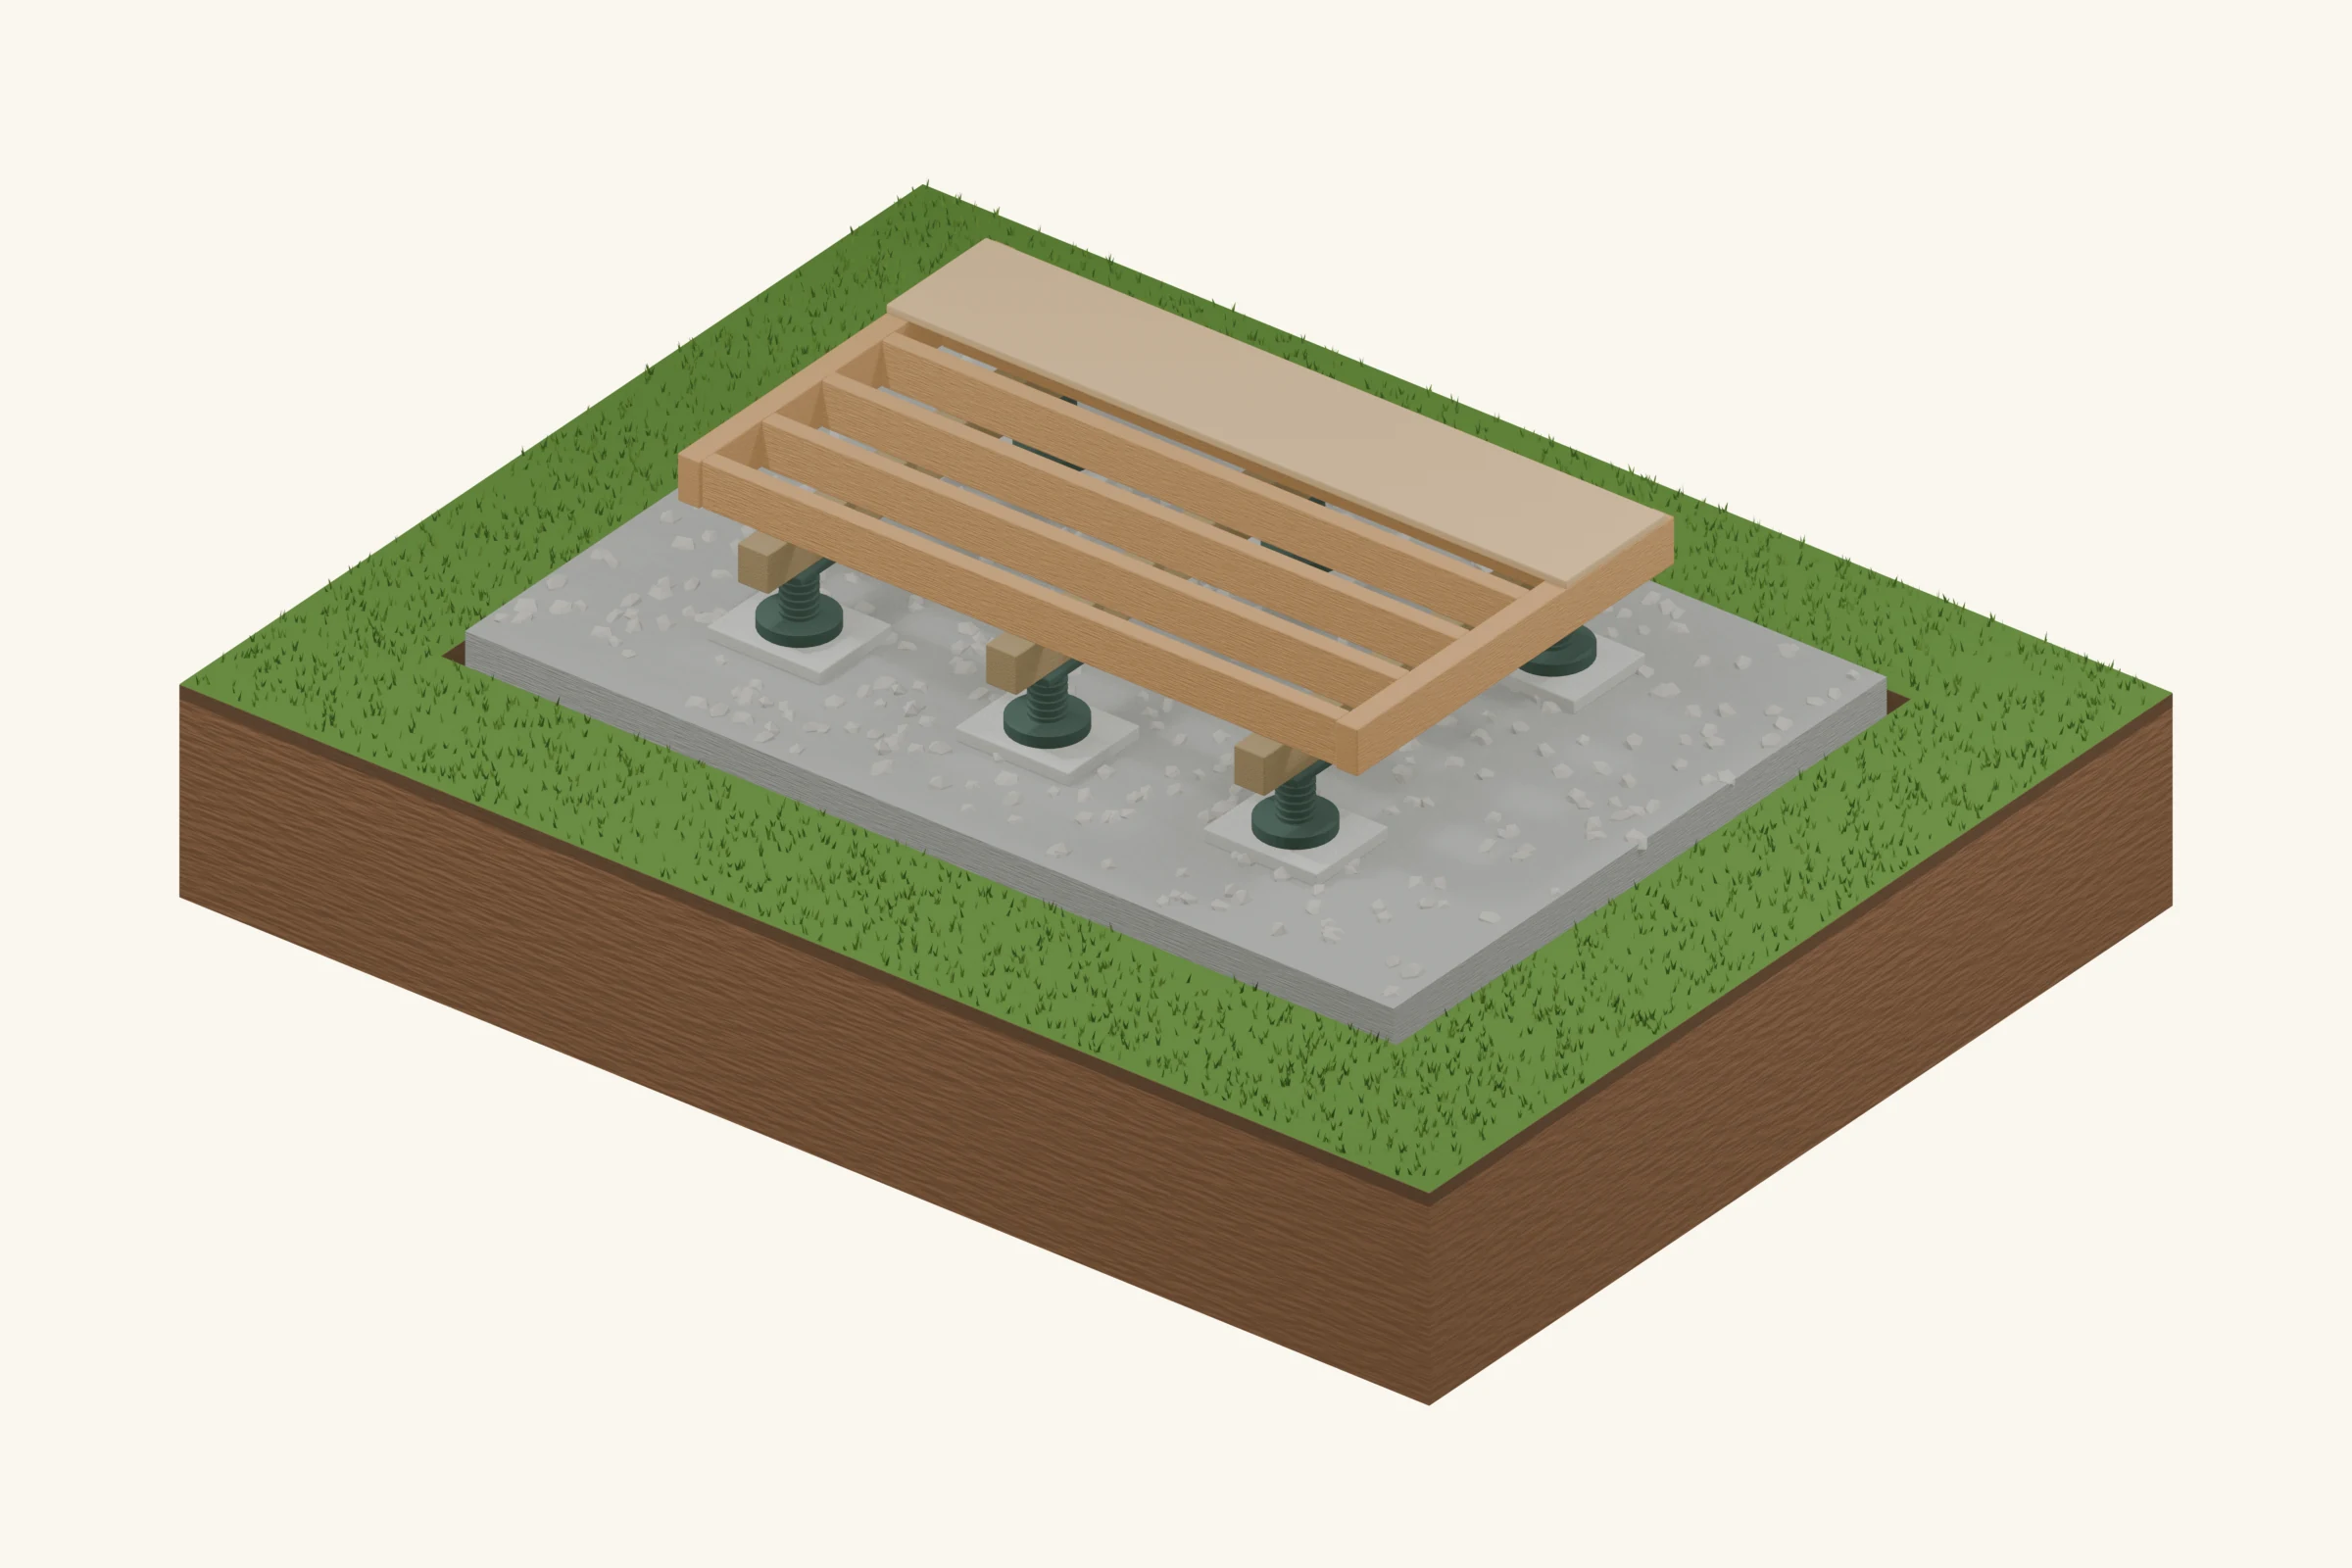
Concrete deck blocks (also called pier blocks) are precast pyramids with a notch or bracket cast into the top to cradle a beam. You set a grid of them on a compacted gravel base, level each one, and rest the shed's floor beams in the notches. They give you a quick, dig-free foundation that lifts the frame clear of the ground.

Pros

  • Fast to set; no concrete to pour and no deep holes.
  • Raises the frame off the ground for airflow and drainage.
  • Cheap and widely available.
  • Individually shimmable to level on uneven ground.

Cons

  • On-grade only — not anchored below the frost line.
  • Can shift or settle individually if the base is poor.
  • Best for small, lighter sheds on fairly level ground.
  • Each block needs its own careful leveling.

Effort & cost: low effort, low cost — quicker than skids but best kept to smaller, lighter sheds.

Timber skids (runners)

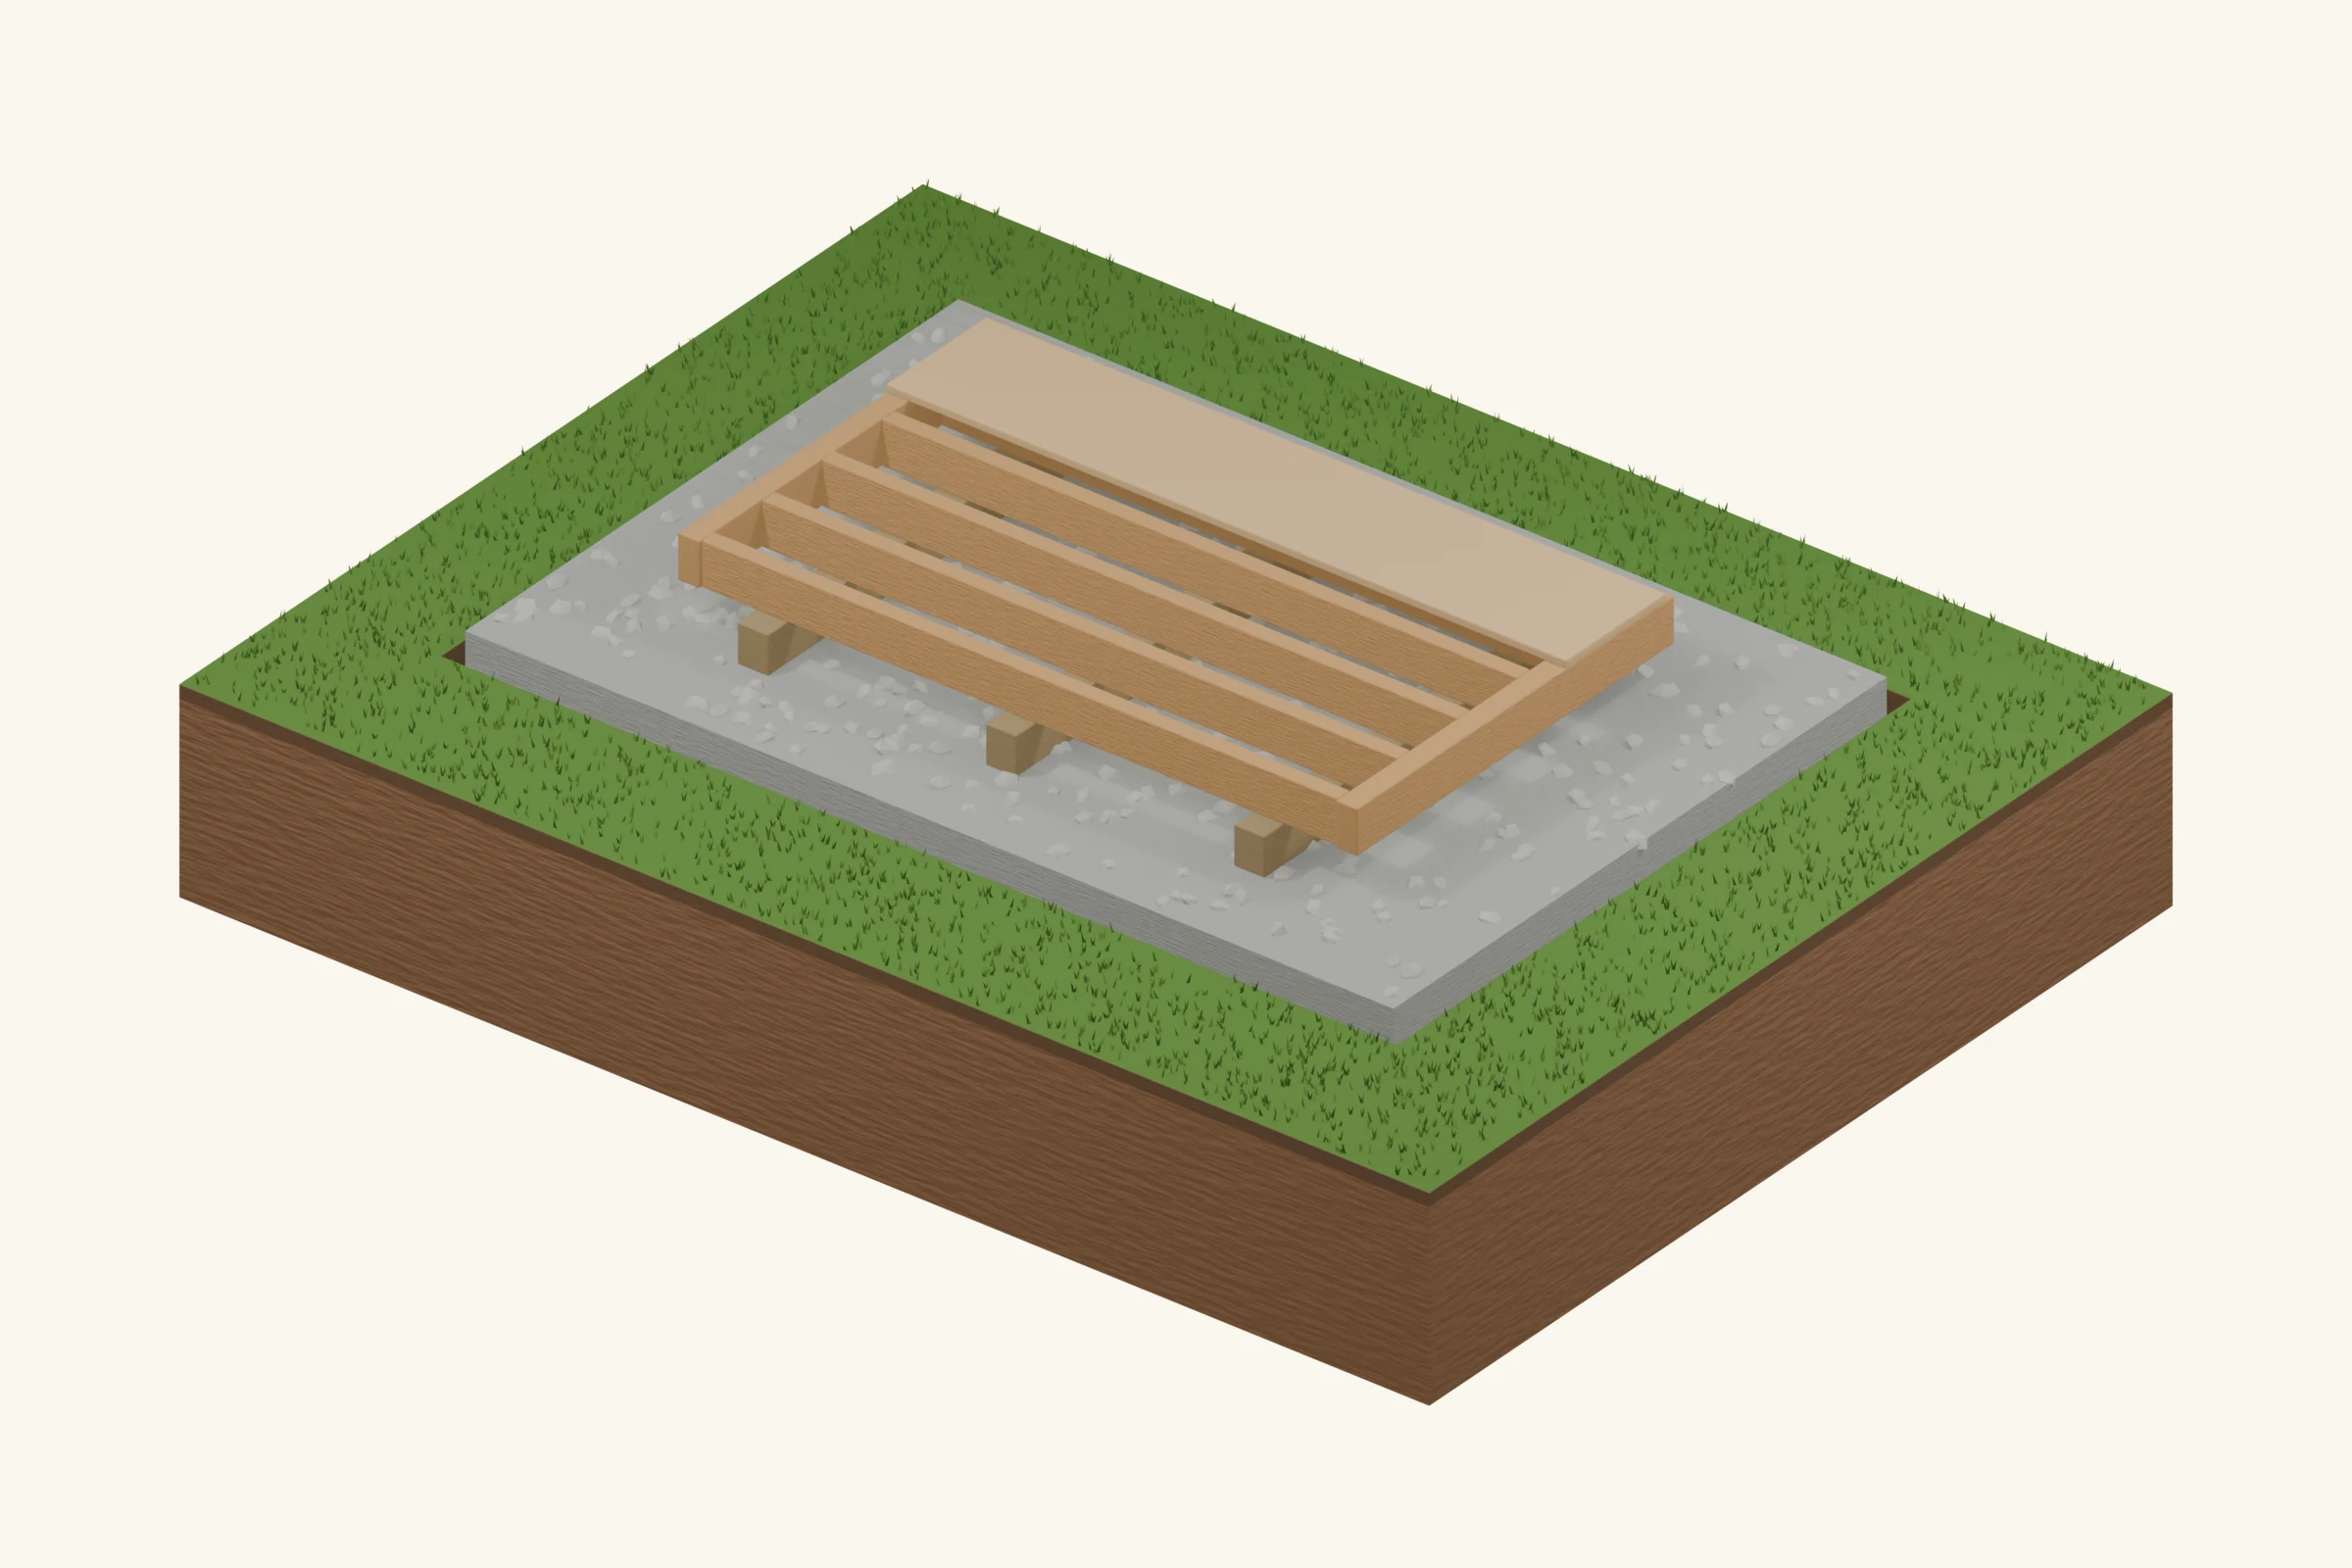
Skids are long pressure-treated timbers — often 4x4, 4x6 or 6x6 — laid on a gravel pad, running the length of the shed. The floor frame is built on top of them, so the skids spread the load and let the shed be dragged or moved as one piece later. This is the classic, forgiving foundation for a small or medium shed, and the one many stock plans are drawn around.

Pros

  • Simple, cheap, and forgiving of minor ground movement.
  • Portable — the shed can be skidded or lifted and relocated.
  • Spreads weight over a gravel pad; floats as one unit.
  • Often what a stock shed plan already assumes.

Cons

  • On-grade only; not for deep-frost, permanent buildings.
  • Relies on the gravel base staying level and drained.
  • Best on fairly level ground; slopes need building up.
  • Skids must be rated for ground contact or they rot.

Effort & cost: low to medium effort, low cost — the best all-round pick for most small and medium sheds.

Top-down framing diagram of a shed floor built on pressure-treated skids, showing the runners under the perimeter joists
A skid-built floor frame from above: pressure-treated runners under the perimeter and joists spread the shed's weight onto a level gravel pad and let it be moved as one unit.
Once the skids (or piers) are level, the floor frame is built on top of them. Our how to build a shed floor guide covers joist layout at 16" on center, rim joists, decking and squaring the frame that sits on this base.

Concrete piers & footings

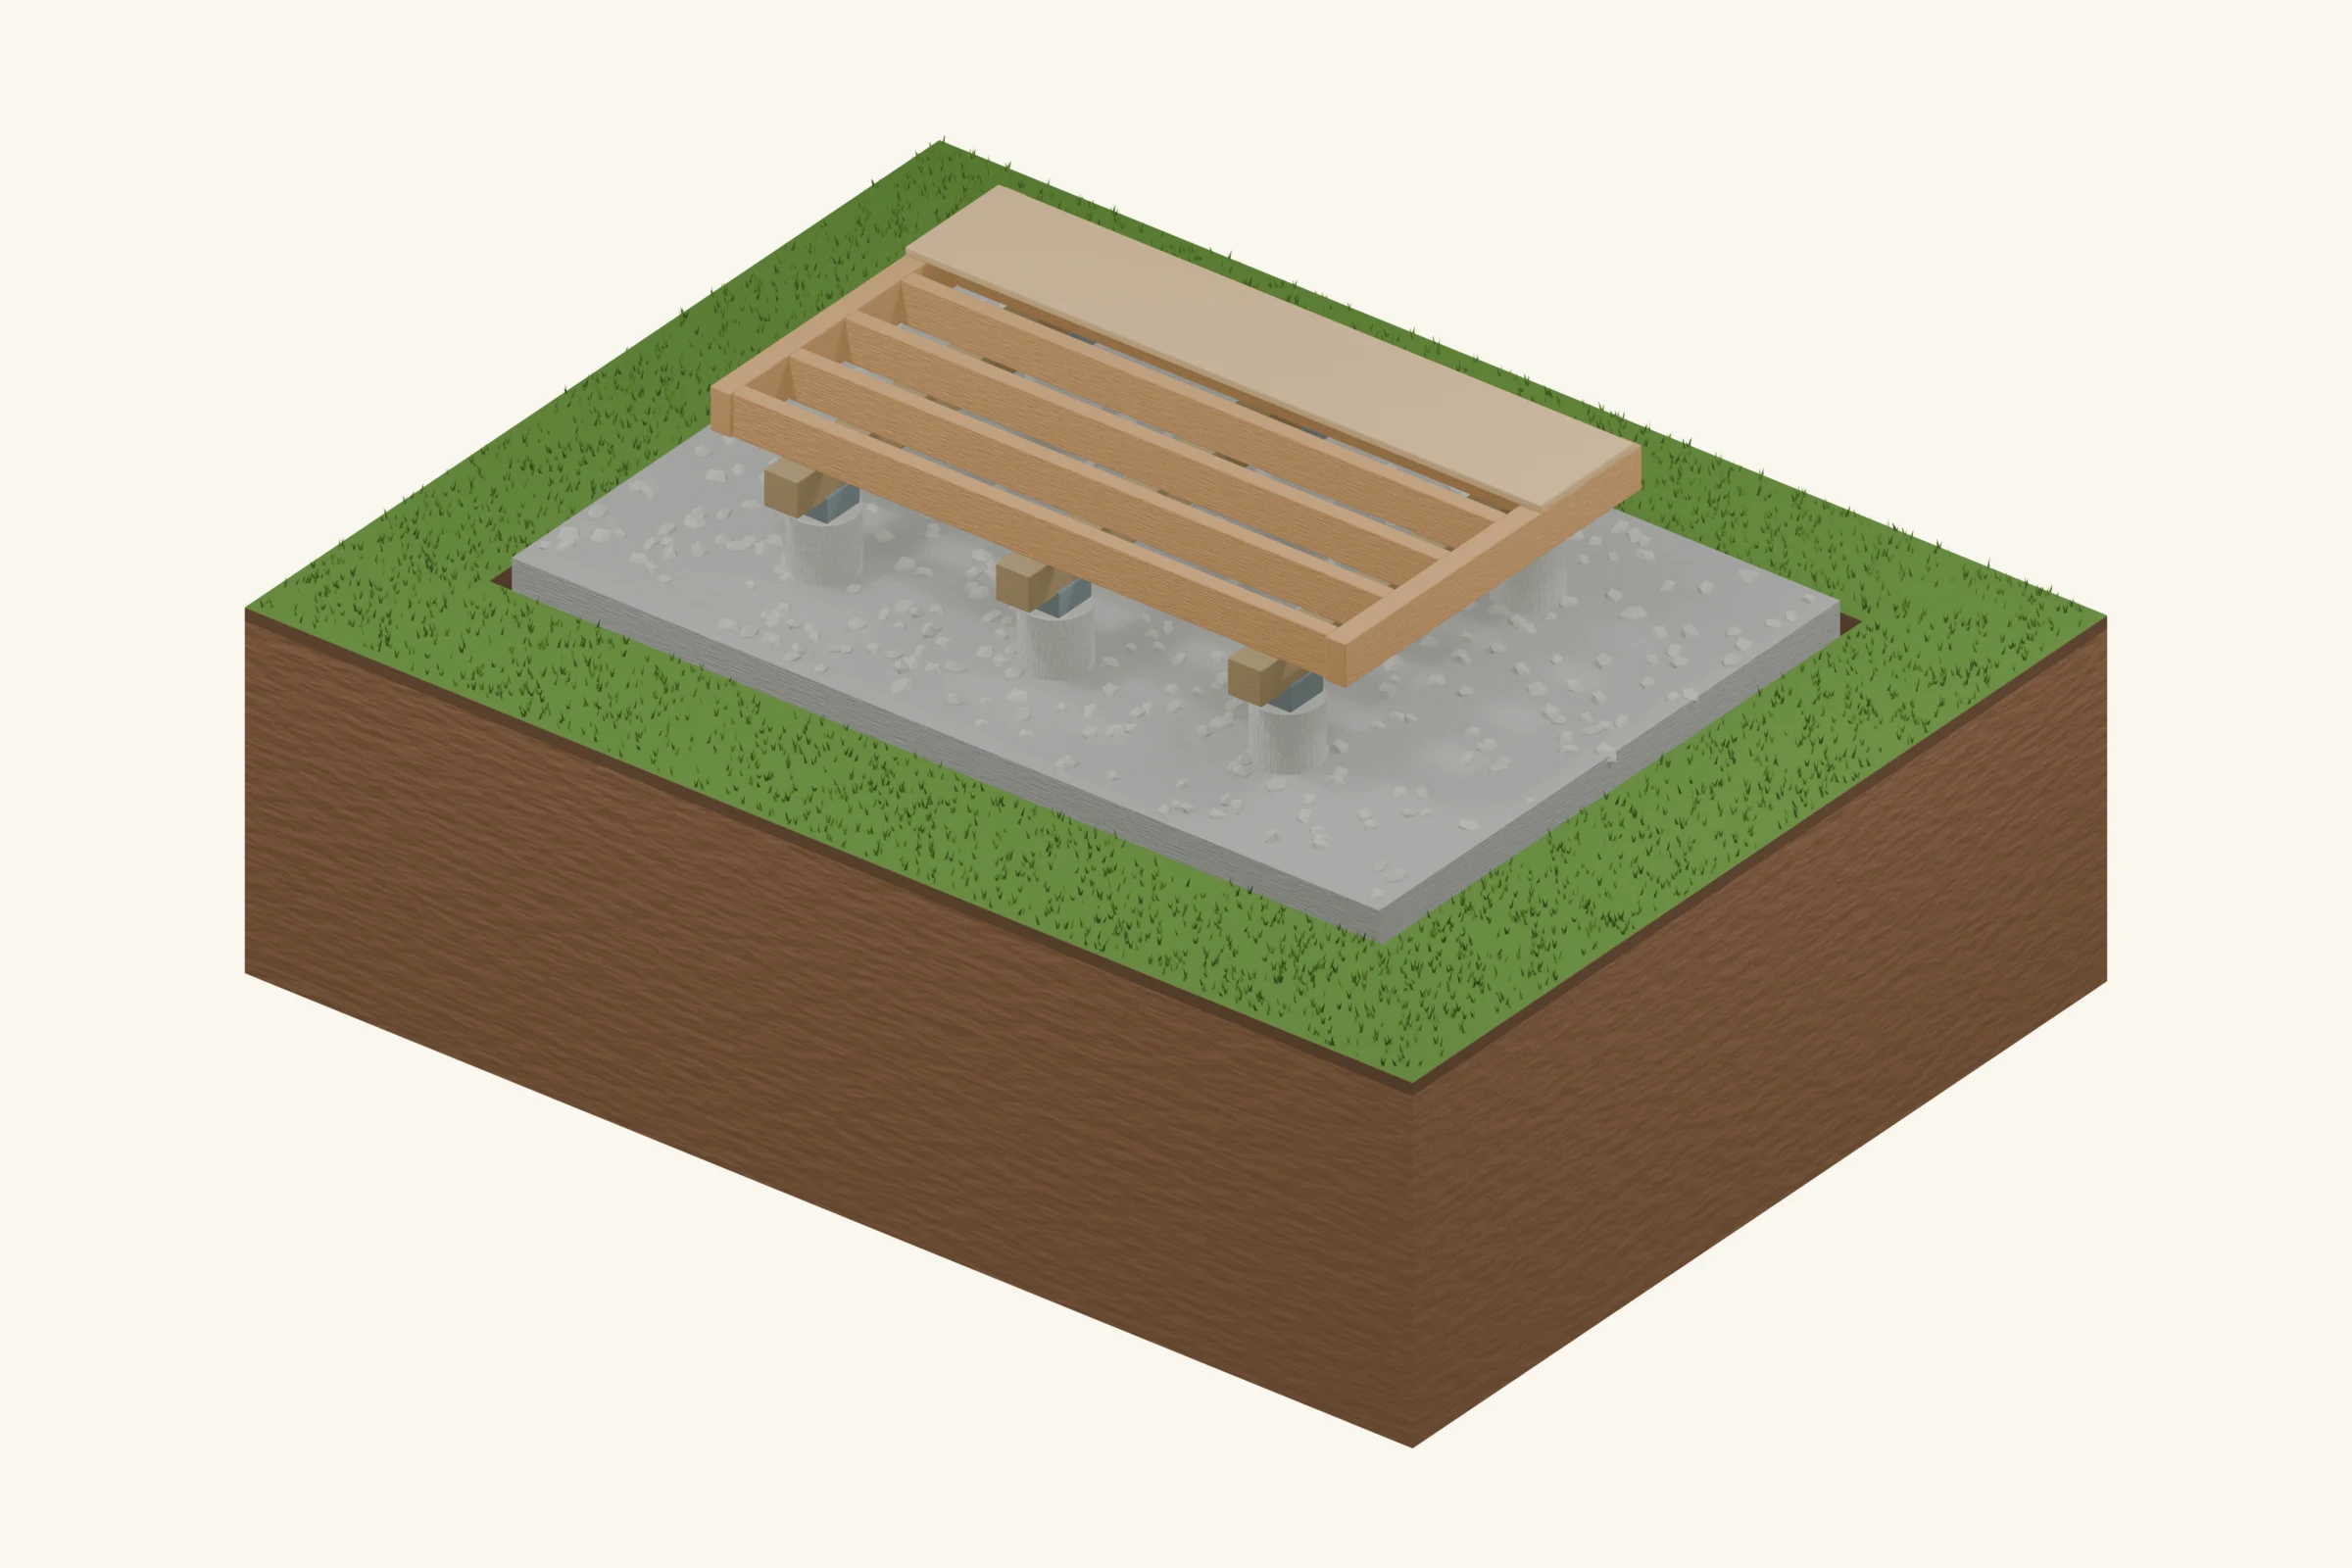
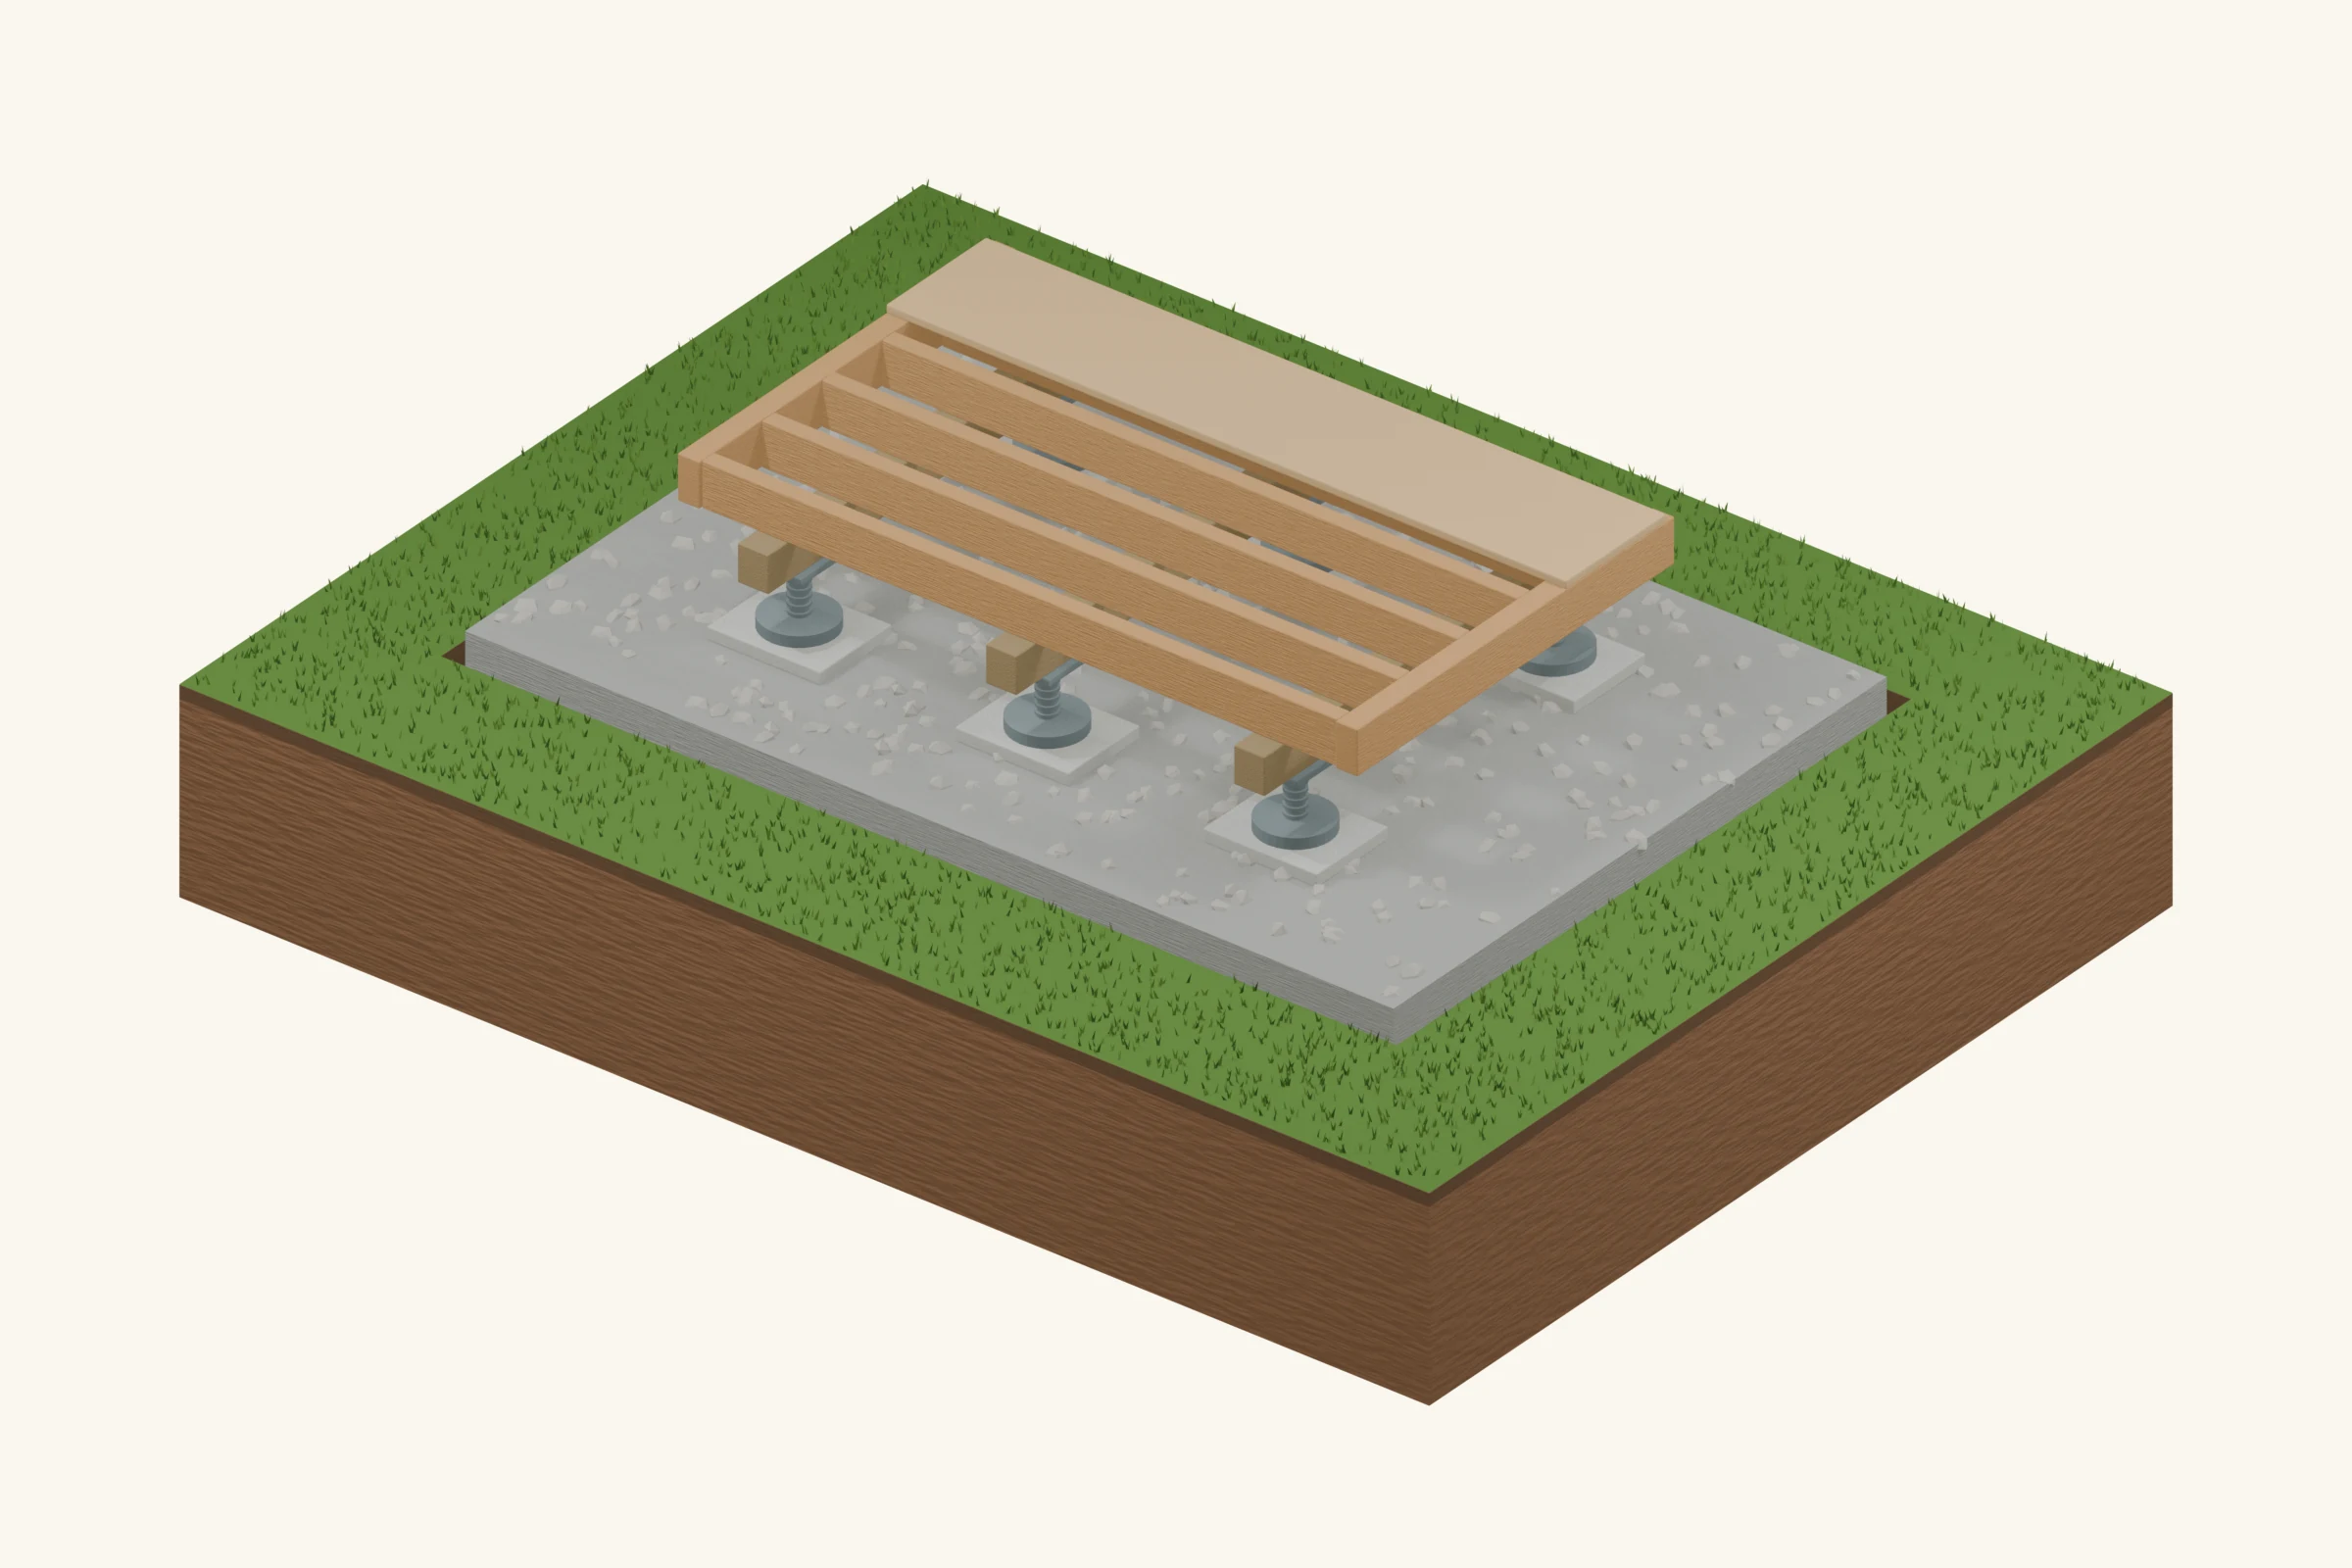
Concrete piers are columns of concrete poured into holes (often in cardboard tube forms) that sit on a footing below the frost line. The shed's beams rest on the piers, usually on a metal post base or anchor. Because each pier reaches below frost depth, this is a frost-proof foundation, and because you can pour piers to different heights, it's the go-to for a sloped site and for larger sheds that need real bearing.

Pros

  • Frost-proof — footings reach below the frost line.
  • Handles slopes by pouring piers to different heights.
  • Strong bearing for large or heavy sheds.
  • Raises the frame well clear of the ground.

Cons

  • More work: digging holes, forms and mixing concrete.
  • Layout must be accurate — each pier has to line up.
  • No floor slab; you still build a wood floor over it.
  • Permanent — not something you'll relocate.

Effort & cost: medium to high effort, moderate cost — the frost-proof answer for big sheds and slopes.

Poured concrete slab

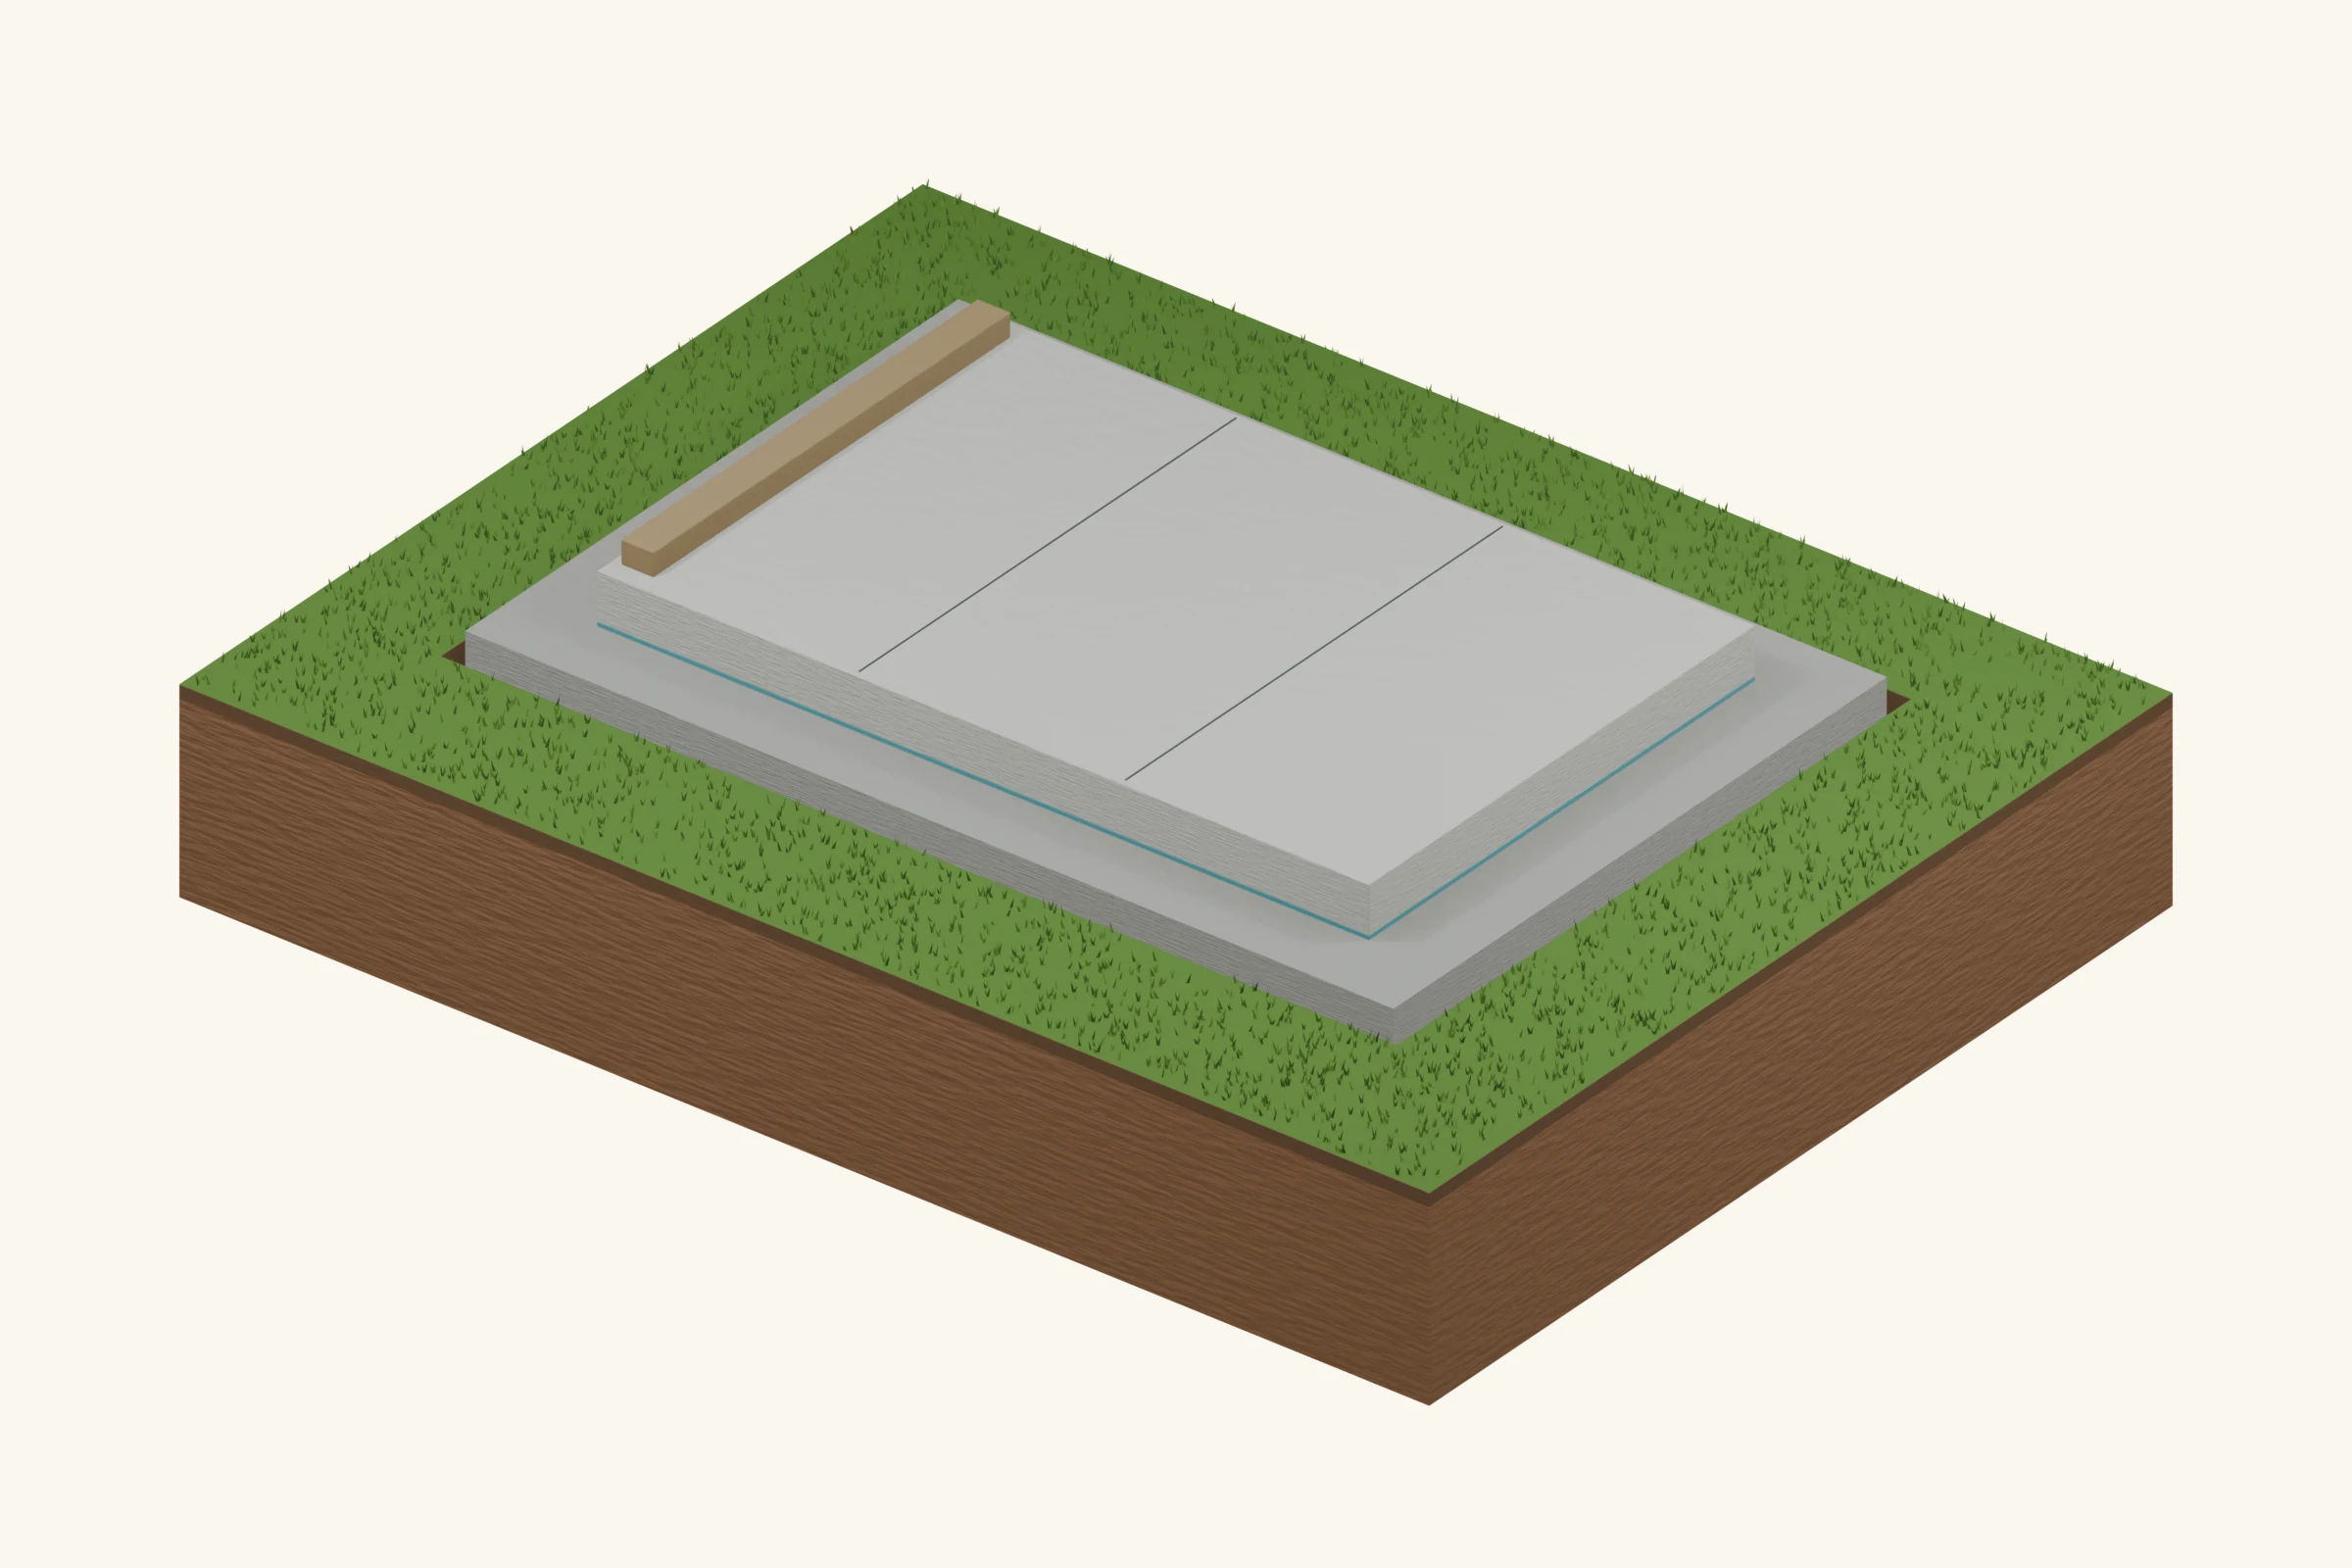
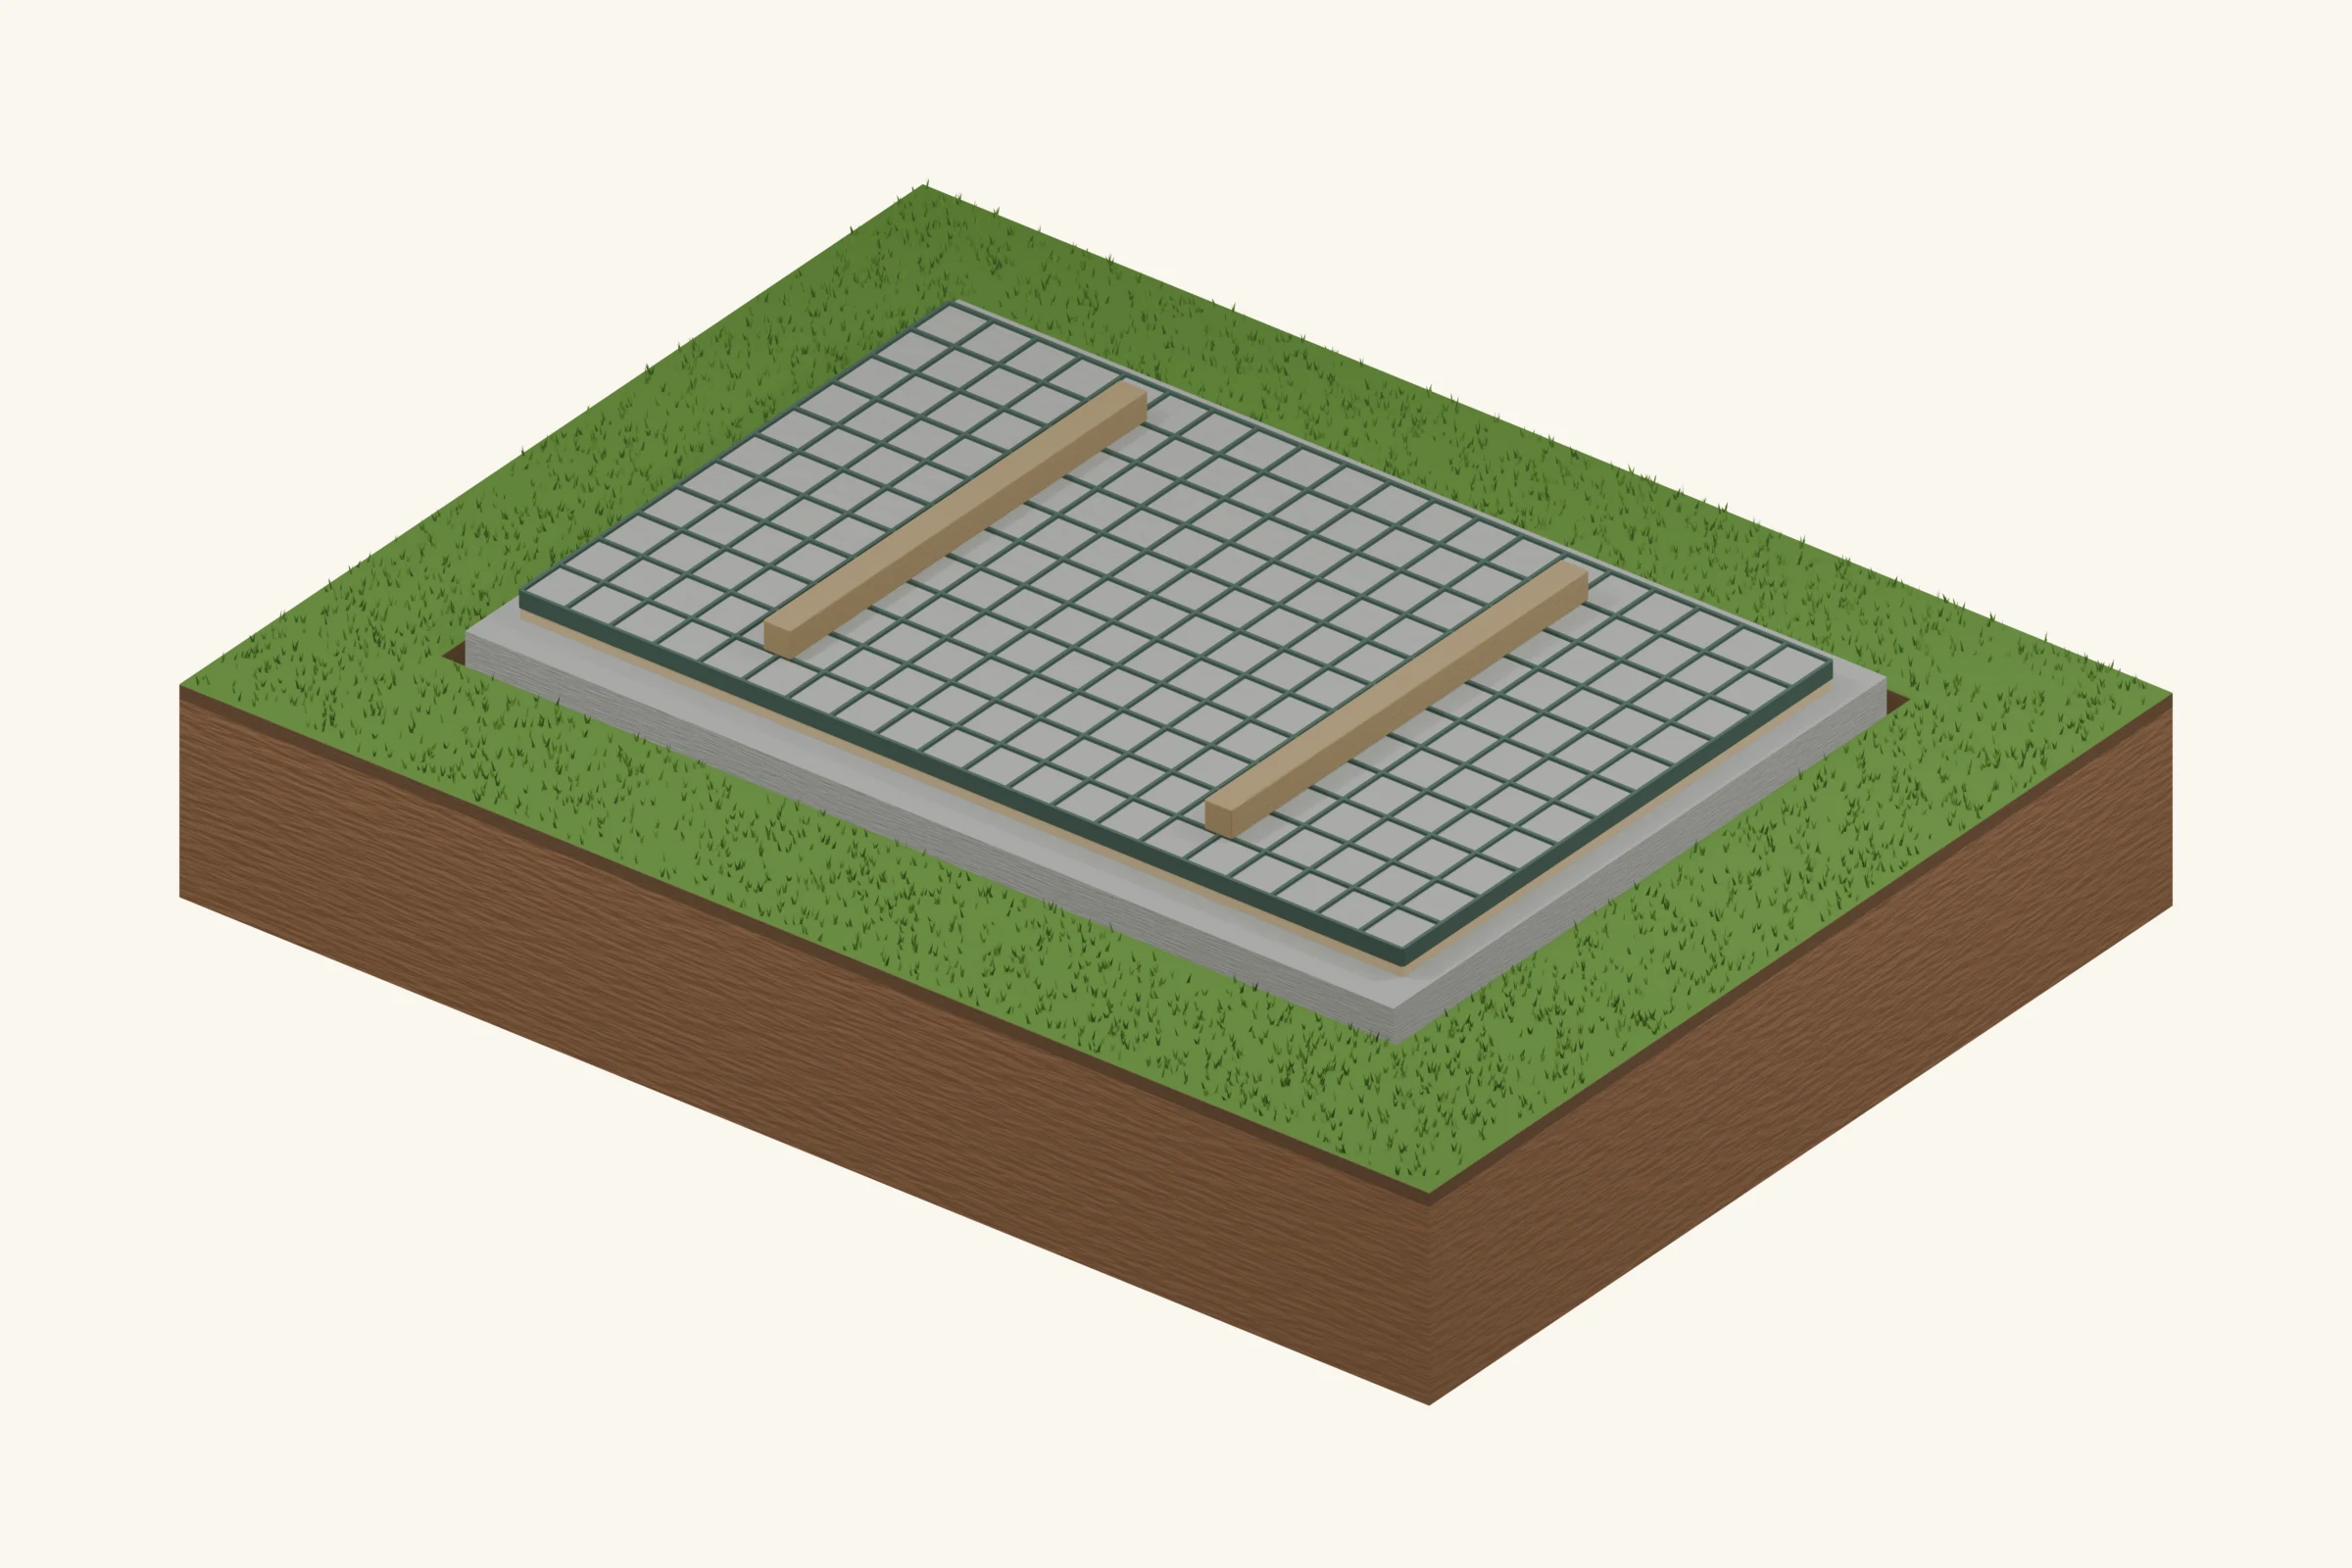
A poured concrete slab is a flat pad of concrete — usually over a compacted gravel base with reinforcing mesh or rebar — that serves as both foundation and finished floor. A thickened or insulated edge can make it frost-protected. It's the strongest, most permanent option and the one you want under a garage, workshop or anything with heavy equipment or a vehicle, because it gives a hard, level, sweepable surface that won't rot.

Pros

  • Foundation and finished floor in one — hard and flat.
  • Carries heavy loads: vehicles, machinery, workbenches.
  • Nothing to rot; the most permanent choice.
  • A thickened, insulated edge can make it frost-protected.

Cons

  • The most work and the highest cost of the six.
  • Needs forming, reinforcement and a big, timely pour.
  • Hard to get right and very hard to undo.
  • Poor drainage under a bad slab can trap water.

Effort & cost: high effort, highest cost — worth it for garages, workshops and permanent, heavy-use buildings.

Rendered 12x16 gable garage shed of the kind that sits on a poured concrete slab
A garage-style shed like this 12x16 gable is the classic case for a poured slab: a hard, level floor that carries a vehicle or heavy equipment and never rots.

Pole-barn (post-in-ground)

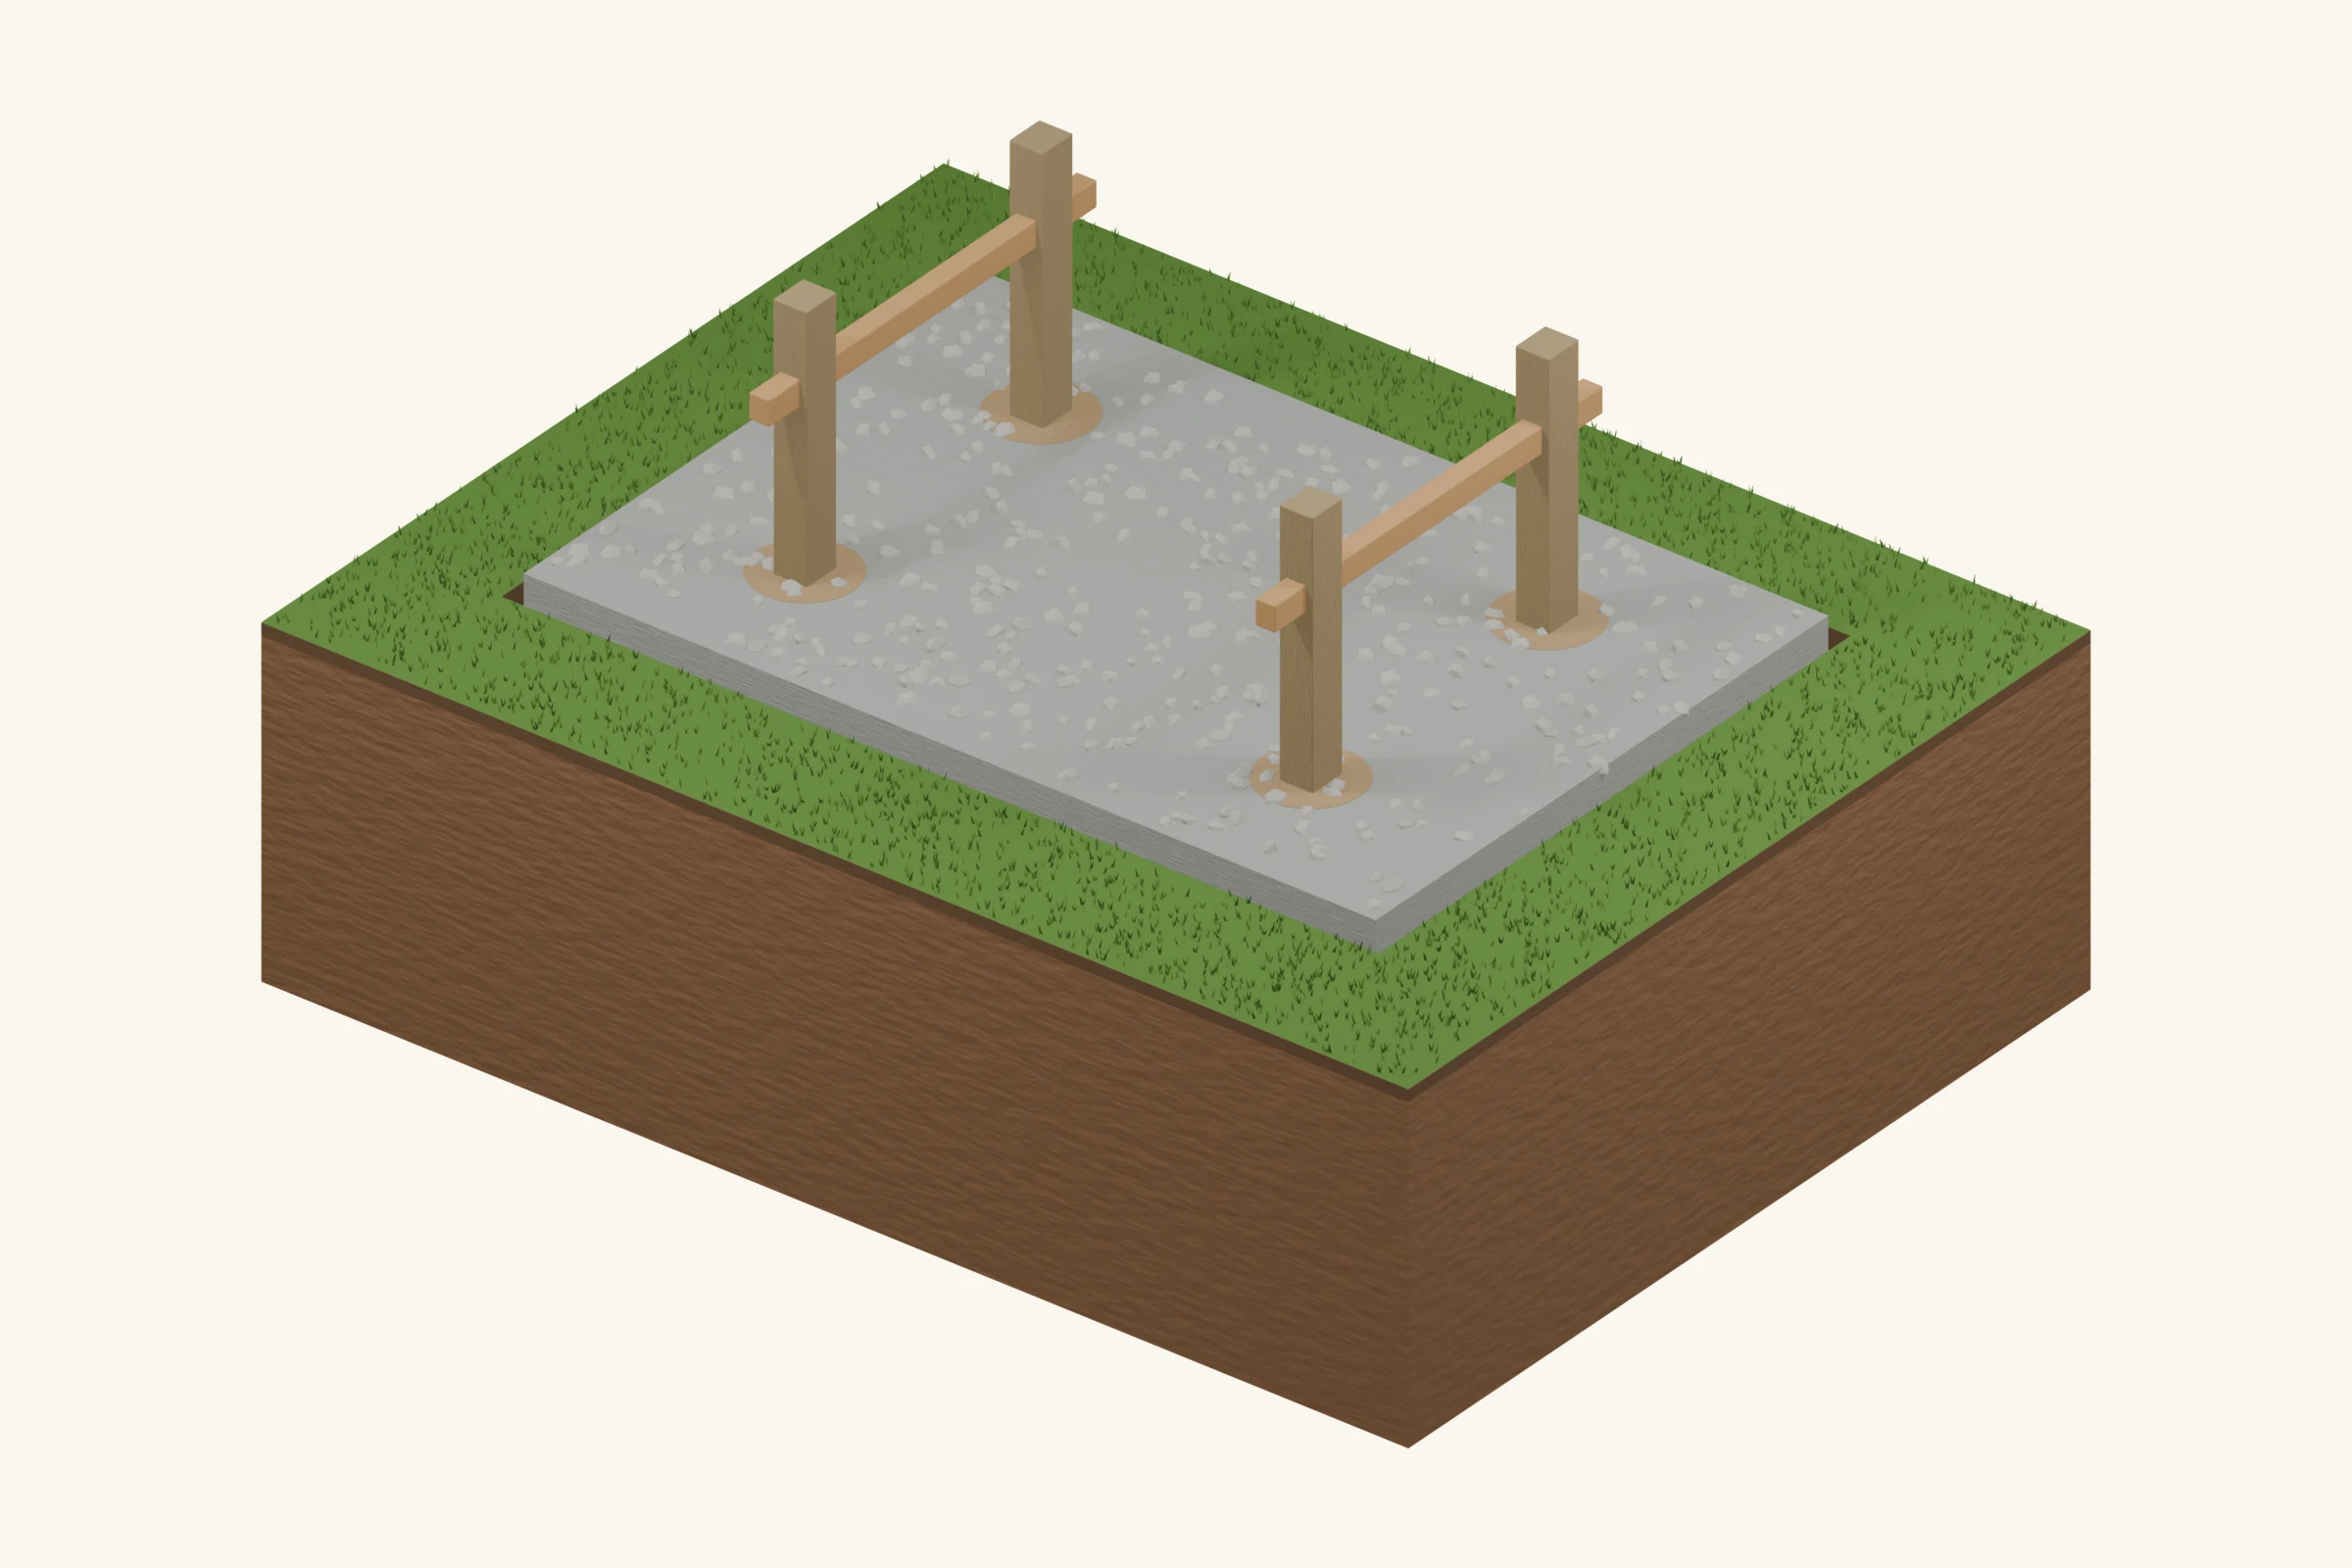
A pole-barn or post-in-ground foundation sets pressure-treated posts (or laminated columns) directly into holes in the ground, backfilled with gravel or concrete, with the footing below the frost line. The posts are both the foundation and the main structure — the walls and roof hang off them. It's the traditional method for large barns and pole buildings, where it's fast and economical for the size.

Pros

  • Posts are foundation and frame in one — efficient for size.
  • Frost-proof: posts set below the frost line.
  • Economical for large barns and open buildings.
  • Works well on ground that isn't perfectly level.

Cons

  • Buried wood must be highly rot-resistant — or it fails.
  • Overkill and unusual for a small backyard shed.
  • Post holes and setting posts plumb is real work.
  • Usually paired with a separate slab or gravel floor.

Effort & cost: medium to high effort, moderate cost for the size — a large-building method, not a small-shed one.

Frost depth & drainage guidance

Two forces destroy shed foundations: frost heave and standing water. Both are about water in the ground, and both are manageable.

Frost. When wet soil freezes it expands, and if a footing sits within that freezing zone it gets lifted — then dropped when the ground thaws. Over a few winters that heave racks a building and cracks concrete. You beat it one of two ways: go below the frost line with piers, footings or posts so the freezing ground can't grab them, or go fully floating on a thick, well-drained gravel pad so the whole shed rises and settles as one piece. What you must avoid is the middle ground — a shallow, rigid footing caught in the frost zone. Because frost depth is set locally, look it up for your area or ask your building department before choosing.

Drainage. Keep water away from the foundation and most problems never start:

  • Build on naturally high, flat ground — never the low spot where water collects.
  • Lay a compacted gravel pad so the base drains and the wood sits above wet soil.
  • Keep the finished floor above the surrounding grade so surface water flows around, not into, the shed.
  • Slope the ground away from the shed on all sides; add a swale or French drain if water runs toward the site.
  • Fit gutters and a downspout that carry roof runoff well clear of the foundation.
Drainage starts with where you put the shed. Our best shed location guide covers picking level, well-drained ground and avoiding the low, soggy corner of the yard — read it before you break ground.

How to choose: comparison & checklist

Here are the six foundations side by side. Effort and cost are rough, relative guides — actual figures depend on your size, ground and local prices.

FoundationBest forEffortCostFrost
Gravel padSmall & medium sheds; the drained base under most other typesLow$On-grade (floating)
Concrete deck blocksSmall sheds on fairly level ground; fast, no diggingLow$On-grade (floating)
Timber skids (runners)Small & medium sheds; portable / relocatable buildsLow–Medium$On-grade (floating)
Concrete piers & footingsLarge sheds, sloped sites, frost-prone groundMedium–High$$Frost-proof (below frost line)
Poured concrete slabGarages, workshops, heavy equipment, a hard flat floorHigh$$$On-grade or frost-proof (thickened / insulated edge)
Pole-barn (post-in-ground)Large barns & pole buildings; posts double as structureMedium–High$$Frost-proof (posts set below frost line)

Cost key: $ = lowest, $$ = moderate, $$$ = highest, relative to the other shed foundations.

Not sure which row is yours? Run this quick decision checklist:

  • Small or medium shed on decent, fairly level ground? A gravel pad with skids (or deck blocks) is almost certainly enough.
  • Might you move the shed one day? Choose skids on a gravel pad so it can be dragged as one unit.
  • Sloped site or deep local frost? Go frost-proof with concrete piers or footings below the frost line.
  • Garage, workshop, heavy equipment, or a vehicle inside? Pour a concrete slab for a hard, level floor.
  • A large barn or pole building? A pole-barn (post-in-ground) foundation is the efficient choice.
  • Cold climate? Confirm your frost depth with the building department and either go below it or float on a thick gravel pad — never a shallow rigid footing.
  • Whatever you pick: build on a compacted, well-drained gravel base and keep the floor above the surrounding grade.

Once the foundation type is settled, the foundation is also the first stage of the build itself. Our How to Build a Shed guide picks up from a prepared base and walks through the floor, walls, roof and finishing, stage by stage.

Shed plans built for these foundations

Every DIYCraft plan is drawn around a real, dimensioned foundation and floor frame, so you know exactly what sits on your gravel pad, skids, piers or slab. Each plan includes 3D-rendered views, a full material list and a cut list. Here are good ones to start with:

Frequently asked questions

What is the best foundation for a shed?

For most small and medium sheds, a compacted gravel pad with pressure-treated timber skids is the best all-round choice: it drains well, forgives minor ground movement, needs no concrete, and can be built in a day. Step up to concrete piers or a poured slab for large sheds, heavy equipment, a floor you want dead flat, or ground with deep frost. In every case the real key is a flat, level, well-drained base — the foundation type matters less than getting the ground under it right.

What is the difference between an on-grade and a frost-proof foundation?

An on-grade (floating) foundation sits on or just below the surface — a gravel pad, skids or deck blocks — and is allowed to rise and settle a little with the seasons as the whole shed moves together. A frost-proof (frost-protected) foundation reaches below the local frost line on footings or piers, or uses a monolithic slab with insulated edges, so the ground freezing and thawing can't heave it. On-grade is simpler and cheaper and suits most sheds; frost-proof is for large, permanent, or utility-connected buildings, or where your building department requires footings below frost depth.

How deep should shed footings go for frost?

Deep enough to reach below your local frost line, which is set by your climate and your local building code — it ranges from almost nothing in mild regions to several feet in cold ones. There is no universal number, so look up the frost depth for your area or ask your local building department, then set piers or footings below that depth so seasonal freezing can't lift them. If you build on-grade instead, a thick, well-drained gravel base under a floating foundation lets the shed move as one unit rather than cracking.

Do I need a concrete foundation for a shed?

Usually not. Most sheds sit happily on a gravel pad with timber skids or on concrete deck blocks — no poured concrete required. Concrete becomes worth the cost and effort when you want a hard, level, sweepable floor, when you'll park heavy equipment or a vehicle, when the shed is large or permanent, or when local code calls for footings below the frost line. A poured slab or set of piers is stronger and more permanent, but it's more work, more money, and far harder to undo.

How do I keep water away from a shed foundation?

Start with the site: build on naturally high, flat ground rather than a low spot where water collects. Build up a compacted gravel pad so the base drains and the wood sits above wet soil, and keep the finished floor above the surrounding grade so surface water flows around the shed, not into it. Slope the ground away from the shed on all sides, add a swale or French drain if water runs toward the site, and finish with gutters and a downspout that carry roof runoff well clear of the foundation.

Can I put a shed straight on the ground or on grass?

You can, but you shouldn't. Wood in direct contact with soil or grass stays wet, wicks moisture up into the floor and framing, and rots within a few years, and the shed settles unevenly as the ground beneath it shifts. At a minimum, strip the sod, level and compact the ground, and lay a few inches of compacted gravel so the base drains and the frame sits above the dirt. A gravel pad is the least you should do; skids or blocks on top of it are better still.

This guide is general DIY information to help you plan, not code advice. Frost depth, footing requirements, drainage rules and when a foundation needs an inspection all vary by jurisdiction and change over time. Always confirm the frost depth and foundation requirements for your specific address with your local building department before you build.