For most sheds, engineered wood (LP SmartSide) or T1-11 plywood panels are the best all-round siding — they give a solid painted-wood look, go up fast, and cost far less than cedar. Want the lowest maintenance? Choose vinyl or metal and never paint again. Want natural beauty and don't mind re-staining? Choose cedar bevel/lap or shingles. The eight common options are vinyl, bevel/lap, T1-11, tongue-and-groove, metal, board-and-batten, LP SmartSide and cedar shingles/shakes — and the right one comes down to your budget, your climate, and matching the shed to your house.
Siding is the shed's skin. It sheds water, hides the framing and sheathing, and — more than any other single choice — decides what the finished shed looks like. It also sits in two very different jobs at once: it has to survive years of sun, rain and freeze-thaw outdoors, and it has to look good doing it. The good news is that a shed is small, so even the pricier sidings don't add up to much, and you can pick on looks and upkeep without breaking the budget. This guide compares the eight materials people actually use, then walks through how to choose and how to install and finish siding so it lasts.
Siding goes on after the walls are framed, sheathed and wrapped. If you're not there yet, our shed wall framing guide covers studs, sheathing and house wrap — the surface siding attaches to — and this exterior stage is one part of the full how to build a shed sequence.
Quick answer: the best siding for most sheds
If you just want a solid default, pick by what matters most to you:
Engineered wood panels or rated T1-11 give a painted-wood look and install quickly. T1-11 can also serve as sheathing when the product is rated for it. Vinyl or metal need little maintenance; cedar lap or shingles give a natural look but cost more and need upkeep.
For a barn look, consider board-and-batten or vertical tongue-and-groove boards. Rated T1-11 can save an installation step by serving as both wall structure and finish.
There is no universal winner — every material trades cost against looks against maintenance. The table below lays those trade-offs side by side, then each material gets a short section with its pros, cons and best use.
Siding materials compared
The eight materials, rated on the five things that decide most siding choices: look, cost, durability, maintenance and install difficulty. Cost is shown as a rough band ($ cheapest to $$$$ priciest) because real prices swing with lumber markets and region.
| Material | Look | Cost | Durability | Maintenance | Install |
|---|---|---|---|---|---|
| Vinyl | Clean, uniform; molded lap or shake profiles | $ Low | Good; won't rot, can crack in cold/impact | Very low — rinse, never paint | Easy |
| Bevel / lap (wood) | Classic horizontal shadow lines | $$ Mid (pine) – $$$ (cedar) | Good if painted/stained; rots if neglected | Medium — repaint or re-stain | Medium |
| T1-11 plywood | Grooved vertical panels, rustic | $ Low | Fair–good; edges/bottom fail first | Medium — must stay painted | Easy (sheets, doubles as sheathing) |
| Tongue-and-groove | Tight vertical or horizontal boards | $$–$$$ Mid–high | Good if sealed; boards can cup | Medium — seal/stain | Medium–hard |
| Metal (steel/alum.) | Ribbed panels, modern/agricultural | $$ Mid | Excellent; can dent, edges rust | Very low | Medium (cut, fasten to girts/studs) |
| Board-and-batten | Wide boards + narrow battens, vertical, barn-style | $$–$$$ Mid–high | Good if sealed | Medium — seal/paint | Medium |
| LP SmartSide (engineered) | Painted wood look; lap or panel | $$ Mid | Very good; treated against rot/insects | Low–medium — repaint on a long cycle | Easy–medium |
| Cedar shingles / shakes | Textured, premium, natural | $$$$ Highest | Excellent (naturally rot-resistant) | Medium — stain or let it silver | Hard (course by course) |
Cost bands are relative, per square foot of covered wall. "Best use" for each material is in its section below.
Each material in detail
Vinyl siding
Molded plastic panels that snap and nail on in horizontal lap or shake profiles. Vinyl is the low-cost, low-effort choice: it never needs paint, won't rot, and a garden hose cleans it. The trade-offs are that it can look plainer than wood up close, it can crack in hard cold or on impact, and the color is baked in, so you can't change it later. Best use: a utility shed you want to install once and forget, especially to match a vinyl-sided house.
Bevel / lap siding (wood)
The classic look: tapered horizontal boards that overlap so each one throws a shadow line down the wall. It reads as a "real" building and takes paint or stain beautifully. In pine or spruce it's mid-priced; in cedar it climbs. The catch is upkeep — bare or neglected wood lap will rot, so it has to stay painted or stained and its bottom edges kept off the ground. Best use: a shed you want to look like a small house, where you don't mind repainting on a cycle.
T1-11 plywood panels
Grooved 4x8 plywood sheets, usually with vertical grooves every 8 or 12 inches for a board-look. T1-11 is the DIY favorite for one reason: rated panels are structural, so one layer can be both the wall sheathing and the finished siding, which is fast and cheap. It gives a plain, rustic panel look. Its weakness is water — the bottom edge and any unsealed cuts drink it up — so it must be primed and painted on every edge, flashed at the panel joints, and held well off the ground. Best use: budget storage and utility sheds where speed and cost beat looks.
Tongue-and-groove
Solid boards milled with a tongue on one edge and a groove on the other so they lock together into a tight, seamless wall — run vertically or horizontally. It looks crafted and substantial, with no gaps for weather. The downsides: it's more work to install board by board, it costs more than panels, and solid boards can cup or move if they aren't sealed on all faces. Best use: a higher-end shed, studio or garden building where you want a solid-wood, furniture-grade finish.
Metal (steel or aluminum)
Ribbed steel or aluminum panels, the same family used on pole barns and agricultural buildings. Metal is extremely durable, fireproof, never rots, and needs almost no maintenance; it also goes up fast on long panels screwed to girts or studs. The trade-offs are a more industrial look, dents from impact, cut and fastener points that can rust or leak if detailed poorly, and the need to cut panels cleanly. Best use: large or pole-barn-style sheds, and anyone who wants maximum durability with minimum upkeep.
Board-and-batten
Wide vertical boards with a narrow strip (the batten) covering each seam, giving strong vertical lines and a barn or farmhouse look. It's a striking, timeless style that works especially well on gambrel and barn-shaped sheds. Like all solid wood it needs sealing or painting and good detailing so water sheds off the boards rather than sitting in the seams. Best use: barn-style, farmhouse and cottage-look sheds where you want vertical, rustic character.
LP SmartSide (engineered wood)
Engineered wood siding — wood strands or fibers bonded with resin and treated against rot and insects — sold in lap boards and panels that look like painted wood. It has become the default on a lot of factory and DIY sheds because it hits the sweet spot: real-wood appearance, more stable and rot-resistant than solid lumber, mid-range price, and it comes primed so painting is quick. It still needs paint and edge sealing, but on a long cycle. Best use: the best all-round choice for most sheds — the look of wood without cedar prices or solid-lumber fragility.
Cedar shingles & shakes
Individual tapered wood shingles (sawn, smooth) or shakes (split, rugged) laid in overlapping courses. This is the premium, textured, natural look, and cedar is naturally rot- and insect-resistant. The price — in both material and the slow course-by-course labor — is the highest of any option here. You can stain it or let it silver to grey gracefully. Best use: a showpiece shed, garden studio or a shed that has to match a shingled house, where looks justify the cost and effort.
How to choose your siding
Every siding choice is a balance of three things — budget, looks and maintenance — filtered through your climate and your house. Work through them in that order:
Set a budget, then price the specific products locally. Decide how much repainting or staining you will do: vinyl, metal and factory finishes need less attention than bare wood. For appearance, plain panels can recede into the yard, while cedar, lap or board-and-batten can make the shed a feature. Vertical boards suit barn shapes; horizontal lap suits a house-like gable.
In wet or freezing climates, choose a material that handles moisture and detail its bottom edge and joints carefully. Dark colors absorb heat and can fade in strong sun. If the shed is visible or your HOA requires it, match or complement the house's siding, color and roof.
Install & finishing basics
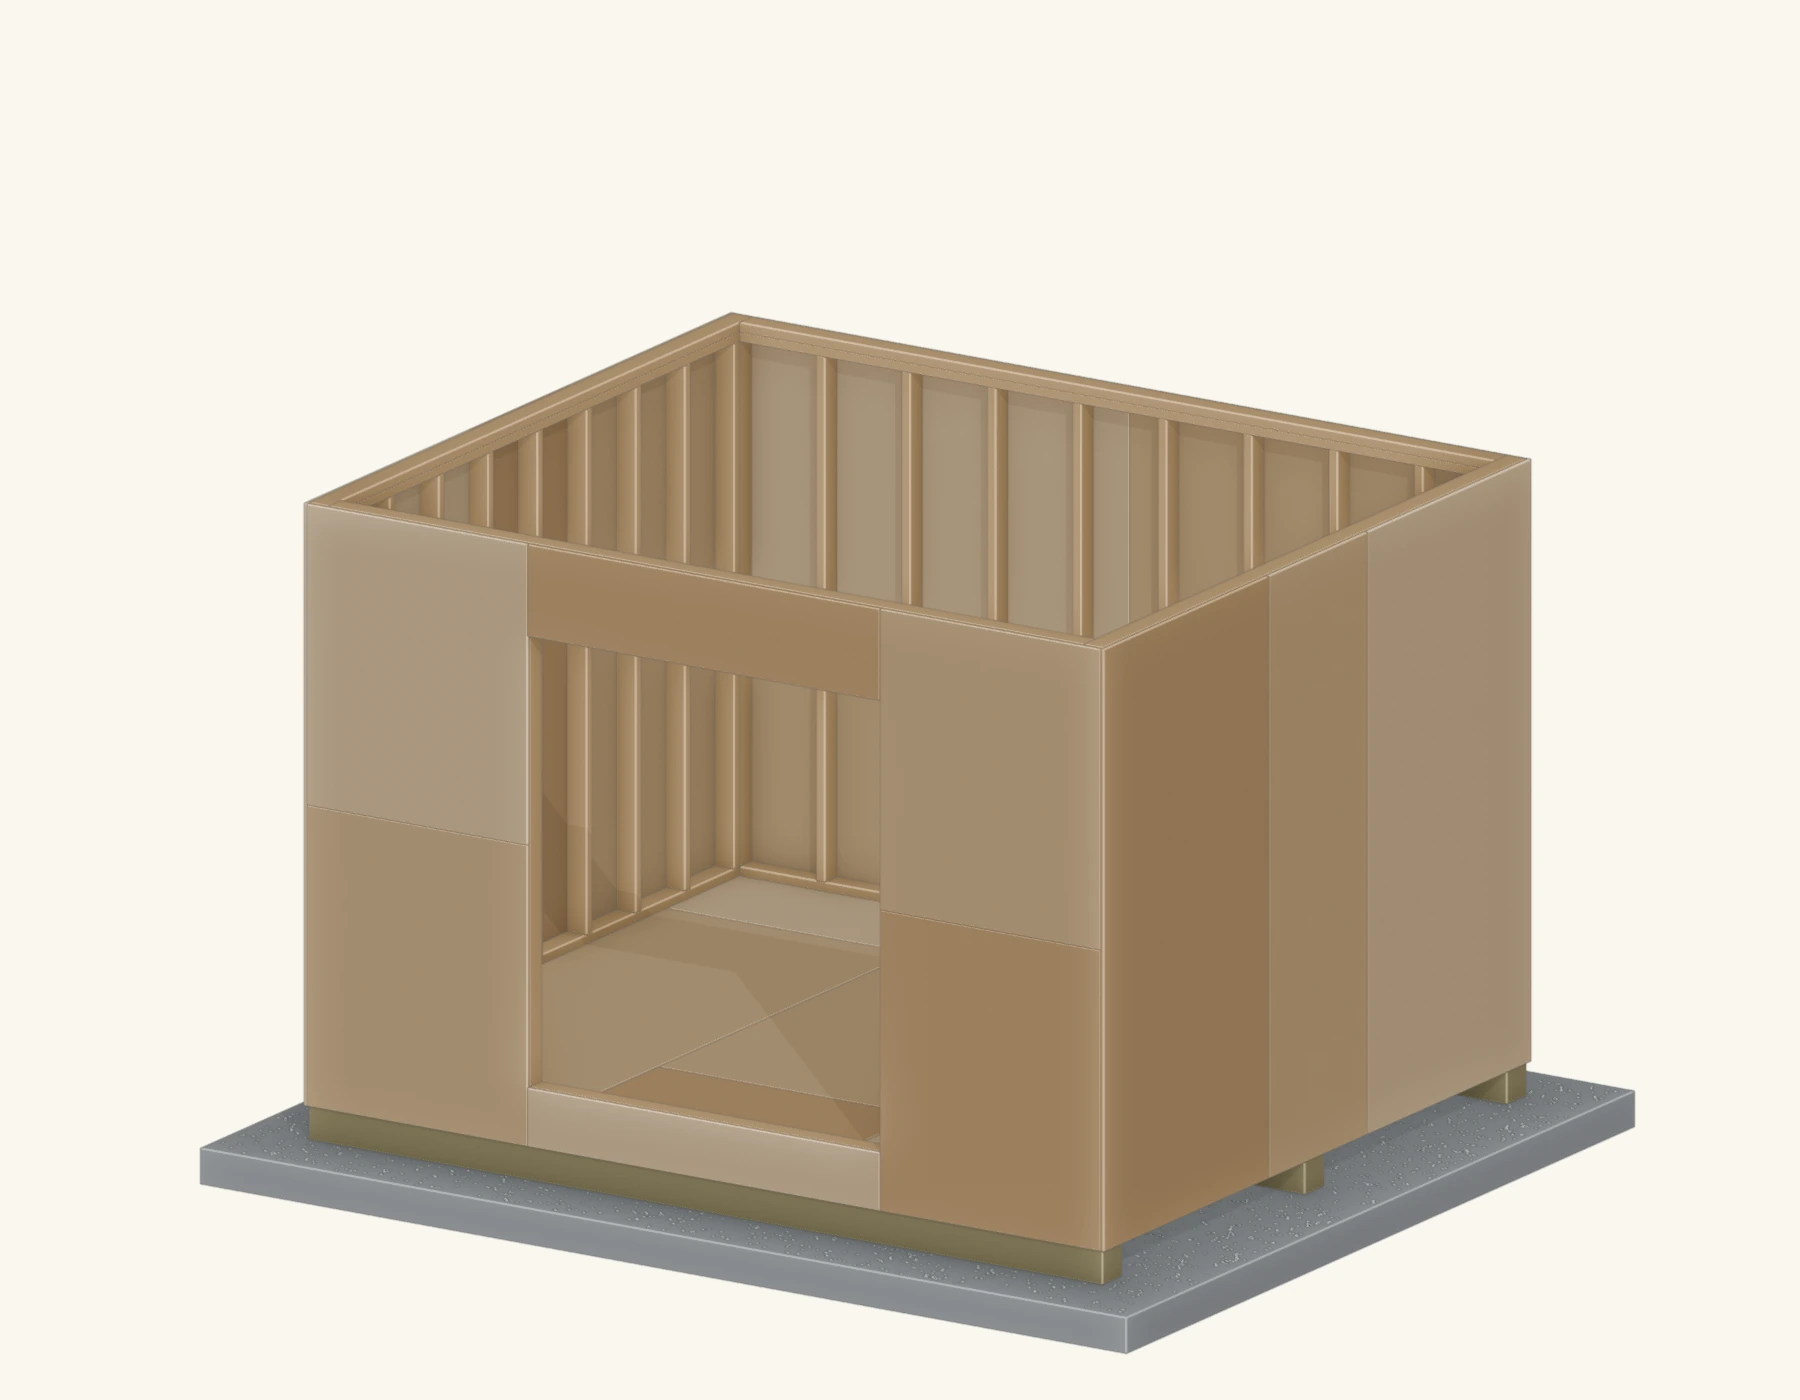
Start with flat, securely fixed wall sheets. Support the sheet edges as shown in the wall plan.
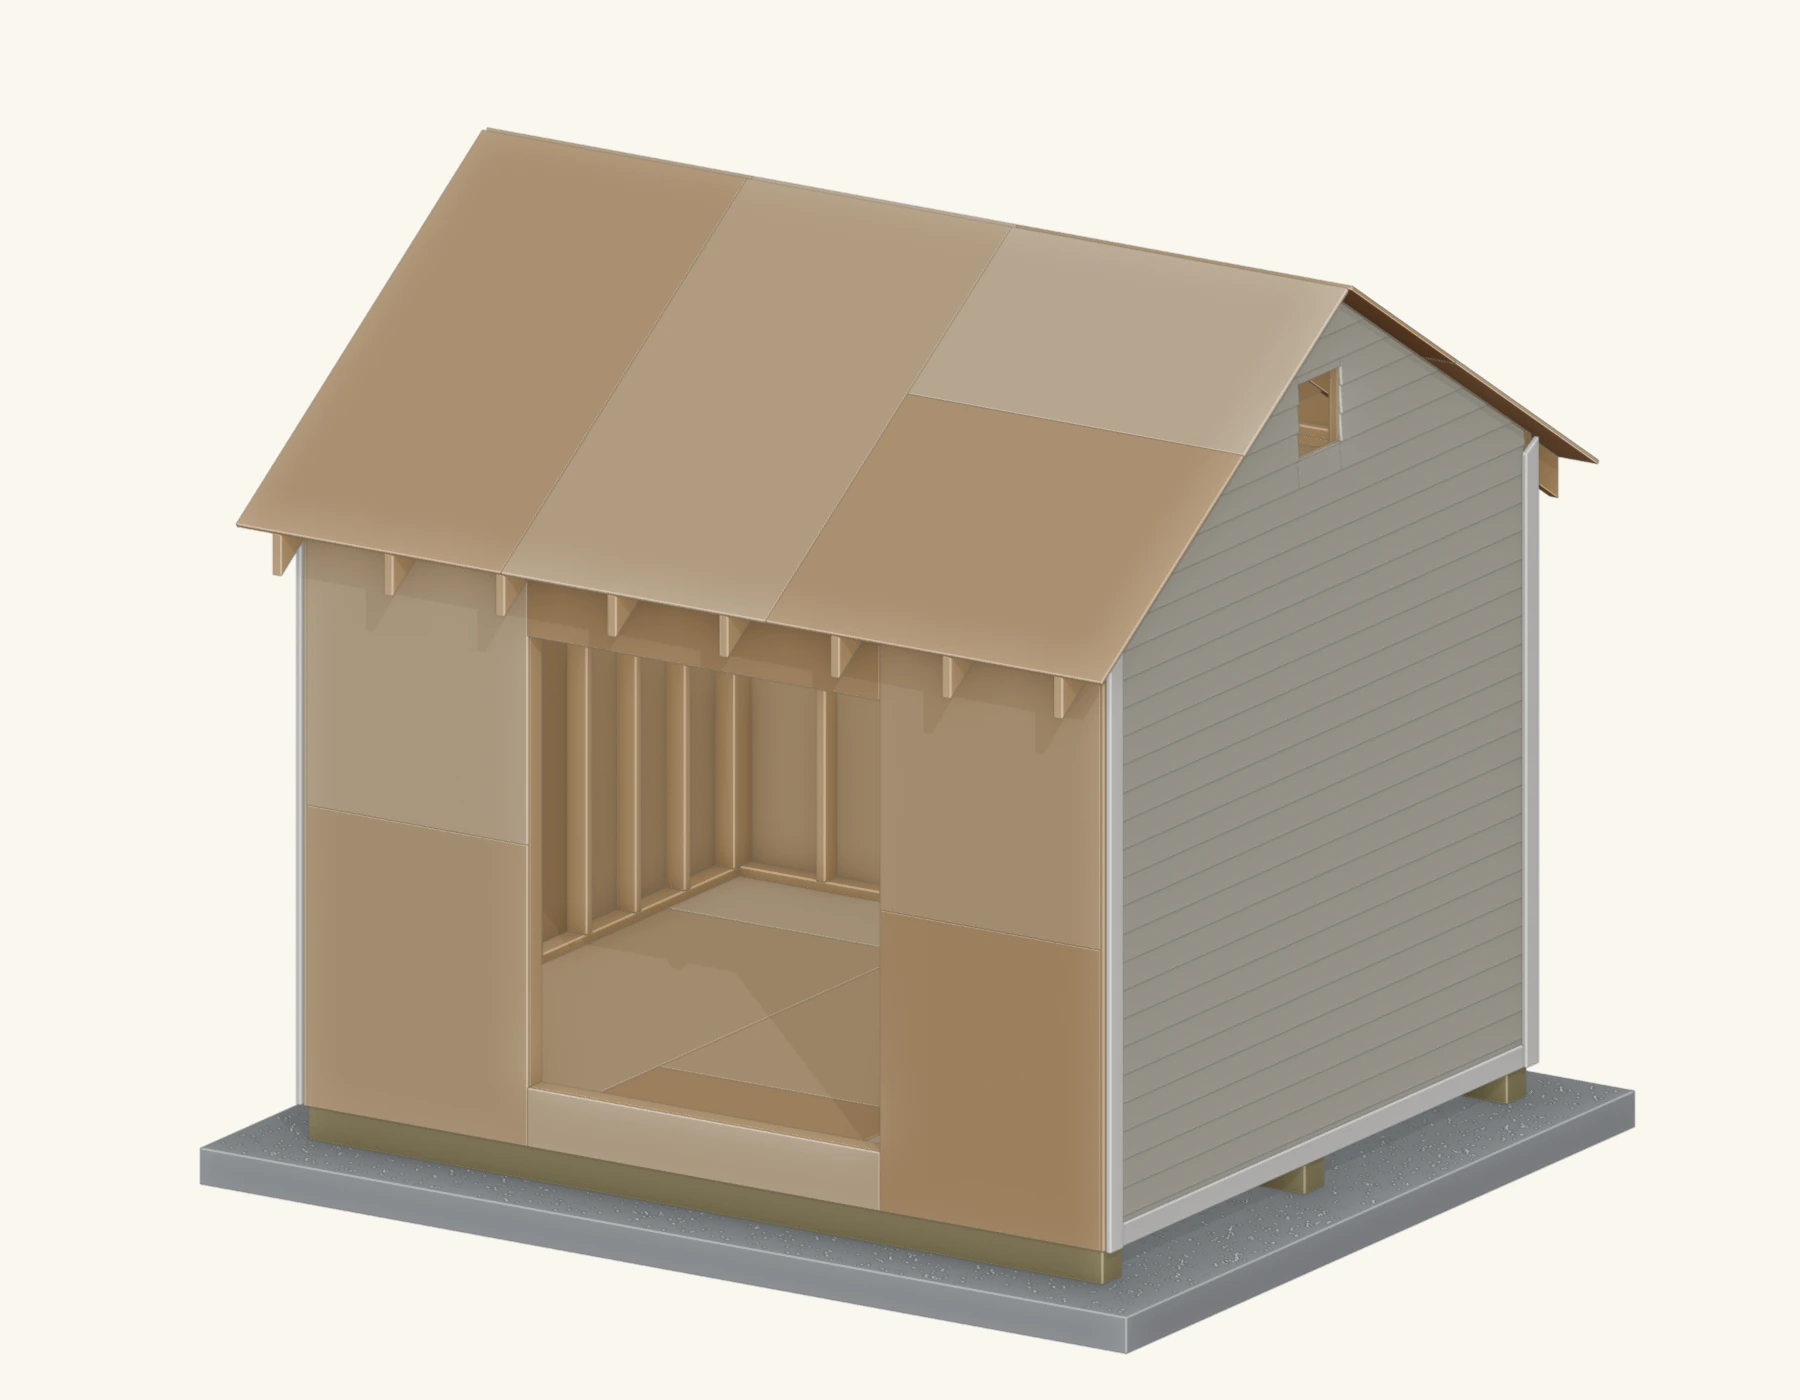
Over solid sheathing, lap house wrap from the bottom up and tape its seams. For a panel that also serves as sheathing, follow its required joint sealing and flashing details. Use corrosion-resistant fasteners long enough to reach framing. Prime and paint wood and engineered siding as the product directs, including cut ends and the bottom edge.
Start siding from a level line at the bottom and work up, keeping courses straight, so a small error at the base doesn't grow into a visible slope by the top. Leave the door and window openings clear and side up to them. The exact sheathing and wrap detail siding attaches to is covered in the shed wall framing guide.
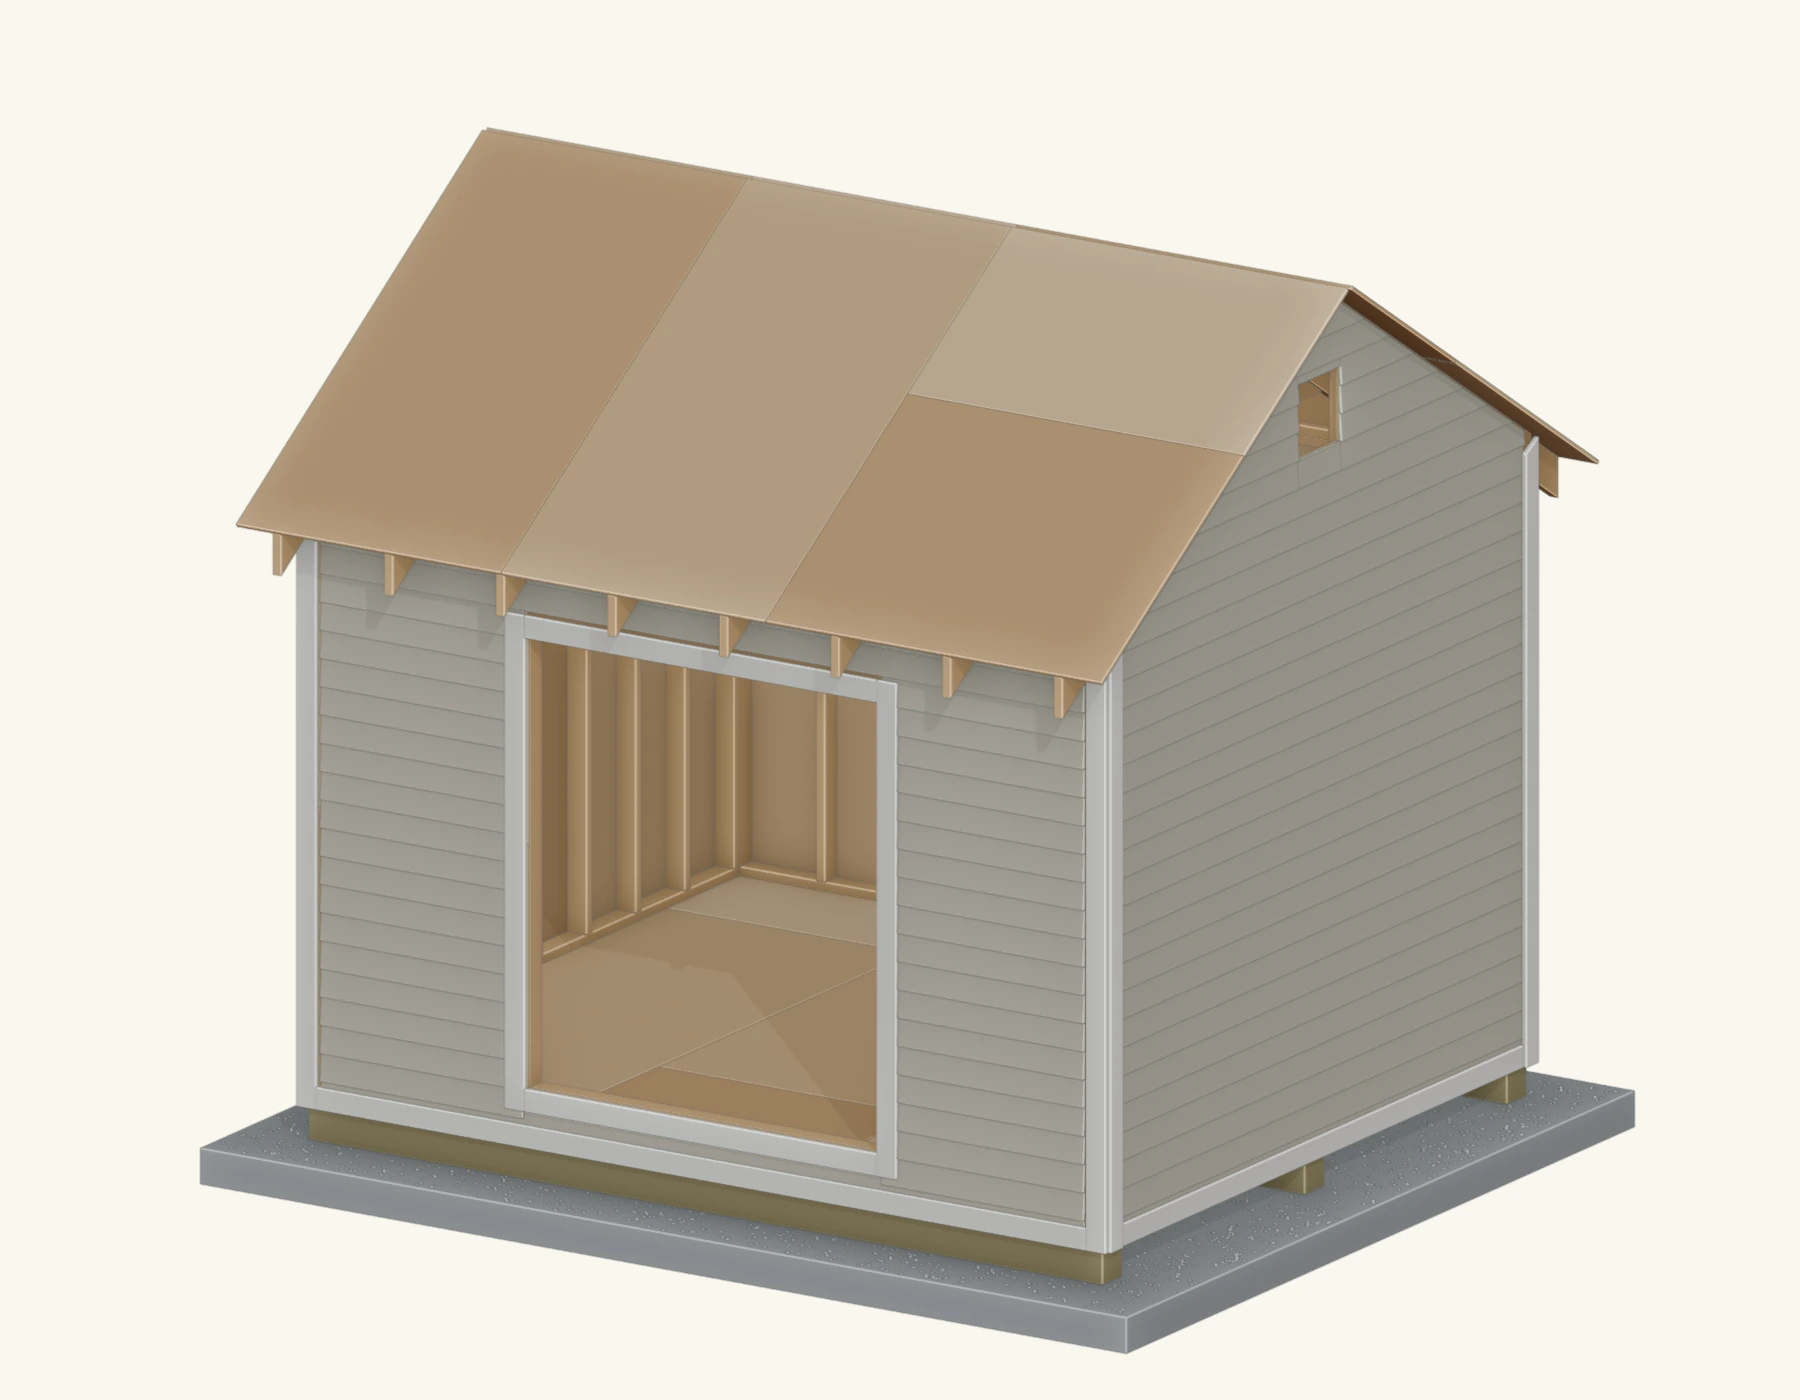
Fit the corner and opening trim. Lap the weather barrier over the head flashing so water drains out over the siding. Keep the bottom clear of the ground by the amount required by the siding maker, and keep soil, mulch and plants away from the wall.
Shed plans with siding and material lists worked out
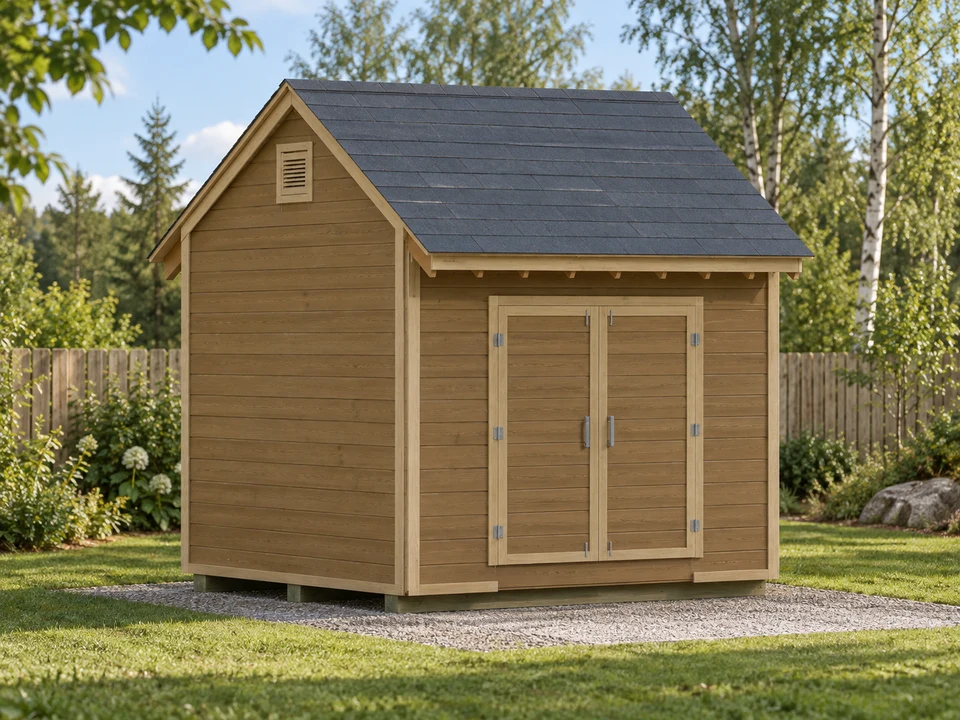
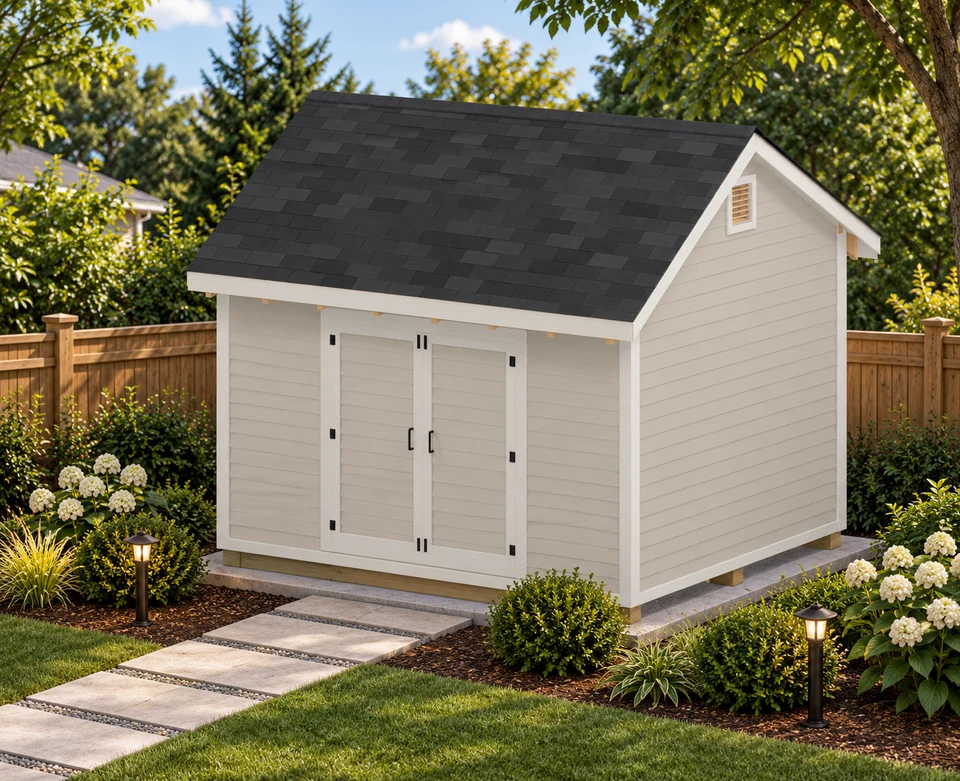
Compare these storage shed designs and inspect their exterior details in the free PDFs. Check wall areas, openings and the proposed siding before estimating quantities. Render colors illustrate an appearance, not a specified finish or a record of a completed build.
Frequently asked questions
What is the best siding for a shed?
For most sheds the best all-round choice is engineered wood (LP SmartSide) or T1-11 plywood panels: both give a solid painted-wood look, go up fast in 4x8 sheets, and cost far less than real cedar. If you never want to paint, vinyl or metal is the lowest-maintenance option. If you want natural beauty and are happy to re-stain, go cedar bevel/lap or shingles. There is no single winner — the right siding depends on your budget, your climate, and matching the shed to your house.
How much does shed siding cost?
Siding is usually one of the cheaper line items on a shed. Roughly, T1-11 plywood and vinyl are the budget options, engineered wood (LP SmartSide) and metal sit in the middle, bevel/lap and board-and-batten depend heavily on whether you use pine or cedar, and cedar shingles/shakes are the most expensive by area and labor. Exact figures move with lumber prices and region, so price the specific product locally — but for a small shed the material difference between the cheapest and most expensive siding is often a few hundred dollars, not thousands.
Can T1-11 be both sheathing and siding?
Yes — that is its main appeal. Rated T1-11 (and similar grooved plywood or engineered-wood panels) is structural, so on many sheds it goes straight over the studs and serves as both the wall sheathing and the finished siding in one layer. That saves a step and money. It must still be installed over a proper weather-resistive detail, primed and painted on all edges, and kept clear of the ground, because the bottom edge and unsealed cuts are where panel siding fails first.
Do you need house wrap behind shed siding?
It depends on the siding. Over solid wall sheathing (OSB or plywood), a weather-resistive barrier like house wrap is good practice under lap, shingle, board-and-batten and most siding — it sheds any water that gets past the siding while letting the wall dry. Panel sidings such as T1-11 that double as sheathing are often installed with sealed vertical joints and flashing instead of a full wrap, per the manufacturer. Whatever you use, flash the tops of doors and windows and lap everything so water always drains down and out.
How high off the ground should shed siding stop?
Keep the bottom edge of the siding clear of the ground — commonly about 6 to 8 inches — so it doesn't wick moisture, sit in splashback, or get buried by soil and mulch. Water and constant ground contact are what rot wood siding and corrode metal from the base up. Hold the siding high, let it lap down over the floor framing to shed water past it, and keep grade, gravel and plants back from the wall.
Should shed siding match the house?
It's a good idea where the shed is visible from the house or street, and some HOAs require it. Matching the siding type, color and roof to the house makes the shed read as part of the property rather than a bolt-on, which also helps resale. You don't have to match exactly — picking a complementary color in the same family usually looks intentional. If the shed is tucked out of sight, choose whatever is cheapest and lowest-maintenance for you.