
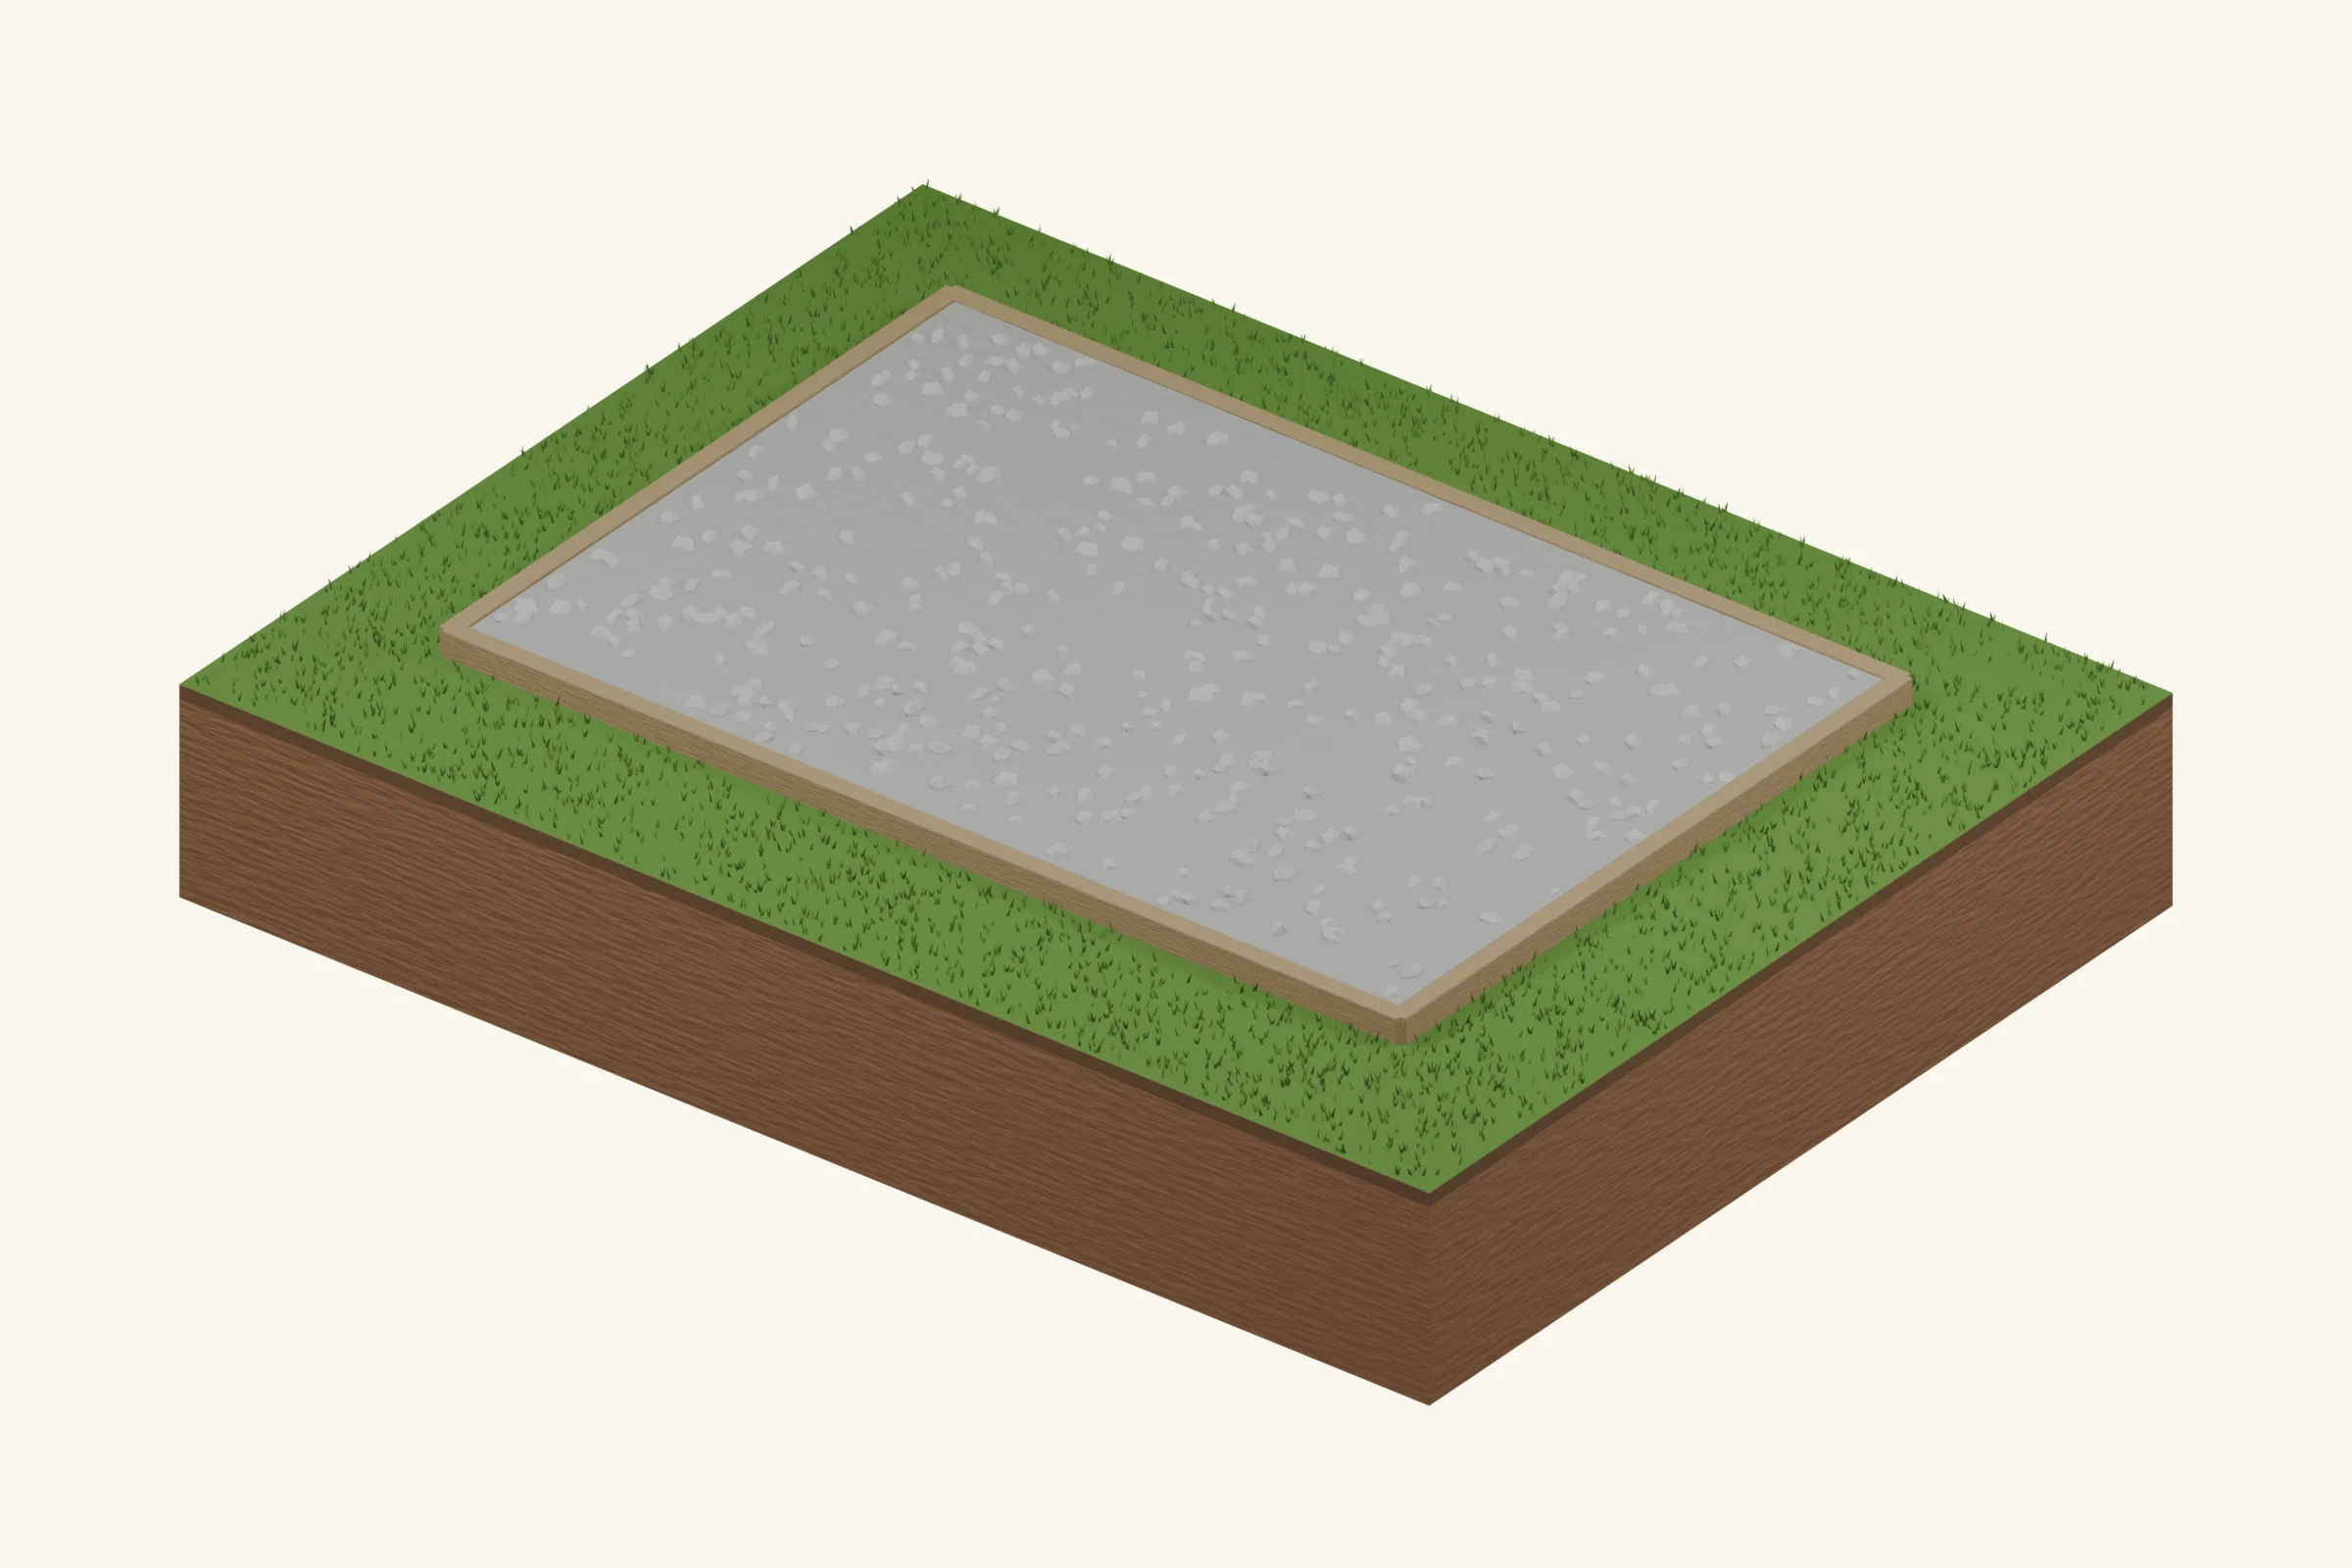
A gravel pad prepares the ground; it does not replace the shed floor or its structural supports. A typical timber shed uses skids or approved bearers above the stone. The useful feature is a broad, inspectable surface that keeps vegetation away from the building and can be adjusted before the shed arrives. Its performance depends on firm subsoil, suitable aggregate and an actual drainage outlet.
Is it right for your shed?
Best fit: A framed storage shed on a reasonably level, well-drained site.
Advantages
- Aggregate is easy to deliver and shape around a shed footprint.
- The exposed perimeter makes drainage and settlement easy to inspect.
- Pairs well with skids and several manufactured support systems.
Limitations
- Loose stone does not anchor the shed against wind.
- Soft soil, deep fill or trapped water can defeat a shallow pad.
- A gravel surface is less convenient for small wheels and clean workshop use.
What goes under it? The ground layers
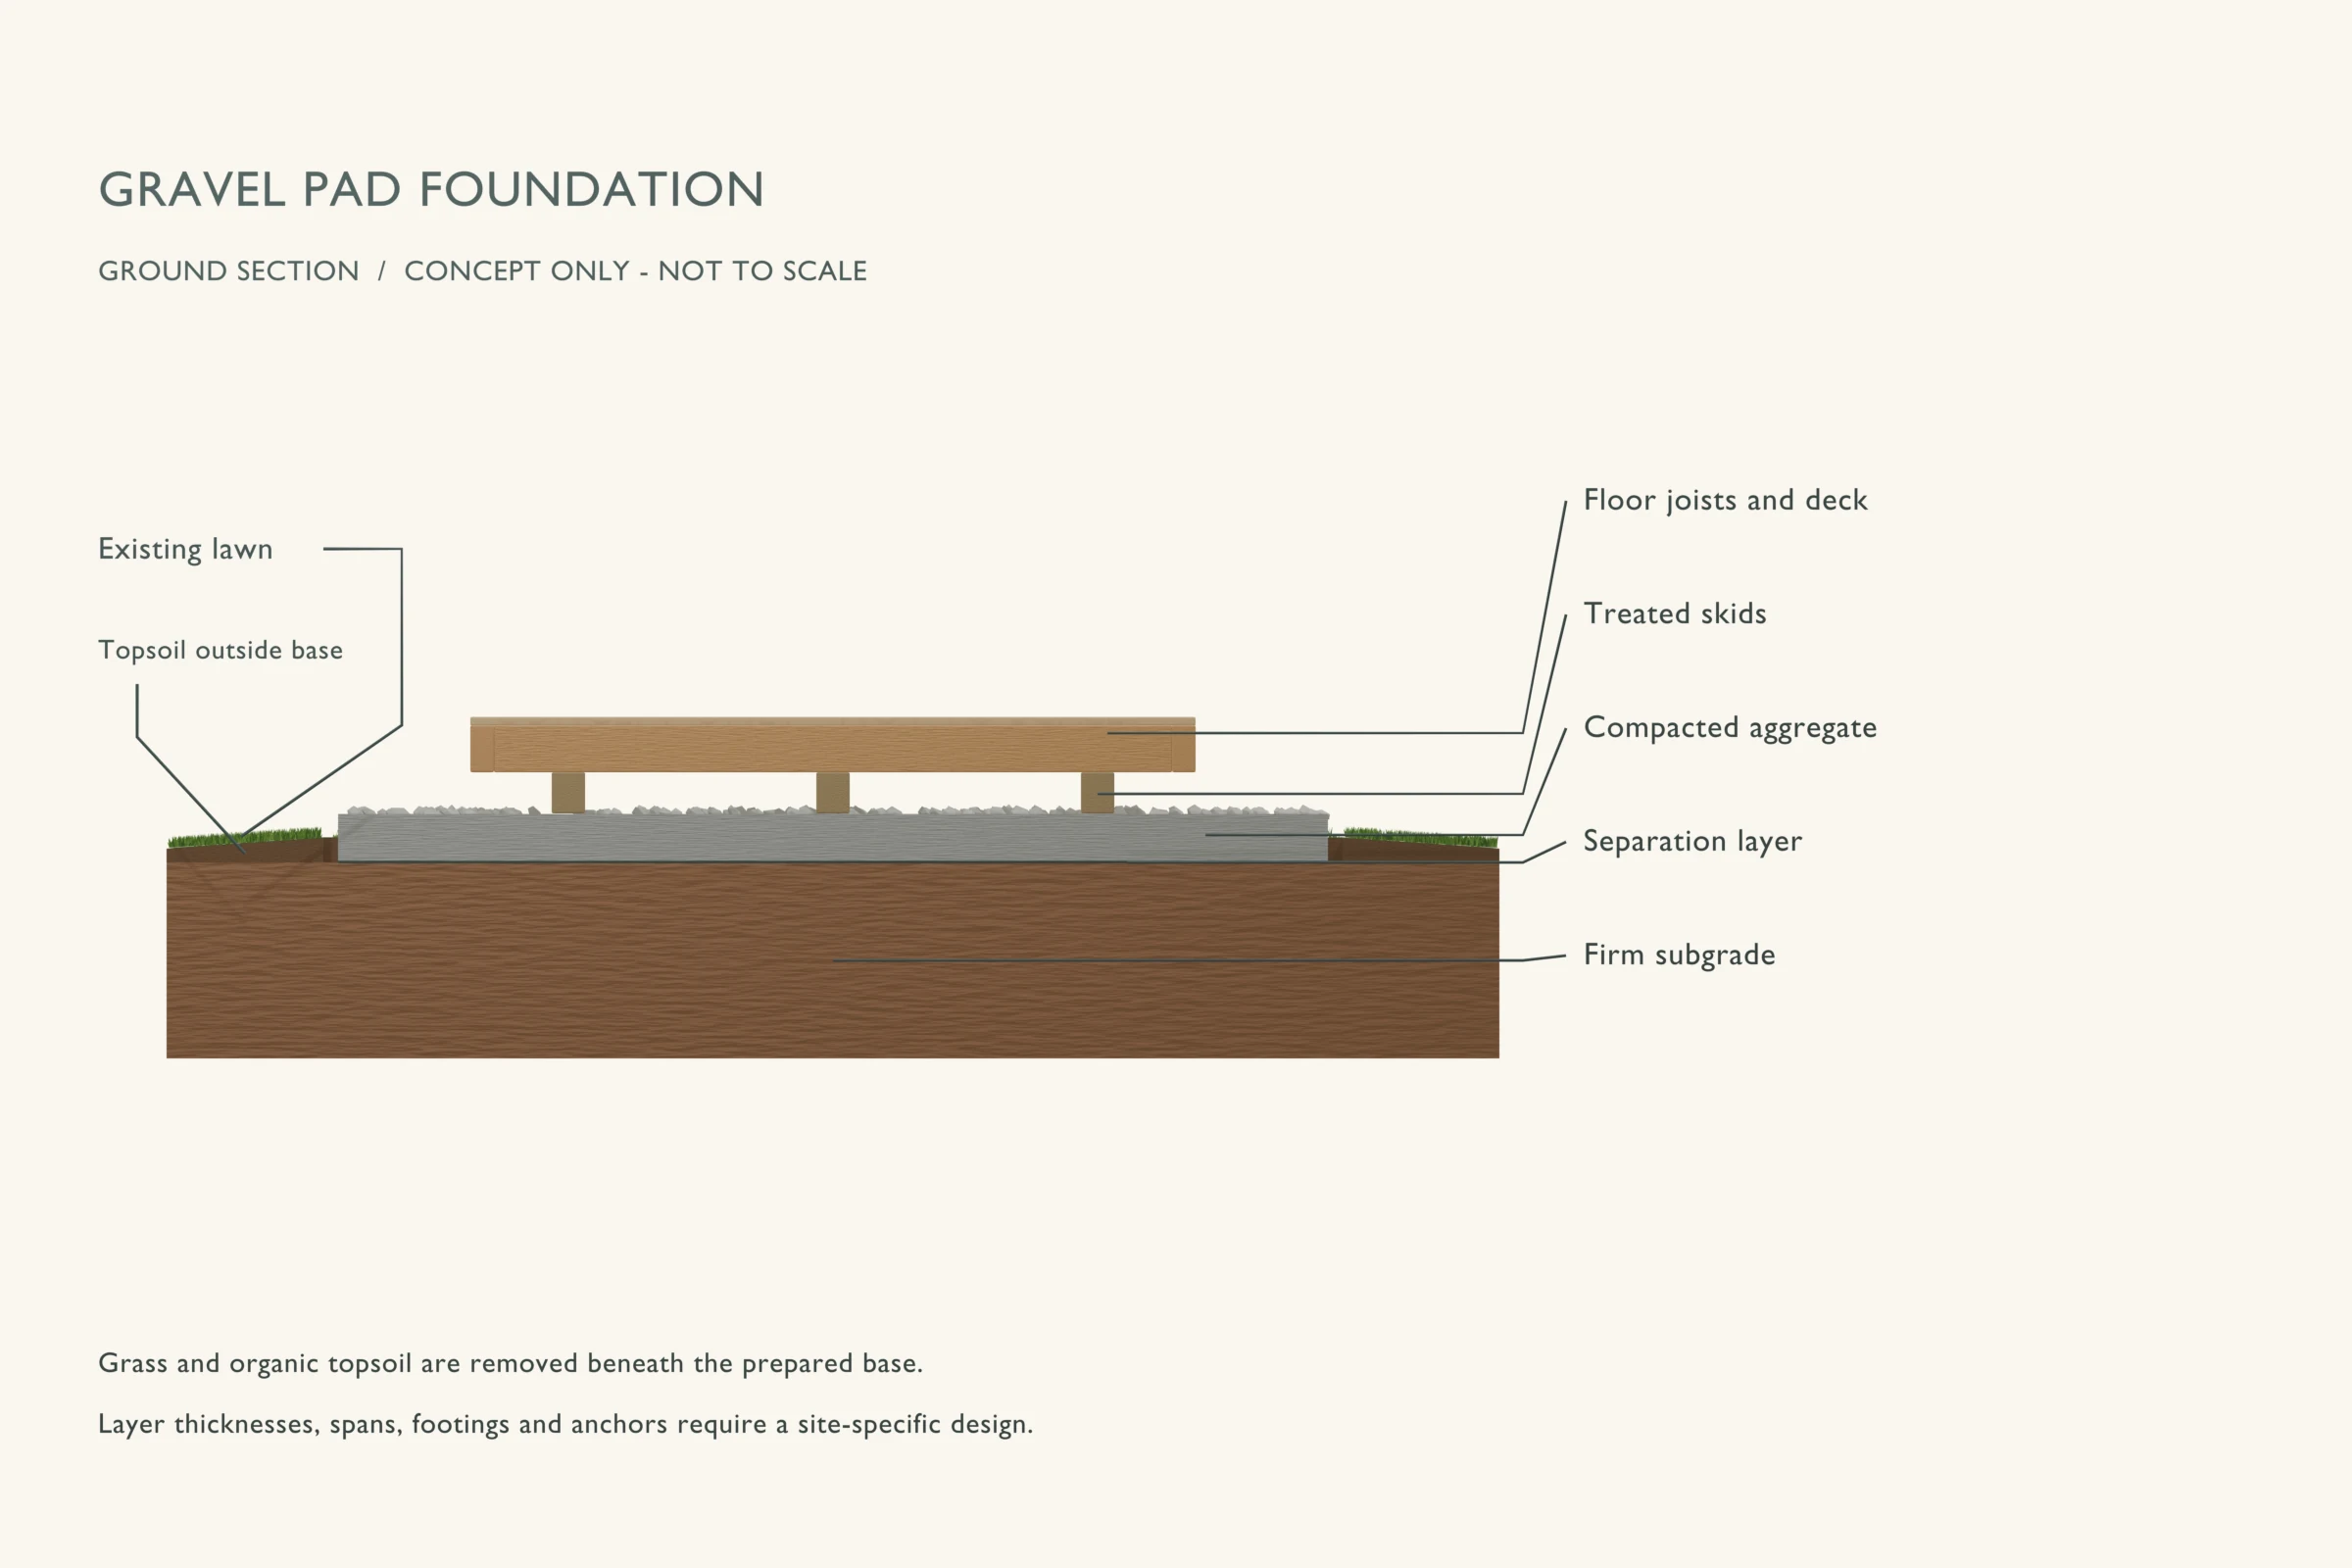
The explanation runs from the ground upward. Callout labels in the drawing identify the visible parts; some thin layers are enlarged for clarity.
- 1
Firm subgrade
Remove vegetation, roots and organic topsoil. Correct soft spots before placing aggregate.
- 2
Separation layer
A suitable geotextile can keep stone from mixing into fine soil; it is permeable and is not a waterproof membrane.
- 3
Compacted aggregate
Place the specified stone in manageable lifts. Thickness and grading depend on soil, drainage and the loads.
- 4
Bearers and floor
Set the approved skids or support frame on the finished pad. Leave a visible drainage margin around the shed.
Materials and preparation
Use the quantities and specifications from your actual layout. Before ordering, resolve the pad footprint, support locations, finished floor height and the drainage route.
- Specified crushed aggregate and any separation geotextile
- Edge restraint where needed; ground-contact timber if used
- Compactor, level or laser, stakes, string and excavation tools
Useful planning: choose the shed location and check permit requirements.
Build sequence
This sequence explains the order of work. Use it alongside the foundation design and the instructions for your chosen products.
Step 01
Set the height before digging
Mark the shed, pad edges and finished floor level. Include door access, cladding clearance and the route roof runoff will take. A pad sunk into clay can become a collection basin even when its stone looks clean.
Step 02
Prepare a uniform formation
Excavate organics across the pad. Check the exposed ground for pumping or soft pockets. Do not bury a weak spot beneath extra loose stone; improve it using a site-appropriate method first.
Step 03
Separate and contain
Lay specified geotextile without tearing it and secure the edges. Install any low perimeter restraint square and level. A landscape timber border retains a shallow pad; it is not automatically a retaining wall for a hillside.
Step 04
Place and compact the stone
Build the pad in lifts suited to the compactor and aggregate. Check elevations across the entire footprint, including the future skid lines. Avoid rounded decorative gravel as a substitute for a specified compactable base.
Step 05
Check the delivered shed support
Confirm that every bearer has its intended support and the frame is square. Install the separate anchoring system, then finish the surrounding grade so runoff leaves the pad without eroding its edges.
Mistakes to avoid
- Using gravel to cover grass rather than removing it.
- Assuming water can disappear into impermeable clay.
- Letting an unsupported skid bridge a low area.
Inspection and maintenance
After heavy rain and the first seasonal freeze-thaw cycle, inspect the perimeter for erosion, standing water and low spots. Keep soil, leaves and mulch away from the bearers. Investigate settlement before repeatedly adding stone under one corner.
When to choose a different base
Choose gravel when you need a practical base for an already designed floor system. Choose a slab when the floor itself must be hard and washable, or piers when a suitable level pad would require excessive fill.
Common questions
How much gravel should I order?
Multiply pad length by width by the specified compacted depth using consistent units. For feet, divide cubic feet by 27 for cubic yards. Ask the supplier how loose delivery volume relates to the required compacted quantity.
Will a gravel pad stop frost heave?
No. It can improve site preparation and drainage, but an on-grade pad may still move. Frost protection is a separate design decision.
Technical references
Use the currently adopted local requirements and the exact product instructions for your build. These references explain the principles behind this guide.
- ICC: 2024 IRC, Chapter 4 — Foundations
Model-code background for bearing and frost protection. Your adopted code and local amendments control.