
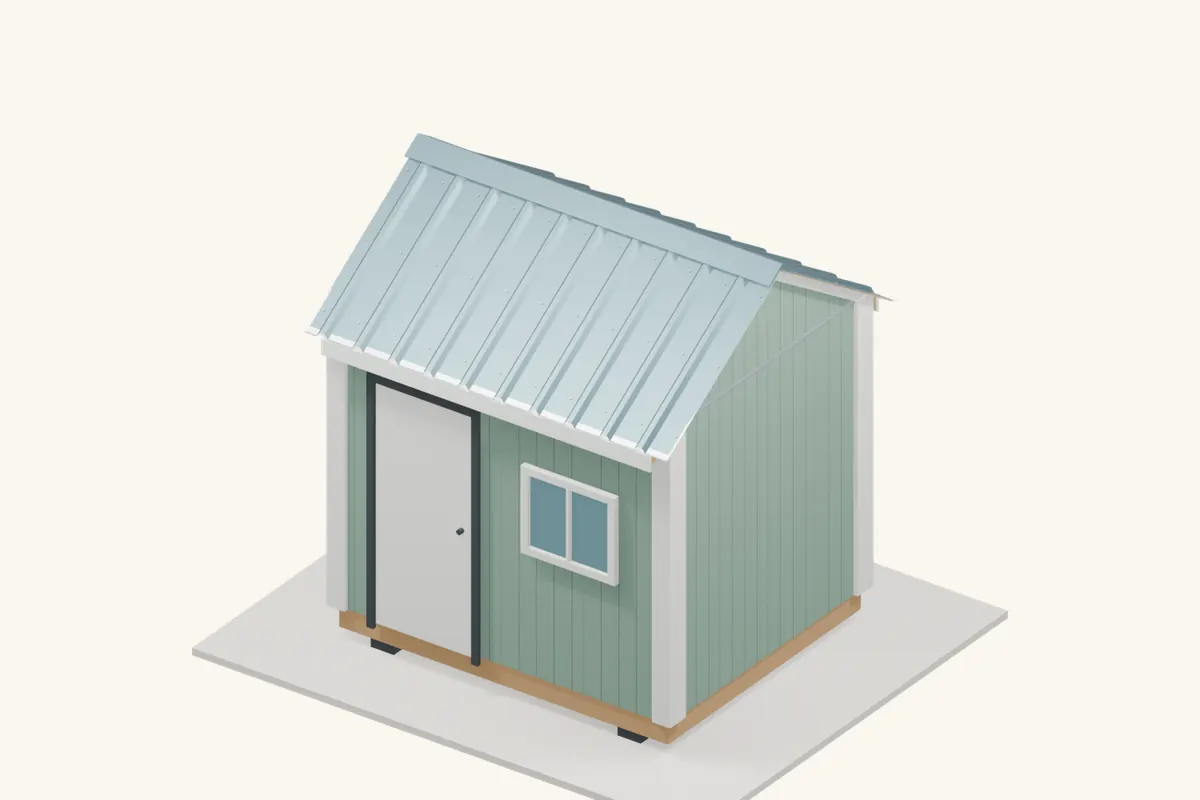
Exposed-fastener metal roofing uses overlapping profiled sheets fixed with gasketed screws. It can cover a shed quickly, but the first sheet, screw depth and edge details determine whether the result stays straight and watertight. The guide uses a fully decked gable roof; a purlin-only roof needs a separately verified panel span and condensation arrangement.
- A good fit for
- A pitched storage-shed roof with long sheets and a practical metal finish.
- Plan for
- Profile-specific fasteners, laps and flashings, plus safe handling of large sharp sheets.
Jump to a step
- 1.Confirm the panel, pitch and support
- 2.Prepare a straight, sound roof deck
- 3.Install the specified underlayment
- 4.Set the eave flashing and starting line
- 5.Square and secure the first panel
- 6.Drive gasketed screws square and snug
- 7.Close the panel side lap
- 8.Continue across both roof faces
- 9.Fit the rake flashings
- 10.Fit the ridge closures
- 11.Cap the ridge and finish intersections
- 12.Remove swarf and check the fasteners
Materials and tools
Materials
- Roofing panels ordered to the correct coverage width and ridge-to-eave length
- Compatible underlay, eave/rake/ridge trims and profile-matched closures
- Specified gasketed panel screws and separate lap/trim fixings where required
- Compatible butyl tape or sealant for the selected details
- Solid deck or engineered supports matching the panel span requirements
Tools and access
- Tape, square, chalk line and depth-controlled screw driver
- Snips or manufacturer-approved cold-cutting tools
- Cut-resistant gloves, eye protection, lifting help and fall protection
Measure the actual roof and allow for laps, edge turns and cuts. Work from stable access with suitable fall protection; wet roofs and loose sheets are unsafe work surfaces.
Understand the roof assembly
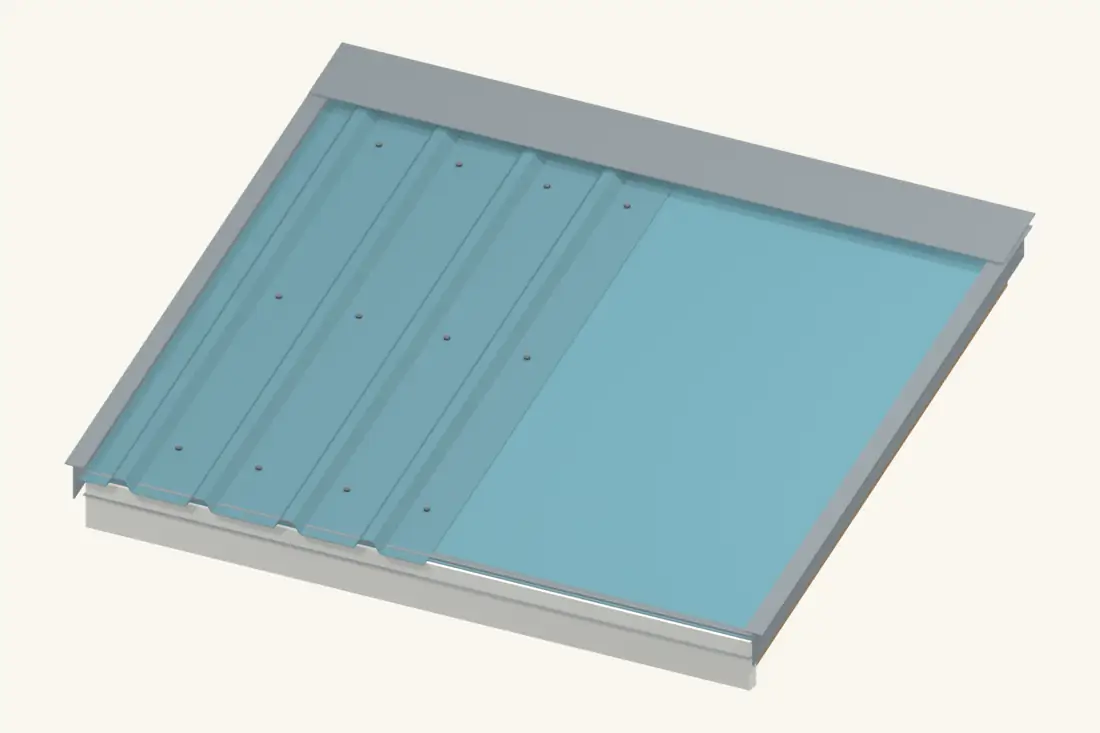
The illustrations show a ribbed exposed-fastener panel system. Corrugated wave panels and concealed-fastener standing seam use different fixing details. Select the actual profile before ordering trims or copying a screw position.
Step 1 of 12
Confirm the panel, pitch and support
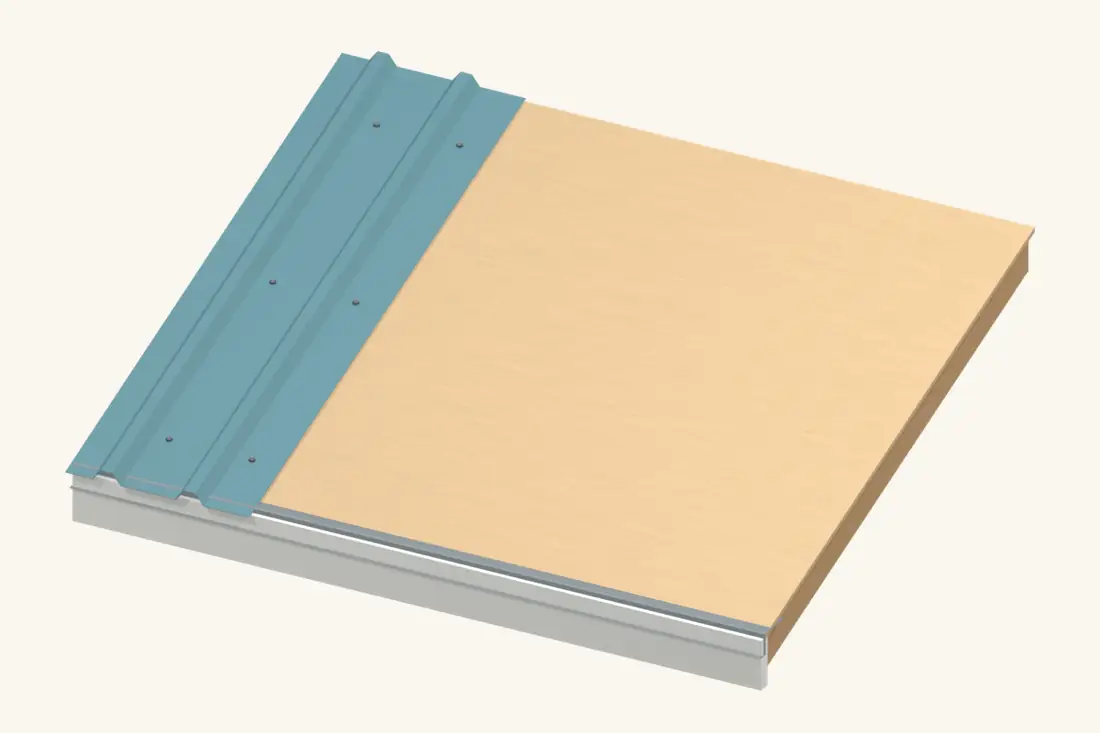
Identify the exact panel profile and its minimum roof slope. Check its support and fastening tables for your shed. ASC’s 2½-inch corrugated profile, for example, specifies a 3:12 minimum; that number is not a rule for all metal roofing.
Measure actual slope lengths and finished coverage widths. Order full-length sheets where practical to avoid unnecessary end laps. Include the matched trims, closures and fasteners in the order.
Check before continuing: The panel system is approved for the roof slope and support arrangement.
Installation reference: ASC — corrugated roofing profile and minimum slope
Step 2 of 12
Prepare a straight, sound roof deck
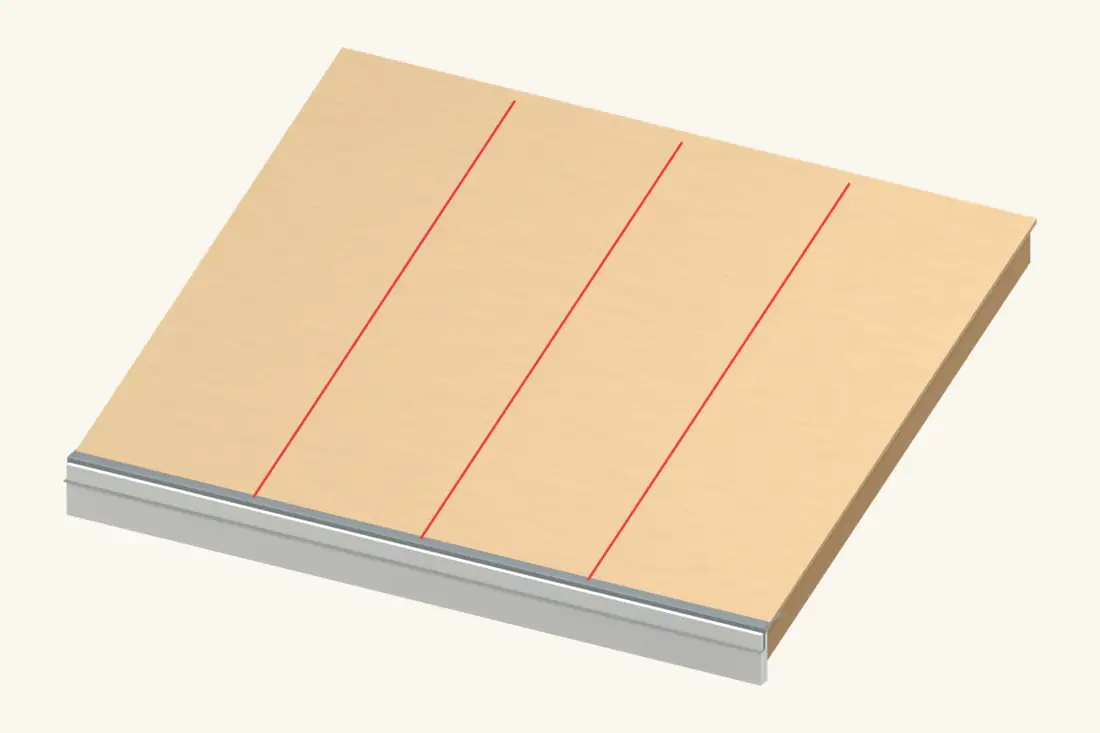
Check the deck plane and repair soft, loose or damaged areas. Carry the intended screw lines onto the working layout so fixings reach their specified substrate or structural backing.
Store sheets dry and clear of the ground. Avoid prolonged wet stacking, which can mark coated metal. Isolate the roof from incompatible metals and treated materials as the manufacturer requires.
Check before continuing: The roof is square, the substrate is suitable and the panels are undamaged.
Installation reference: APA — roof sheathing and roof systems
Step 3 of 12
Install the specified underlayment
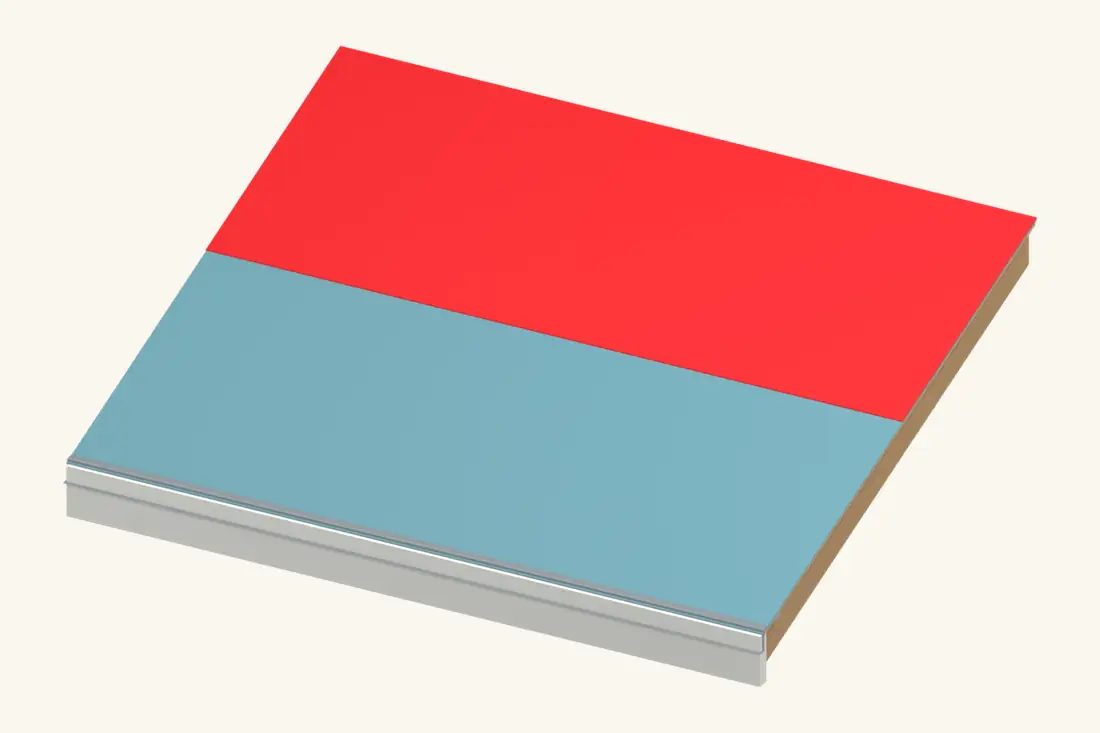
Lay the selected underlay from the low edge upward, with the proper laps and fasteners. Integrate it with the eave and any ice-protection detail in the roofing specification.
Plan moisture control below the sheets as well as rain control above them. An open-sided store and a heated workshop are different assemblies; do not close a designed ventilation path while preparing the roof.
Check before continuing: Underlay and condensation-control details match the complete roof assembly.
Installation reference: PNNL — roof ventilation and condensation control
Step 4 of 12
Set the eave flashing and starting line
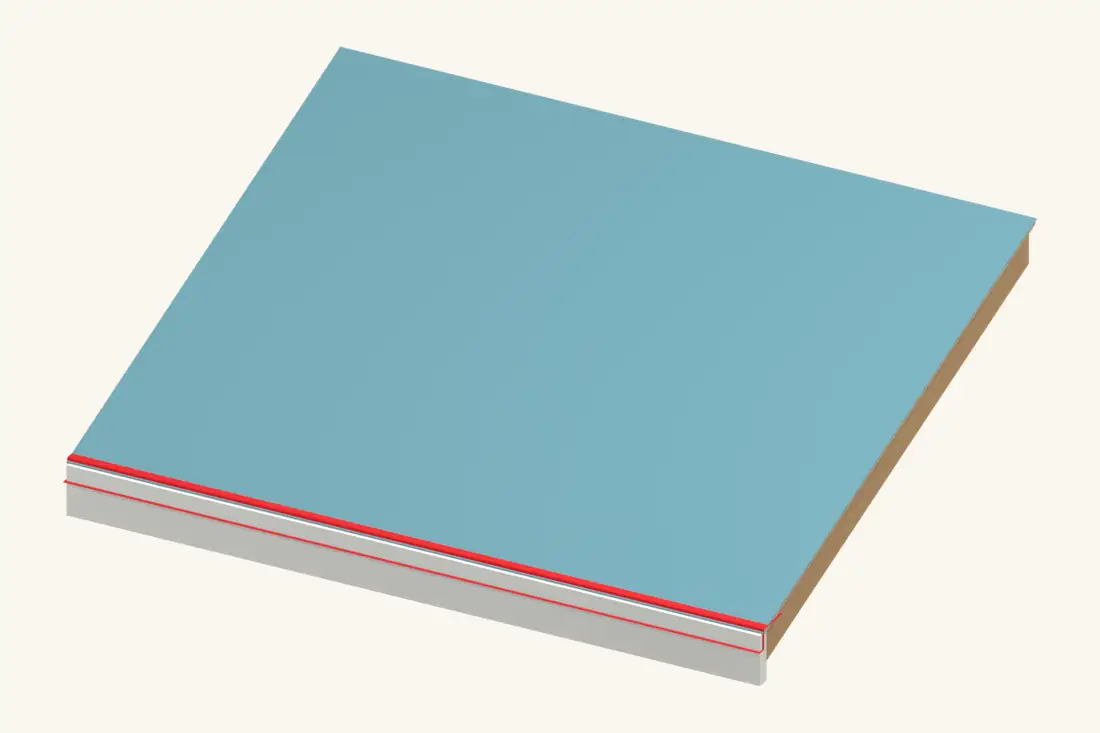
Fit the eave flashing so water leaves the panel and enters the gutter without running behind the fascia. Install the lower closure where the selected detail calls for it.
Mark a square starting line for the first sheet and a consistent eave projection. Use the panel instructions for that projection; too much unsupported metal can flex and make the edge vulnerable.
Check before continuing: The eave flashing, closure and panel projection work together.
Installation reference: ASC Building Products — light-gauge roofing installation, June 2026
Step 5 of 12
Square and secure the first panel
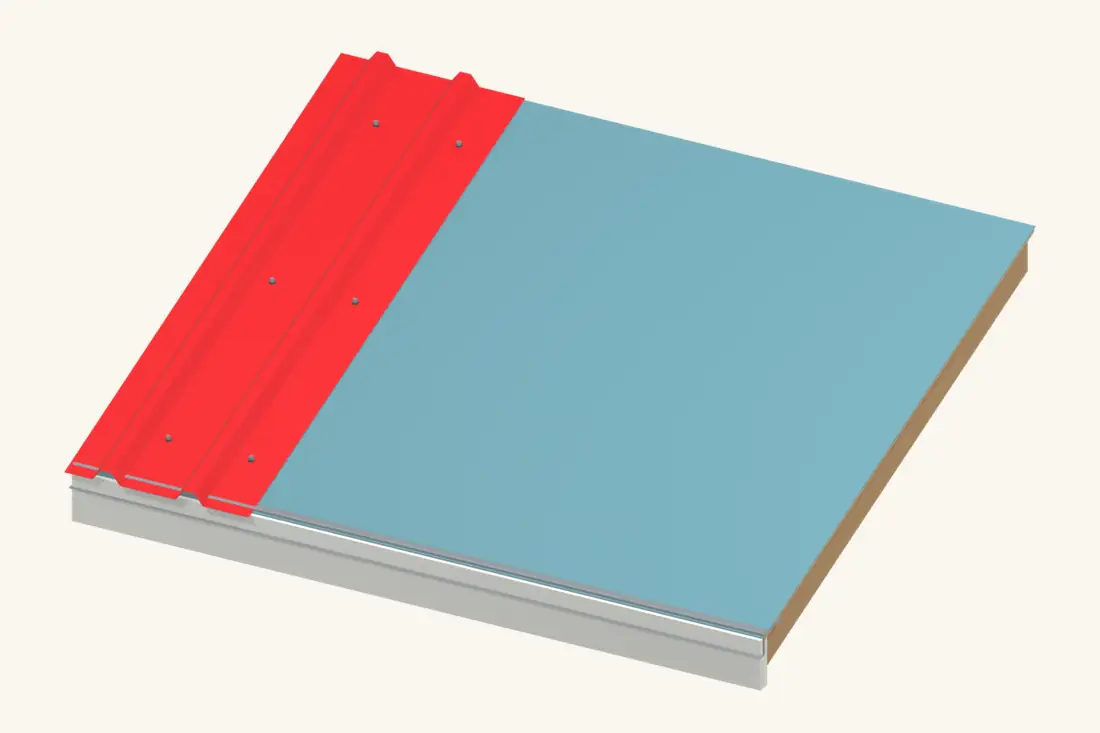
Lift the first panel with enough help to control it in the wind. Position it to the rake line and eave reference. Measure its distance from the opposite roof edge at the top and bottom before committing the whole fixing pattern.
Hold the panel in place using the specified fasteners, then check square again. A small first-sheet skew becomes a large taper after several panels.
Check before continuing: The first sheet is square to the eave and sits flat on the intended supports.
Step 6 of 12
Drive gasketed screws square and snug
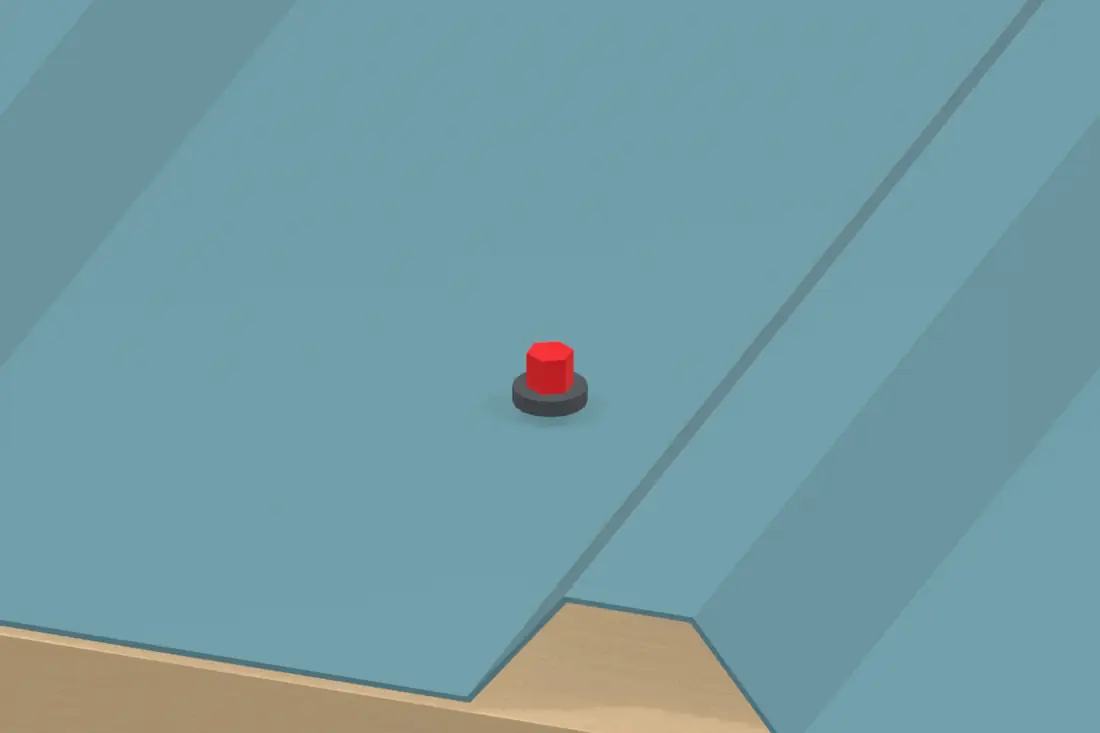
Place panel screws in the exact positions shown for your profile. Ribbed panels commonly use different fixing locations from sinusoidal corrugated sheets, so do not transfer a pattern between them.
Drive each screw perpendicular to the bearing surface until the washer seals evenly without bulging or crushing. A loose washer leaks; an overdriven screw damages the seal or strips its support. Use the specified repair detail for a missed or stripped fixing.
Check before continuing: Each washer is evenly seated and each screw has secure engagement.
Installation reference: ASC Building Products — light-gauge roofing installation, June 2026
Step 7 of 12
Close the panel side lap
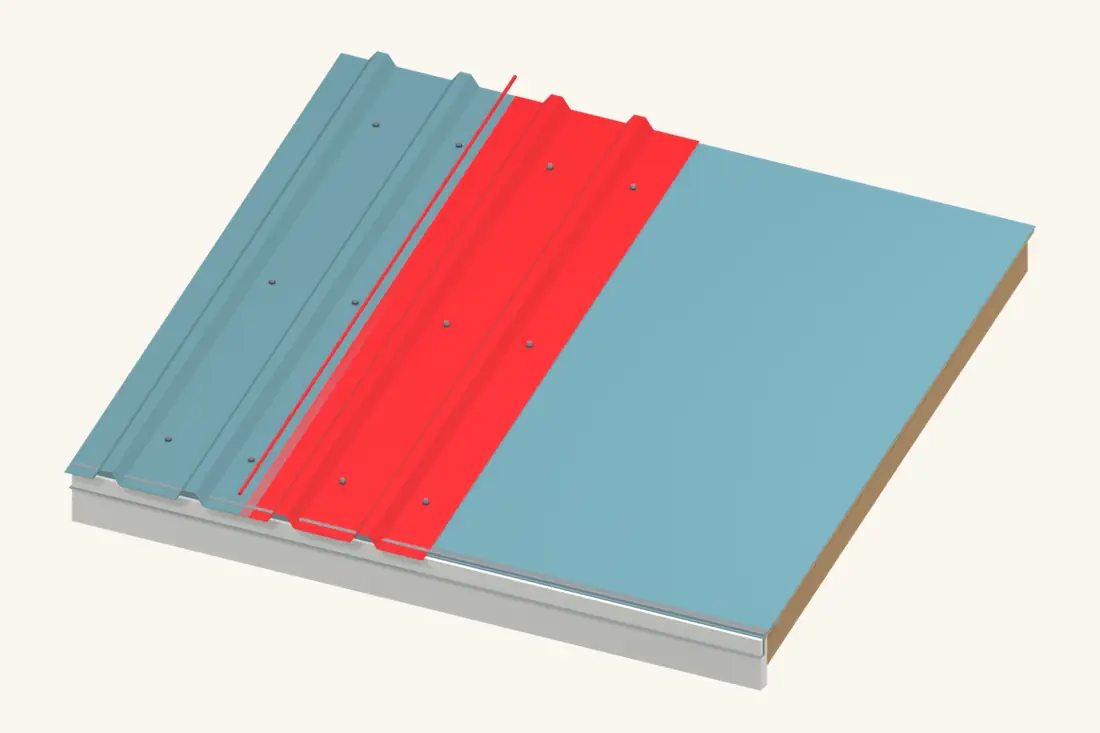
Place the next sheet so its overlapping edge follows the panel’s designed lap direction. Apply the specified butyl tape inside the lap before closing it, keeping the water channel clear.
Fit any separate stitch screws at the required spacing. A stitch screw joins sheets; it does not replace a panel screw into the supporting substrate. Avoid forcing the ribs apart or flattening them while tightening.
Check before continuing: The profile nests correctly and the specified lap seal is continuous.
Installation reference: ASC Building Products — light-gauge roofing installation, June 2026
Step 8 of 12
Continue across both roof faces
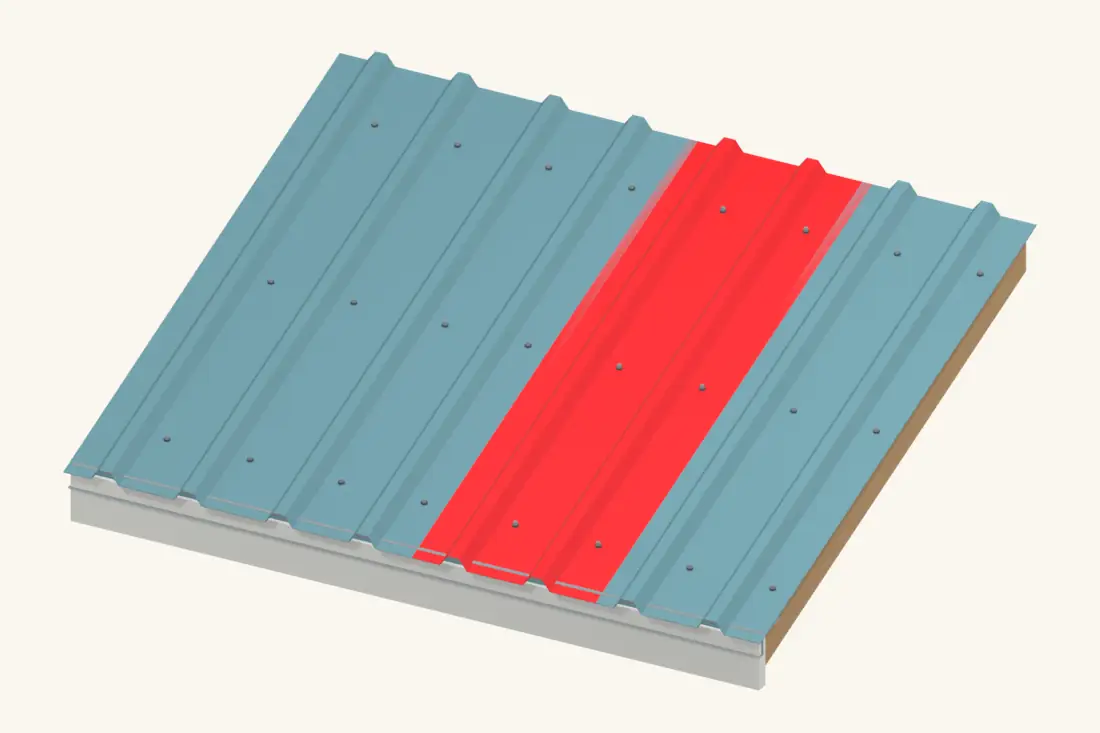
Repeat the panel sequence, checking eave alignment and the remaining roof width every few sheets. Keep the panels in their natural profile instead of stretching them to hit a mark.
Use approved cutting tools for the final sheet and protect the coating. Clear sharp swarf immediately. Abrasive cutting can damage coatings; use the method allowed by the panel maker.
Check before continuing: Sheets remain aligned and cut edges are clean and protected.
Step 9 of 12
Fit the rake flashings
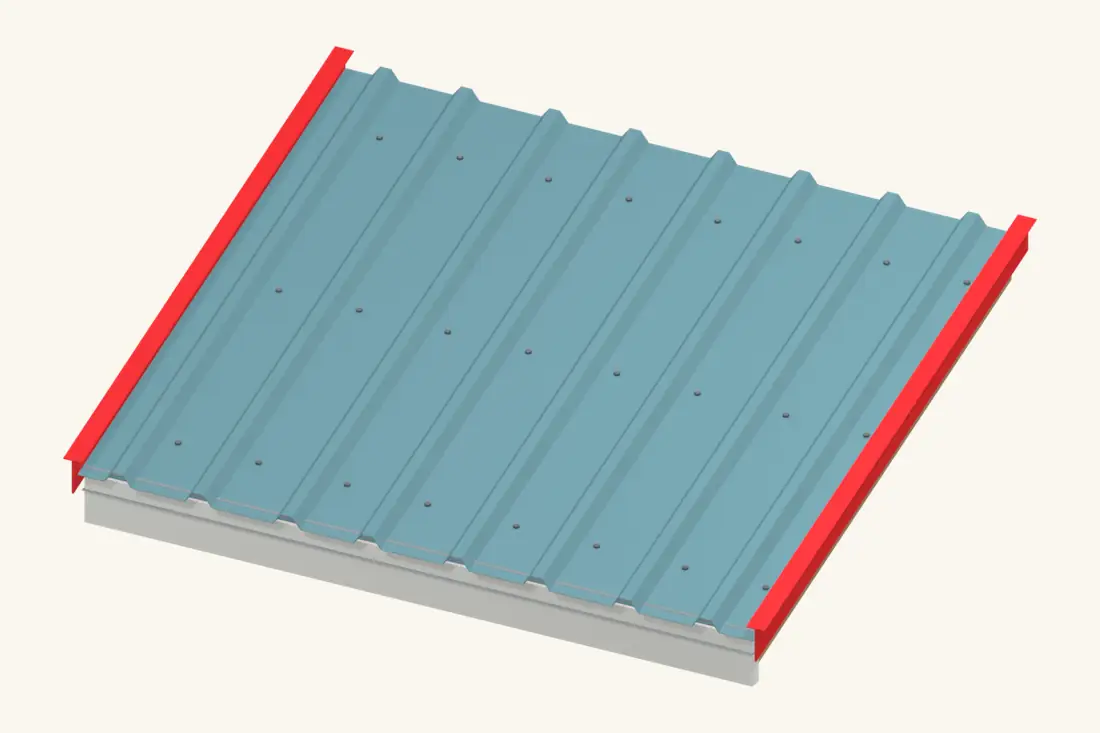
Measure and fit the side-edge trim over the panel edge and the supported verge. Work from the eave upward so upper trim lengths lap over lower ones.
Keep the selected sealant or tape inside the lap and use the specified trim fixings. Finish the lower corner so it sheds water outside the fascia rather than leaving a pocket behind it.
Check before continuing: Rake trim is supported, secure and lapped toward the eave.
Step 10 of 12
Fit the ridge closures
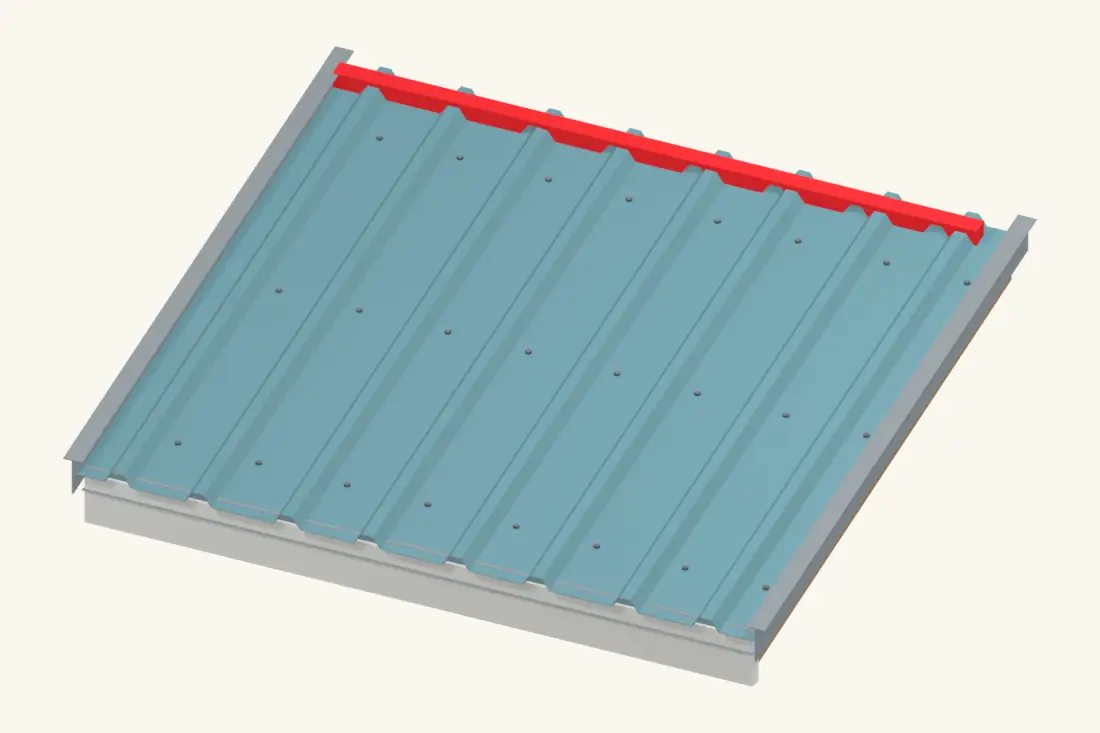
Set the upper closures to match the panel profile and ridge detail. Apply the specified sealant or tape without leaving open paths for wind-driven rain, insects or debris.
Use a vented ridge system only where the roof ventilation design calls for it. A solid foam closure and a purpose-made vent closure are not interchangeable.
Check before continuing: Closures fit the ribs and preserve only the intended ventilation openings.
Installation reference: ASC Building Products — light-gauge roofing installation, June 2026
Step 11 of 12
Cap the ridge and finish intersections
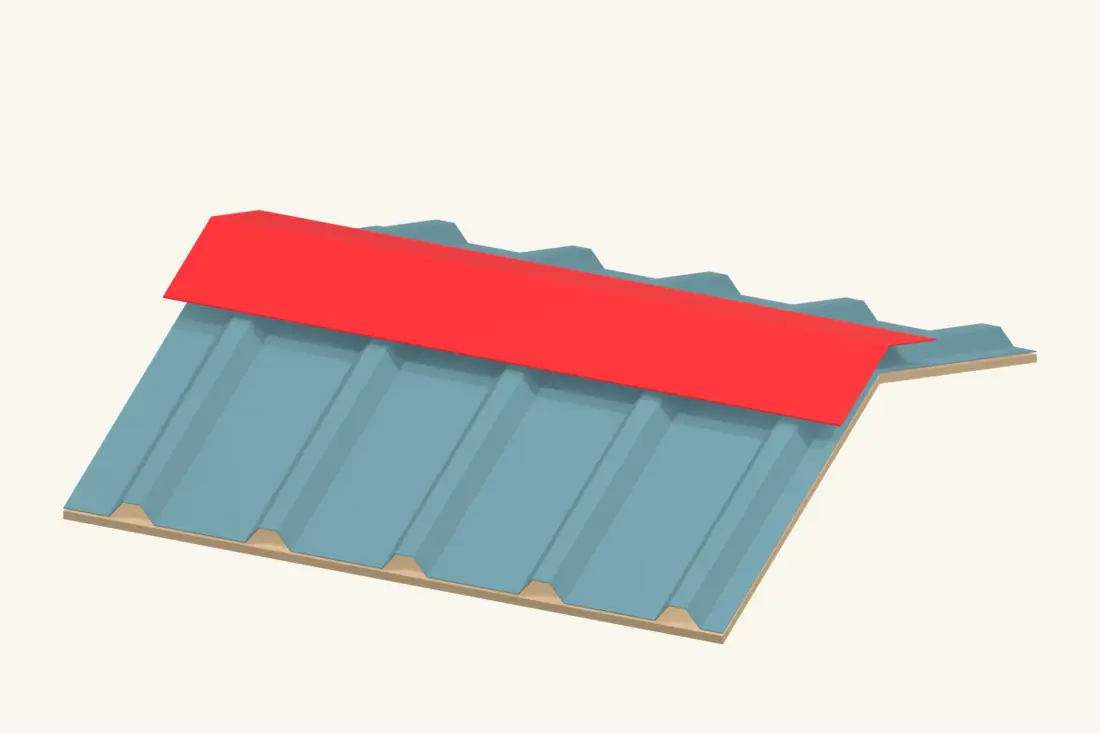
Fit the ridge flashing over the prepared closures, keeping it aligned along the roof. Lap and seal adjoining lengths using the panel manufacturer’s detail and use its specified fasteners.
Complete the ridge-to-rake ends and inspect each small corner where several parts meet. A lean-to would use its own high-side/peak detail here; do not flatten a gable ridge cap onto a single-slope edge.
Check before continuing: The ridge is sealed at laps and ends without distorting the panels.
Step 12 of 12
Remove swarf and check the fasteners
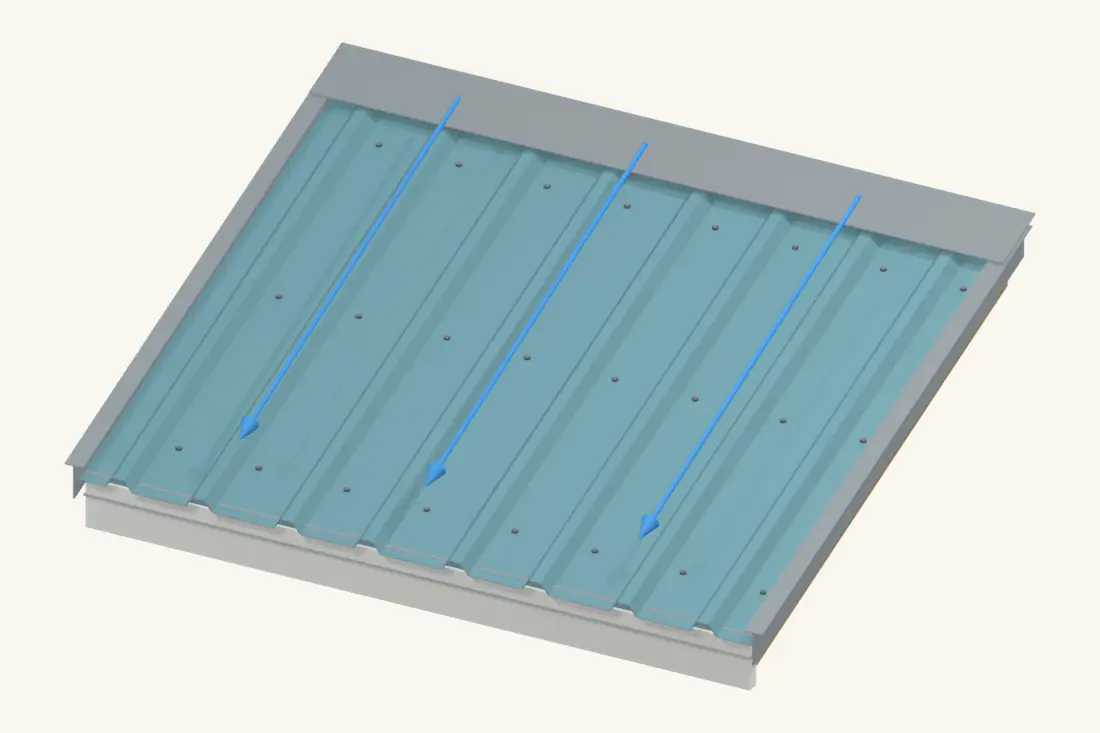
Sweep away metal fragments and remove all cuttings from the roof and gutter. Inspect the washer seating, trims and laps from safe access, correcting defects with the manufacturer’s repair method.
Check the roof after the first rain and include screws, sealants and coating damage in routine maintenance. Avoid random extra screws or surface beads of silicone as a substitute for diagnosing a leak.
Check before continuing: No swarf, loose screws, open laps or unfinished trim corners remain.
Common questions
Do I screw through the rib or the flat?
Use the exact profile diagram. Ribbed, corrugated and standing-seam systems differ, and panel, lap and trim screws do different jobs. The location cannot be decided from the word “metal” alone.
Can I fix metal directly to purlins?
Some structural profiles permit it with the specified support spacing, load capacity and fasteners. This guide illustrates a solid deck; do not remove that deck without checking the complete panel and moisture-control design.
Is standing seam installed the same way?
No. Standing-seam systems use concealed attachments and their own movement and flashing details. This guide is for exposed-fastener panels.
Installation references
Checked 24 October 2026. Use the current instructions for your product and region, together with your shed’s framing design.