
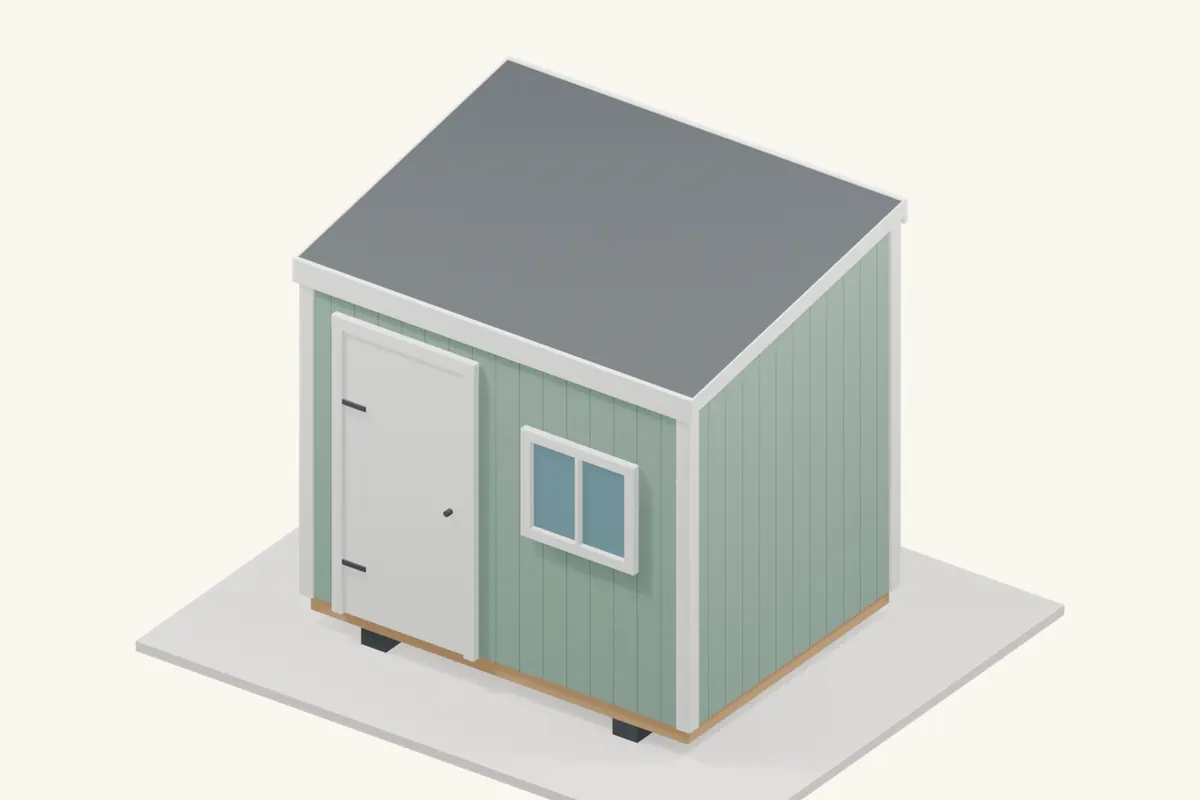
A lean-to or pent roof is one continuous slope from a high wall to a low wall. The guide below uses a freestanding shed, so both ends of each rafter have their own wall support. Attaching a roof to a house adds ledger, structural and wall-flashing details that need a separate design.
- A good fit for
- A simple single-plane roof with drainage directed to one side of the shed.
- Plan for
- Enough height difference for the chosen covering, and proper bearing and uplift connections at both walls.
Jump to a step
- 1.Choose a slope that suits the covering
- 2.Establish the high and low bearing lines
- 3.Mark the rafter and deck-support layout
- 4.Mark one complete rafter
- 5.Cut and test the bearing seats
- 6.Fit the end and intermediate rafters
- 7.Connect every required bearing
- 8.Add blocking and edge support
- 9.Square the first row of decking
- 10.Complete the staggered deck
- 11.Prepare the high edge, sides and gutter edge
- 12.Check the fall and move to roofing
Materials and tools
Materials
- Graded rafters, high and low bearing plates, and blocking from the framing plan
- Roof-rated plywood or OSB, panel edge supports and deck fixings
- Specified rafter connectors and their matching fasteners
- Fascia backing, verge support and temporary braces
Tools and access
- Tape, framing square, level, string line and chalk line
- Saw, clamps and drilling/fastening tools
- Stable platforms, lifting help and suitable fall protection
Measure the actual roof and allow for laps, edge turns and cuts. Work from stable access with suitable fall protection; wet roofs and loose sheets are unsafe work surfaces.
Understand the roof assembly
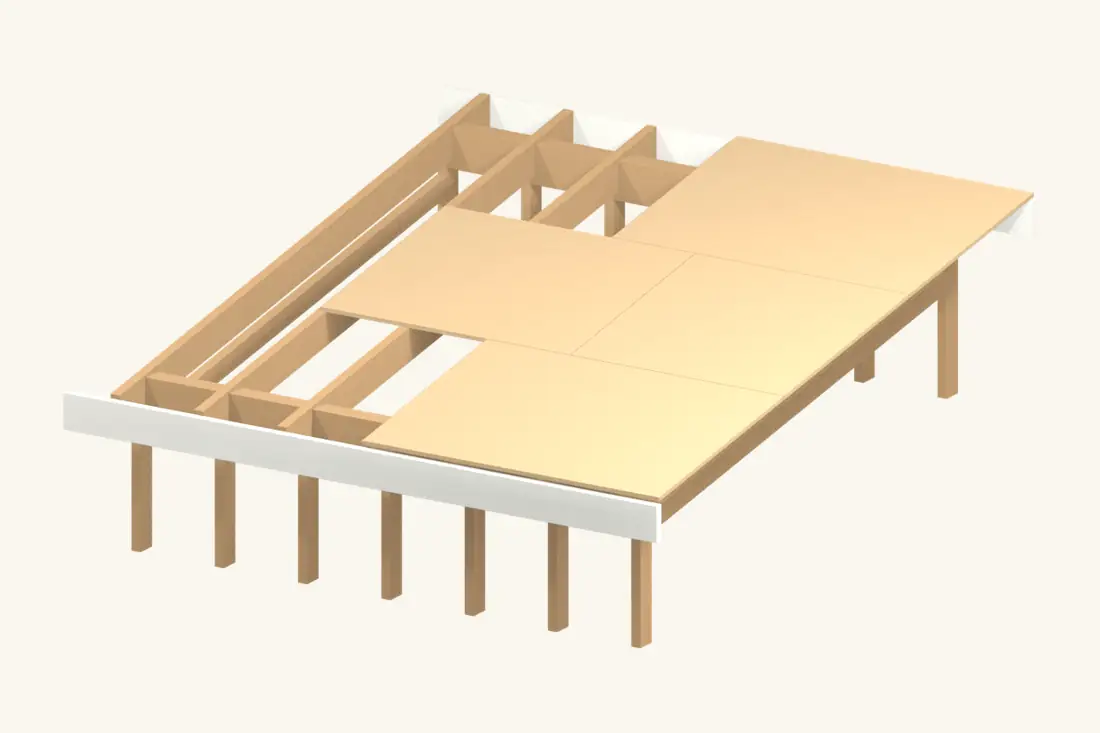
The illustrations show a freestanding timber frame and a continuous deck. The example slope explains the geometry; choose the actual pitch, members and connections for your roof covering and loads.
Step 1 of 12
Choose a slope that suits the covering
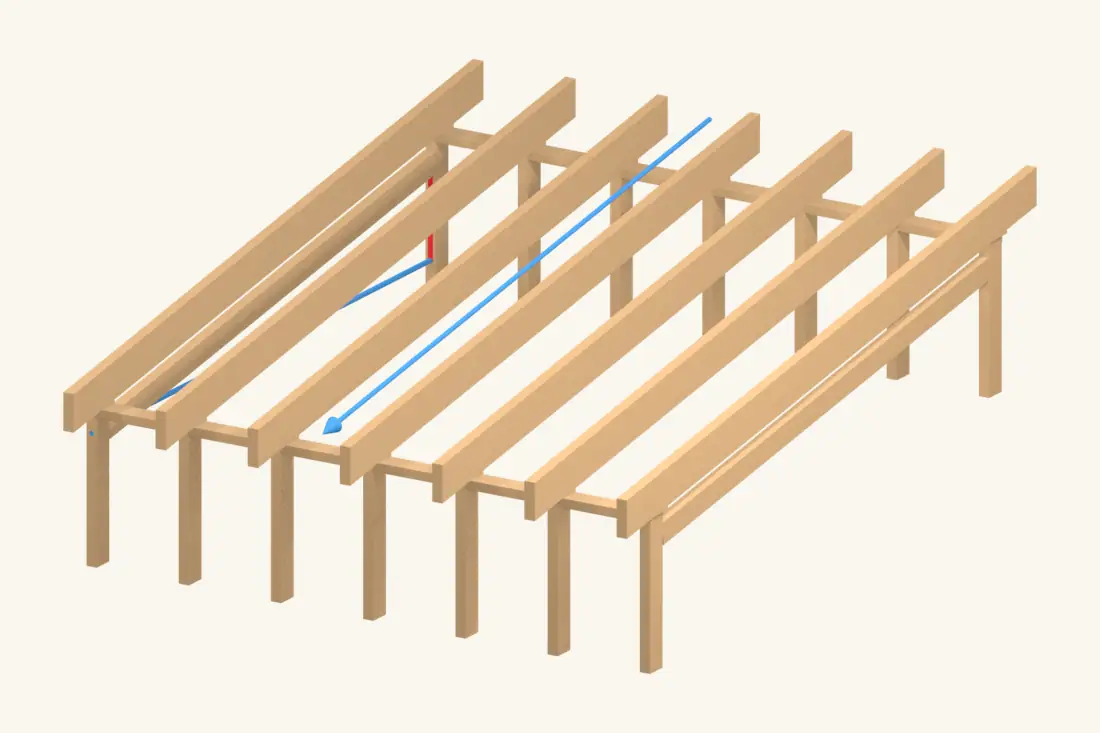
Decide where the gutter and discharge will go, then choose a roof system approved for the slope available. A roof that looks nearly flat still needs intentional drainage. Do not assume metal sheets and shingles share the same minimum pitch.
Use the distance between bearing lines as the horizontal run. Multiply that run by the chosen rise/run ratio to calculate the height difference. Keep the overall building height and the roof build-up in the drawing.
Check before continuing: The chosen covering is approved for the finished slope, including construction tolerances.
Step 2 of 12
Establish the high and low bearing lines
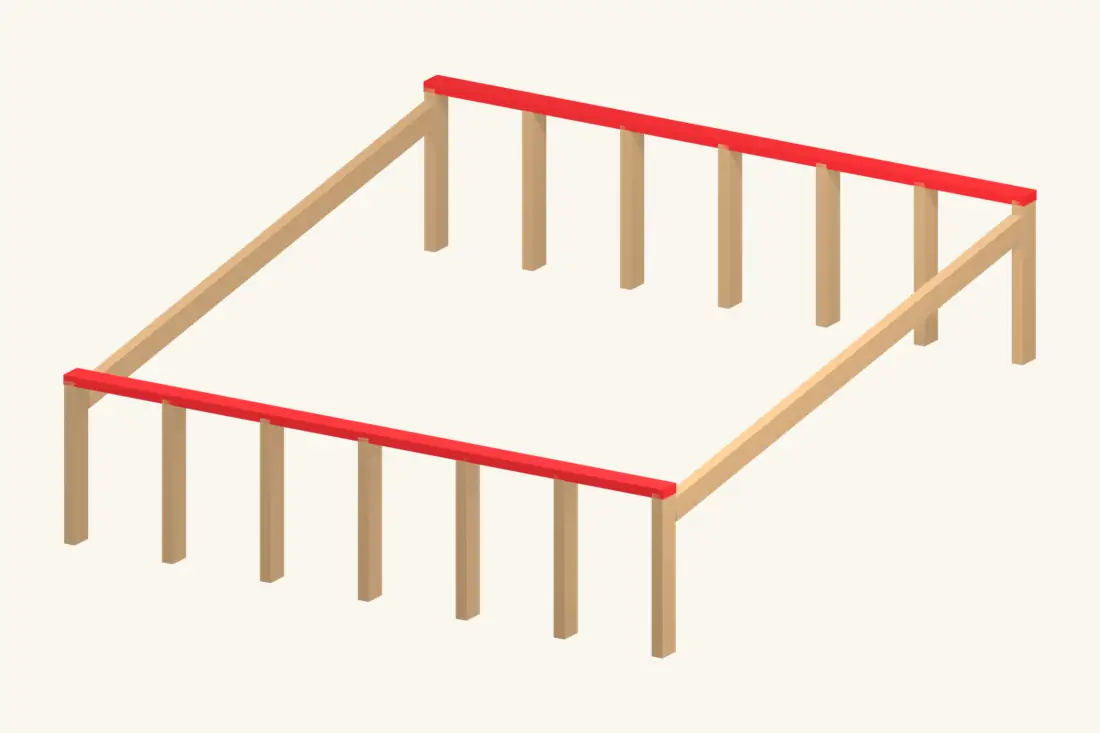
Build and brace the walls to the framing plan, then check their top plates for level along each wall. Measure the height difference at both ends of the shed; a roof should not twist because one corner is higher.
Check diagonals across the bearing rectangle. Transfer the bearing lines to your working sketch so the rafter template is based on the built structure, not only nominal wall dimensions.
Check before continuing: Both bearing lines are straight, and the same roof fall exists at both ends.
Step 3 of 12
Mark the rafter and deck-support layout
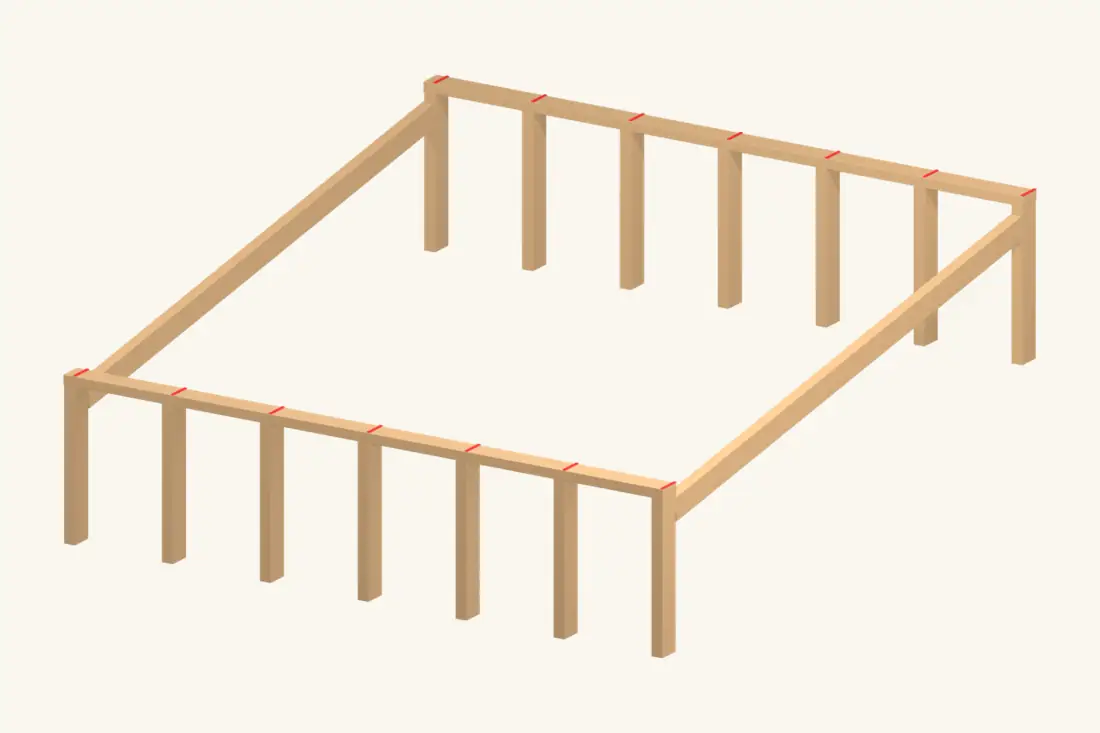
Mark matching rafter positions along the high and low plates from the same end. Include the correct edge distances and any doubled members needed for openings or roof edges.
Plan the decking joints at the same time. Align panel ends with framing and identify where blocking or clips will be needed. This prevents narrow unsupported deck strips at the last roof edge.
Check before continuing: Rafter marks line up across the shed and support the planned deck joints.
Installation reference: American Wood Council — span tables and design values · APA — roof sheathing and roof systems
Step 4 of 12
Mark one complete rafter
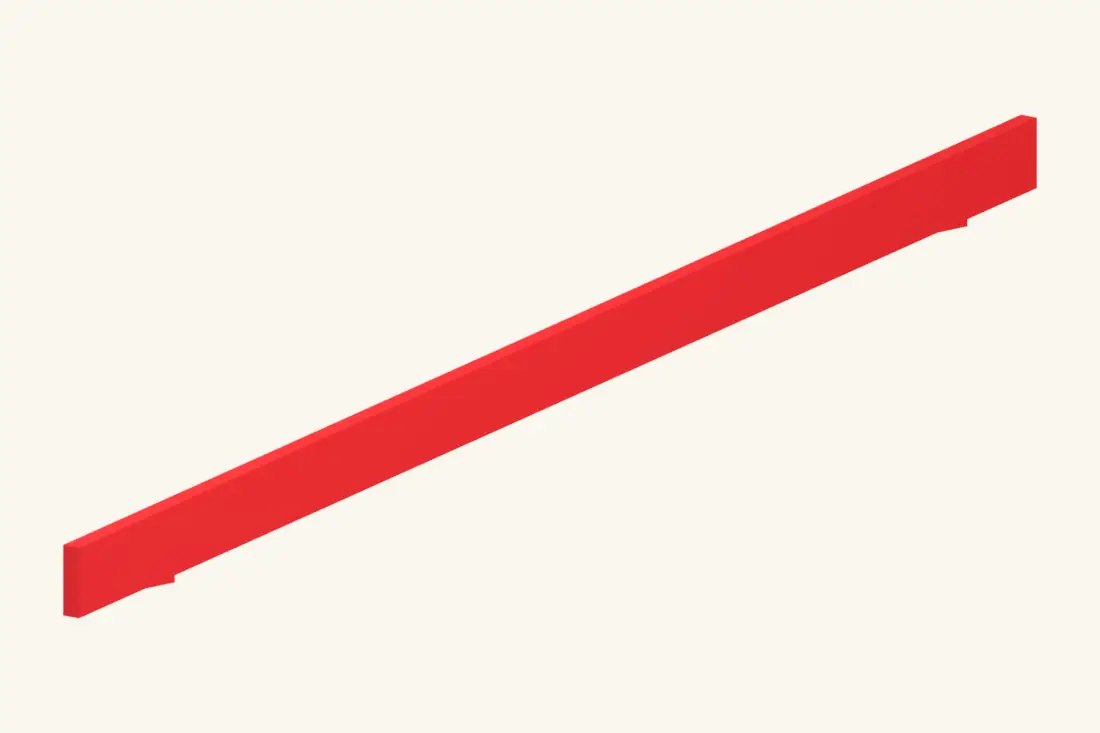
Lay out the roof angle, high-wall bearing, low-wall bearing and both overhangs on one straight board. Mark any birdsmouths or the specified alternative bearing detail; do not combine cuts from two different roof designs.
Label the high end and the crown before cutting. Check the full line from tail to tail so the roof plane stays straight through the bearing positions.
Check before continuing: One template contains both support positions and the complete overhang layout.
Step 5 of 12
Cut and test the bearing seats
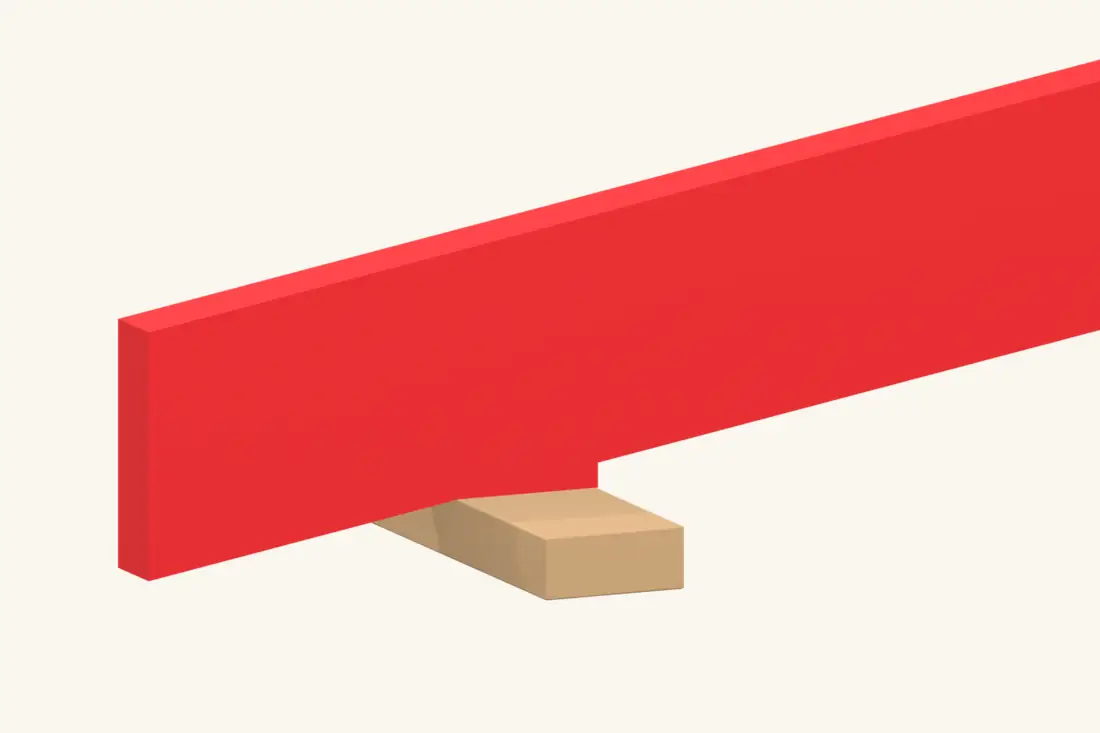
Cut the marked plumb and seat lines without sawing beyond their intersection. Finish internal corners by hand. Keep each notch within the permitted depth and bearing detail in the framing plan.
Lift the trial rafter onto the walls with help. Both seats should make firm contact at the same time. A gap at one wall usually means the geometry needs correction, not that the connector should pull the rafter down.
Check before continuing: Both seats bear flat without forcing the walls or twisting the rafter.
Installation reference: American Wood Council — span tables and design values
Step 6 of 12
Fit the end and intermediate rafters
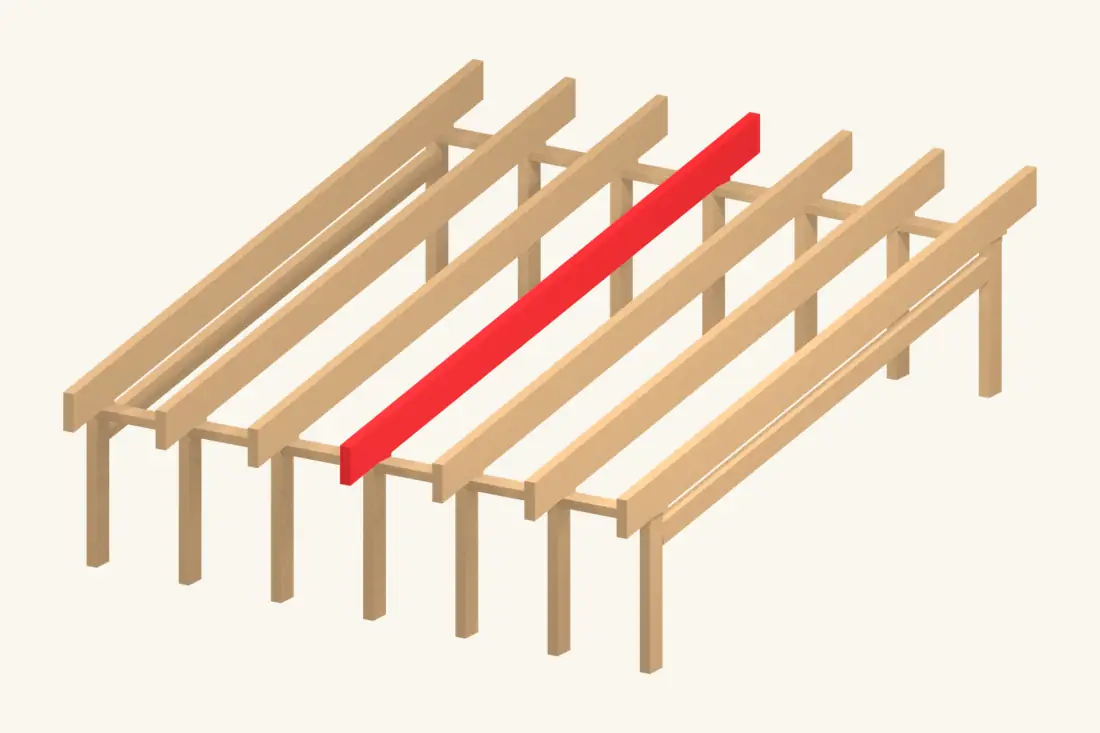
Install the two end rafters, secure temporary bracing and establish a straight roof line. Fit the remaining rafters to their marks, with crowns consistent and the high end correctly oriented.
Check several positions with a straightedge across the top edges. Correct misalignment now; thin sheathing cannot turn a distorted frame into a flat roof.
Check before continuing: All rafter tops form a single plane and every support is engaged.
Step 7 of 12
Connect every required bearing
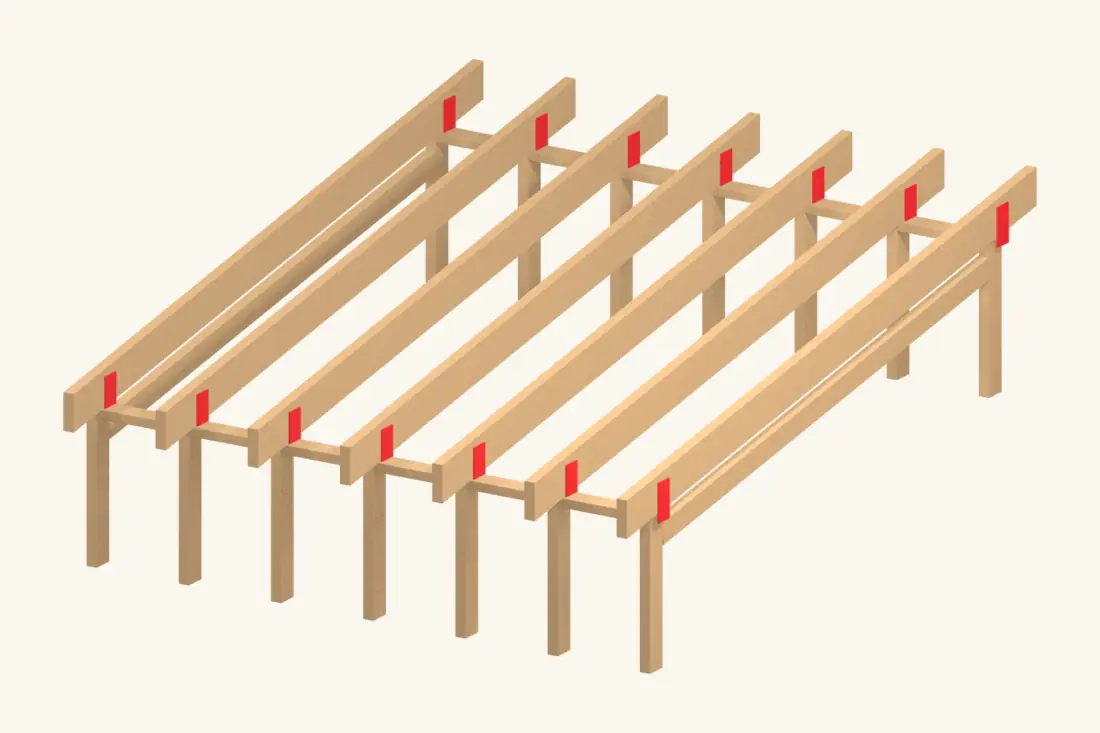
Fit the roof-to-wall connectors at the high and low walls as specified. Use the connector maker’s fasteners and required fixing holes, with adequate timber behind them.
Check the load path beyond the rafter: the plate, studs and wall anchorage must also be connected by the shed design. Do not rely on the weight of the roof to resist wind uplift.
Check before continuing: The high and low bearings have their complete specified connections.
Installation reference: Simpson Strong-Tie — wood connectors and specified fasteners
Step 8 of 12
Add blocking and edge support
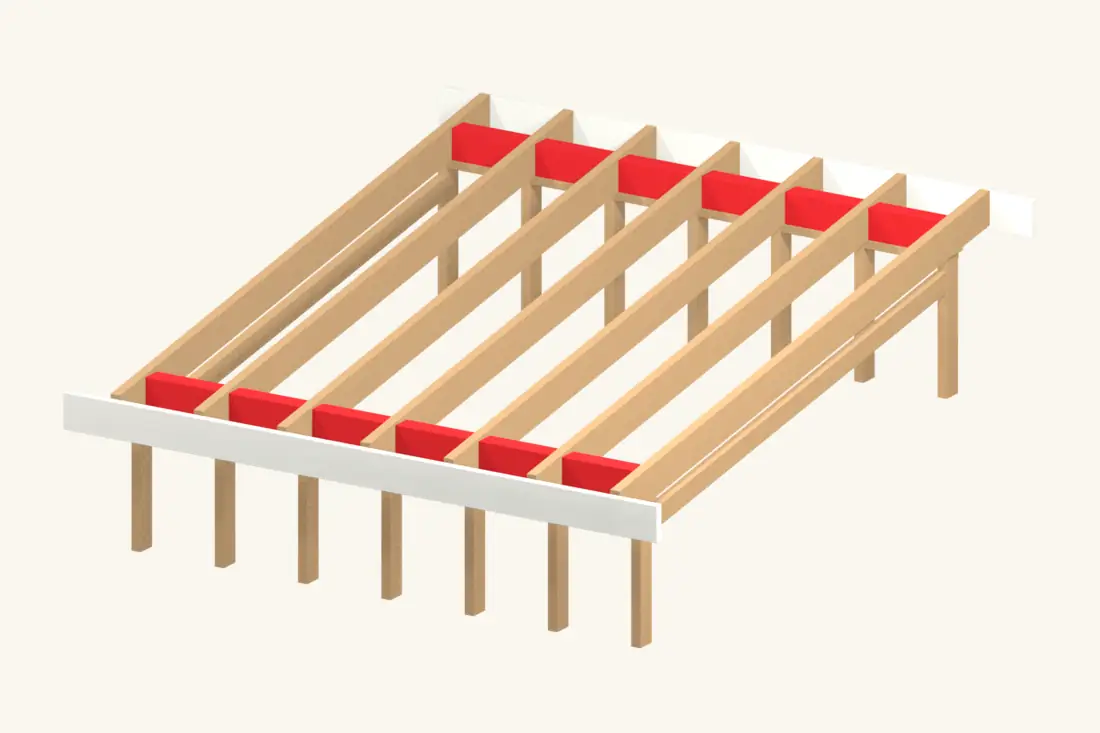
Install the specified blocking between rafters and support the roof perimeter. Fit fascia backing to an aligned line so the deck and eventual trims have continuous support.
Keep any designed ventilation openings unobstructed. If the shed will be heated, decide its insulation and condensation-control assembly before hiding the rafter bays.
Check before continuing: Roof edges have solid backing and the intended air route remains clear.
Installation reference: PNNL — roof ventilation and condensation control
Step 9 of 12
Square the first row of decking
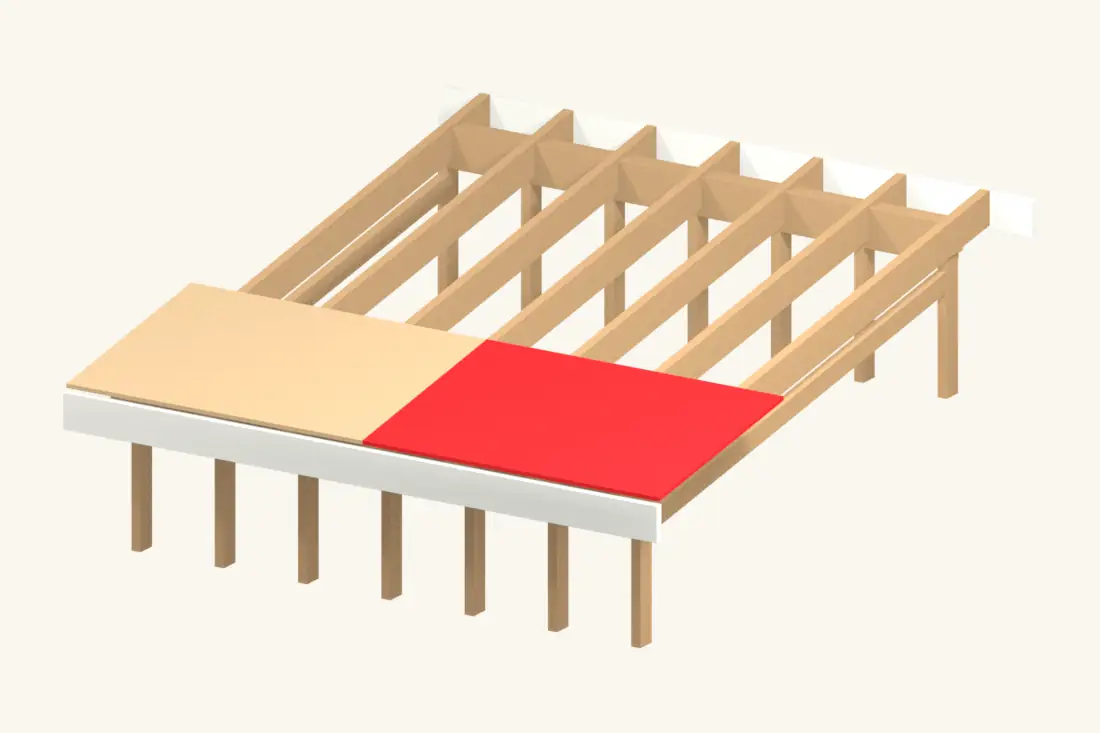
Place the first sheet with its strength axis across the rafters. Align it with the eave and check that the far panel edge lands correctly on framing. Leave the specified edge allowance and panel gap.
Fasten progressively so the panel stays flat against the supports. Do not use fasteners to drag a badly positioned sheet sideways or close a gap that is intended for panel expansion.
Check before continuing: The first panel is square and its edges are supported.
Installation reference: APA — roof sheathing and roof systems
Step 10 of 12
Complete the staggered deck
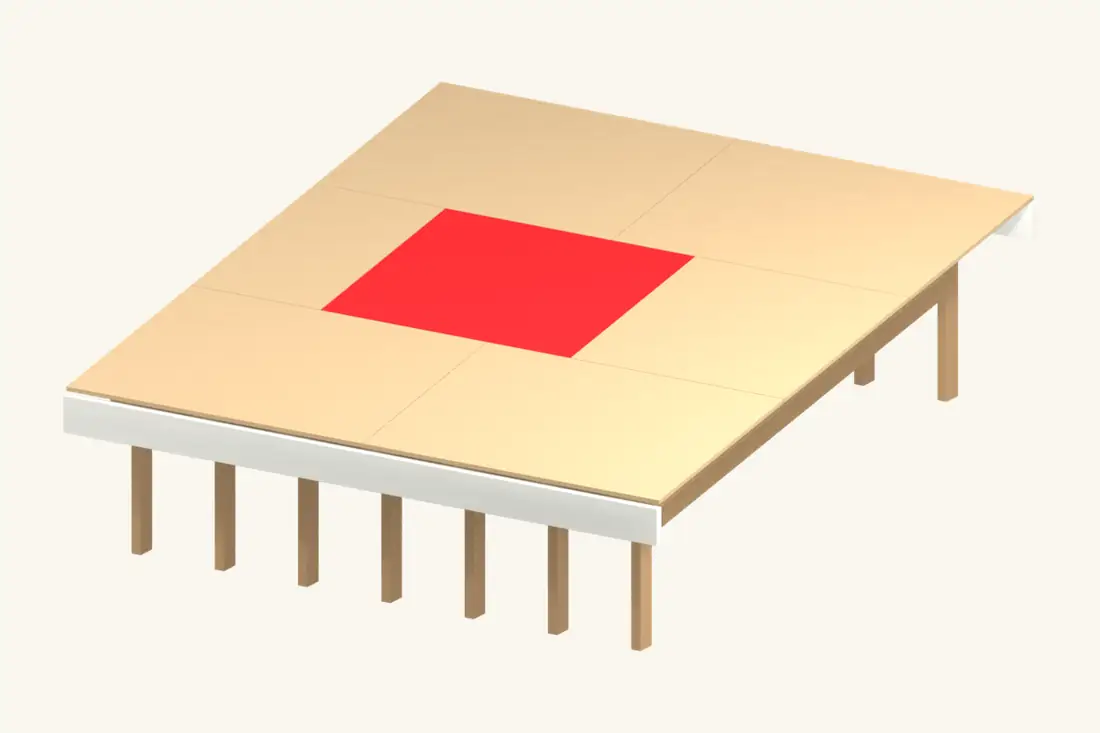
Work up the roof, staggering end joints between panel rows. Add edge clips or blocking where the panel specification requires them. Trim the final row only after checking the finished perimeter.
Use the specified nail or screw schedule and set heads flush. Replace damaged panels and correct projecting fixings before laying a membrane or underlay over them.
Check before continuing: The deck is firm, evenly fastened and free of sharp projections.
Installation reference: APA — roof sheathing and roof systems
Step 11 of 12
Prepare the high edge, sides and gutter edge
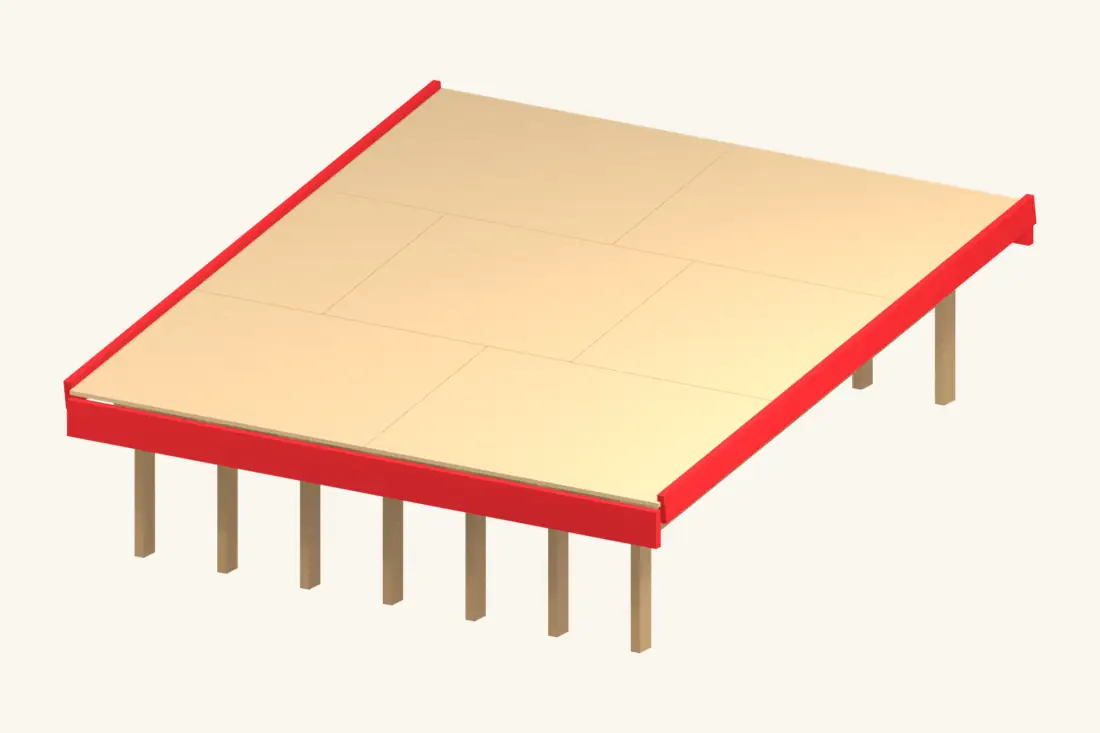
Fit the perimeter backing required by the roofing system. The low edge must discharge into the gutter; the high edge and side verges must prevent water entering under the covering.
A membrane kerb, a metal high-side flashing and a shingle top-edge termination are different details. Prepare the backing now, then use the selected covering guide for the correct trim and layer order.
Check before continuing: All four edges have a defined termination and the low edge has a clear outlet.
Step 12 of 12
Check the fall and move to roofing
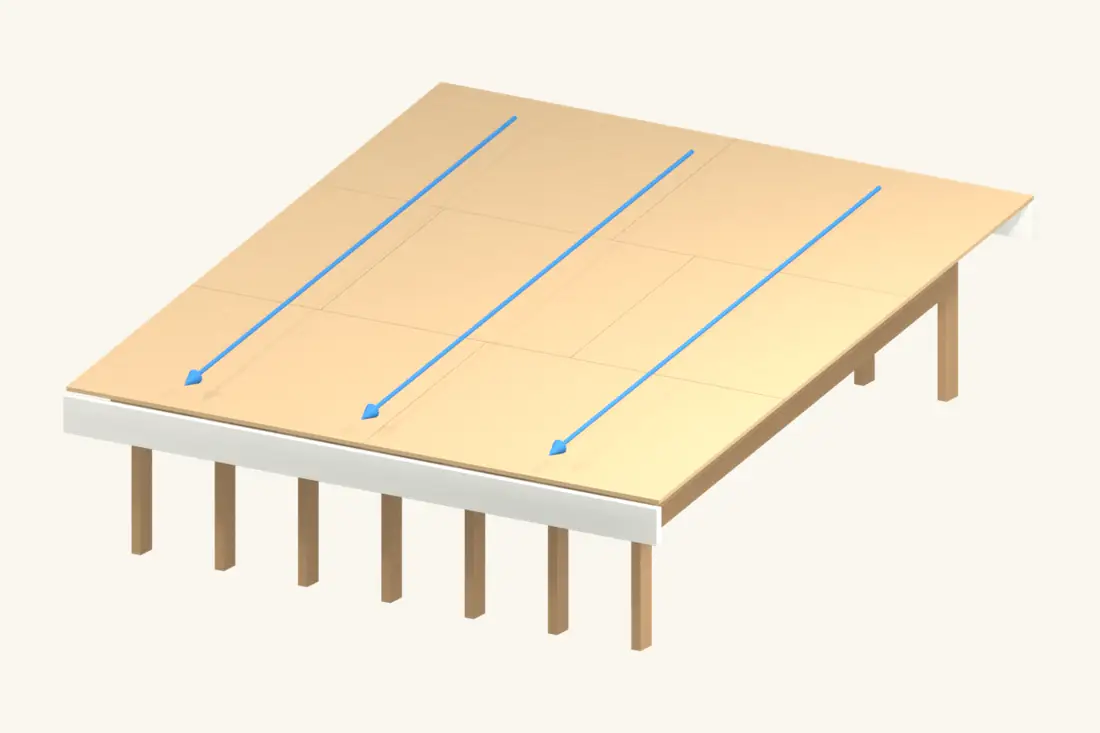
Check the complete plane, connections and perimeter before covering it. Confirm the deck slopes toward the outlet rather than toward a wall or a local hollow. Carry out required framing inspections while connections are visible.
Keep the deck dry and install the chosen covering promptly. Direct the downpipe discharge away from the shed base. A heated workshop needs its planned air, insulation and moisture-control layers as well as the outer roof.
Check before continuing: Water has a continuous route to the outlet and away from the foundation.
Common questions
Does a lean-to roof have to attach to a house?
No. A freestanding shed can have a high wall and a low wall supporting a single-slope roof. A house-attached version needs a separately designed ledger connection and wall flashing.
Can the roof be completely level?
Provide the fall required by the roofing system and drainage design. Allow for construction tolerances and deflection; a nominally flat surface can leave water trapped in low spots.
Can I put shingles on a low lean-to?
Only if the particular shingles permit the measured slope and you install their required low-slope underlayment assembly. GAF guidance starts at 2:12 and adds requirements below 4:12. Lower roofs need a suitable membrane system.
Installation references
Checked 24 October 2026. Use the current instructions for your product and region, together with your shed’s framing design.
- American Wood Council — span tables and design values
- APA — roof sheathing and roof systems
- Simpson Strong-Tie — wood connectors and specified fasteners
- PNNL — roof ventilation and condensation control
- GAF — shingle application on low slopes
- ASC Building Products — light-gauge roofing installation, June 2026