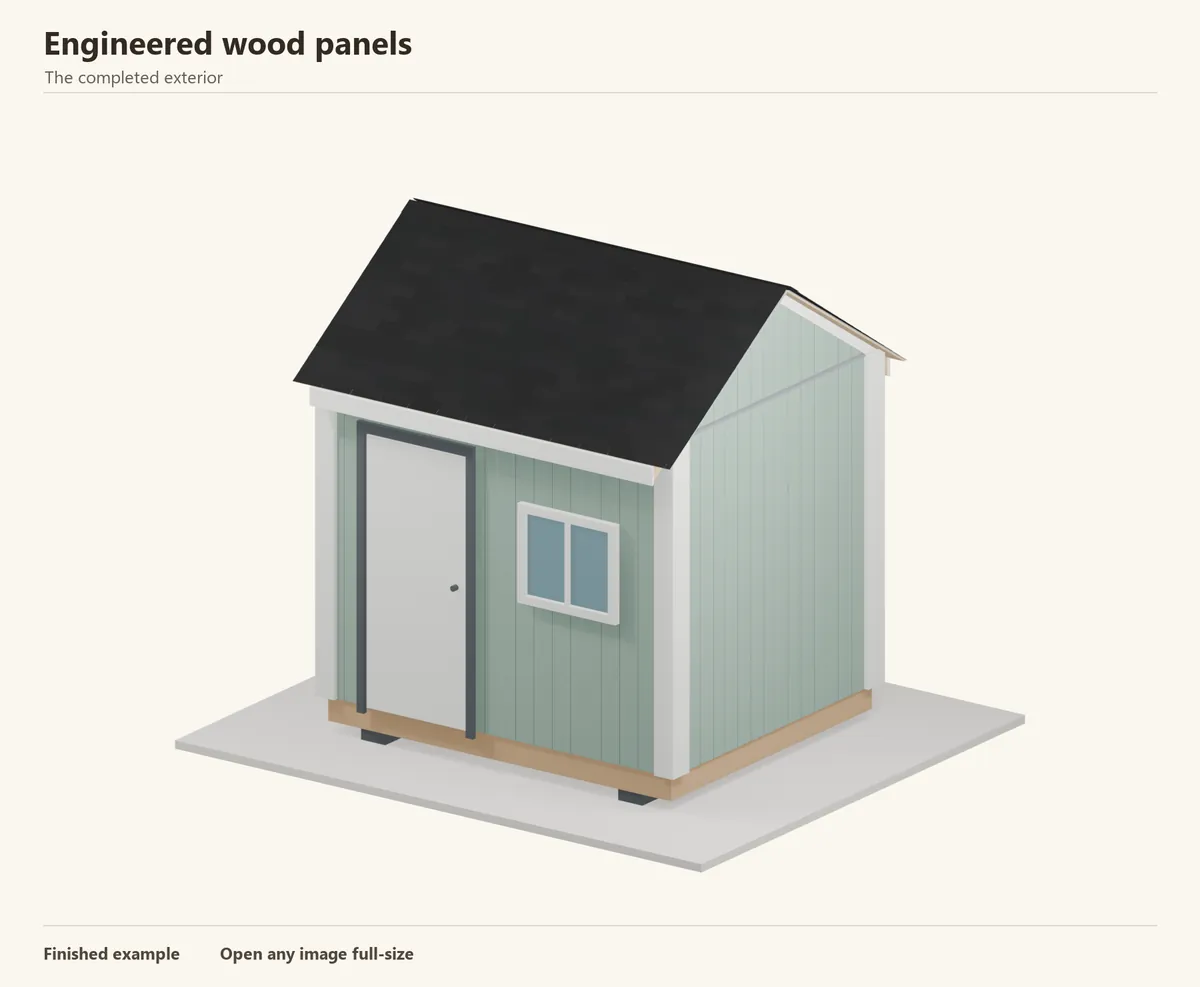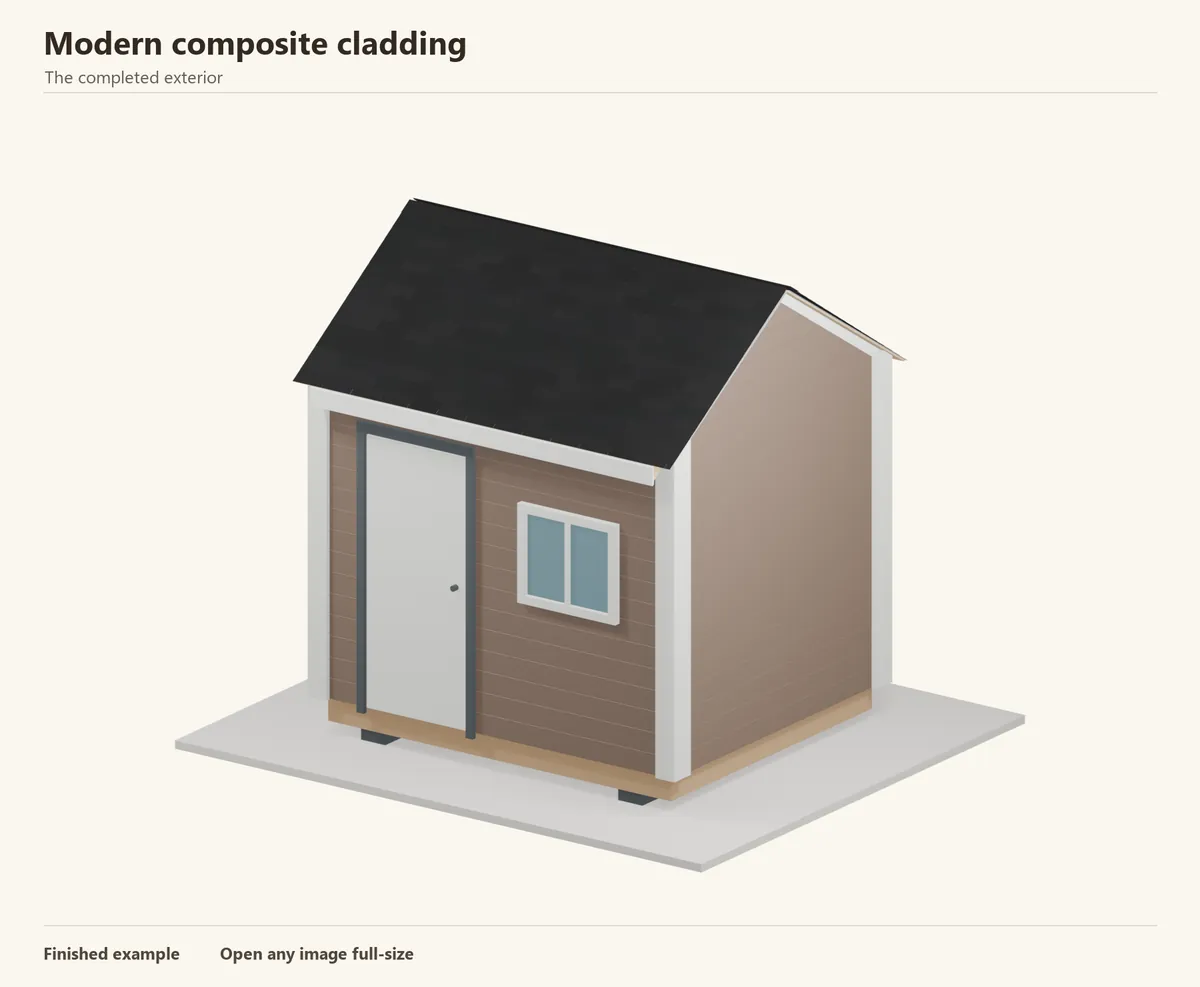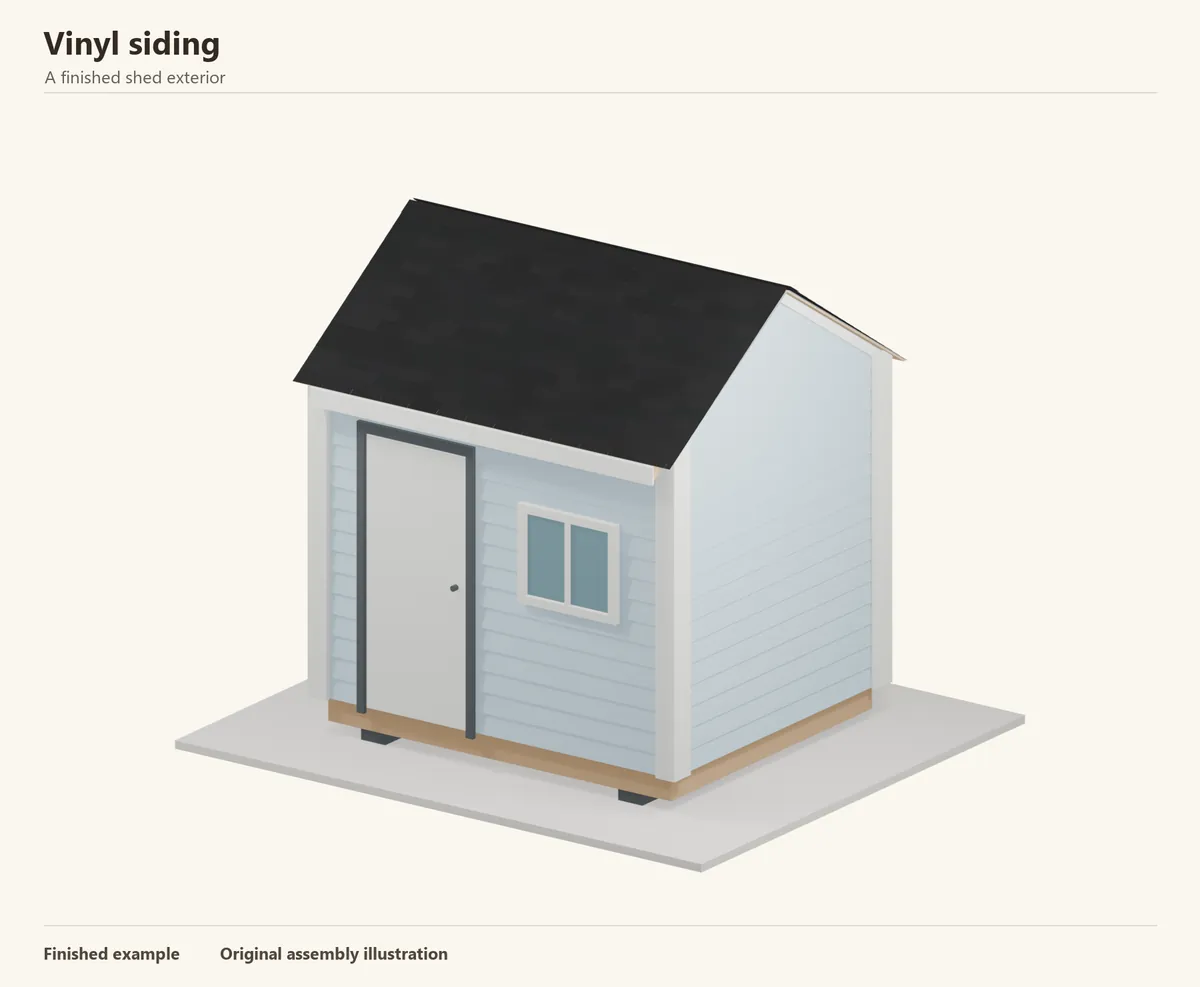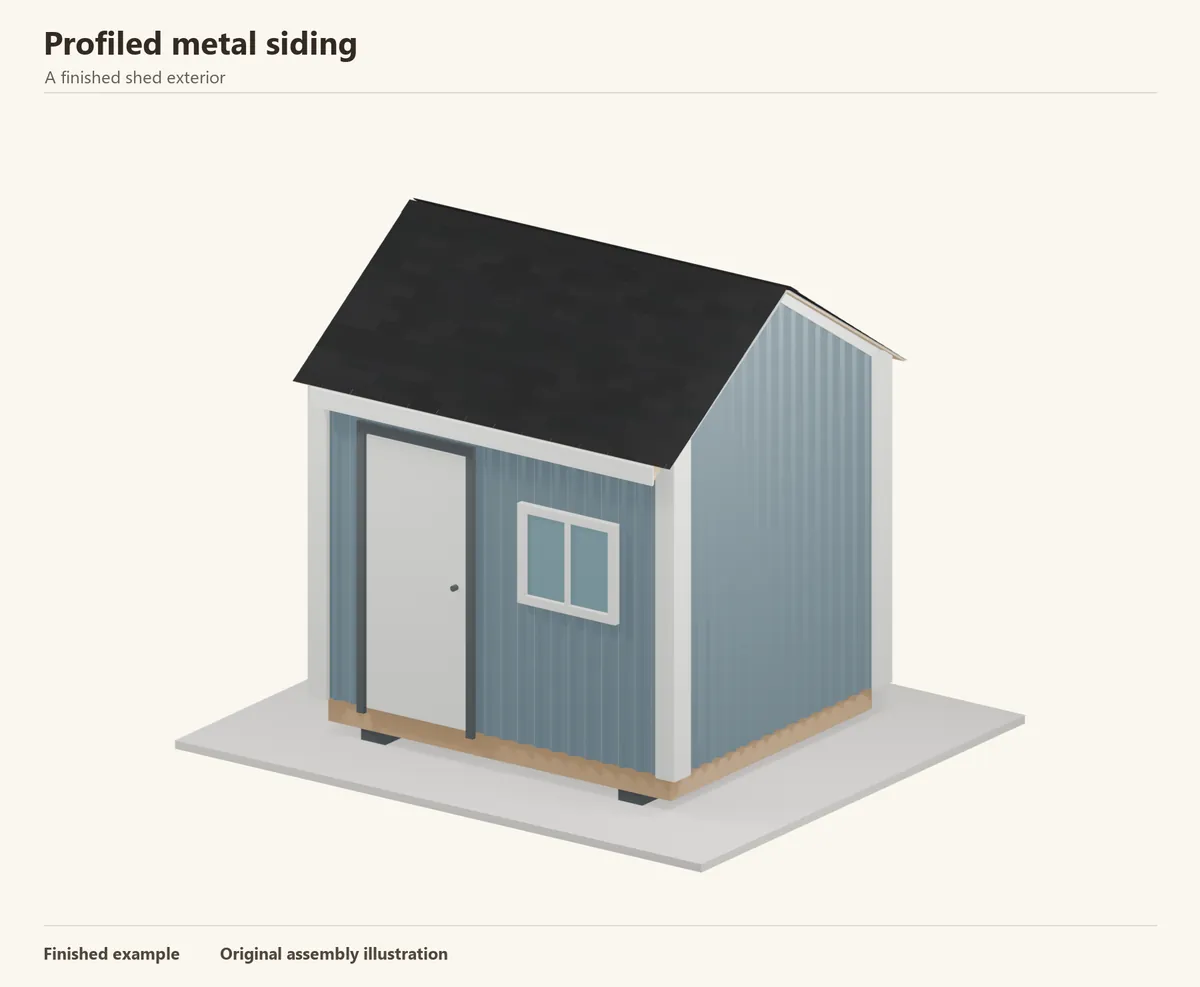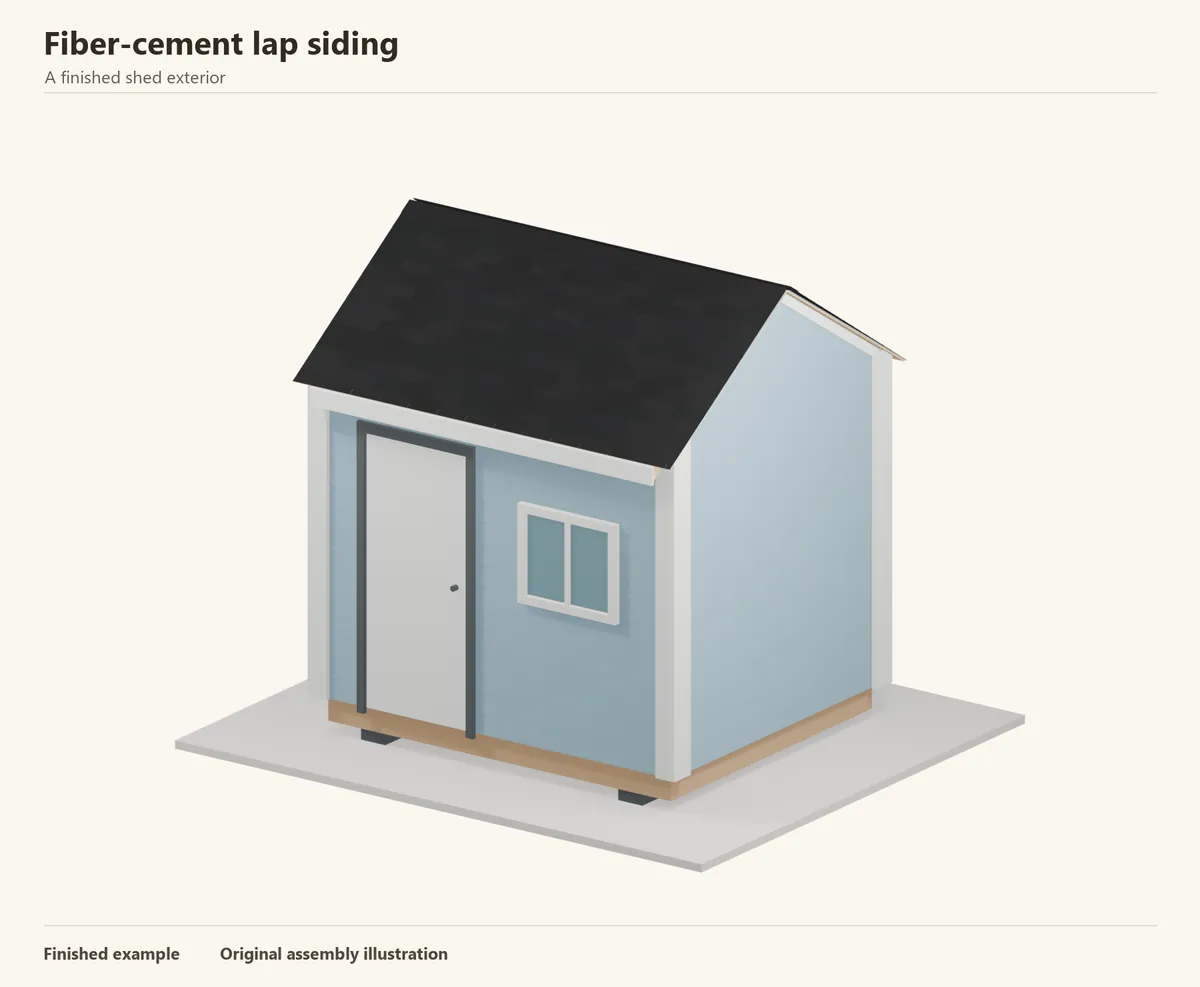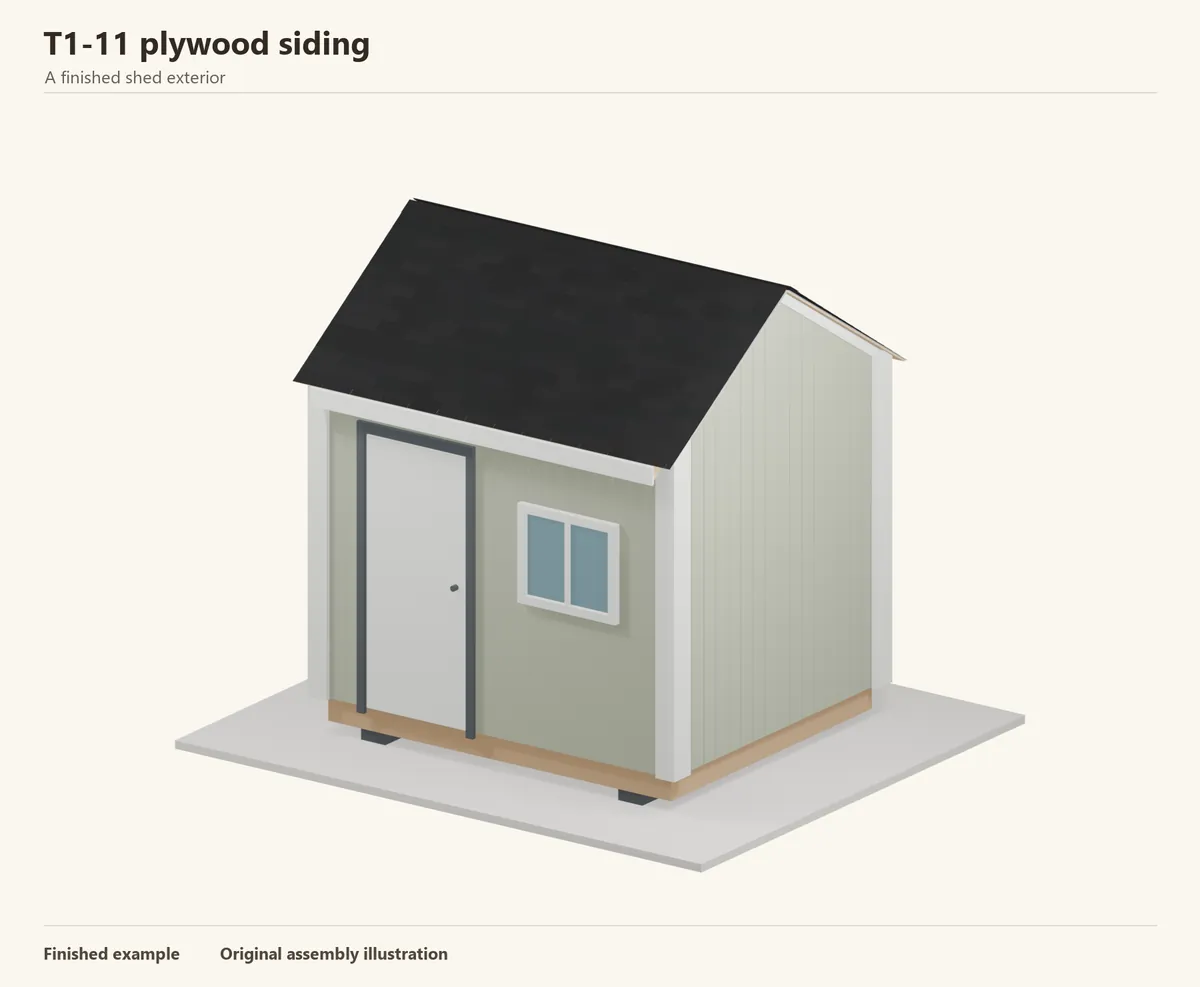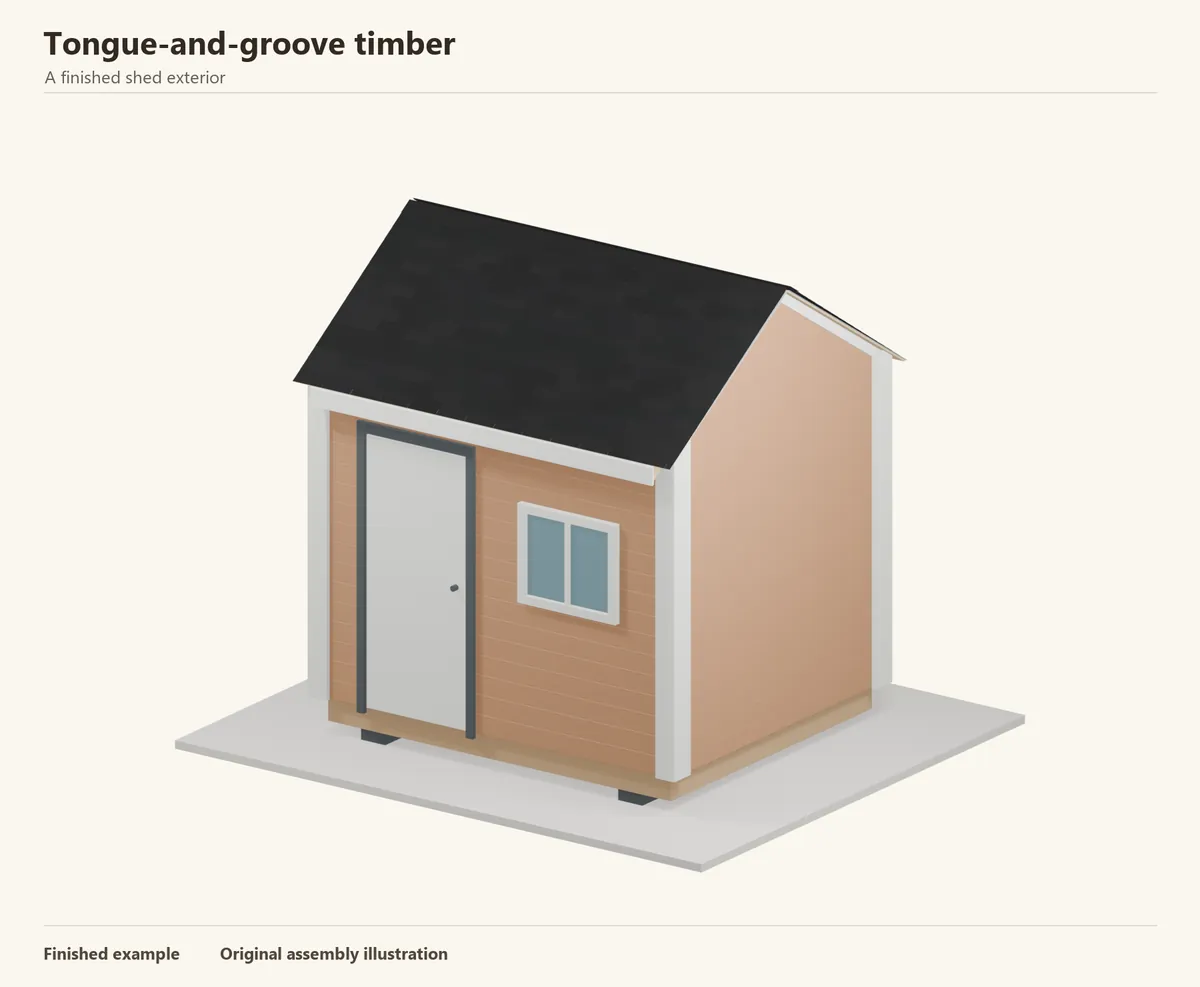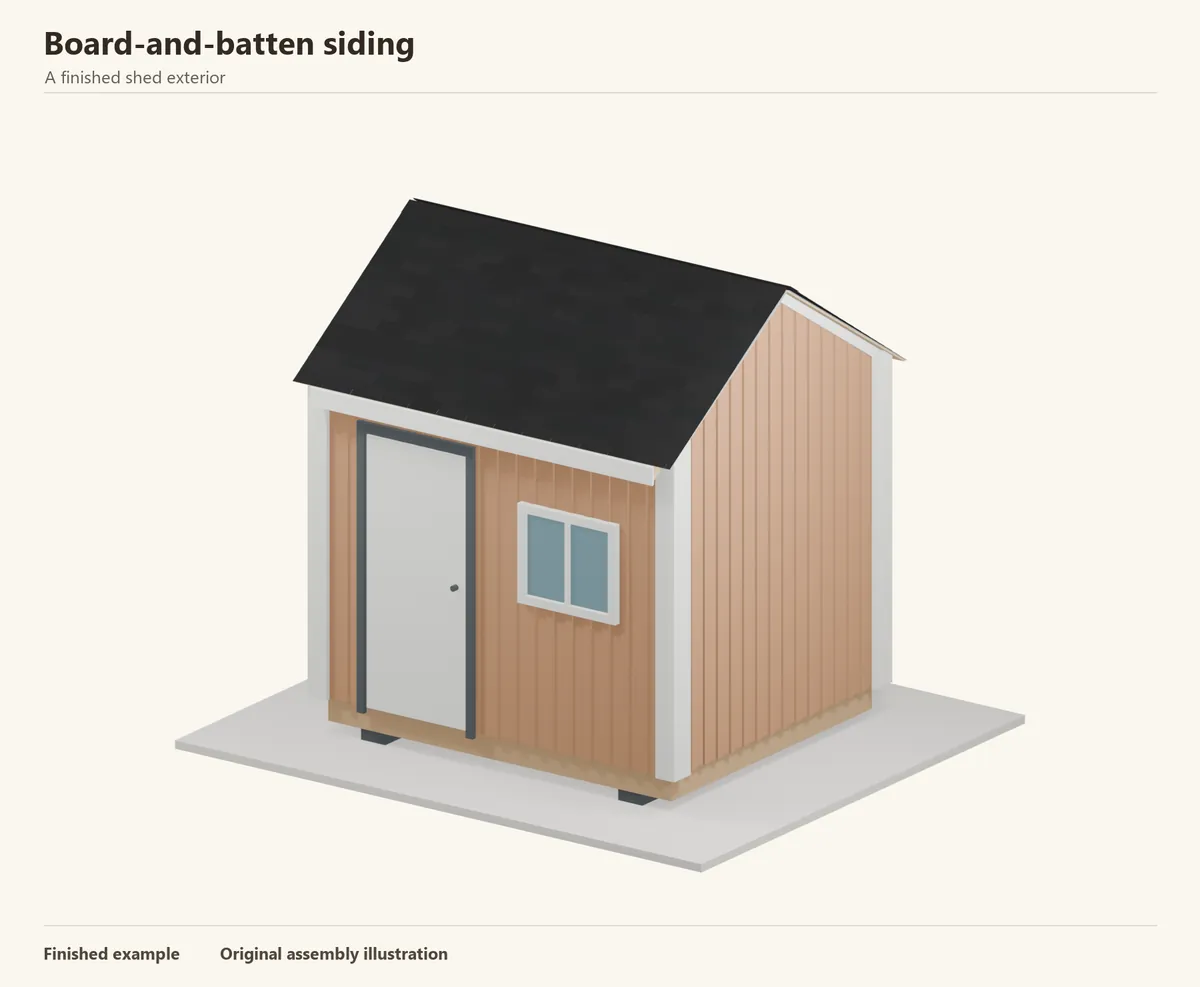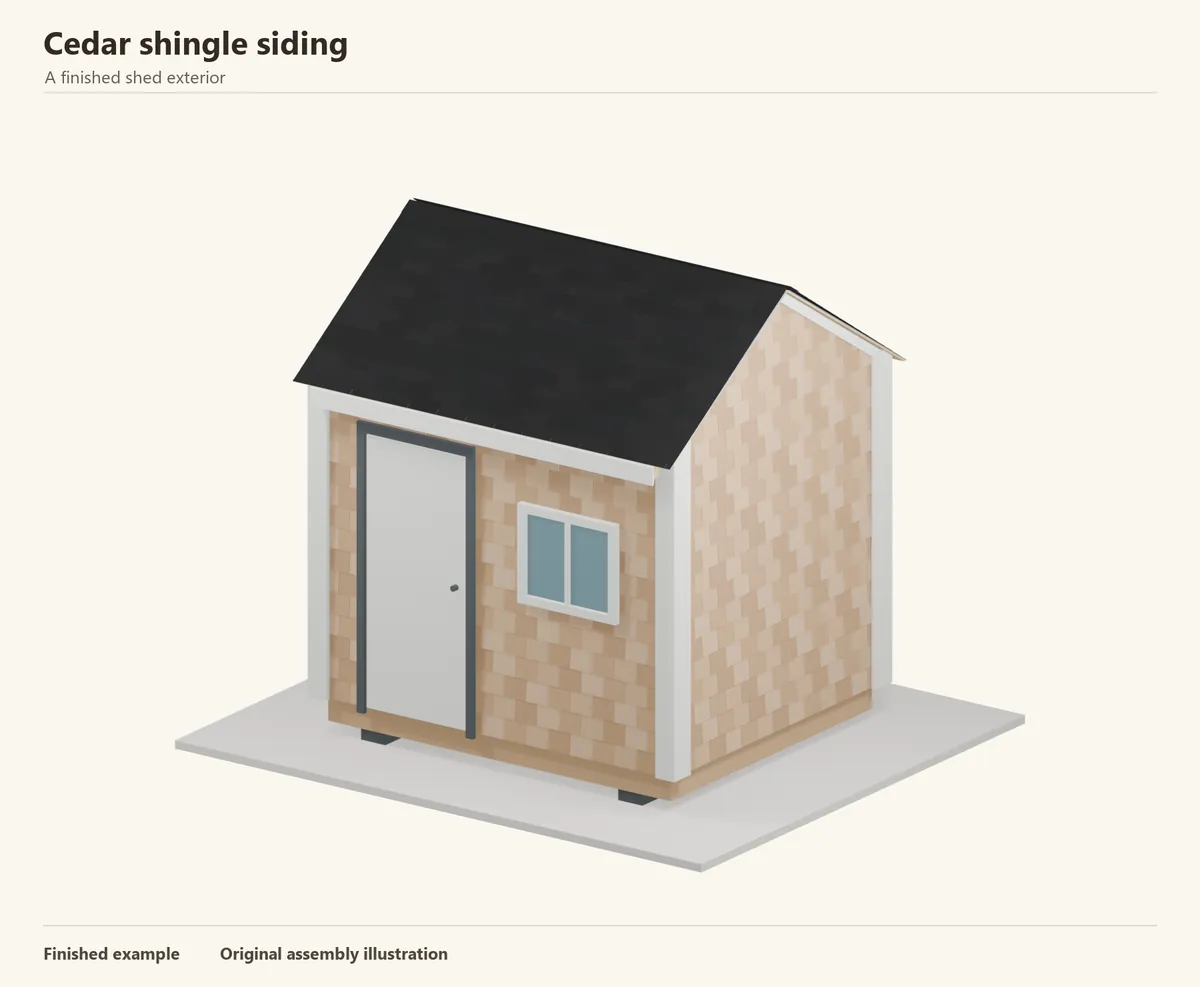
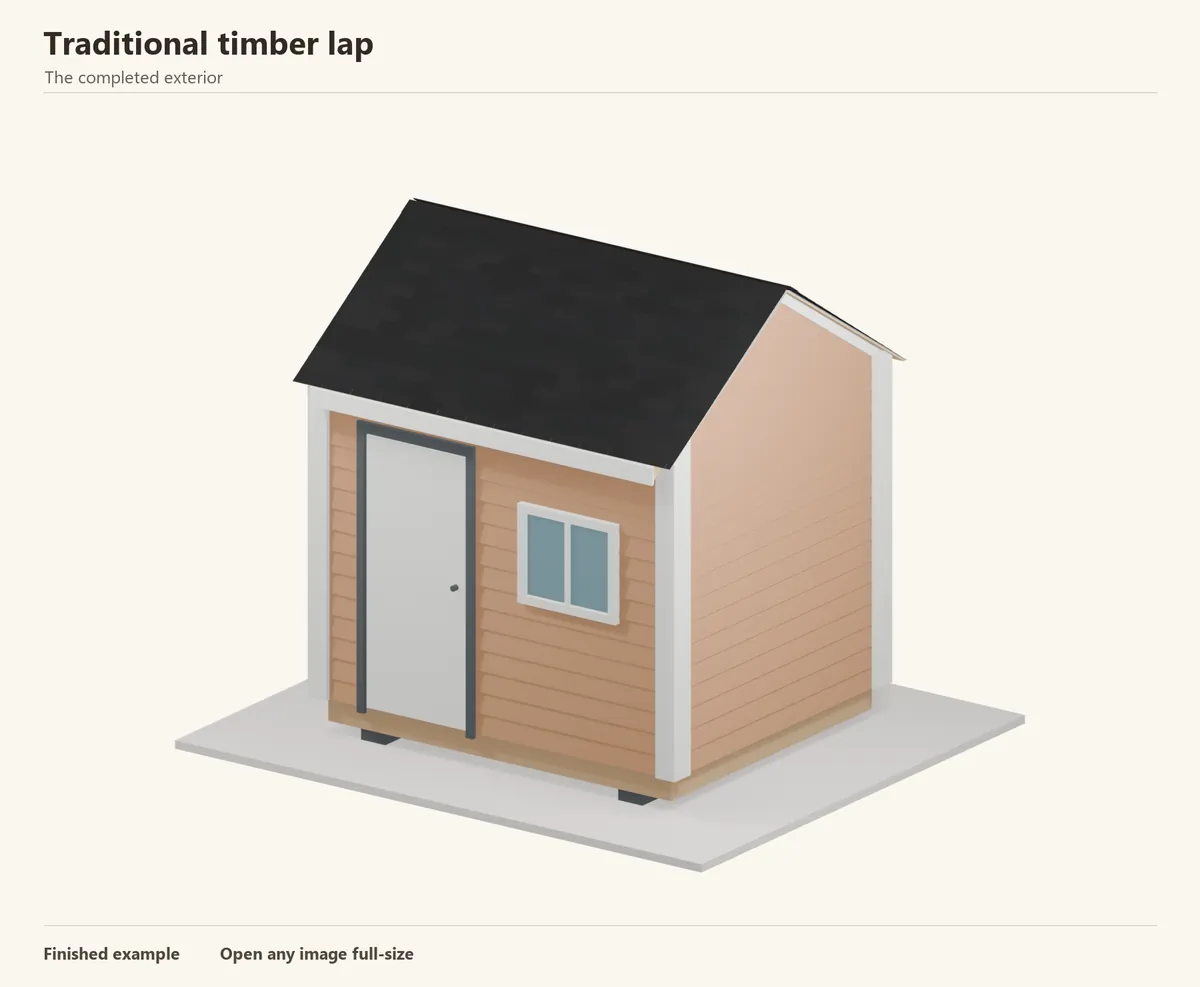
The assembly shown in this guide
The main sequence is horizontal solid-timber cladding on vertical battens. Bevel lap and rebated shiplap are shown separately because their profiles, coverage and nail positions differ. Western red cedar guidance supplies the reference details; use your chosen species and profile supplier’s instructions.
The original 3D views show simplified teaching details. Bright red highlights the part being added or checked; surrounding materials keep their own colours. Reference photographs have individual credits.
- A good fit for
- Natural grain, a traditional shed appearance and boards that can be repaired individually.
- Plan for
- Timber moves with moisture. Finish, exposure, ventilation and nail placement matter as much as the species.
Jump to an installation step
- 1. Store, sort and prepare the timber
- 2. Make a flat, drained backing
- 3. Keep the bottom dry and the cavity open
- 4. Set the starter for the chosen profile
- 5. Fix the first course level
- 6. Let each solid-wood board move
- 7. Support and stagger the board ends
- 8. Work around the flashed openings
- 9. Finish the outside corners
- 10. Close the top without trapping moisture
Before you begin
Buy the cladding and its required accessories together. Measure the wall area and openings, then calculate coverage using the actual product profile and allow for cuts.
- Exterior-grade timber cladding of a named species and profile
- Dry, sound wall sheathing; compatible WRB and opening flashings
- Suitable vertical battens, structural fixings and ventilated insect closures
- Profile-specific starter, corner boards, head flashings and top termination
- Compatible stainless or other approved corrosion-resistant siding nails and exterior finish
- Level, chalk line, square, saw, nail set, stable access and cutting protection
What real timber looks like
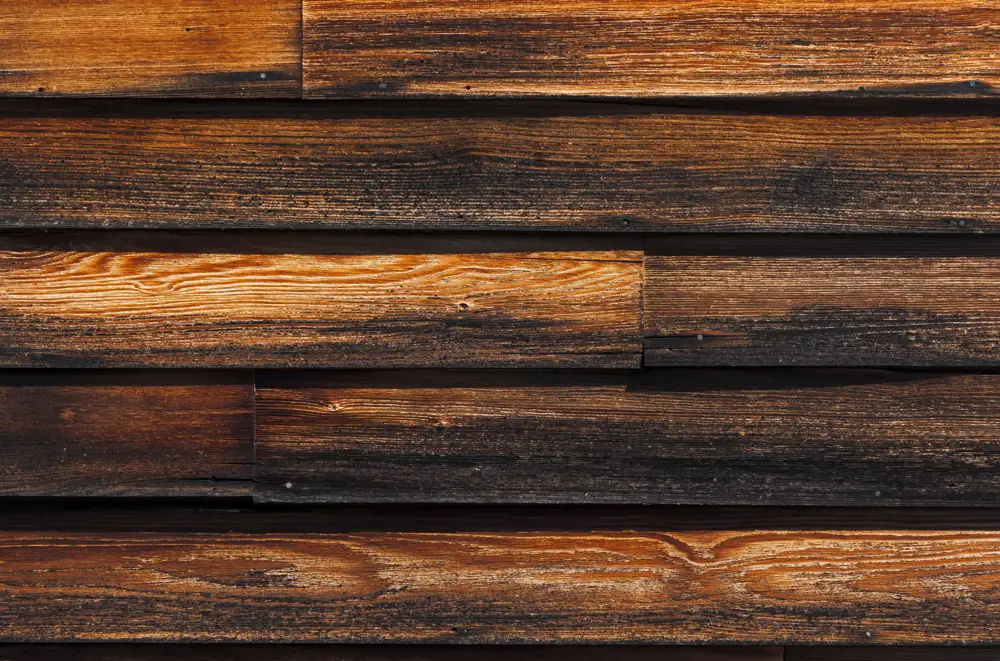
Natural boards vary in grain and tone. Lay out a few packs before fixing them so a very dark or pale board does not become an accidental stripe. A clear-looking finish does not make all boards look alike.
This credited clapboard photograph is a material example, not our demonstration shed. Use it to judge grain and weathering; use the installation views below to understand the concealed assembly.
Choose lap or shiplap before setting the courses
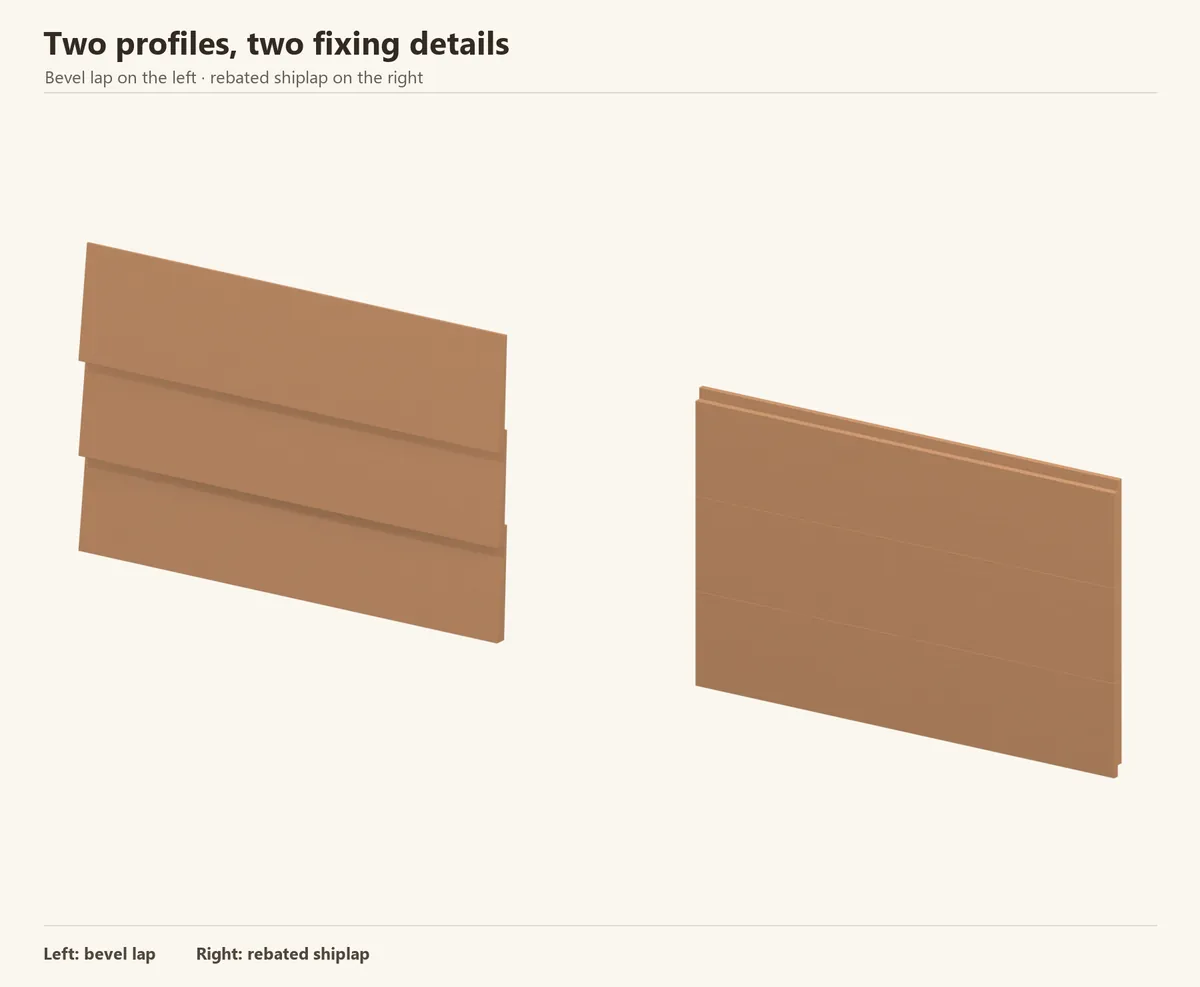
Bevel lap uses a tapered board with its thicker lower edge overlapping the course below. Rebated shiplap uses stepped edges that fit past each other. Their faces may look similar at a distance, but their cross-sections and fastening details are different.
Buy exterior cladding rather than interior decorative shiplap. Work from installed coverage, not overall width. Ask the supplier for its permitted orientation, overlap, movement allowance and nail position; keep a short offcut beside you as a setup gauge.
Reference: Real Cedar / WRCLA — lap/channel siding installation · Real Cedar / WRCLA — siding installation
Step 1 of 10
Store, sort and prepare the timber
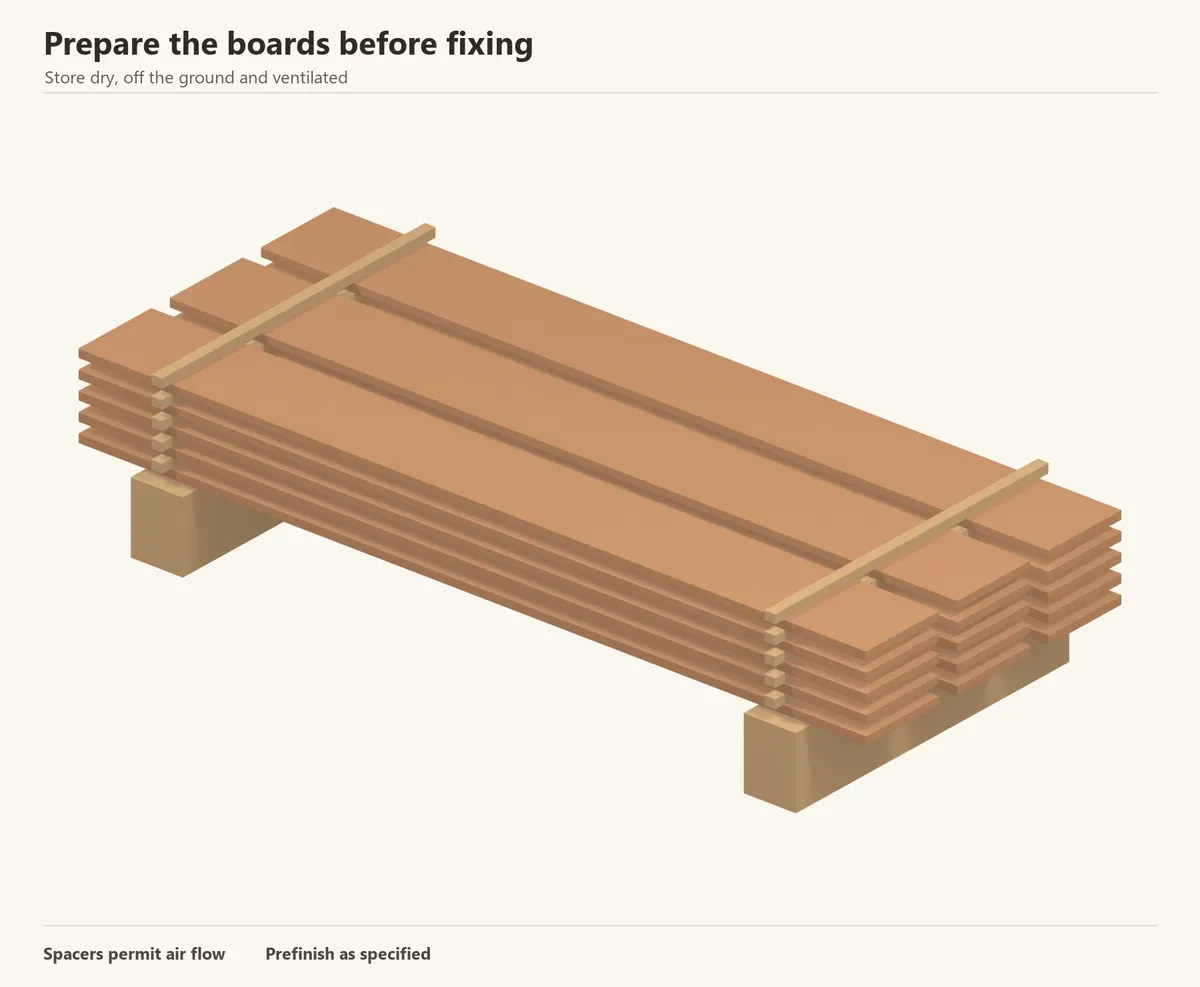
Keep the packs off the ground, sheltered from rain and ventilated. Follow the supplier’s acclimatization guidance for the moisture condition in which the boards were supplied. Separate damaged pieces and reserve sound short boards for small areas.
Choose the finish before installation. Where the finishing system calls for it, coat backs, edges and ends before the boards are fixed. Treat fresh end cuts as you work. This is much easier while every face is accessible.
Check before continuing: The boards and finish are suitable for exterior use and ready for the site conditions.
Step 2 of 10
Make a flat, drained backing
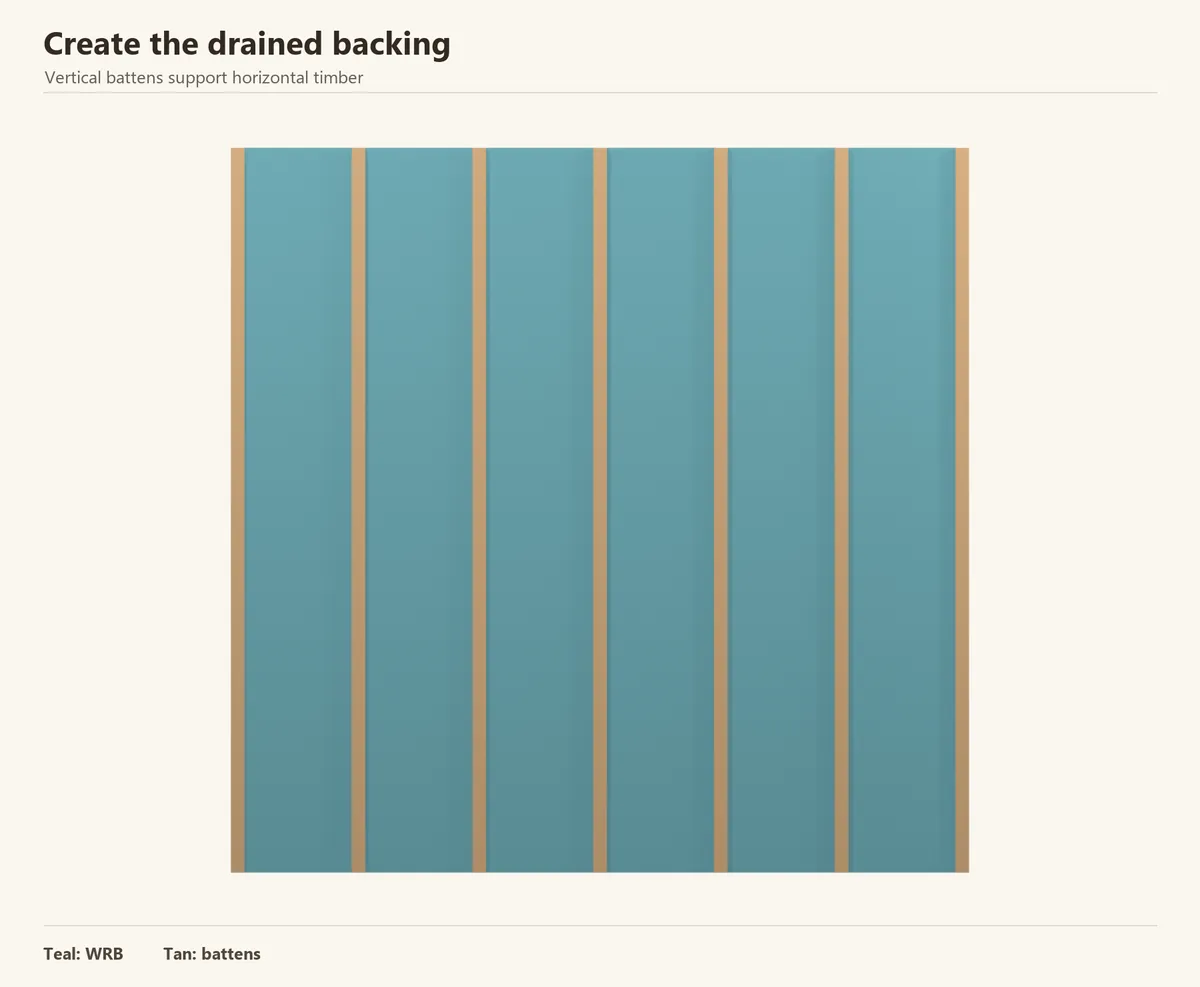
Complete the structural wall and WRB, then set vertical battens for horizontal boards. Use a straightedge across several battens; pack and secure them so the finished face will be flat. Fix them into the designed backing, not just thin sheathing.
Plan extra backing beside openings, at corners and where board ends meet. Maintain a route down the cavity. The batten size, fixing spacing and wind resistance are a wall-design choice, not something to infer from a picture.
Check before continuing: The battens are aligned, secure and arranged to drain.
Reference: Real Cedar / WRCLA — pre-building preparation · Real Cedar / WRCLA — siding installation
Step 3 of 10
Keep the bottom dry and the cavity open
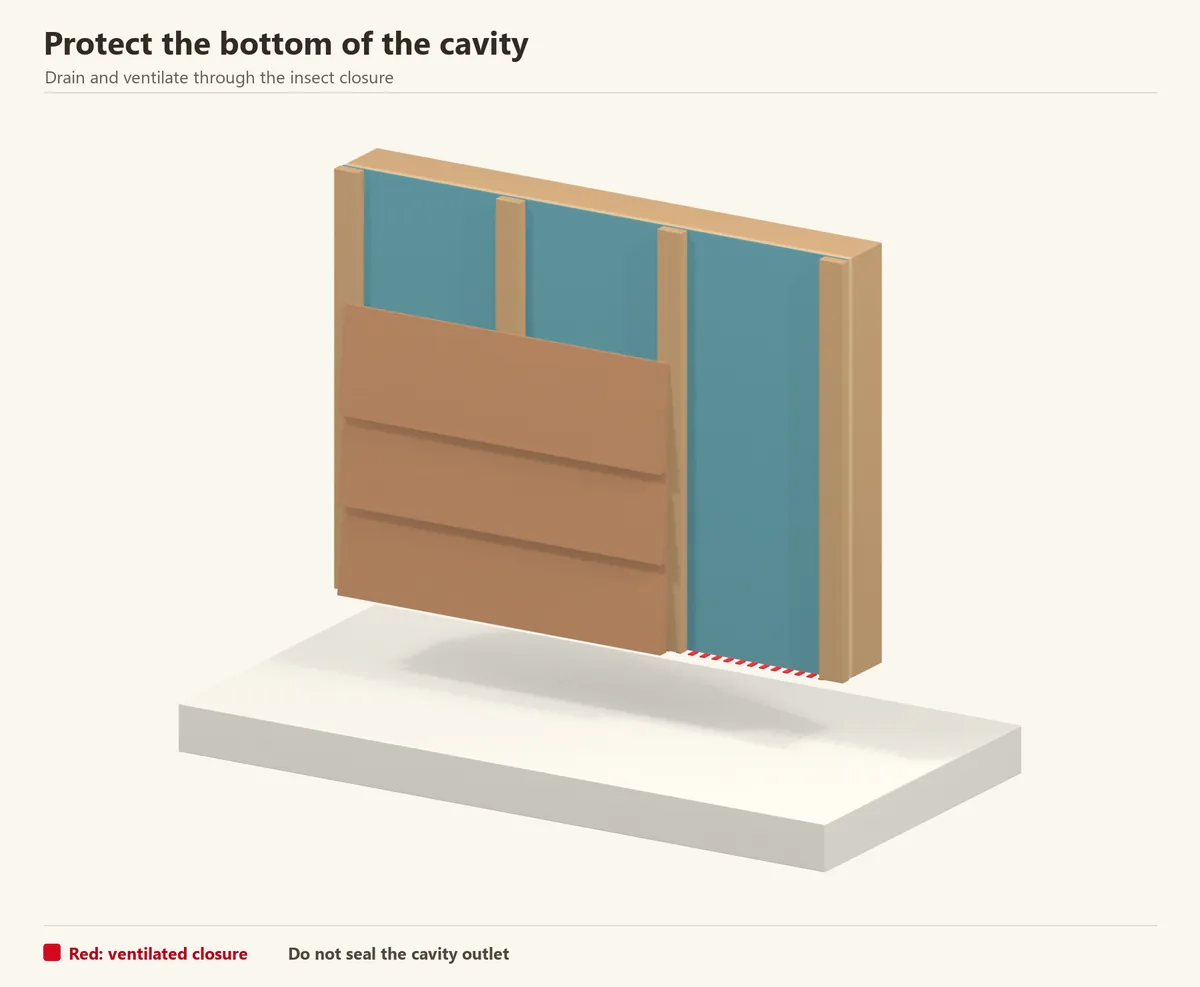
Mark a level starting line with the required clearance above ground, paving and other wet surfaces. Install the selected ventilated closure at the bottom of the cavity to keep insects out without sealing the drainage route.
Keep the bottom edge clear of gravel and planting. Where a closure or flashing directs water outward, check that its outlet remains beyond the structure behind it. Do not fill the ventilation opening with sealant to make the edge look solid.
Check before continuing: Both the timber face and the cavity have a path to dry.
Reference: Real Cedar / WRCLA — siding installation
Step 4 of 10
Set the starter for the chosen profile
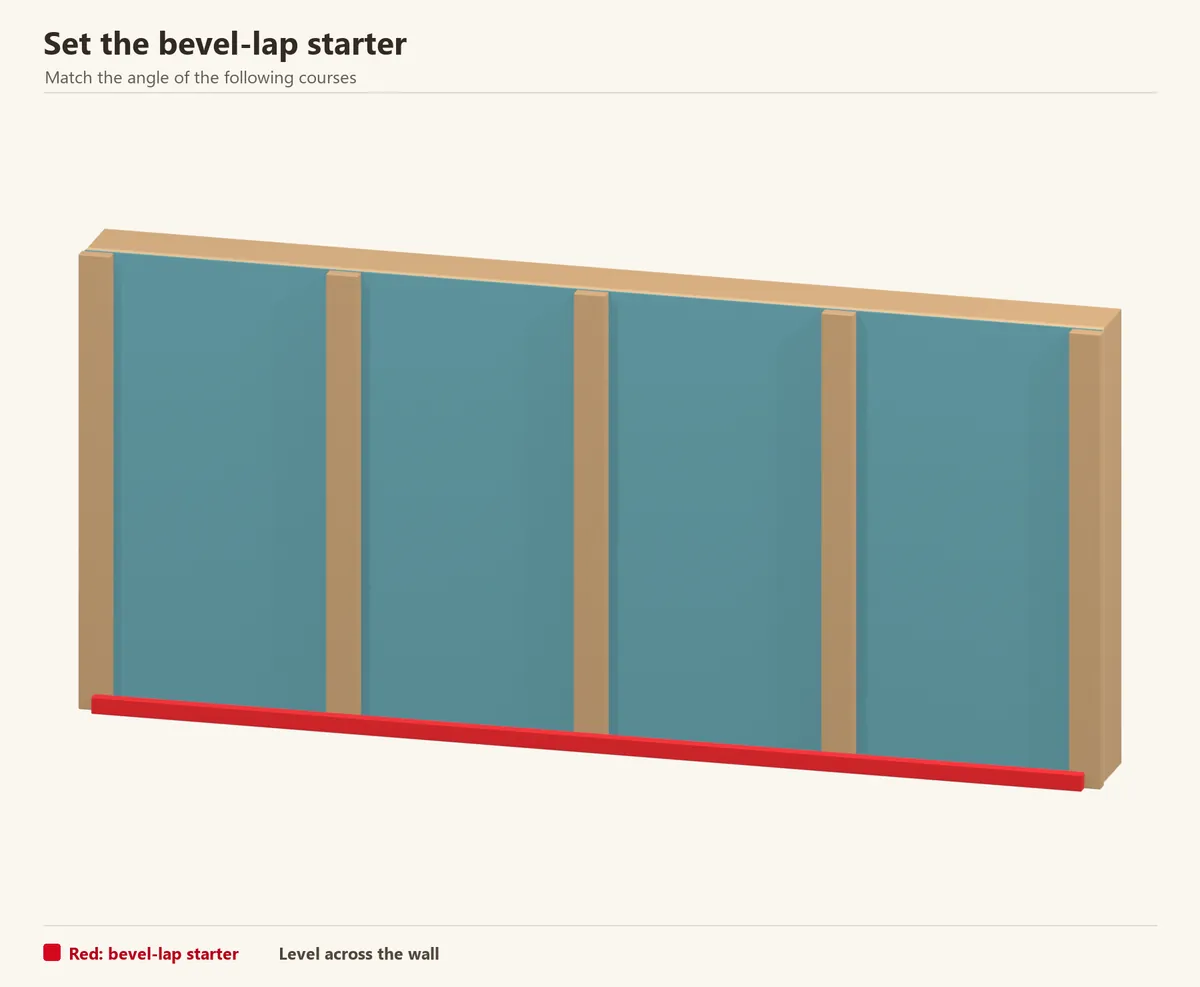
For bevel lap, install the starter strip that tips the first board out to the same angle as the remaining courses. Without it, the bottom course sits flatter and the shadow line changes. Use the strip size appropriate to your actual board profile.
For rebated shiplap, follow its base detail instead. In the cited cedar lap/channel arrangement, the channel faces upward and air- or kiln-dried pieces retain a 1/8 in (3 mm) movement allowance. Mark course lines around the shed so adjoining walls meet at the same height.
Check before continuing: The first course angle and course marks match the chosen profile.
Reference: Real Cedar / WRCLA — bevel siding installation · Real Cedar / WRCLA — lap/channel siding installation
Step 5 of 10
Fix the first course level
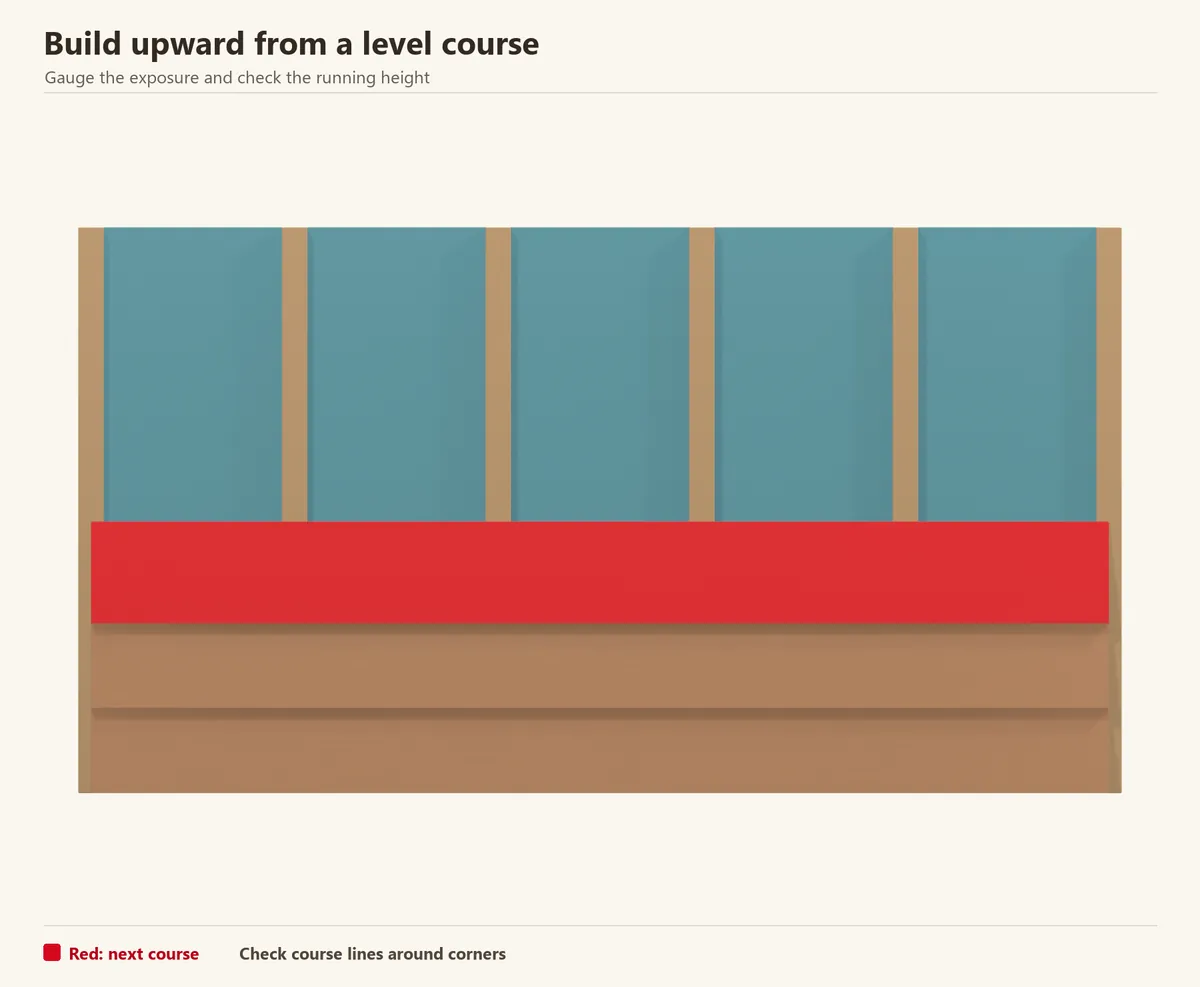
Cut the first board square, finish its end and position it on the starting line. Check level at both ends and in the middle. Fix at the supports using the profile’s specified nail location and penetration.
Use a consistent gauge for subsequent courses. Check the cumulative height every few boards rather than relying on the gauge alone; a small error repeated up the wall can produce a tapered strip under the roof.
Check before continuing: Course lines remain level across the wall and around the corner.
Reference: Real Cedar / WRCLA — bevel siding installation · Real Cedar / WRCLA — lap/channel siding installation
Step 6 of 10
Let each solid-wood board move
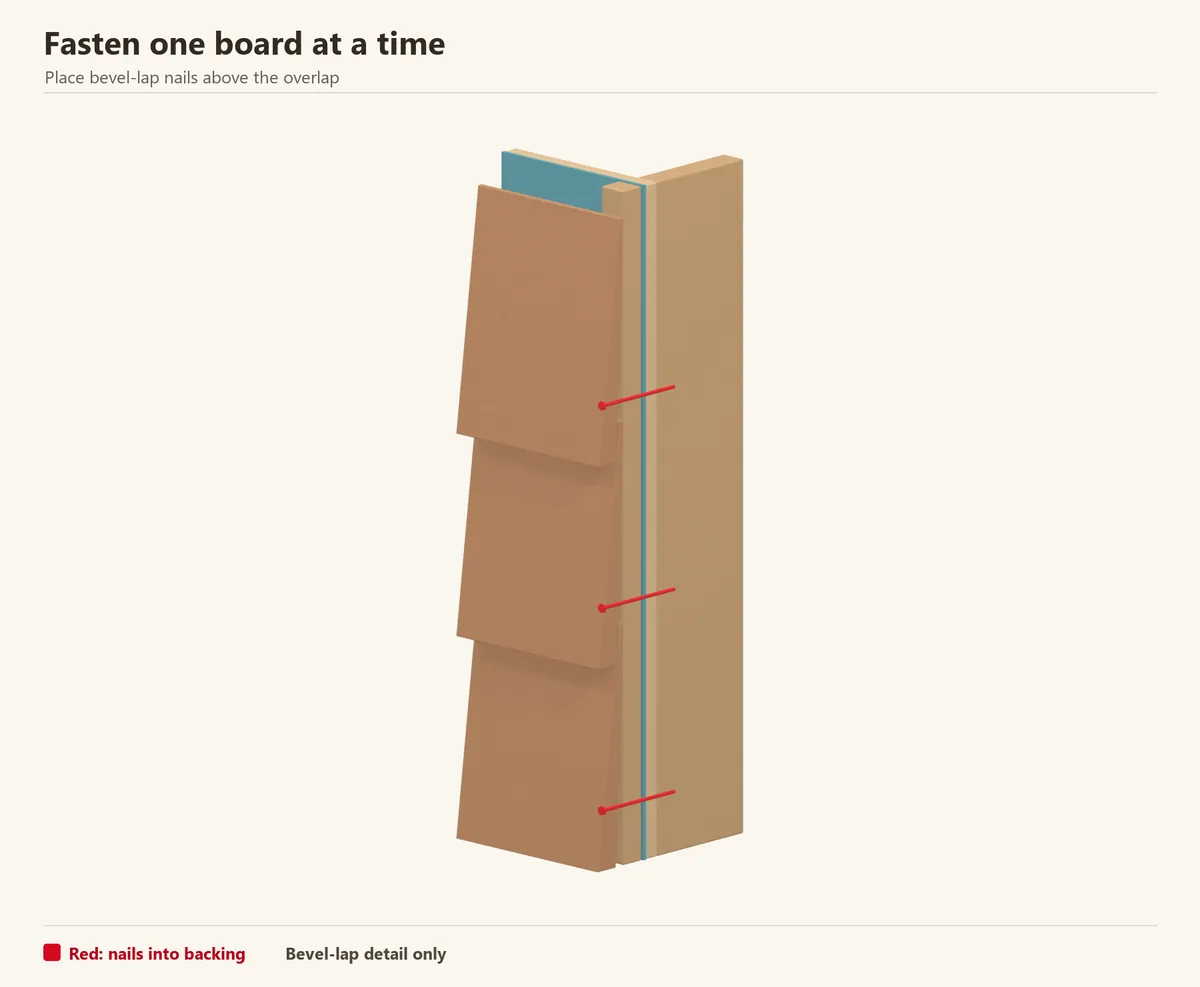
Use the fastening detail for the profile, width and thickness in your hand. For bevel lap, place the fixing above the overlap so it secures one board rather than pinning two courses together. The section view exposes that distinction.
For rebated shiplap, confirm the fixing location in the supplier’s profile drawing. Do not substitute the bevel-lap nail line. Avoid crushing the surface, and predrill where the timber or proximity to an end makes splitting likely.
Check before continuing: Fixings hold the board securely without locking two overlapping timber courses together.
Reference: Real Cedar / WRCLA — bevel siding installation · Real Cedar / WRCLA — lap/channel siding installation
Step 7 of 10
Support and stagger the board ends
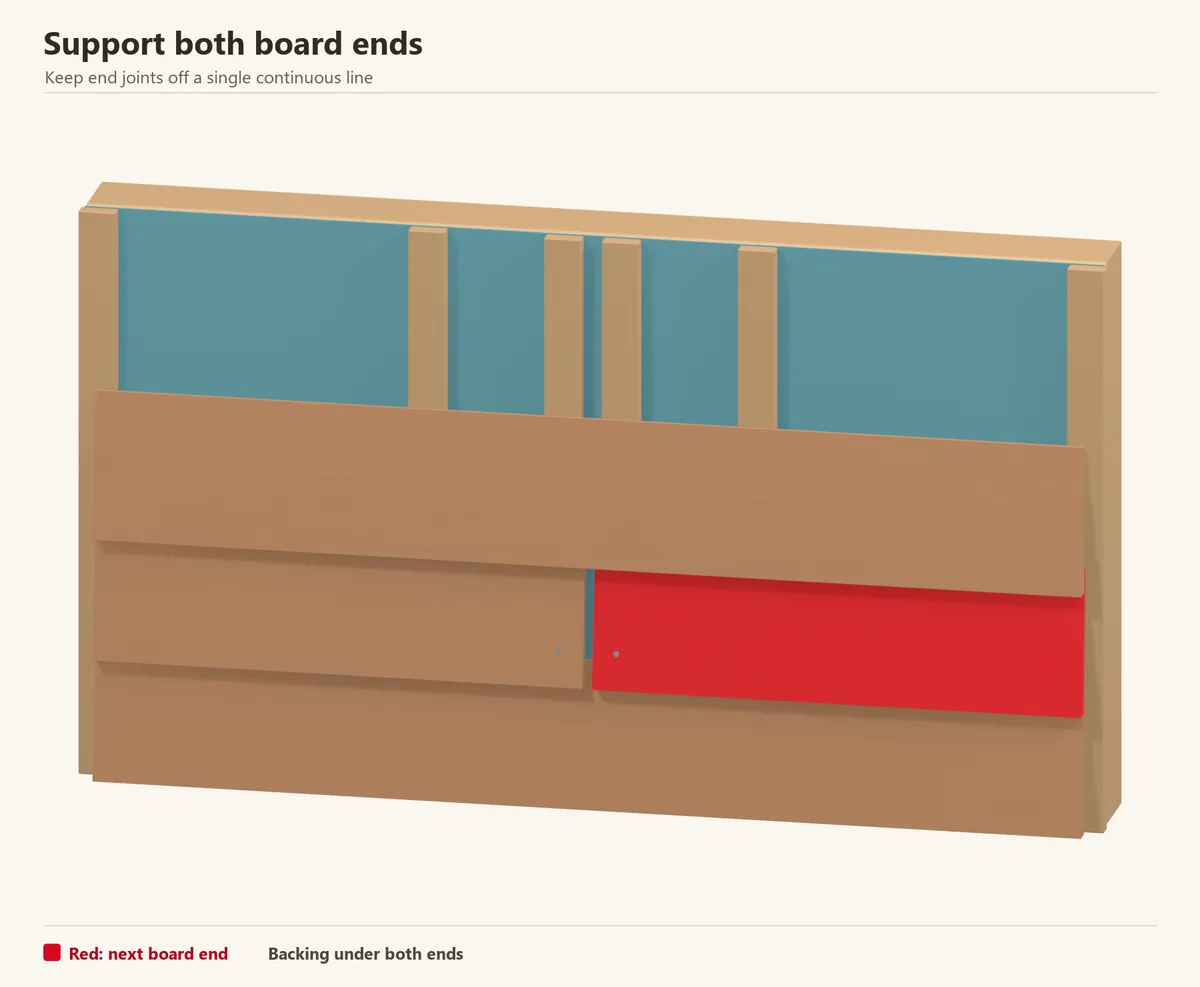
Plan end joints on suitable backing and arrange adjacent courses so their joints do not form one long vertical line. Use lengths efficiently, but avoid tiny patches near corners and openings.
Finish cut ends and follow the supplier’s end-joint detail, including any required gap, joint flashing or sealant. A joint floating between narrow battens leaves both ends hard to fasten. Add the required backing while it is still accessible.
Check before continuing: Both board ends have room for properly positioned fasteners.
Reference: Real Cedar / WRCLA — siding installation
Step 8 of 10
Work around the flashed openings
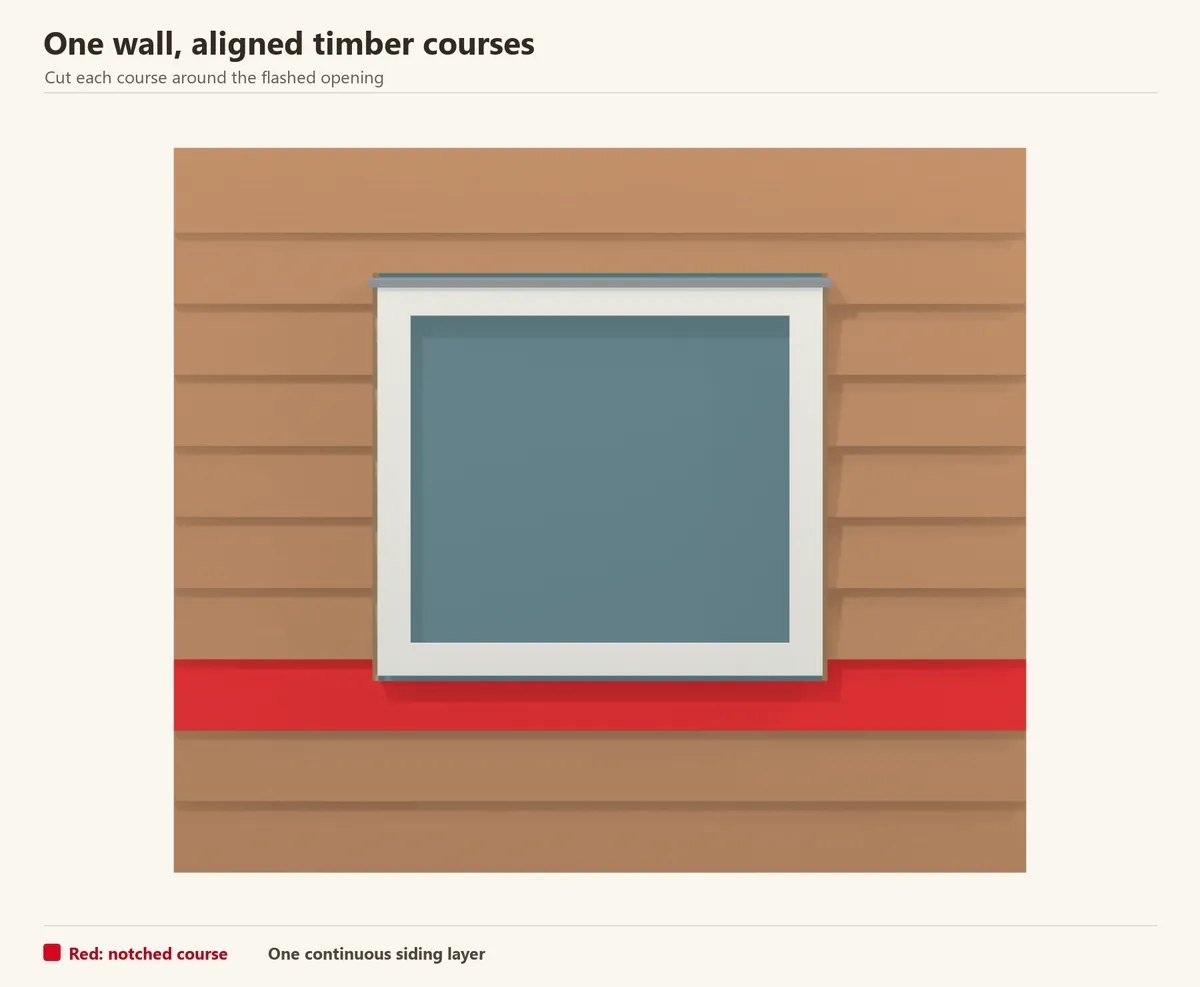
Set the opening trim and flashings in the order required by the window and cladding details. Measure boards to those finished edges, seal their cut ends and maintain the specified joint allowance.
Above a window or door, keep the cladding clear of the head flashing so water can drain. Below the sill, avoid closing the drainage path. Follow the specified sealant locations; an unbroken bead around every visible edge can block a deliberately open exit.
Check before continuing: The head flashing extends past the opening and remains able to drain.
Reference: Real Cedar / WRCLA — siding installation · DuPont — window and door flashing resources
Step 9 of 10
Finish the outside corners
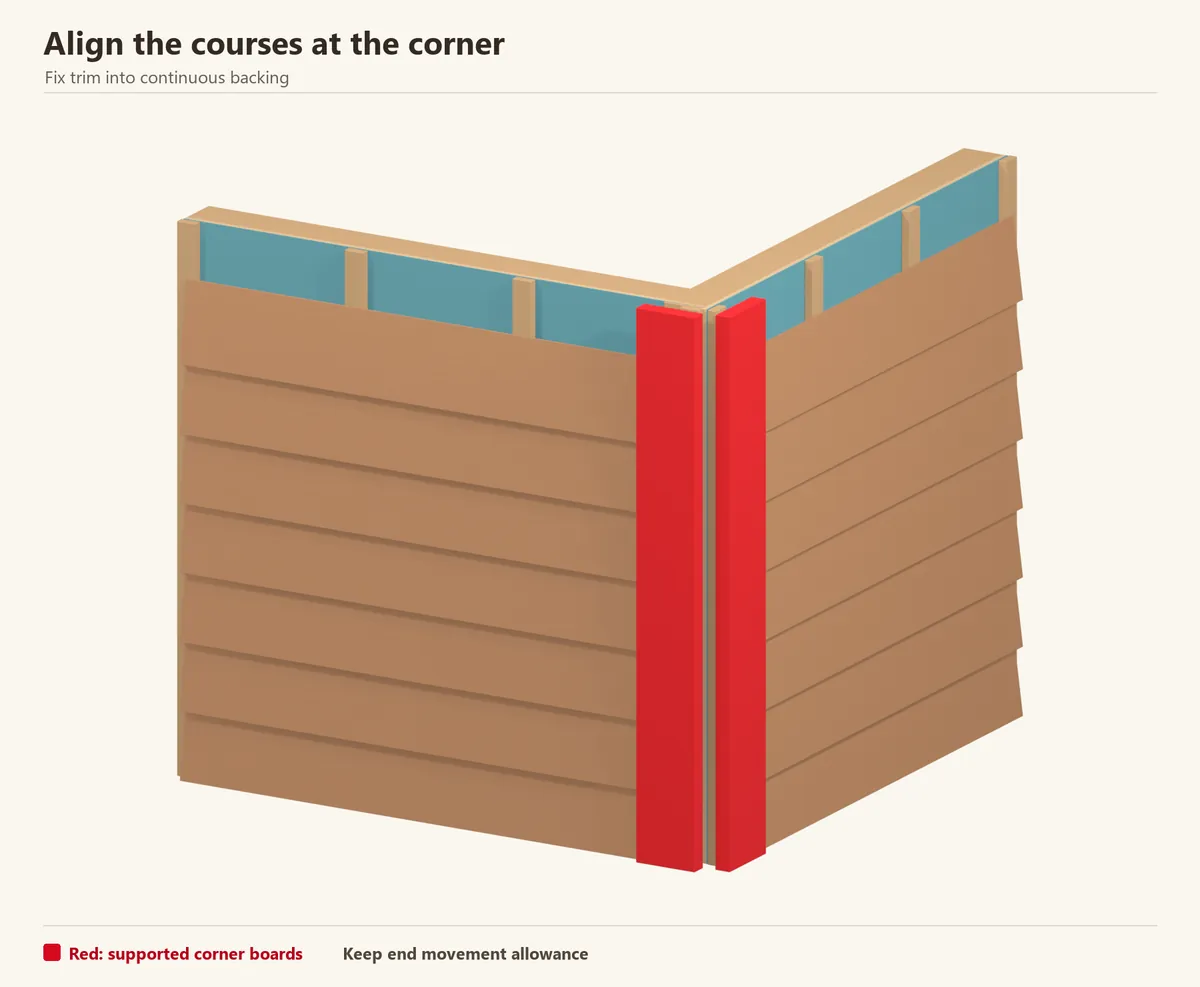
Fit the corner boards over suitable backing, keeping their base ends clear of wet surfaces. Align the horizontal courses on the two faces before fixing the last board ends. Prefinish concealed timber faces as required by the finishing system.
A simple corner-board treatment is easier to repair than a row of tightly mitred board ends. Leave the prescribed interface between siding and trim; do not force swelling timber into a rigid corner.
Check before continuing: Corner trim is supported, the courses align and board ends are protected.
Reference: Real Cedar / WRCLA — siding installation
Step 10 of 10
Close the top without trapping moisture
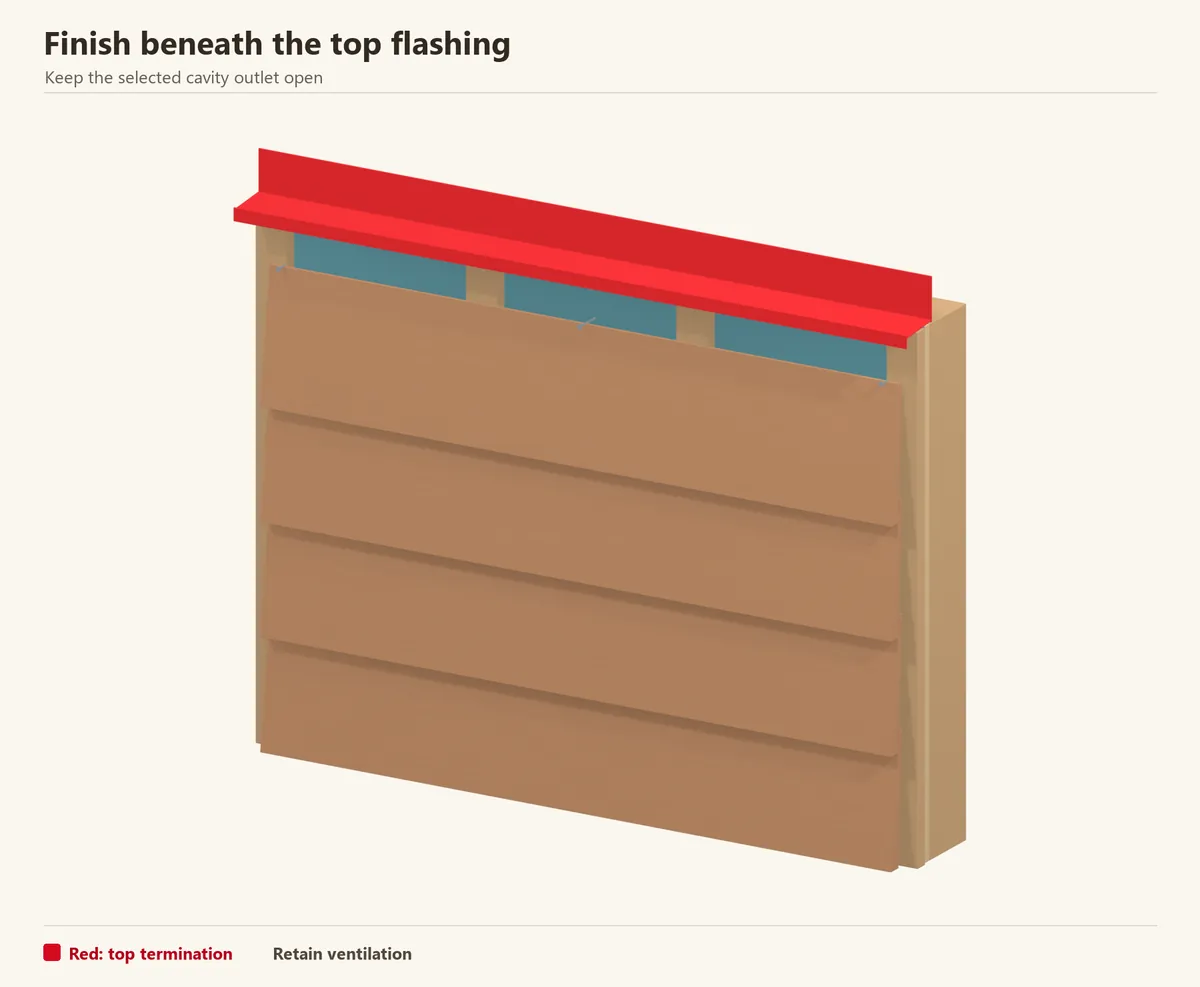
Measure the last course from several points and cut it to suit the roof or soffit detail. Finish the cut edge, retain sufficient fixing material and support the top of the wall. Avoid wedging the last board tightly into place.
Finish the cavity outlet and insect protection to the chosen ventilated-wall detail. Complete coatings, remove cuttings from ledges and inspect the wall after rain. Clear dirt and vegetation from the base during regular maintenance.
Check before continuing: Top and bottom ventilation routes remain open after trim and finishing.
Reference: Real Cedar / WRCLA — siding installation · Real Cedar / WRCLA — pre-building preparation
A real shed: inspect the vulnerable bottom edges
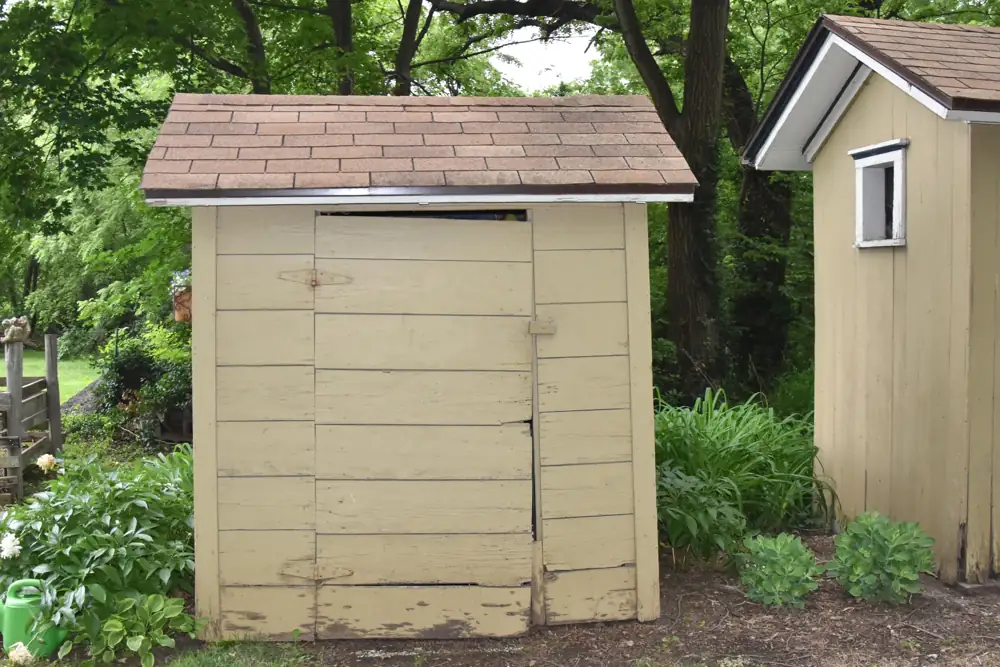
This historic shiplap shed is useful because it shows a real painted surface in service, including wear near the bottom. It is not a recommended example of modern clearance or flashing details.
When inspecting your own shed, start at the bottom boards, door edges and joints where water collects. Repair local damage early and maintain the finish according to its condition and the coating maker’s instructions.
Common questions
Can interior shiplap be used outside?
Only use a product explicitly suitable for exterior exposure. Interior decorative boards may have unsuitable joints, treatment or dimensional stability.
Is shiplap the same as tongue-and-groove?
No. Shiplap has overlapping rebates; tongue-and-groove has a projecting tongue entering a groove. Buy and install by the actual section, not the marketing photograph.
Can I install the boards vertically?
Some profiles permit it, but the backing and drainage details change. This guide illustrates horizontal boards on vertical battens. Use a specific vertical-cladding detail for a vertical layout.
Installation references
Sources checked 24 October 2026. Use the current instructions for your product and region when purchasing and installing.