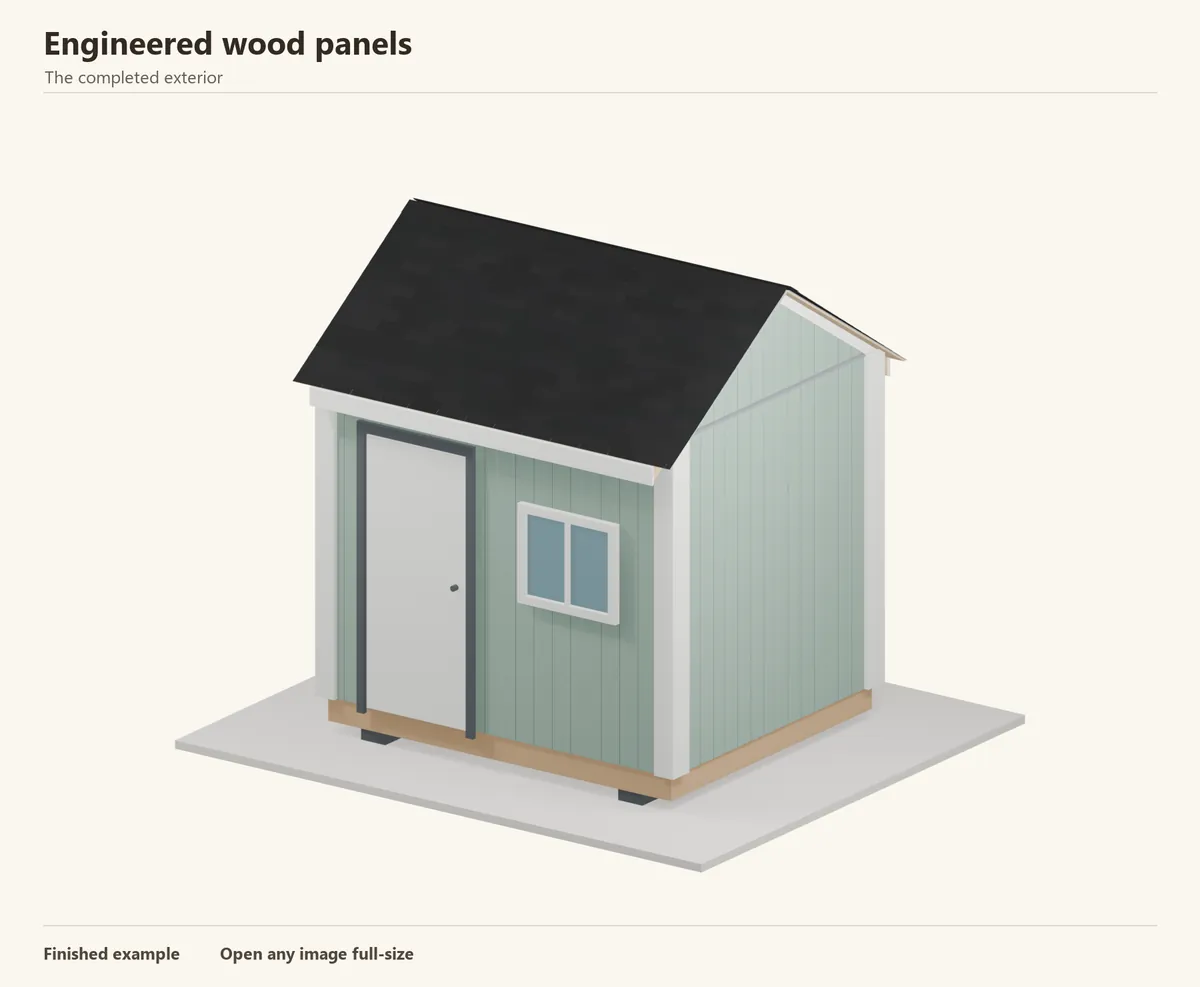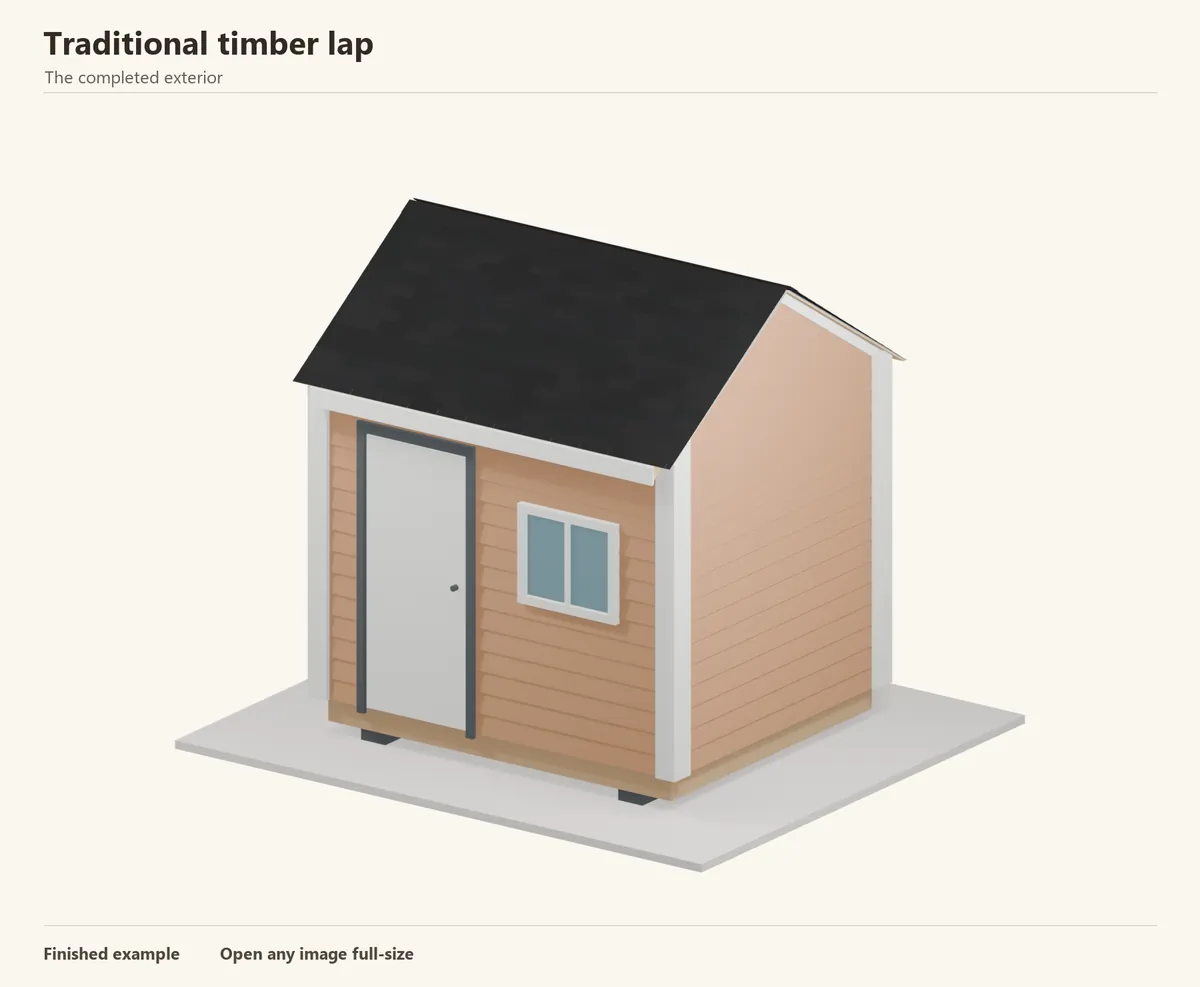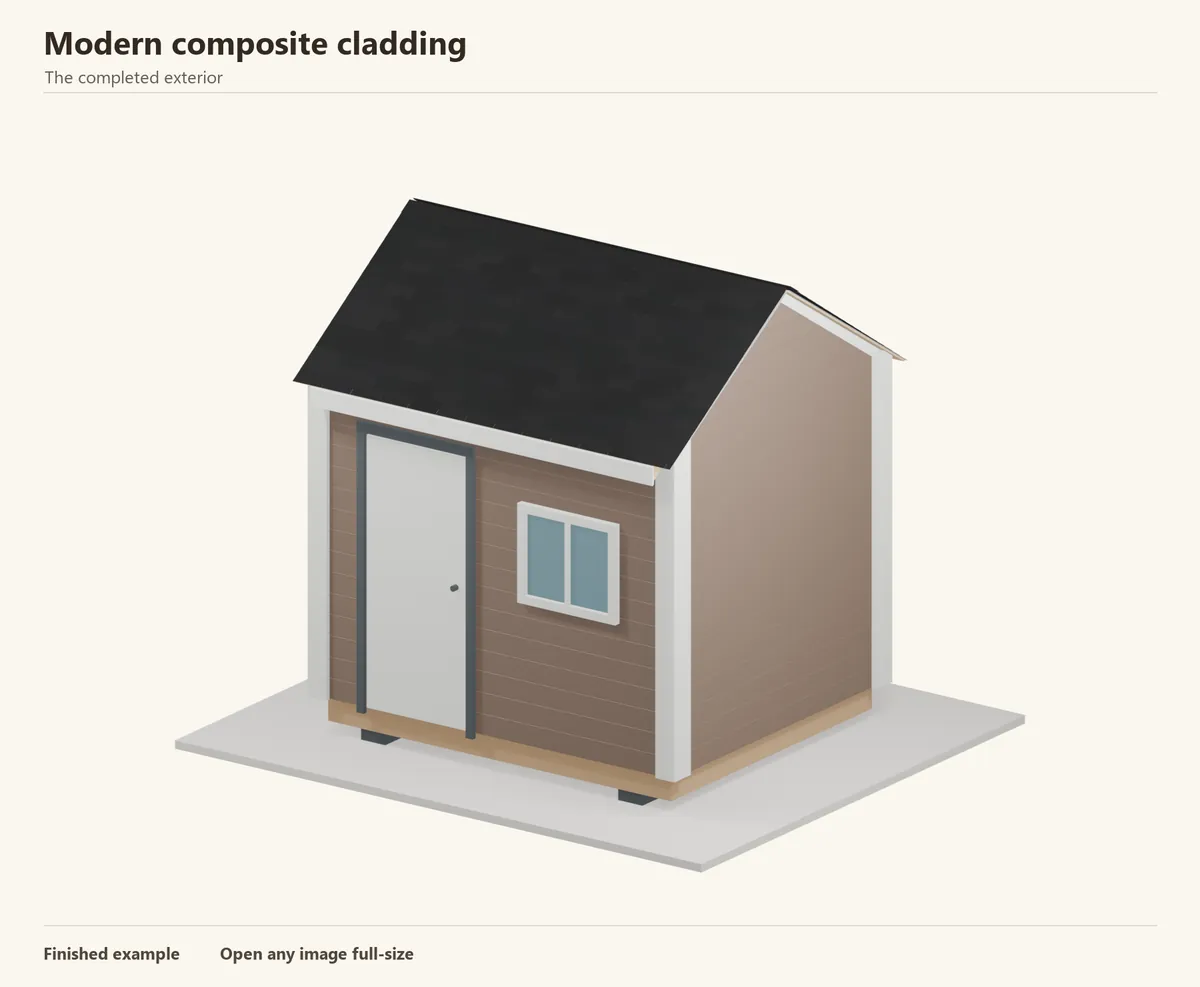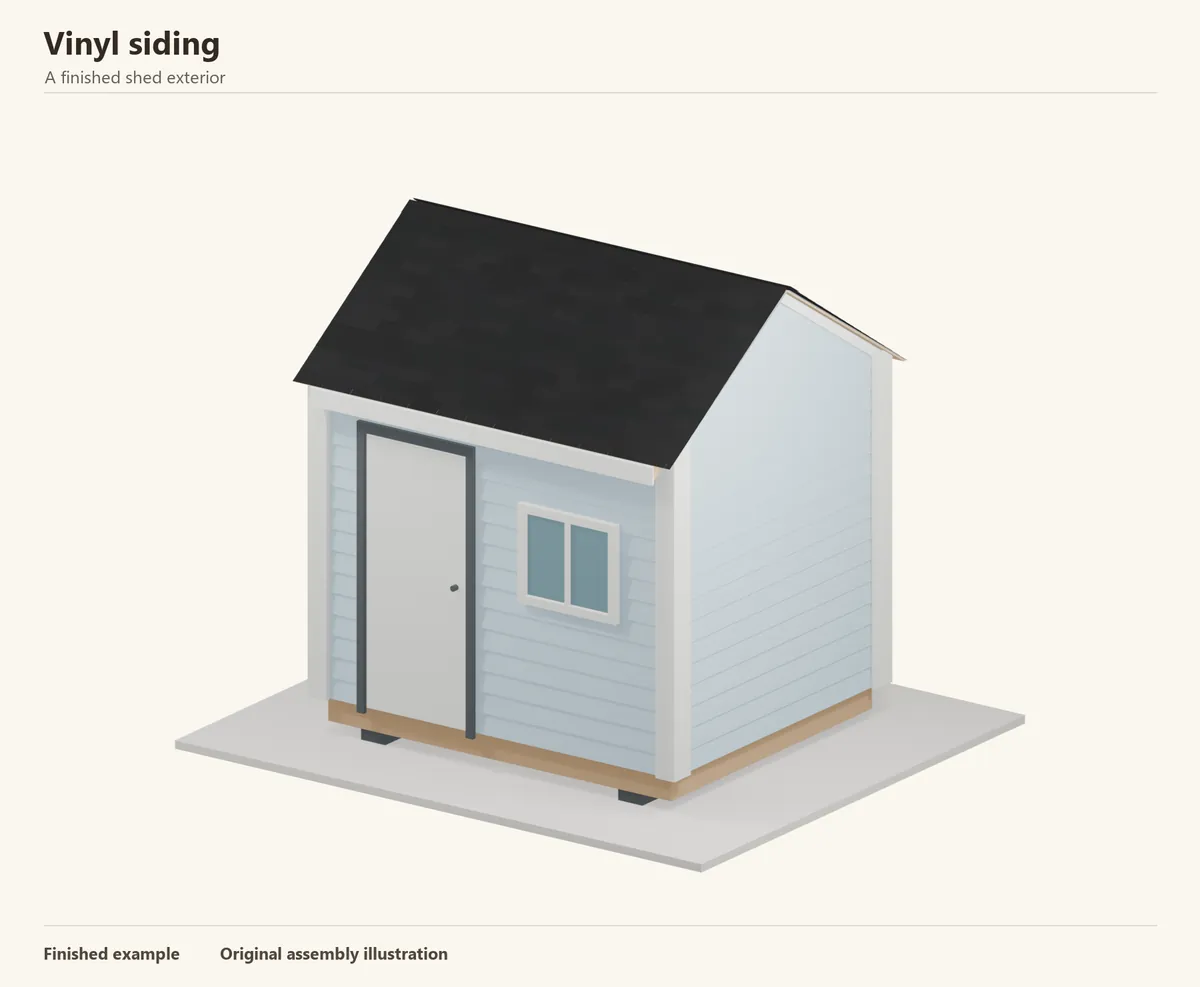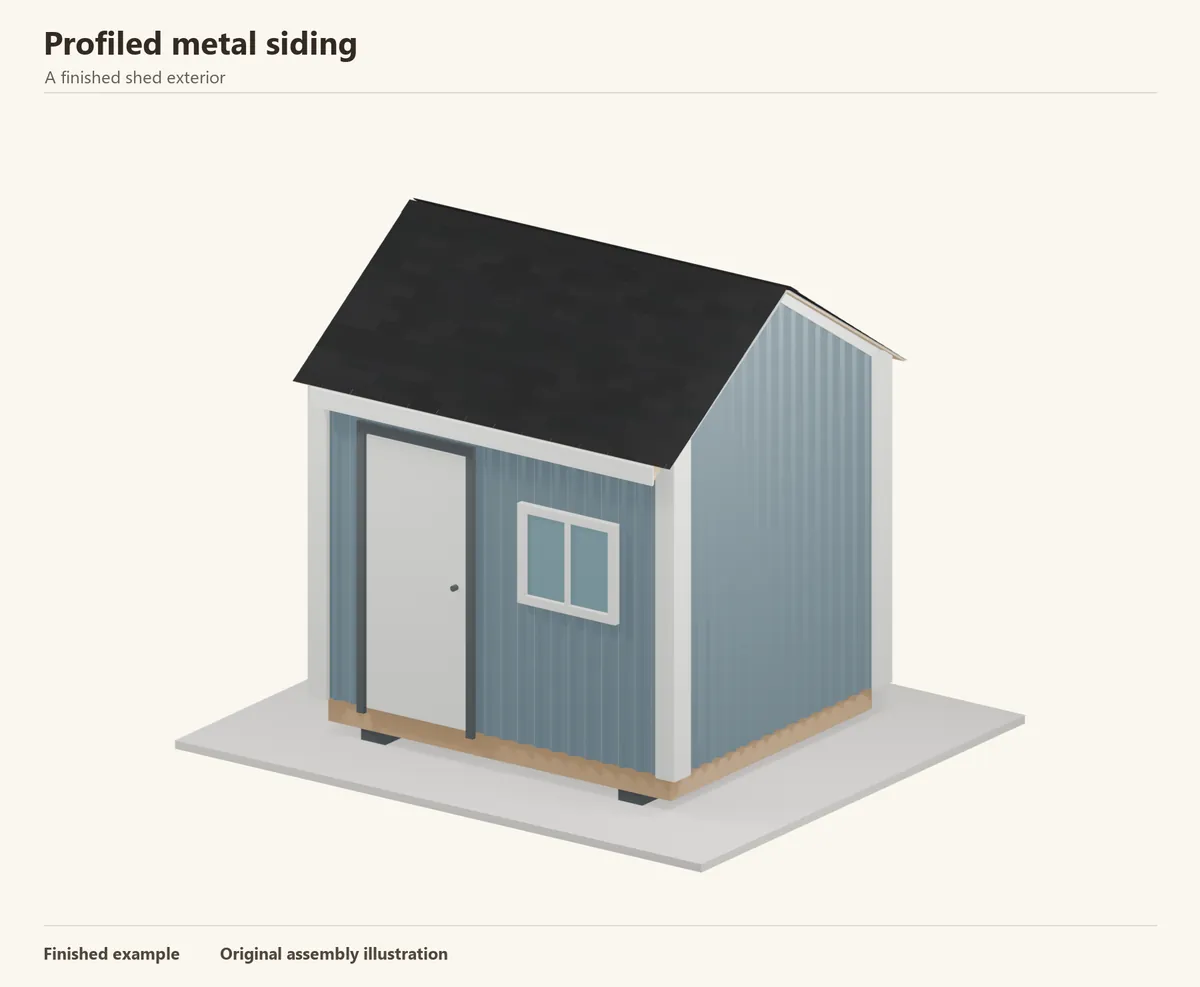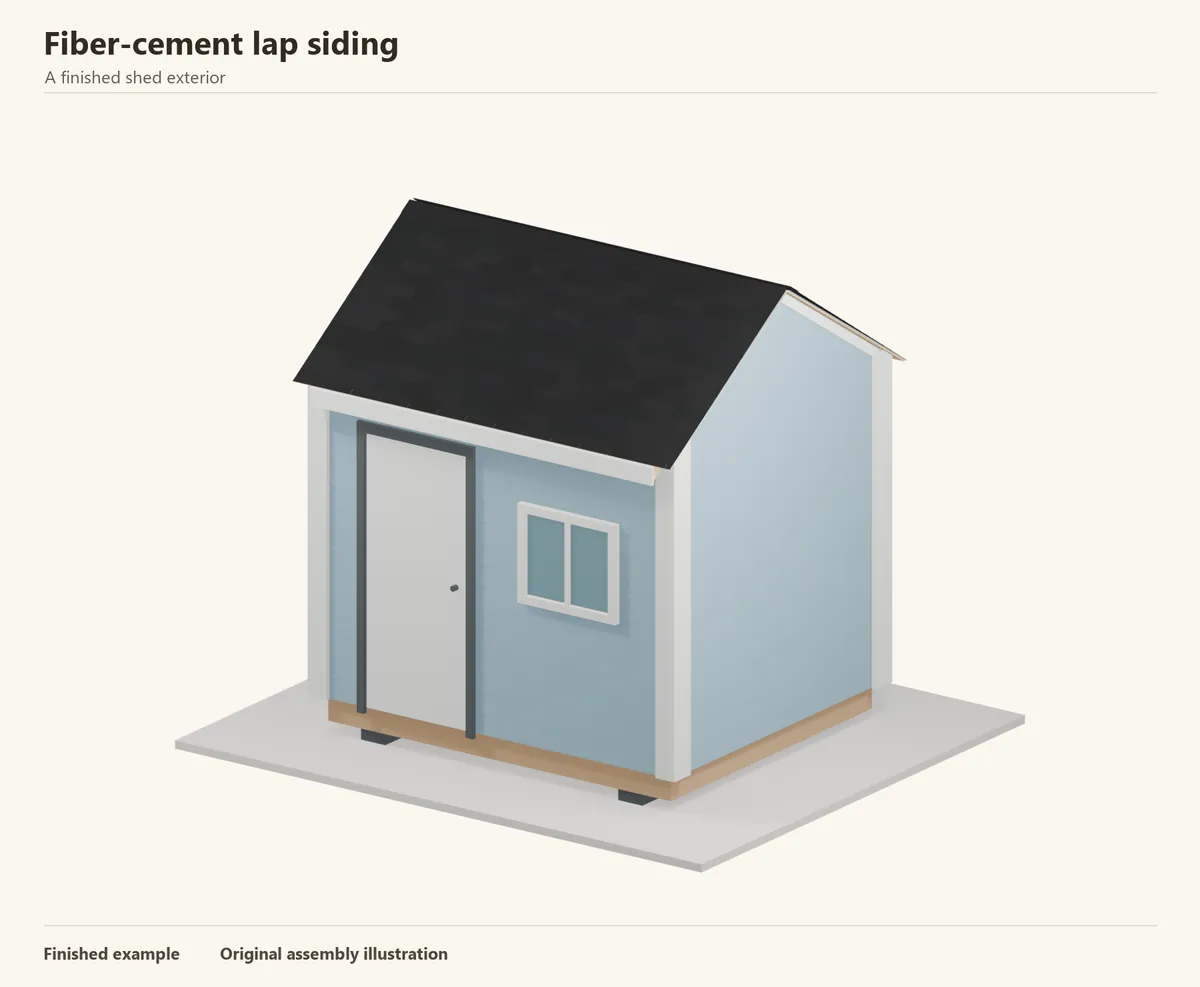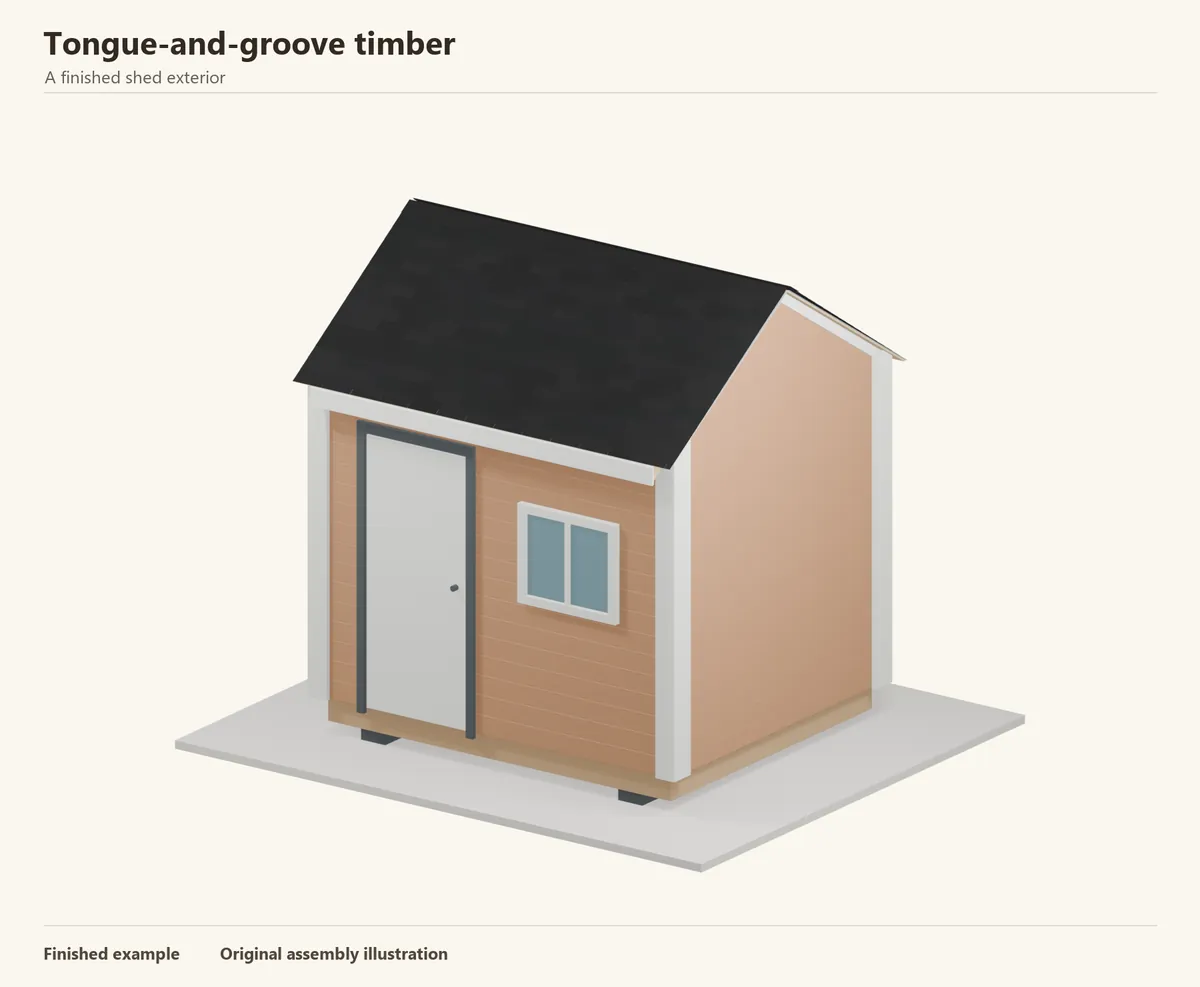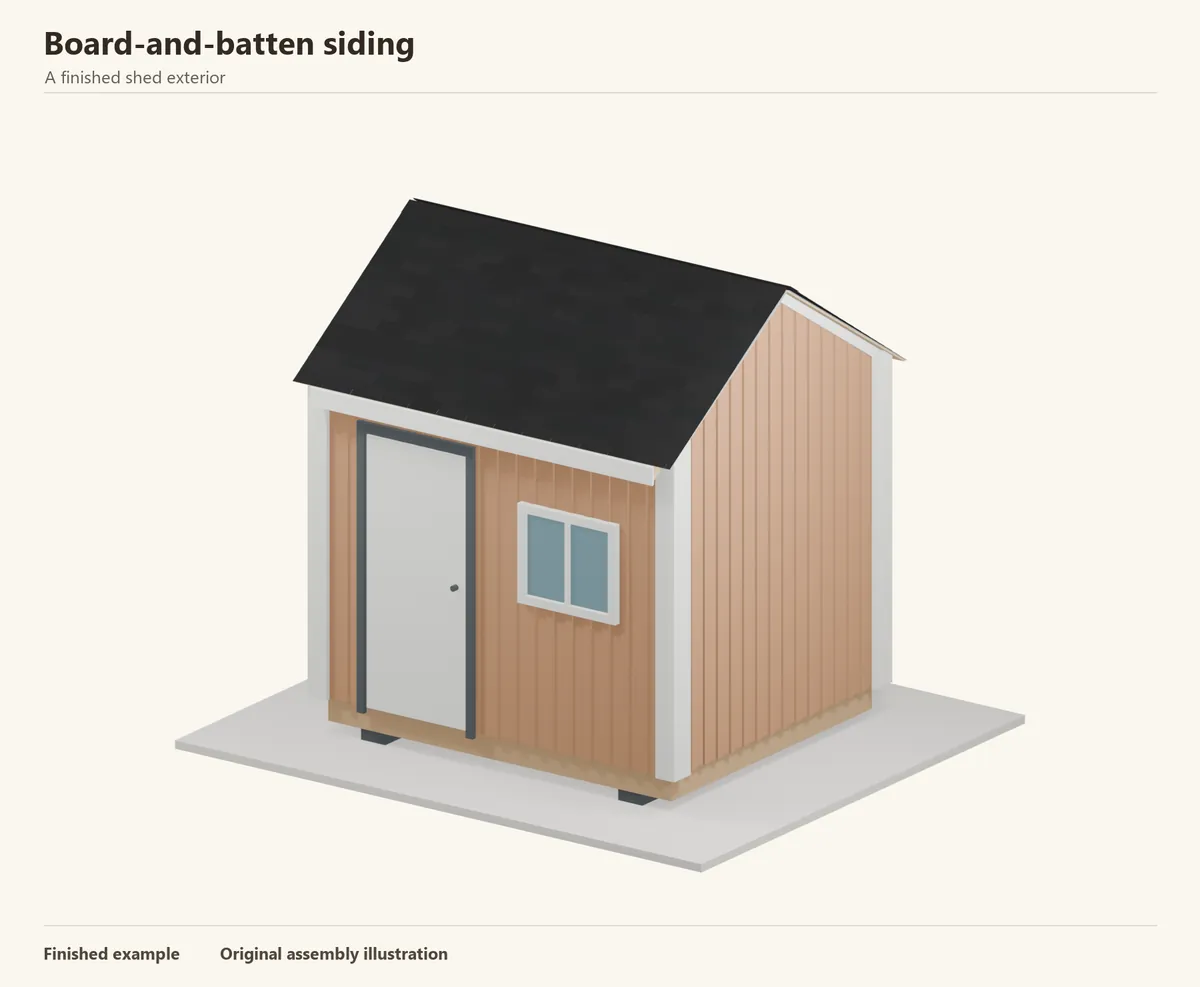
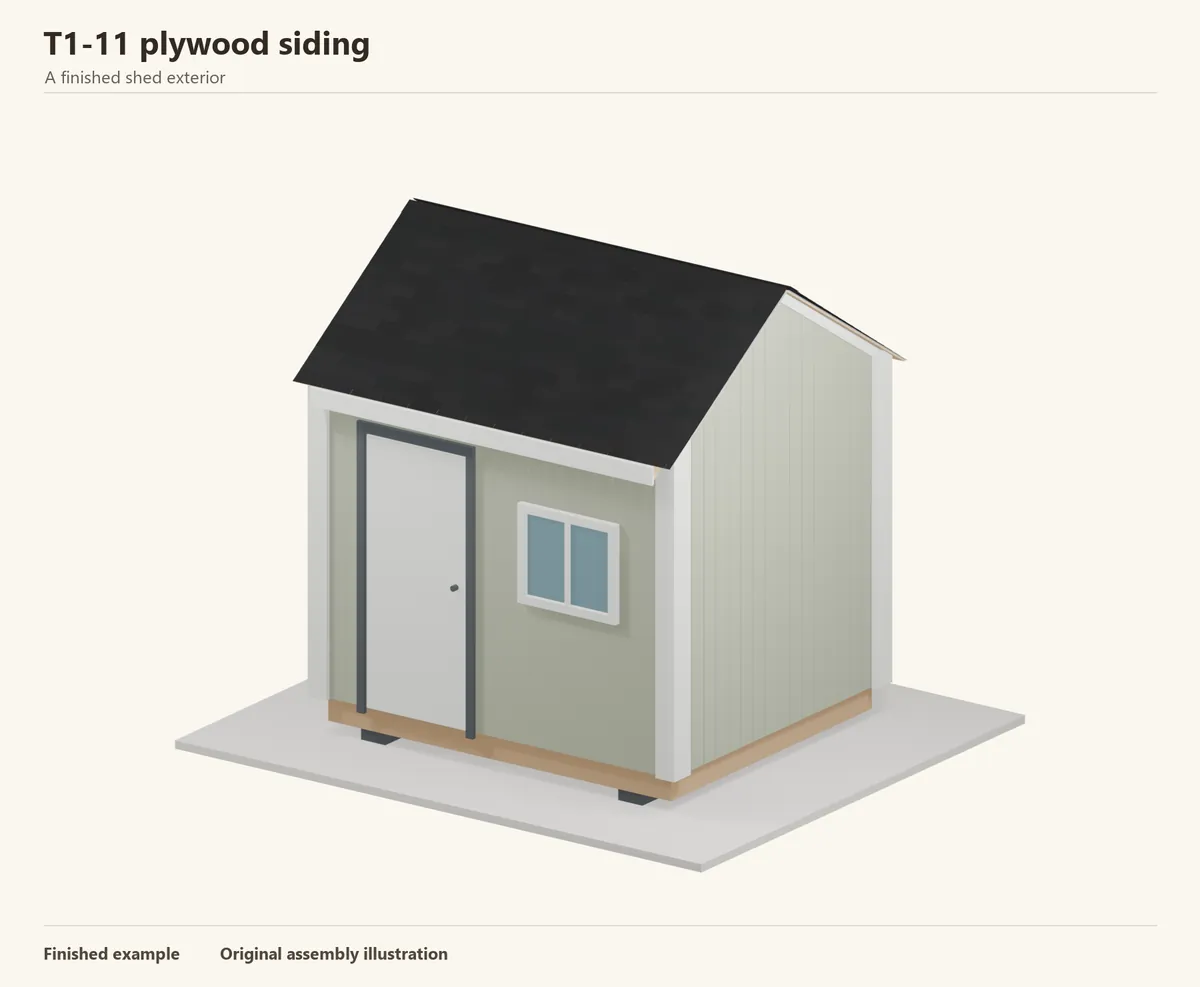
- A good fit for
- Fast wall coverage, a painted or stained timber appearance, and a straightforward sheet layout.
- Plan for
- Large sheets need careful handling. Unprotected edges and low ground clearance can shorten their life.
Jump to an installation step
- 1. Measure the walls and plan the sheet joints
- 2. Store the sheets flat and check the faces
- 3. Cut the panels and coat exposed edges
- 4. Set the bottom clearance and flashing
- 5. Place the first sheet plumb
- 6. Follow the panel fastening schedule
- 7. Fit the next sheet without forcing the seam
- 8. Continue the sheets across the wall
- 9. Cut neatly around doors and windows
- 10. Protect the corners with supported trim
- 11. Flash any horizontal sheet break
- 12. Finish the coating and inspect the wall
Before you begin
Buy the cladding and its required accessories together. Measure the wall area and openings, then calculate coverage using the actual product profile and allow for cuts.
- Exterior plywood siding with a readable grade and span mark
- Wall sheathing or the specifically approved direct-to-stud assembly
- Weather barrier, compatible tapes, base and head flashings, and Z-flashing where sheets stack
- Specified siding nails, corner boards and exterior sealant for the joints that require it
- Primer and exterior paint or an approved siding stain, including cut-edge treatment
- Tape, square, level, chalk line, supported cutting bench and suitable saw
- Eye, hearing and dust protection; a helper for full sheets
Companies offering this type of siding include Roseburg and Georgia-Pacific. Check local availability and follow the installation instructions for the product you choose.
Choose plywood siding by its rating
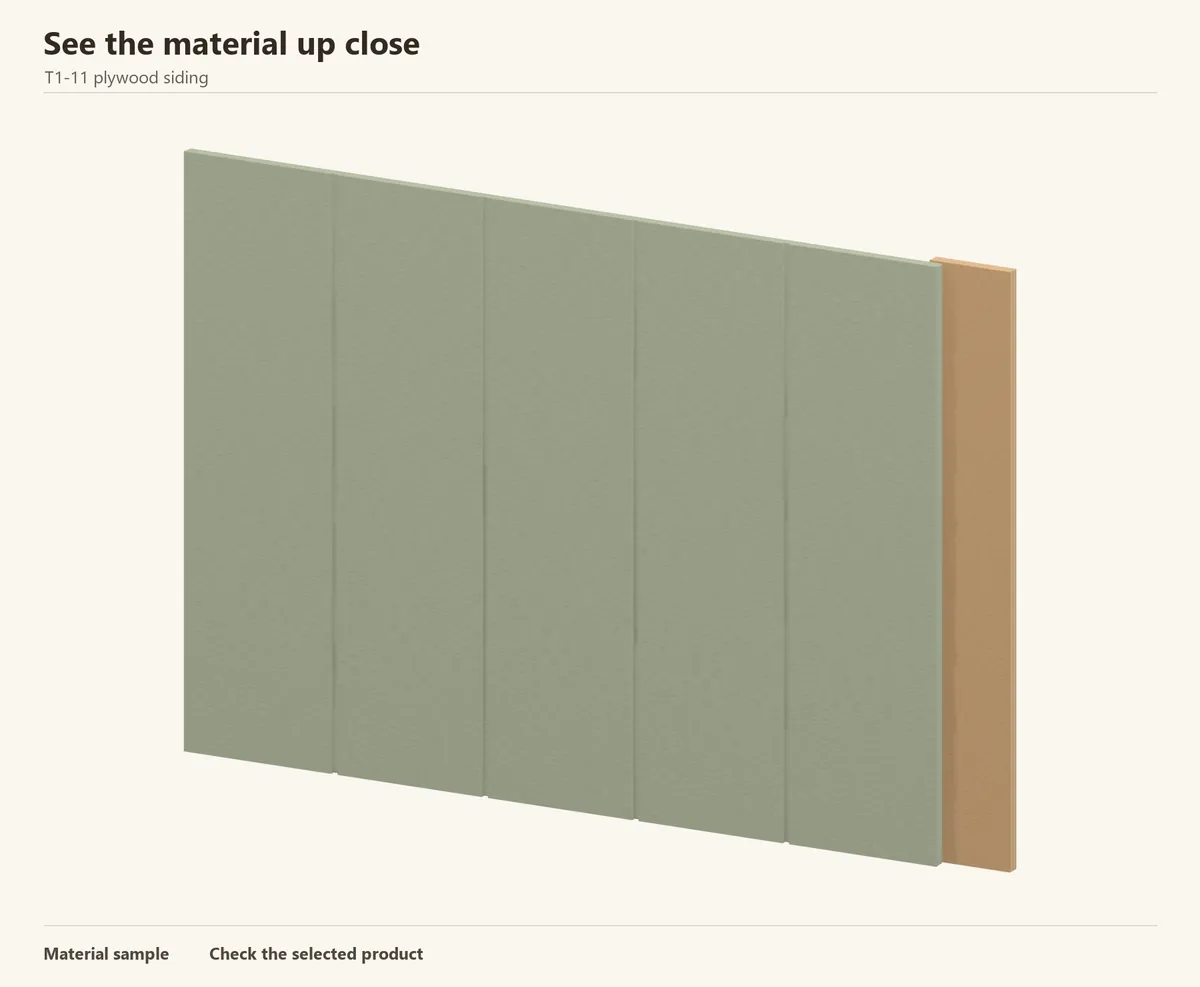
T1-11 describes a grooved siding pattern. Look at the panel edge to confirm that the product you are buying is plywood made from bonded veneers. Grooved engineered-wood panels are another option, with their own installation instructions.
This walkthrough uses siding over a prepared, sheathed wall. A rated panel may also form part of an approved direct-to-stud bracing assembly, but its grade, span, joint support and fastening must match that design. A grooved face alone proves none of those things. Factory-primed plywood can reduce preparation work; it still needs the specified finish.
Reference: APA — Engineered Wood Construction Guide, wall siding details (PDF) · Georgia-Pacific — plywood siding construction and finishing
Step 1 of 12
Measure the walls and plan the sheet joints
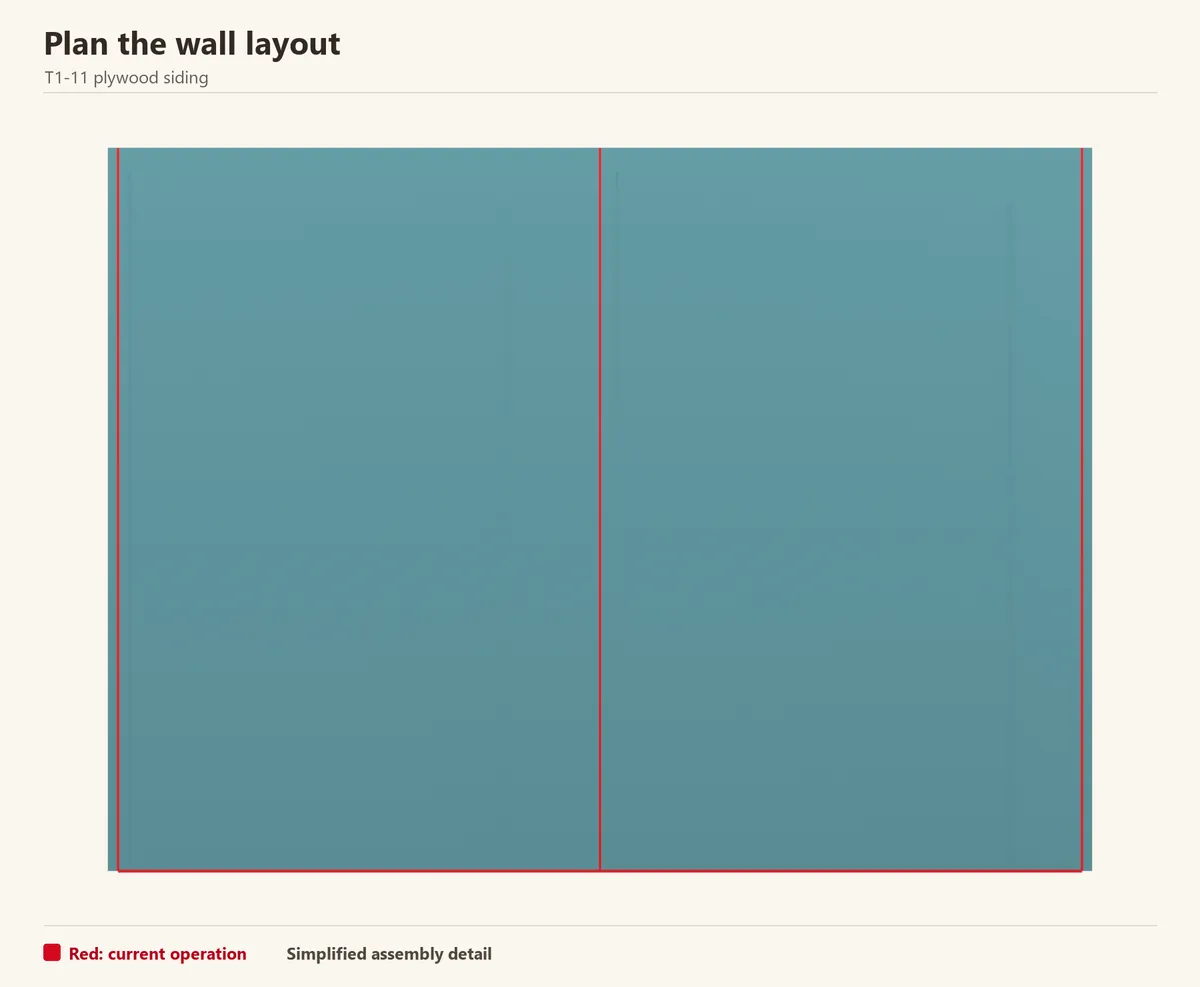
Draw each wall, including the door, windows and gable. Lay out vertical sheets using their installed coverage after the edge overlap. Arrange the joints over the required framing or blocking before buying the panels.
Mark the starting level and support positions where you can still find them after a sheet covers the wall. Check the weather barrier and opening flashings now. Use full-height sheets where practical to reduce horizontal seams.
Check before continuing: Every planned sheet edge has the backing required by the wall design.
Reference: APA — Engineered Wood Construction Guide, wall siding details (PDF) · DuPont — wall weather barrier and opening flashing
Step 2 of 12
Store the sheets flat and check the faces
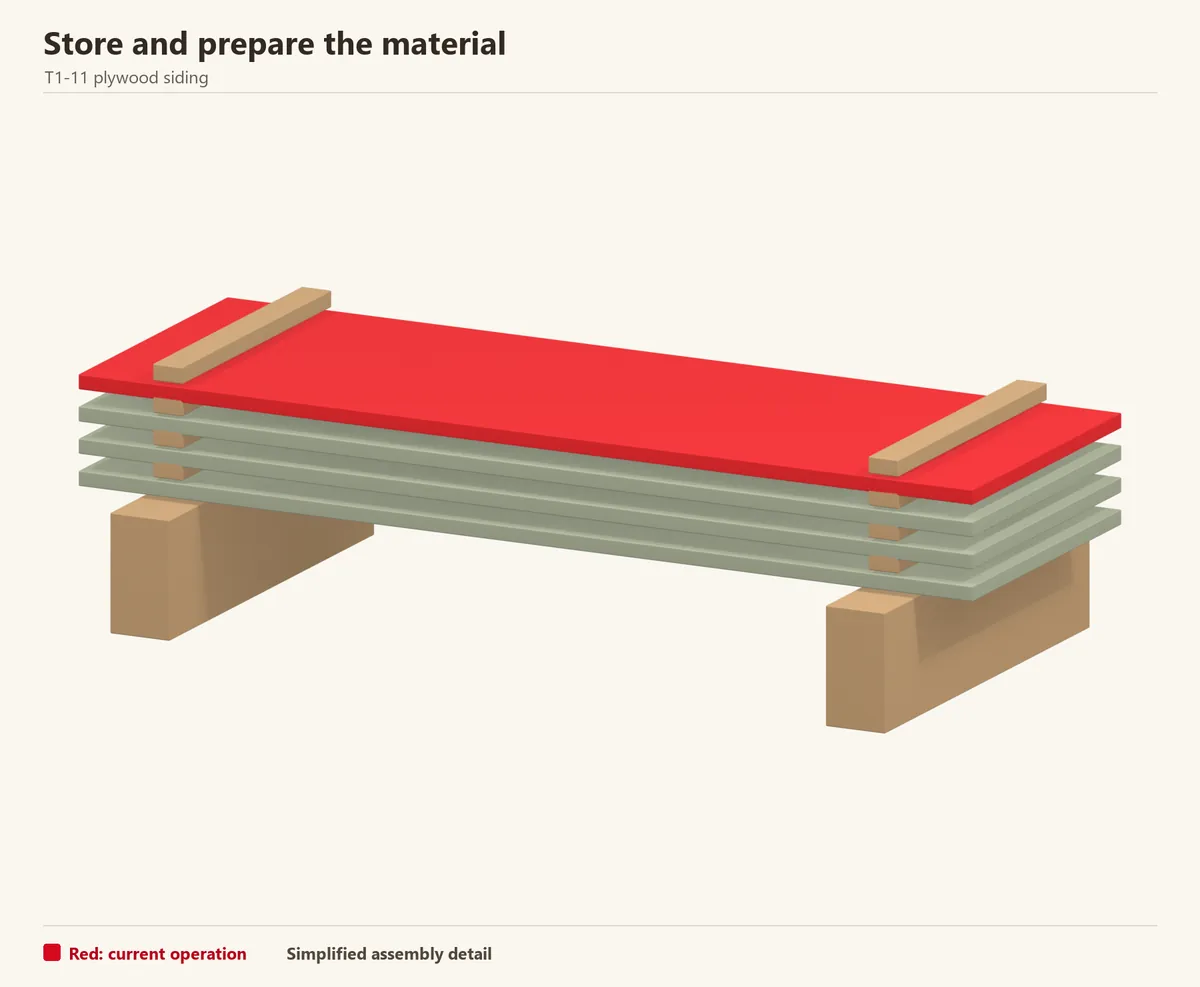
Keep panels flat on level bearers, off the ground and protected from rain. Check the order, face orientation, edge profile and visible damage before carrying sheets to the shed.
Sort the best full sheets for the largest uninterrupted walls. Set aside useful offcuts for small areas only where their edges can be supported. Photograph the grade mark and keep it with the product instructions.
Step 3 of 12
Cut the panels and coat exposed edges
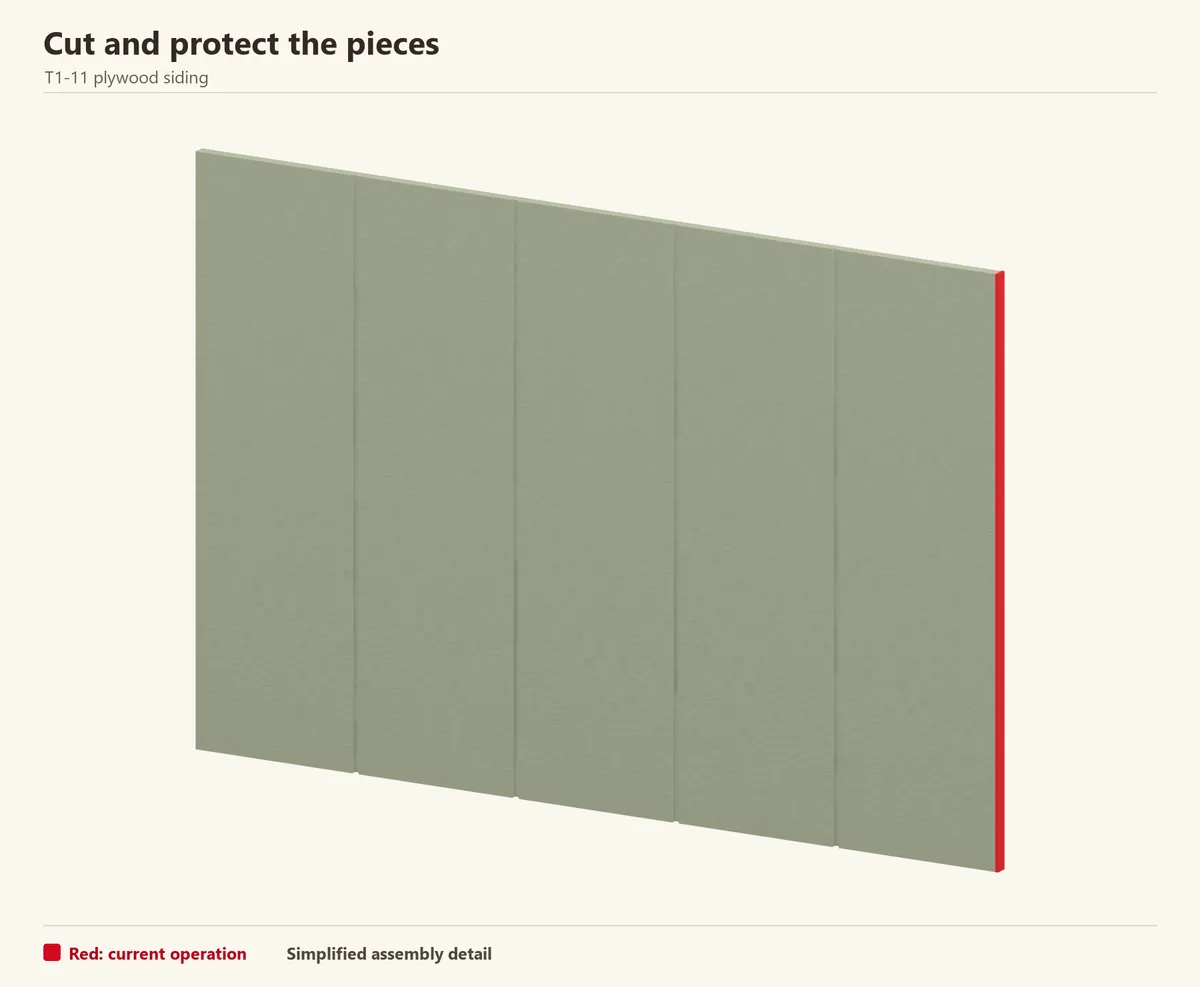
Measure each piece from the actual wall. Mark the face and orientation, then support the sheet and offcut on a stable cutting surface. Set the blade for plywood and make a trial cut to check which face splinters.
Brush the specified coating into fresh edges and routed cutouts before they disappear behind trim. Treat factory edges as directed too. Allow the coating to dry before fastening or applying a finish that needs a dry substrate.
Check before continuing: No fresh plywood edge will become inaccessible while still untreated.
Reference: Georgia-Pacific — plywood siding construction and finishing
Step 4 of 12
Set the bottom clearance and flashing
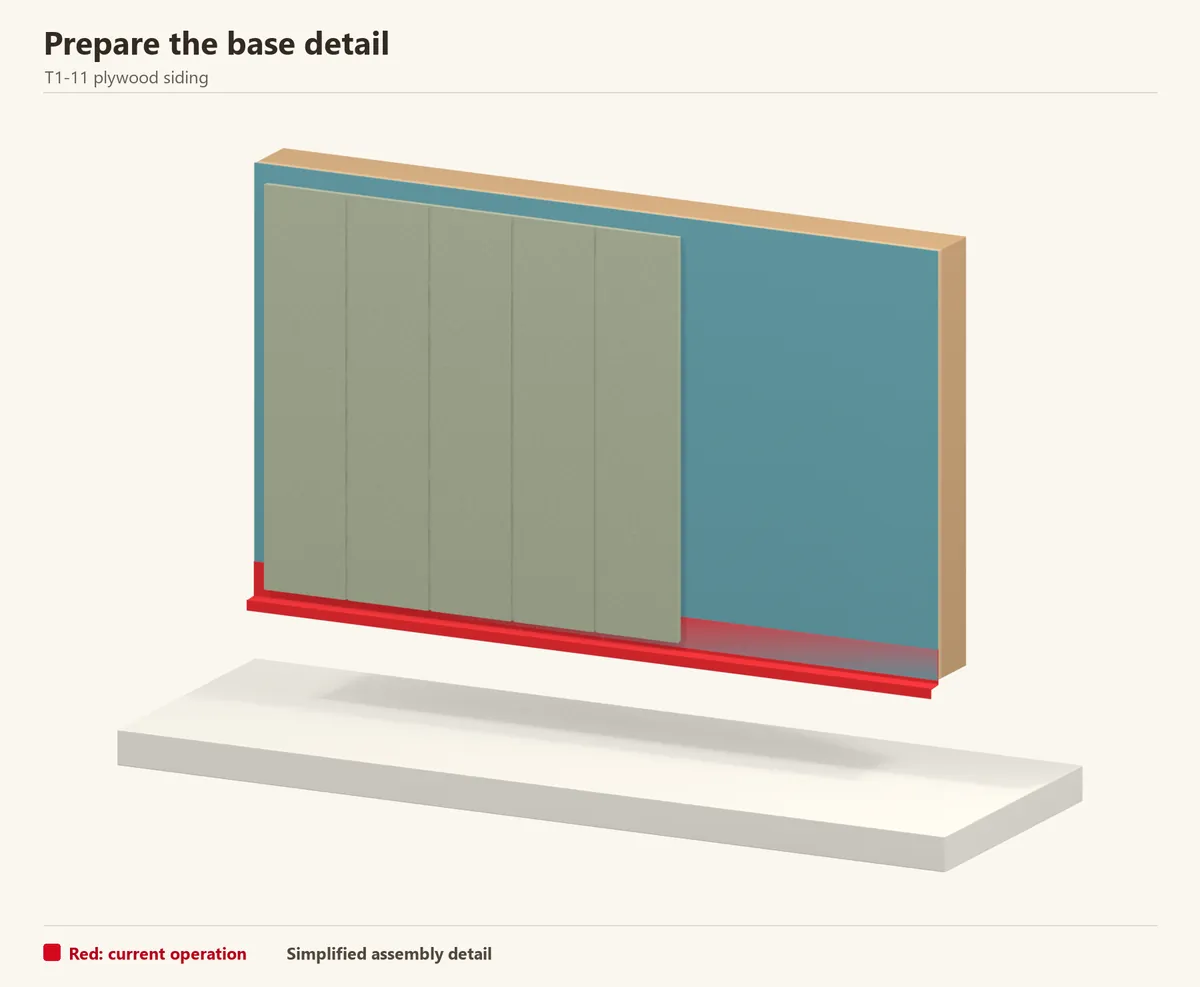
Find the highest finished ground level around the shed, including planned gravel, paving or mulch. Set the siding base to the clearance required by the panel instructions and local wall detail; do not measure from an unfinished excavation.
Fit the base flashing where the assembly calls for it and integrate it with the weather barrier. The bottom edge must shed water instead of sitting on a horizontal surface. Mark the line around all four walls before fitting the first sheet.
Check before continuing: The clearance survives the final landscaping, and the base can drain.
Step 5 of 12
Place the first sheet plumb
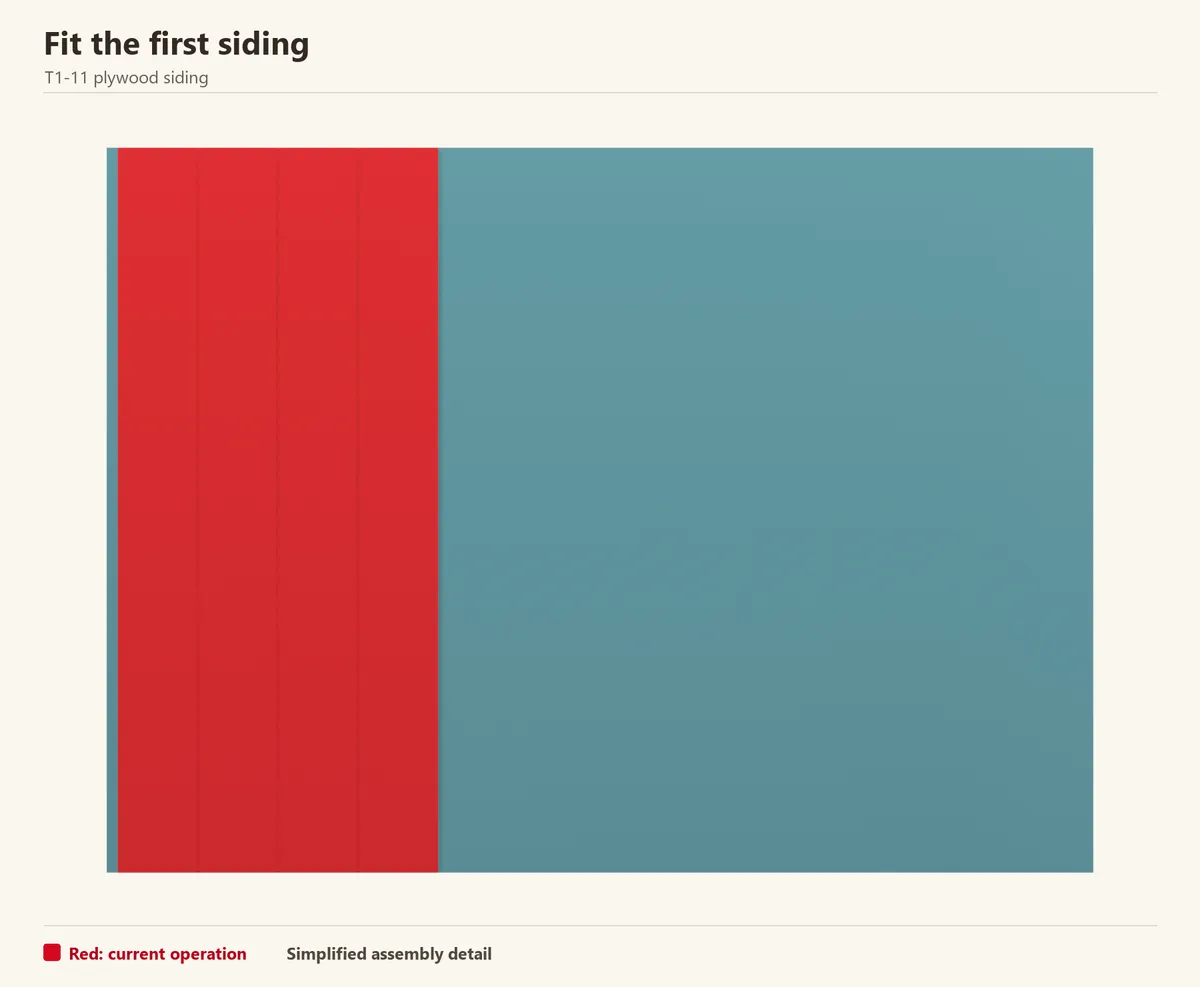
With a helper, lift the sheet onto temporary supports at the base line. Face the grooved surface outward and run its grooves vertically. Check the side with a long level and confirm the sheet reaches its intended support lines.
Hold it securely while starting the fixings. Check plumb again before completing the fastening pattern; a small lean in this first sheet carries into every seam that follows. Remove temporary supports when they are no longer needed.
Check before continuing: The first sheet is both plumb and correctly positioned above the base.
Step 6 of 12
Follow the panel fastening schedule
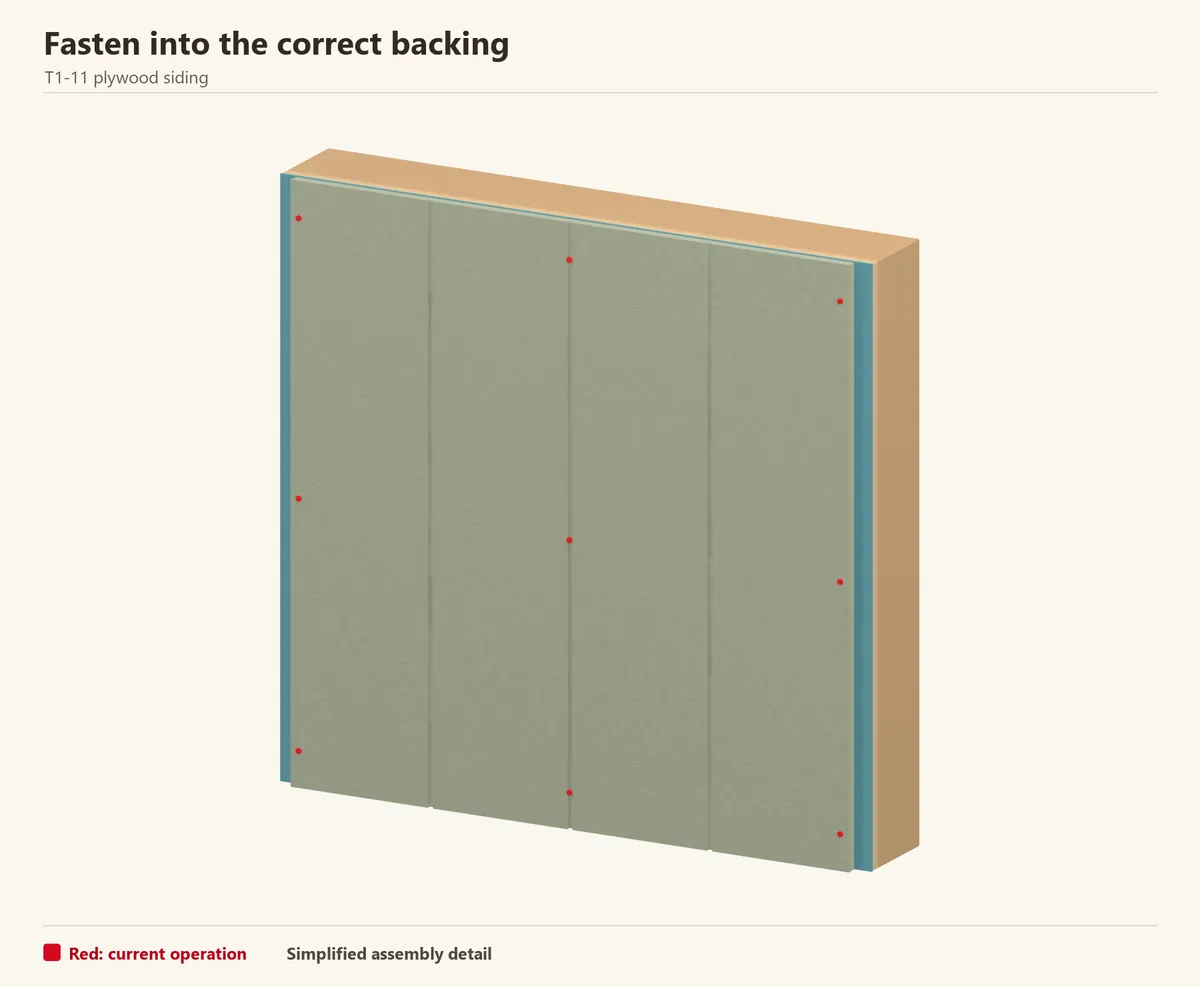
Use corrosion-resistant fasteners of the specified type and length. Follow the approved edge and intermediate-support schedule, including edge distances and any closer spacing required for the building or wind exposure.
Drive heads snug without crushing the face. A nail driven into empty space is not a fixing: use the support marks and check questionable locations before moving on. A bracing wall may require both edges at a shiplap joint to be nailed.
Check before continuing: Fasteners reach the intended backing and the plywood face is not torn.
Reference: APA — Engineered Wood Construction Guide, wall siding details (PDF)
Step 7 of 12
Fit the next sheet without forcing the seam
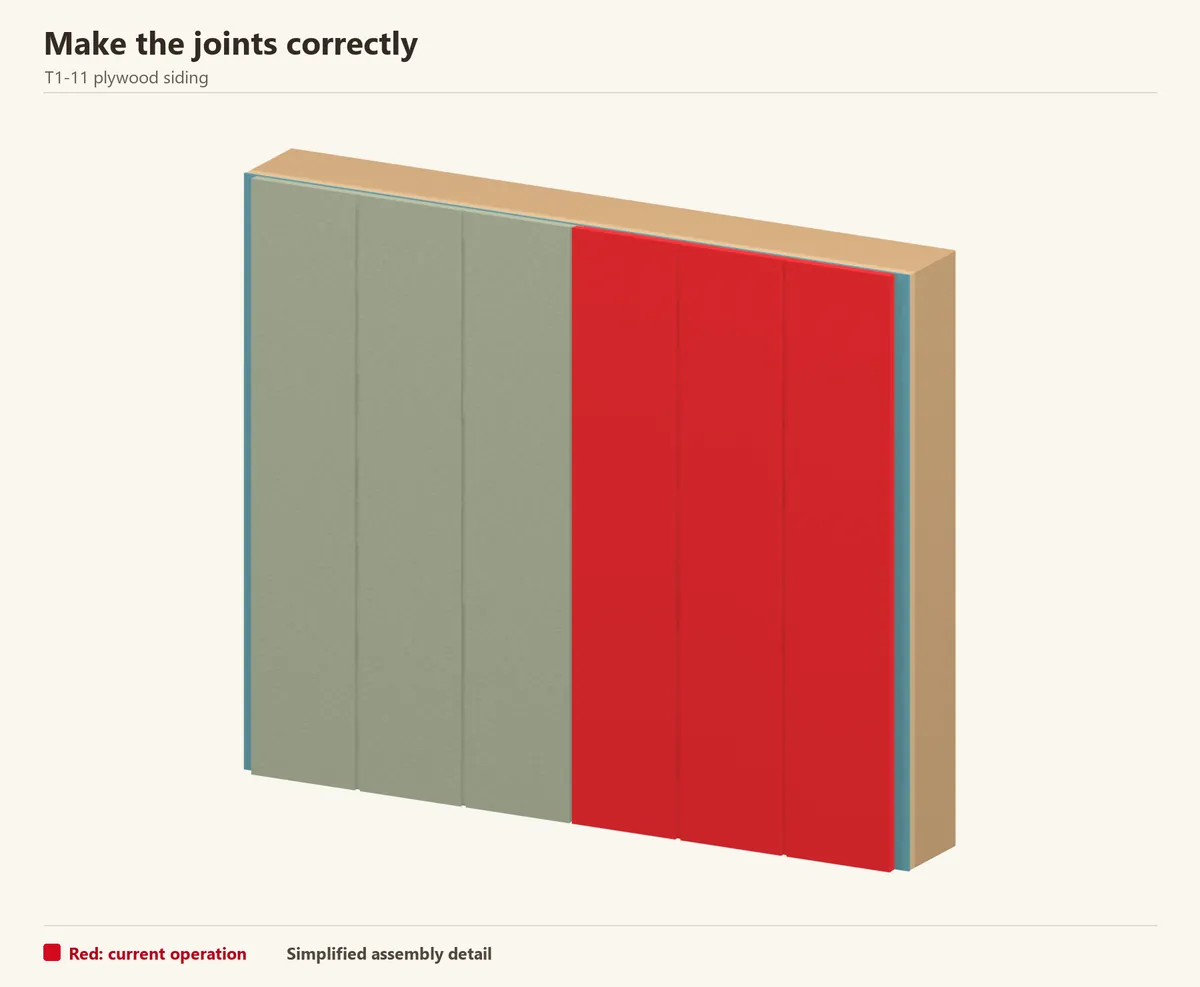
Engage the factory edge in the direction shown by the manufacturer. Check its alignment feature and leave the specified allowance. APA generally recommends 1/8 inch at panel ends and edges unless the manufacturer indicates otherwise; do not add that blindly to a self-spacing joint.
Keep the visible groove pattern consistent across the seam. Follow the chosen detail for edge treatment and sealant rather than filling every recess with caulk.
Check before continuing: The seam is supported, aligned and has its intended movement space.
Reference: APA — panel edge and end spacing · APA — Engineered Wood Construction Guide, wall siding details (PDF)
Step 8 of 12
Continue the sheets across the wall
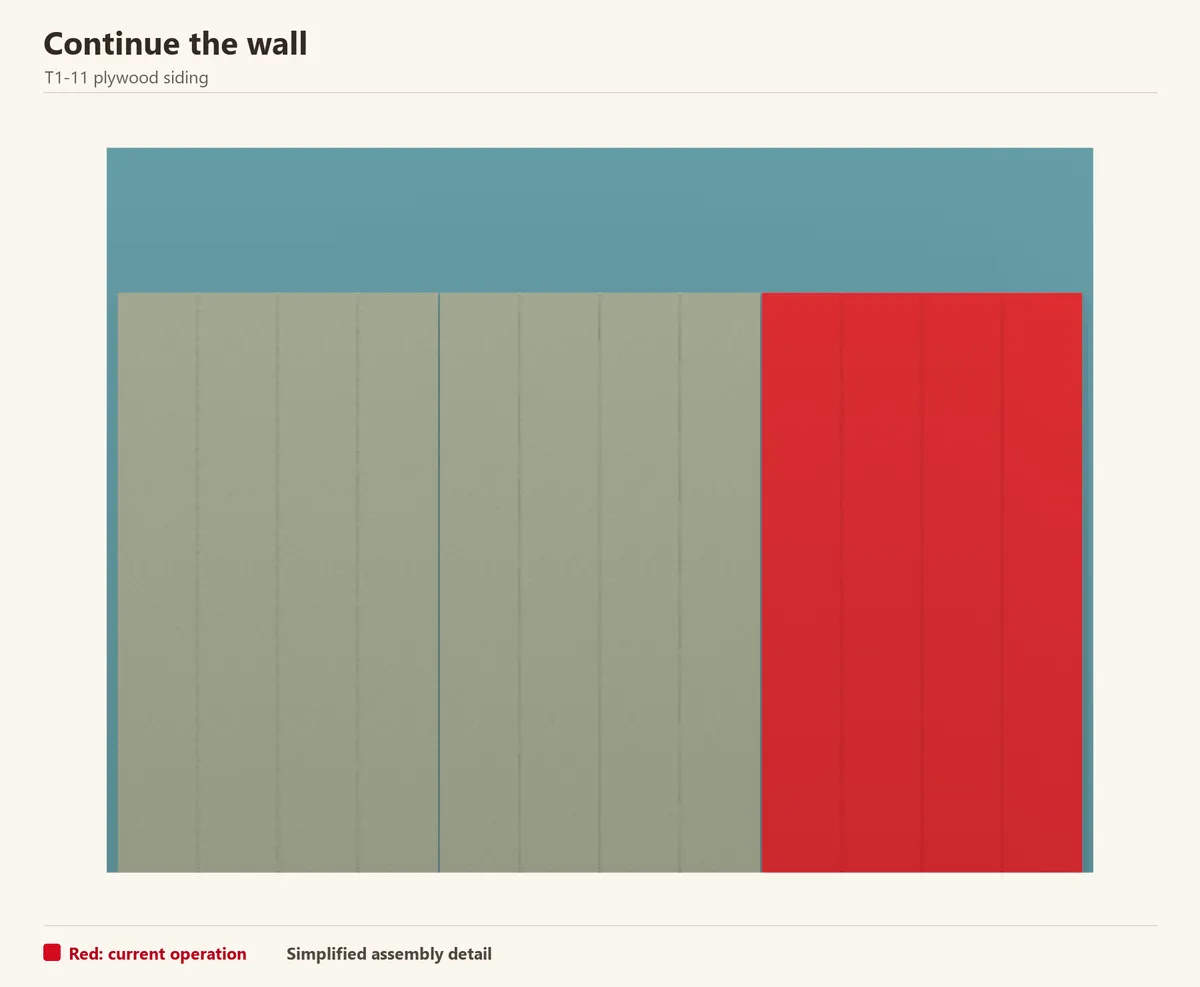
Install the remaining sheets from the established corner. Check plumb every few sheets and compare the bottom edges with the same datum. Measure the final piece from the remaining space, including its overlap and end allowance.
Avoid leaving a very narrow strip at a corner. If the layout produces one, adjust the first and last sheet widths before committing to the wall. Save labelled offcuts for openings rather than mixing them with waste.
Step 9 of 12
Cut neatly around doors and windows
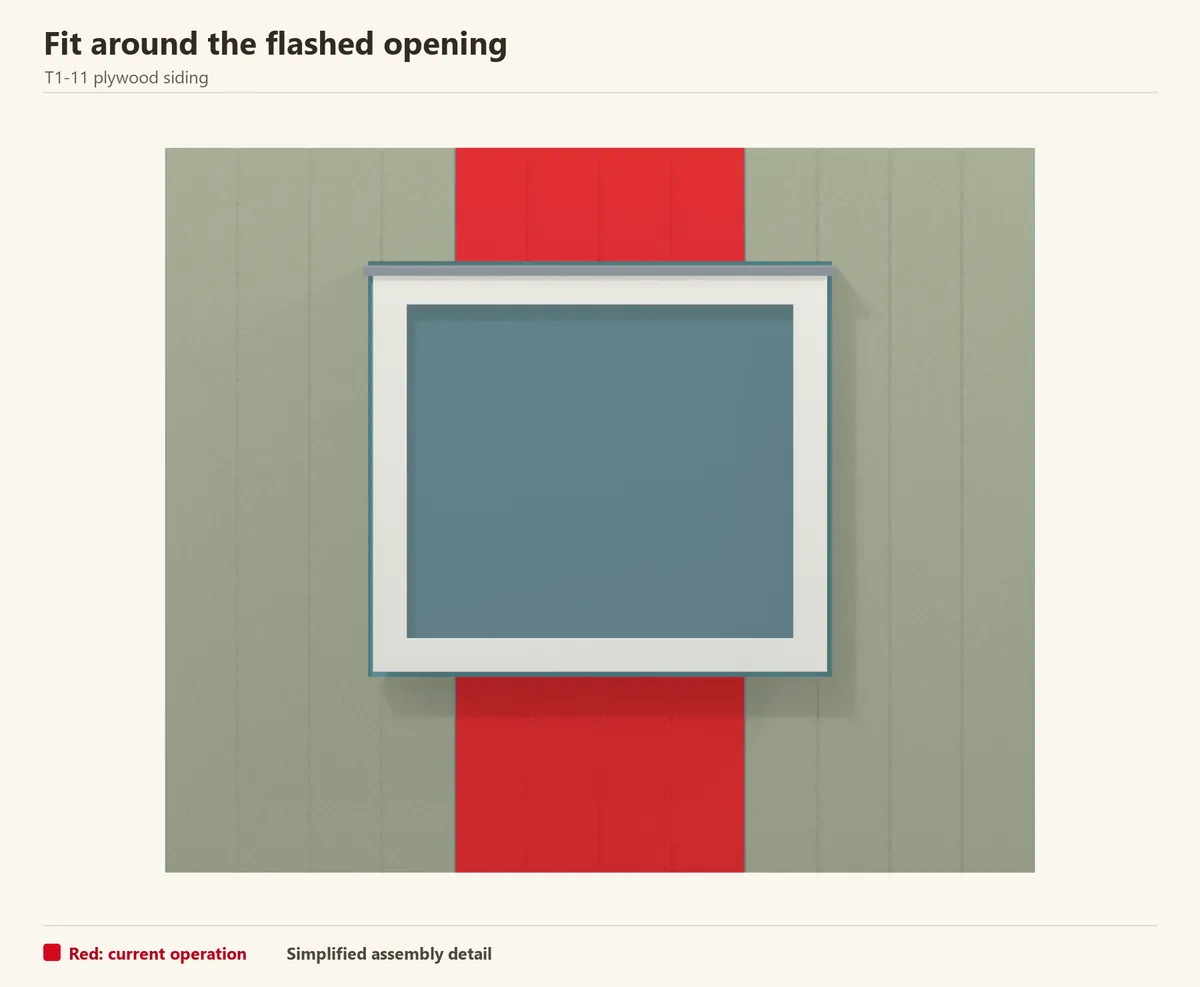
Transfer the opening from the wall to the sheet, allowing for the casing and specified joint. Drill or cut the corners carefully so the sheet does not split beyond the cutout. Test the fit, then coat the exposed edges.
Keep the head flashing visible beyond the trim and maintain its drainage gap. The illustration shows one panel layer with cut pieces around the casing, so there is no extra strip of siding over the window detail.
Check before continuing: The opening fits without forcing the panel and the head flashing drains.
Reference: DuPont — wall weather barrier and opening flashing
Step 10 of 12
Protect the corners with supported trim
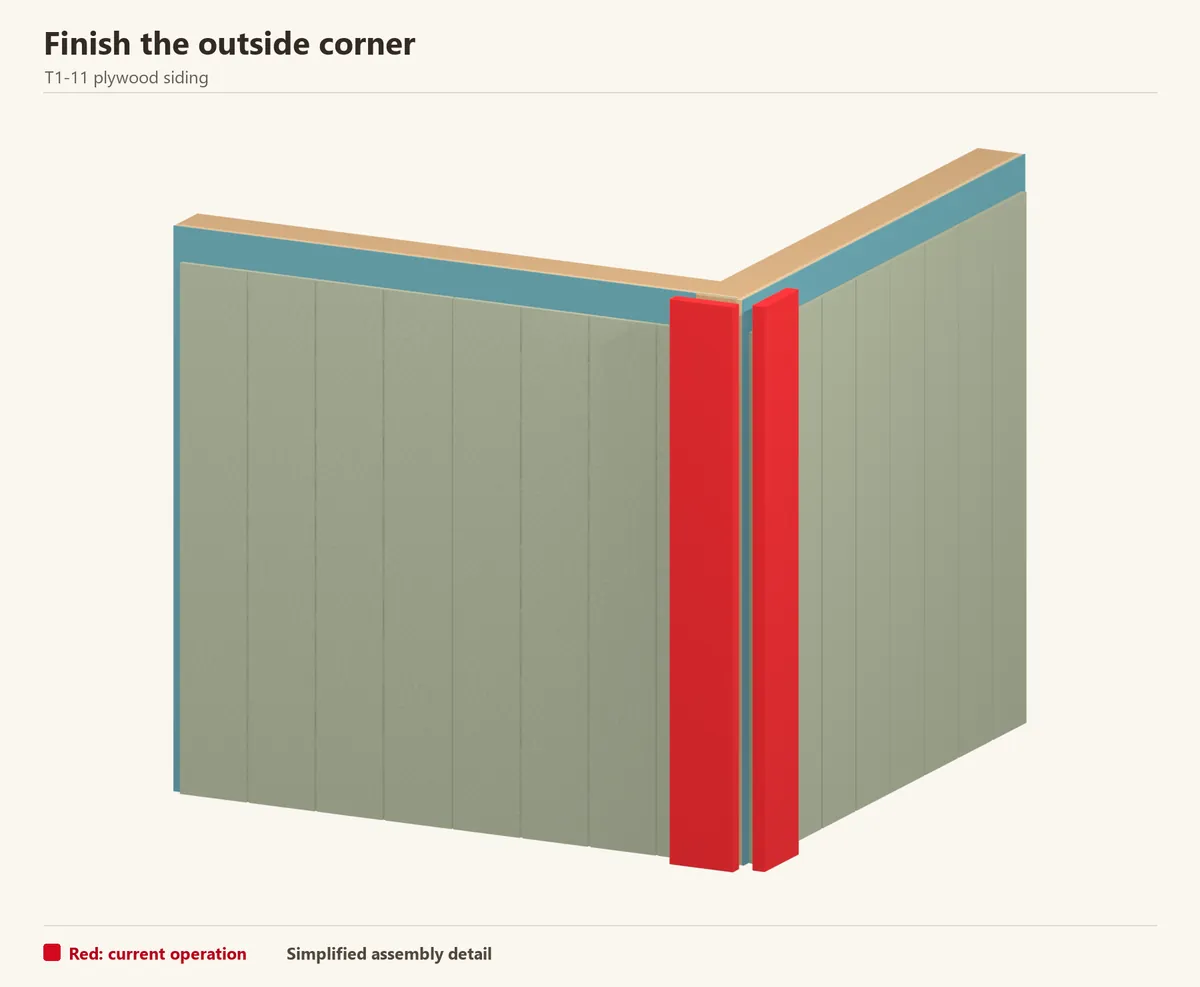
Fit corner boards deep enough to cover the panel ends. Check both faces for a straight, consistent reveal and fix the trim into sound backing.
Prime or stain concealed trim cuts before installation. Apply sealant only at the joints called for by the trim and siding detail, leaving the wall’s drainage exits open.
Step 11 of 12
Flash any horizontal sheet break
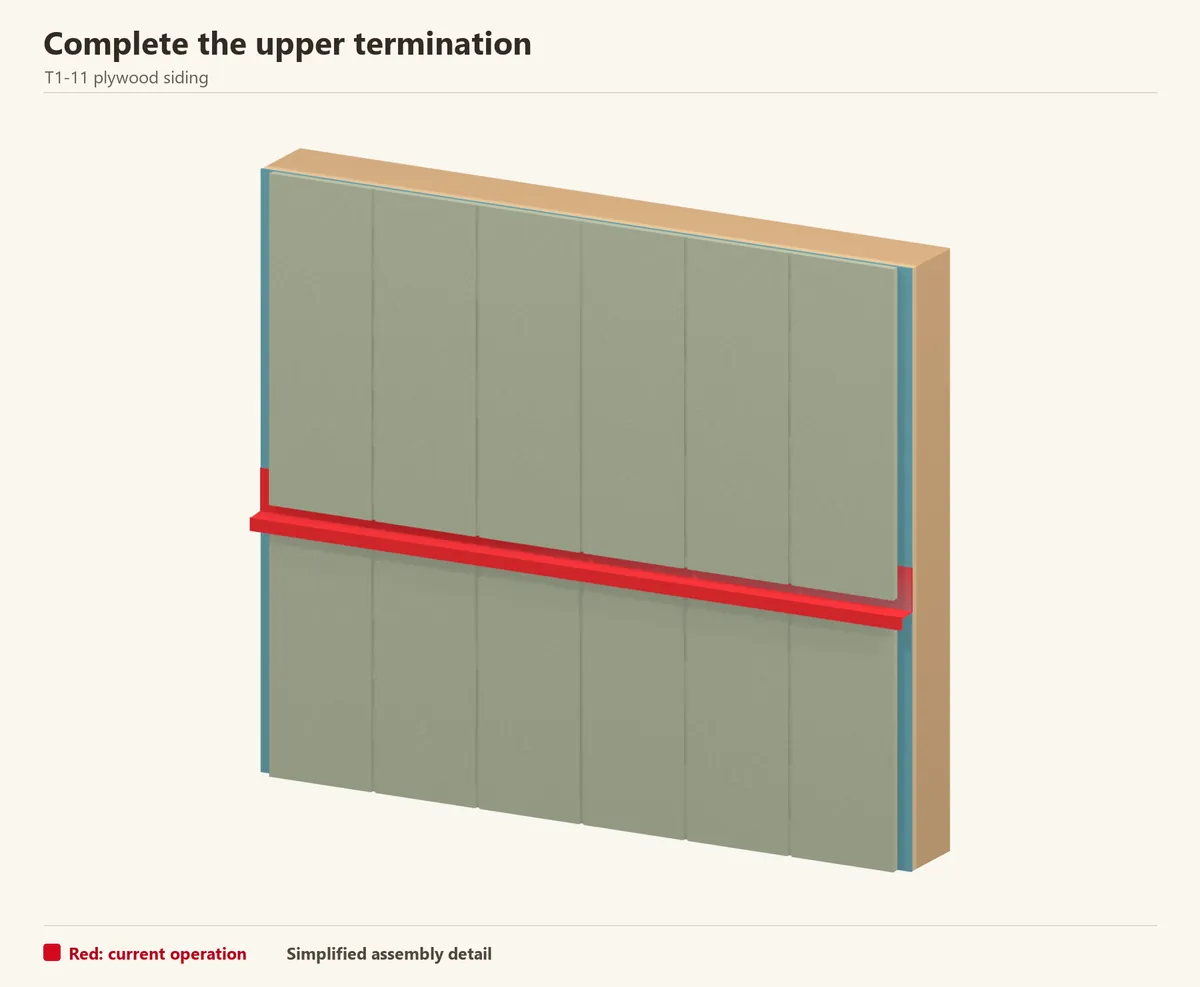
Where a wall or gable needs a second sheet above the first, support the joint and fit Z-flashing over the lower sheet. Lap the upper weather barrier over its upstand so water reaches the flashing rather than running behind it.
Hold the upper sheet clear of the ledge. APA’s illustrated detail uses a 1/8-inch minimum gap; follow any larger product requirement. Do not seal shut the gap that lets water escape. Coat sloping gable cuts before fitting them beneath the roof trim.
Check before continuing: The upper sheet clears the flashing and the water layers overlap downward.
Reference: APA — panel siding Z-flashing detail (PDF)
Step 12 of 12
Finish the coating and inspect the wall
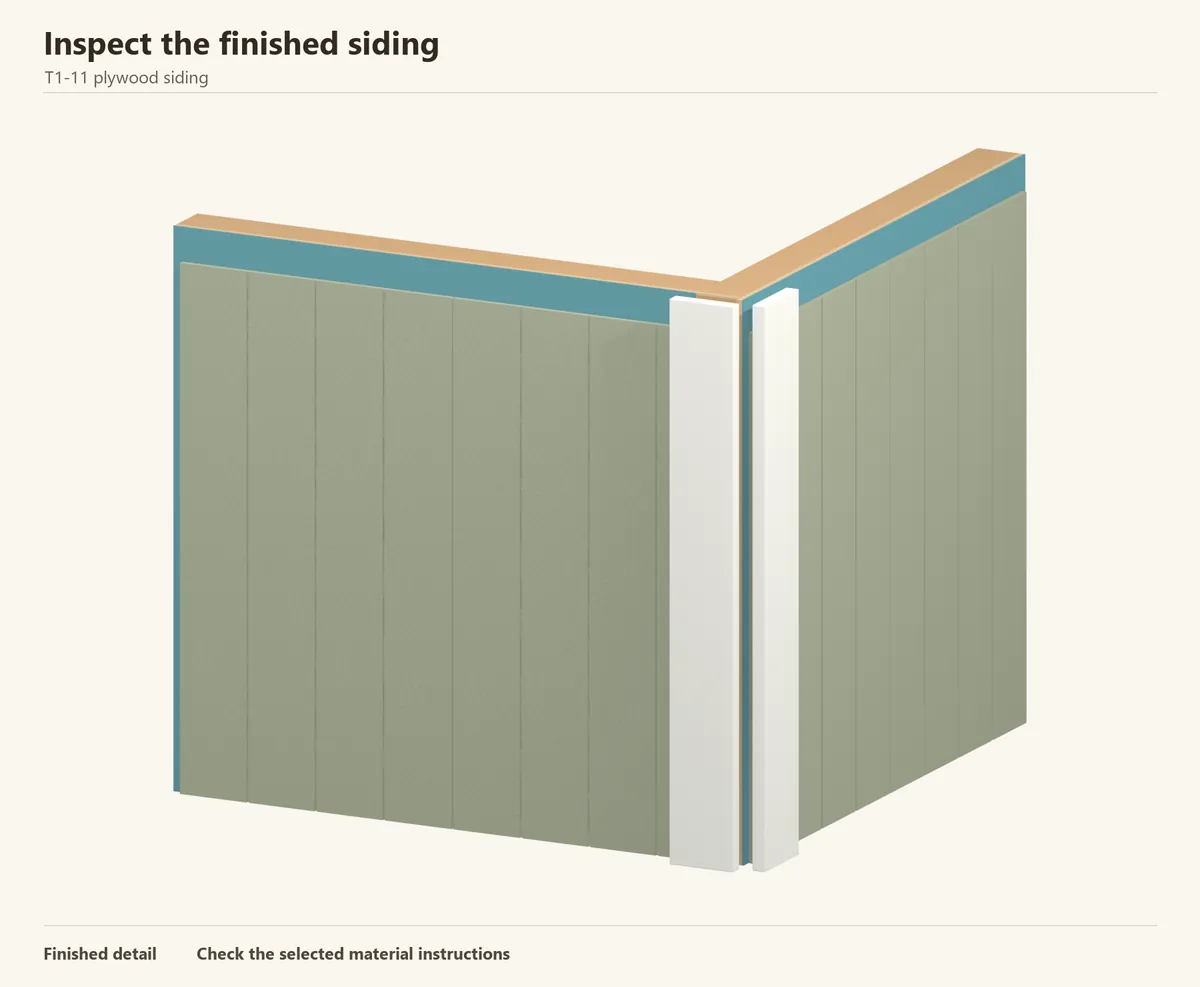
Complete the specified exterior coating across the faces, grooves, edges and trim. Check fastener damage and small missed areas in side light before putting away the paint.
Walk around the shed after the landscaping is complete. Keep soil, stored timber and splashback away from the base, and inspect lower edges and window details during routine maintenance. Record the coating colour for later repairs.
Check before continuing: All exposed wood is protected and the base and flashings remain clear.
Common questions
Can T1-11 replace wall sheathing?
Sometimes. Use a panel with the necessary rating and an approved wall design, including joint backing and the fastening schedule. This guide illustrates a separate sheathed backing; it does not assign a structural rating to an unmarked sheet.
Can I install the grooves horizontally?
Keep the grooved panels vertical in this installation. Use the product’s approved orientation; for horizontal timber lines, choose the lap or tongue-and-groove guide.
Can I stain it instead of painting it?
Some plywood siding accepts an approved opaque stain as well as primer and paint. Check the exact face and coating instructions. A factory-primed panel needs a compatible topcoat rather than a stain chosen for bare wood.
Installation references
Sources checked 24 October 2026. Use the current instructions for your product and region when purchasing and installing.