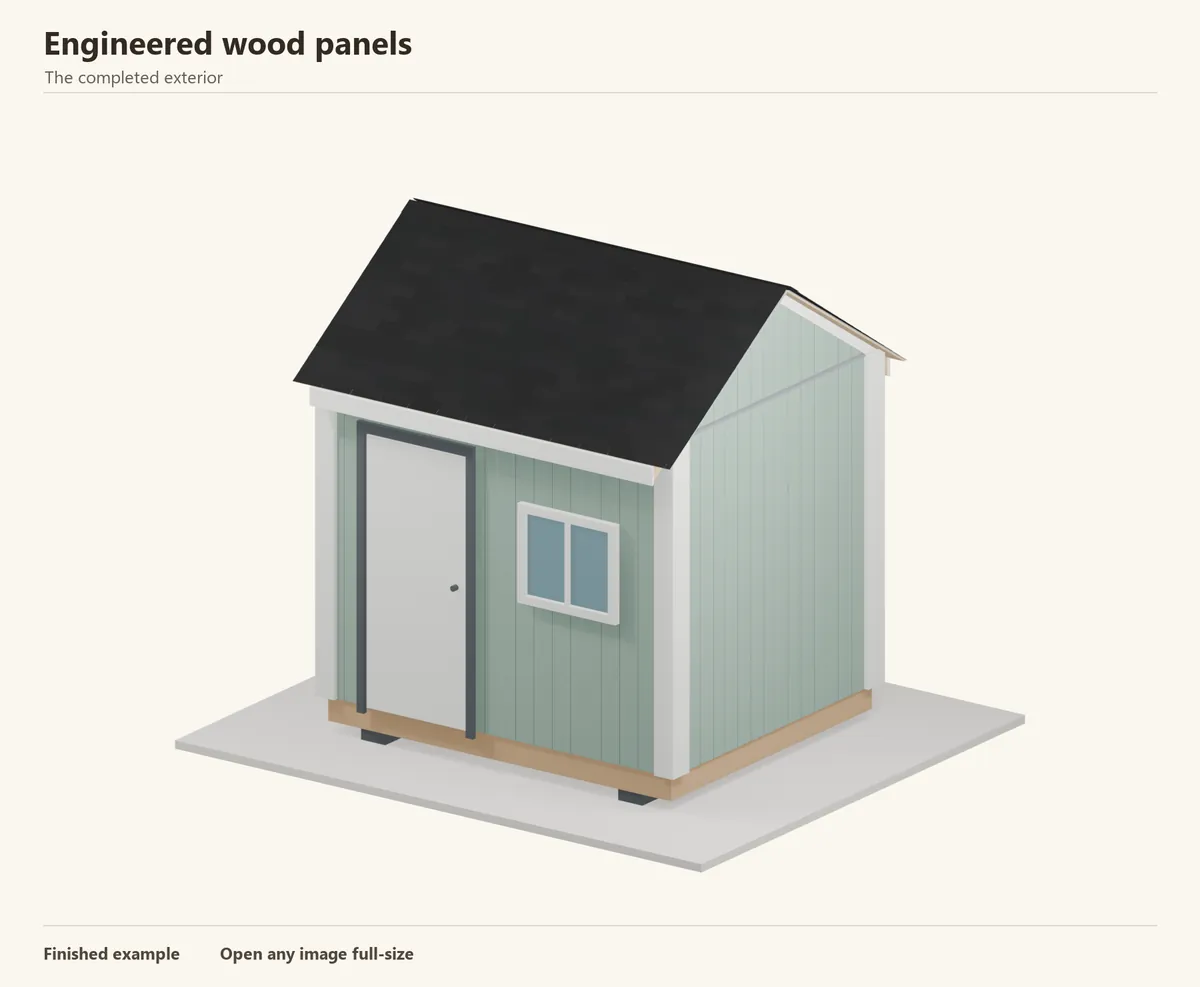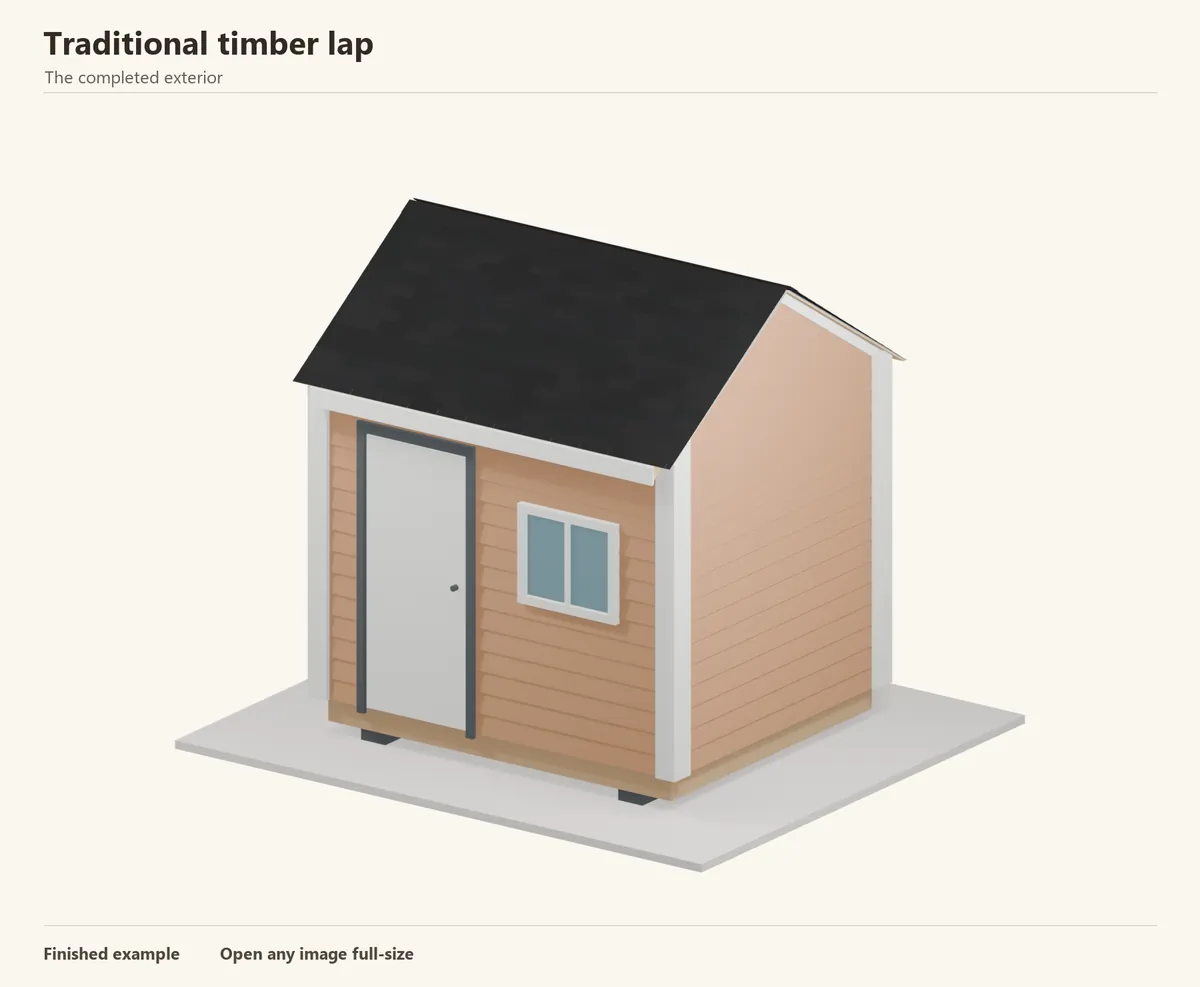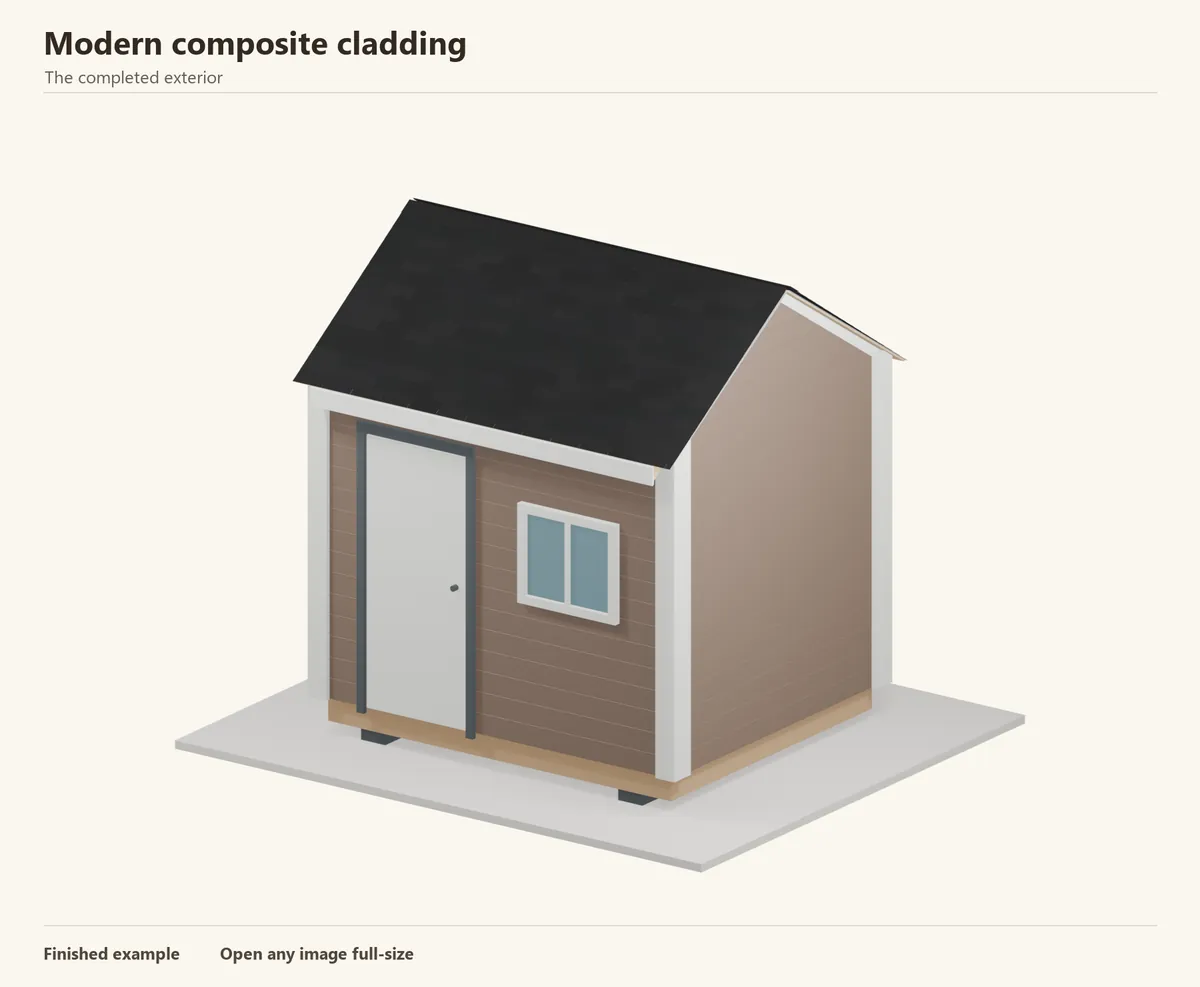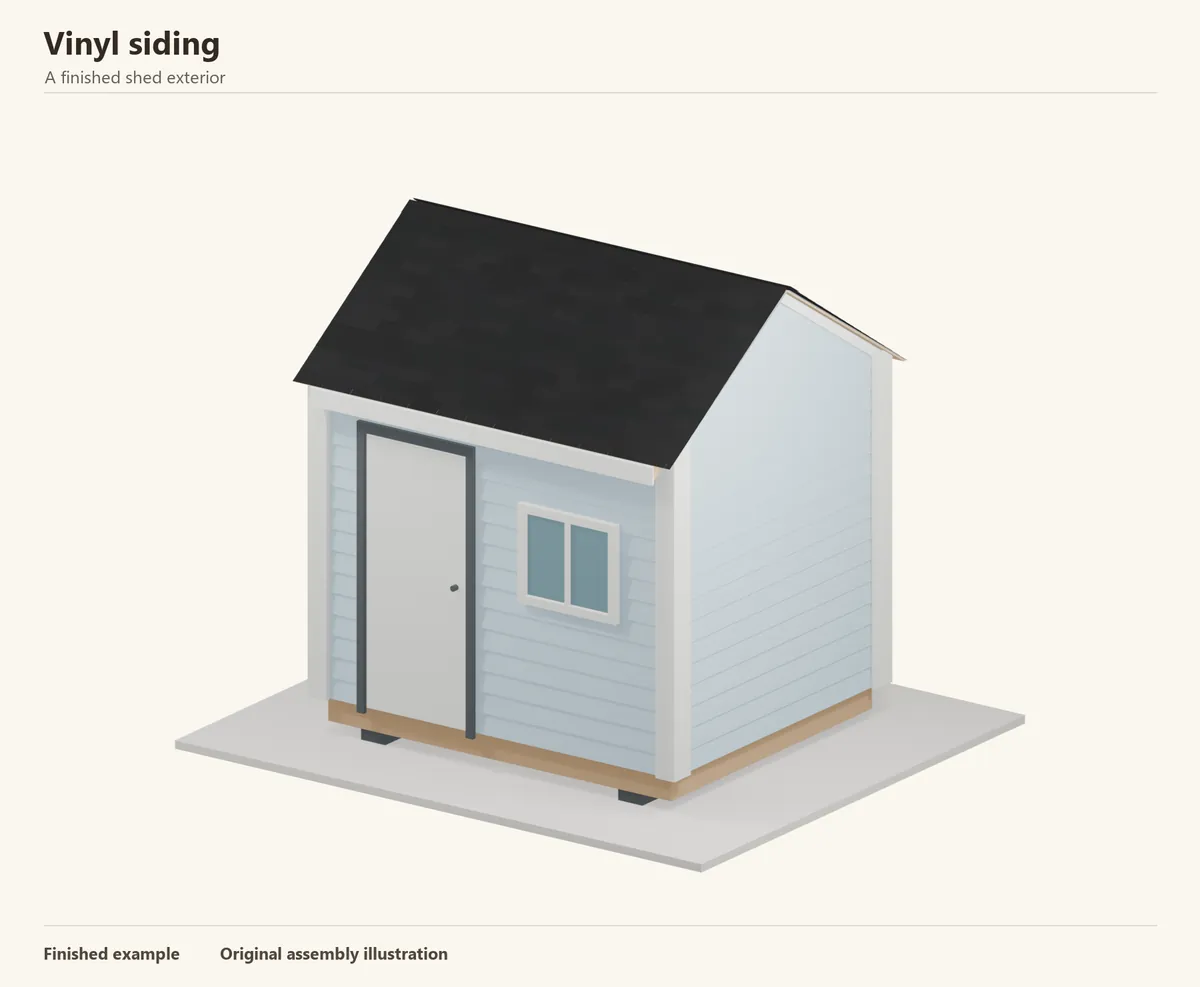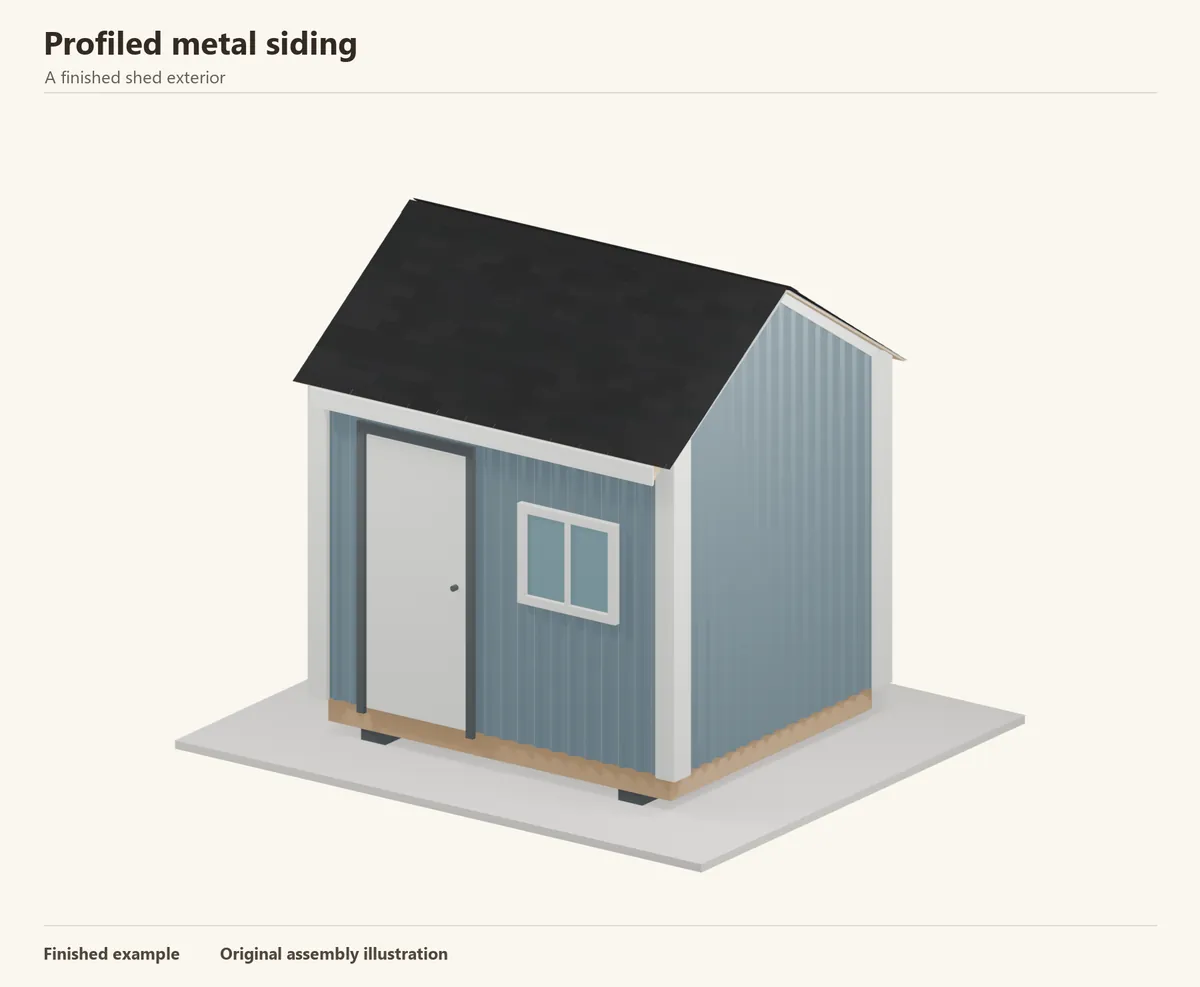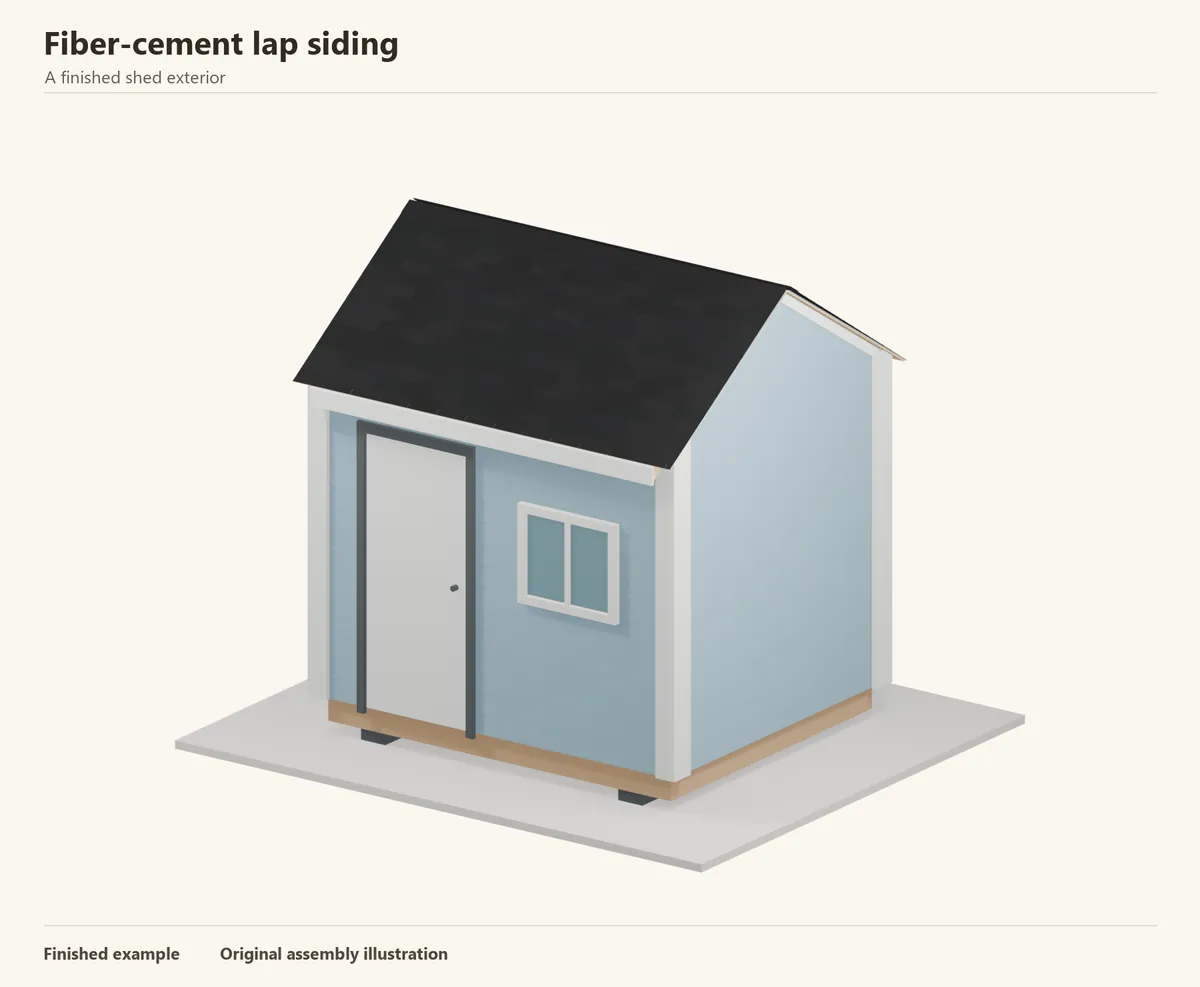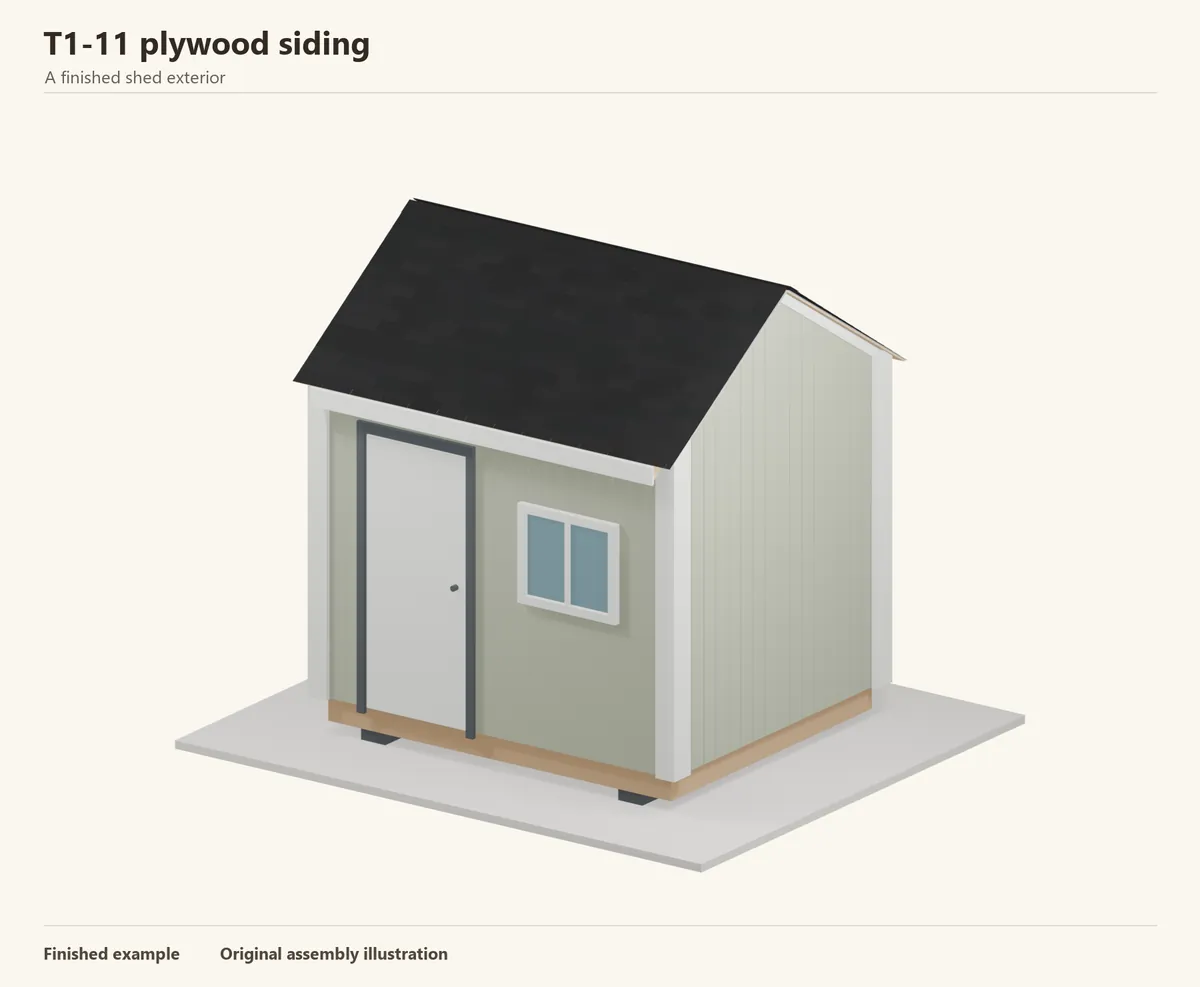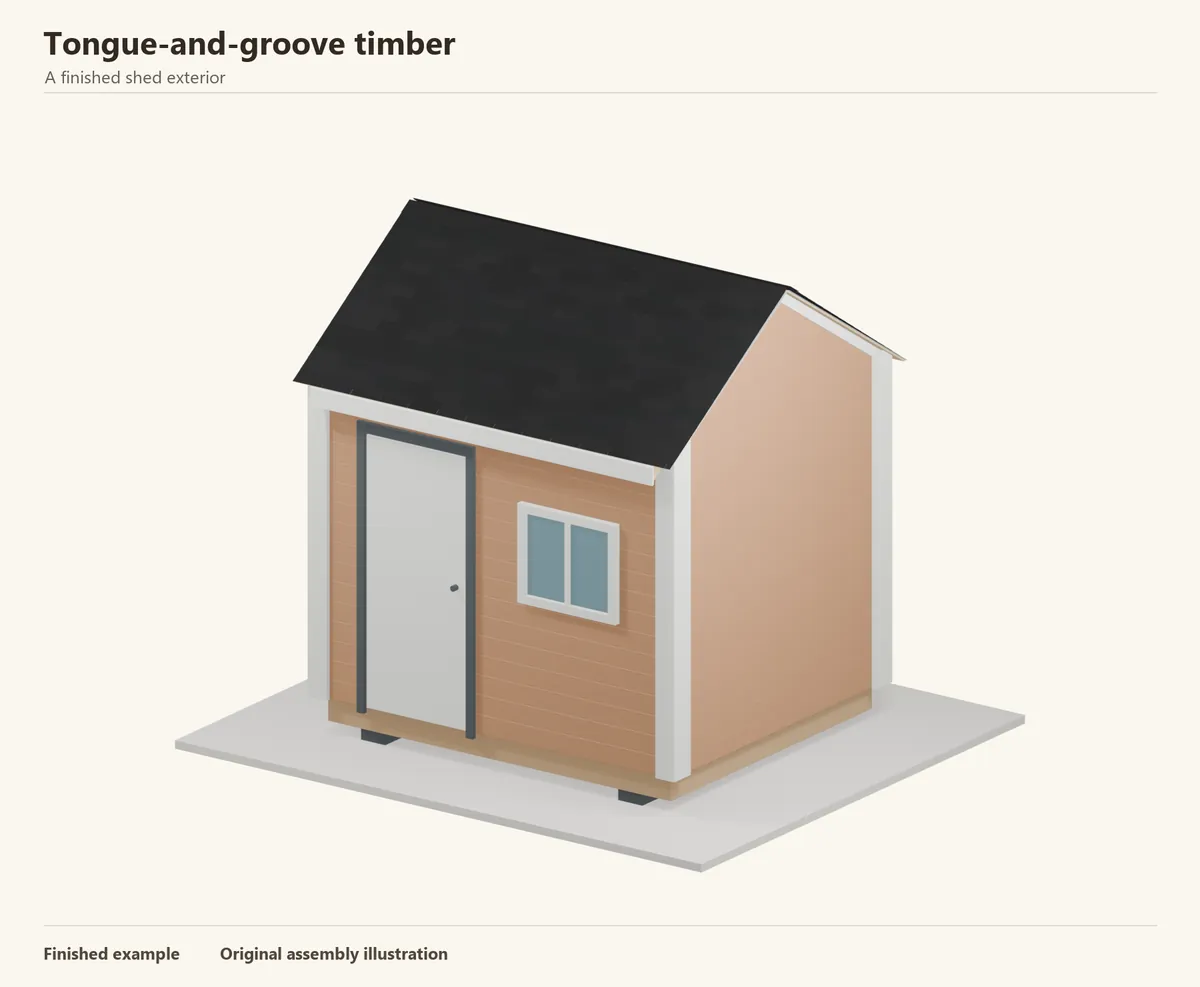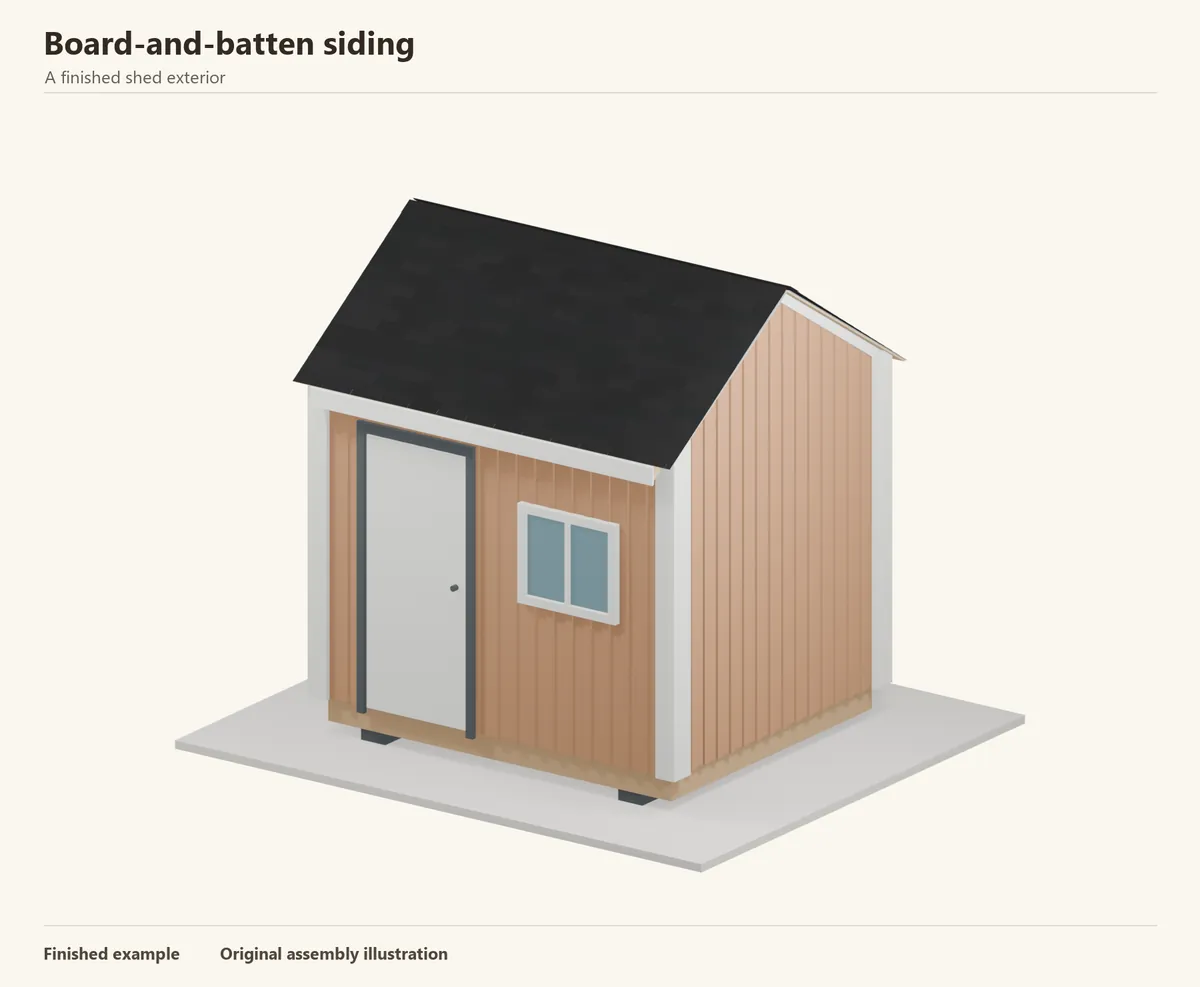
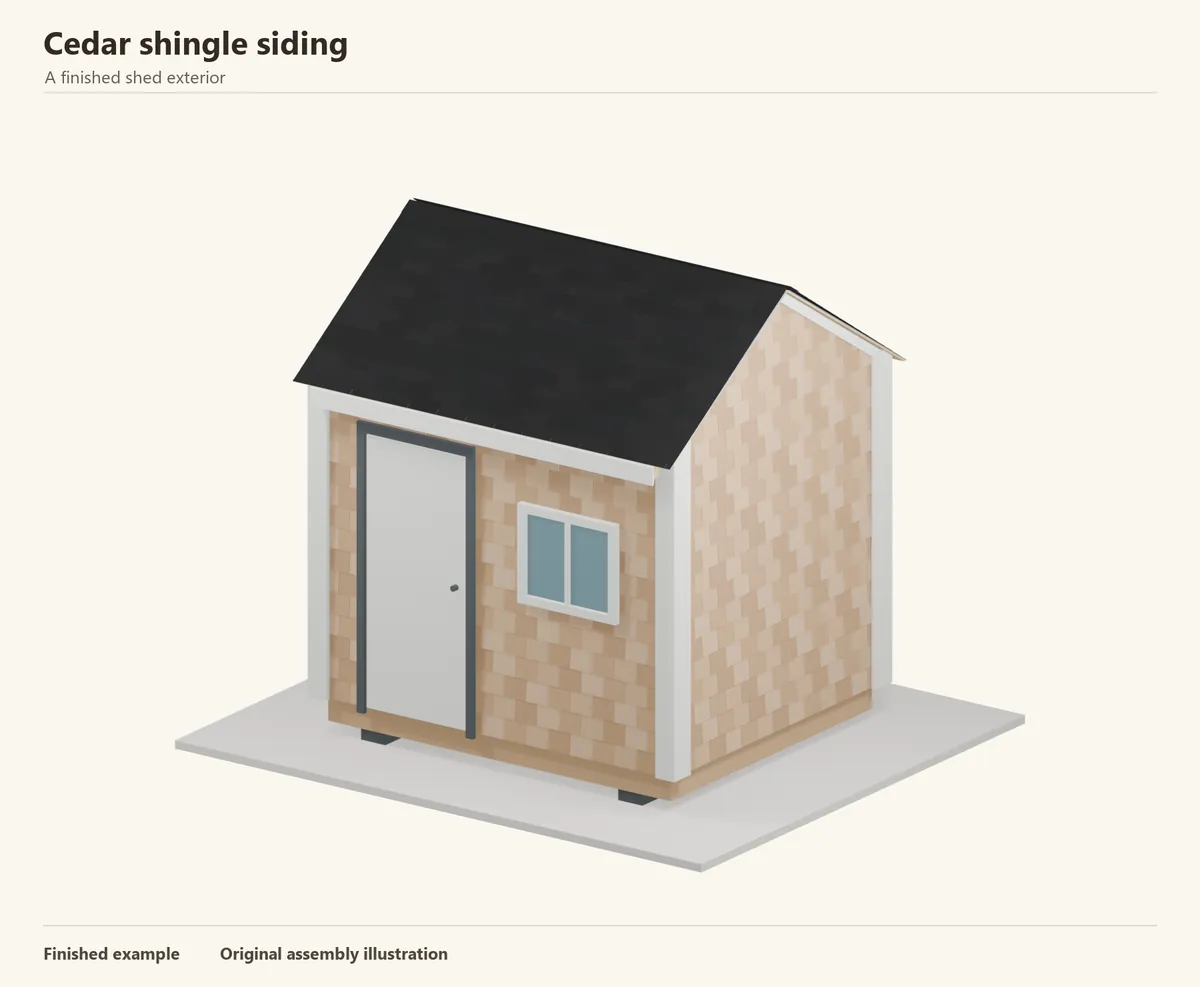
- A good fit for
- A cottage or garden shed where natural texture and a detailed timber finish justify the extra installation time.
- Plan for
- Individual pieces take longer than sheets or boards. Grade, species, exposure and fastener choice all affect the layout.
Jump to an installation step
- 1. Choose the exposure and mark a story pole
- 2. Store the bundles and sort useful widths
- 3. Prepare cuts without leaving fragile slivers
- 4. Double the starter course
- 5. Set the next course to the marked exposure
- 6. Place the shingle nails where they will be covered
- 7. Space the keyways and offset adjacent joints
- 8. Continue the same exposure across the wall
- 9. Fit shingles around the window casing
- 10. Finish against simple corner boards
- 11. Secure the final cut course
- 12. Inspect the courses and maintain the finish
Before you begin
Buy the cladding and its required accessories together. Measure the wall area and openings, then calculate coverage using the actual product profile and allow for cuts.
- Wall-suitable cedar shingles of a specified species, grade and length
- Approved nailable backing, weather barrier and opening flashings
- Stainless or other explicitly approved shingle nails for the exposure
- Corner boards, head trim, base flashing and any required drainage mat
- The selected shingle finish and cut-edge treatment
- Tape, level, chalk line, story pole, straightedge, hammer and cutting tools
- Eye, hearing and dust protection and a stable working platform
Companies offering this type of siding include Maibec. Check local availability and follow the installation instructions for the product you choose.
Choose shingles or shakes before setting the courses
Shingles are sawn and relatively regular; shakes have a different manufacturing method and a more rugged face. This walkthrough illustrates individual sawn Western Red Cedar shingles. Buy by the actual label, not just the colour of the timber or the word “cedar”.
Modern choices include factory-stained pieces and preassembled shingle panels. Both can reduce some site work, but panels have their own fastening and joint systems. The individual-piece sequence below should not be transferred to a panel product.
Reference: Cedar Shake & Shingle Bureau — 2025 Exterior and Interior Wall Manual (PDF) · Maibec — cedar shingle materials and factory finishes
Step 1 of 12
Choose the exposure and mark a story pole
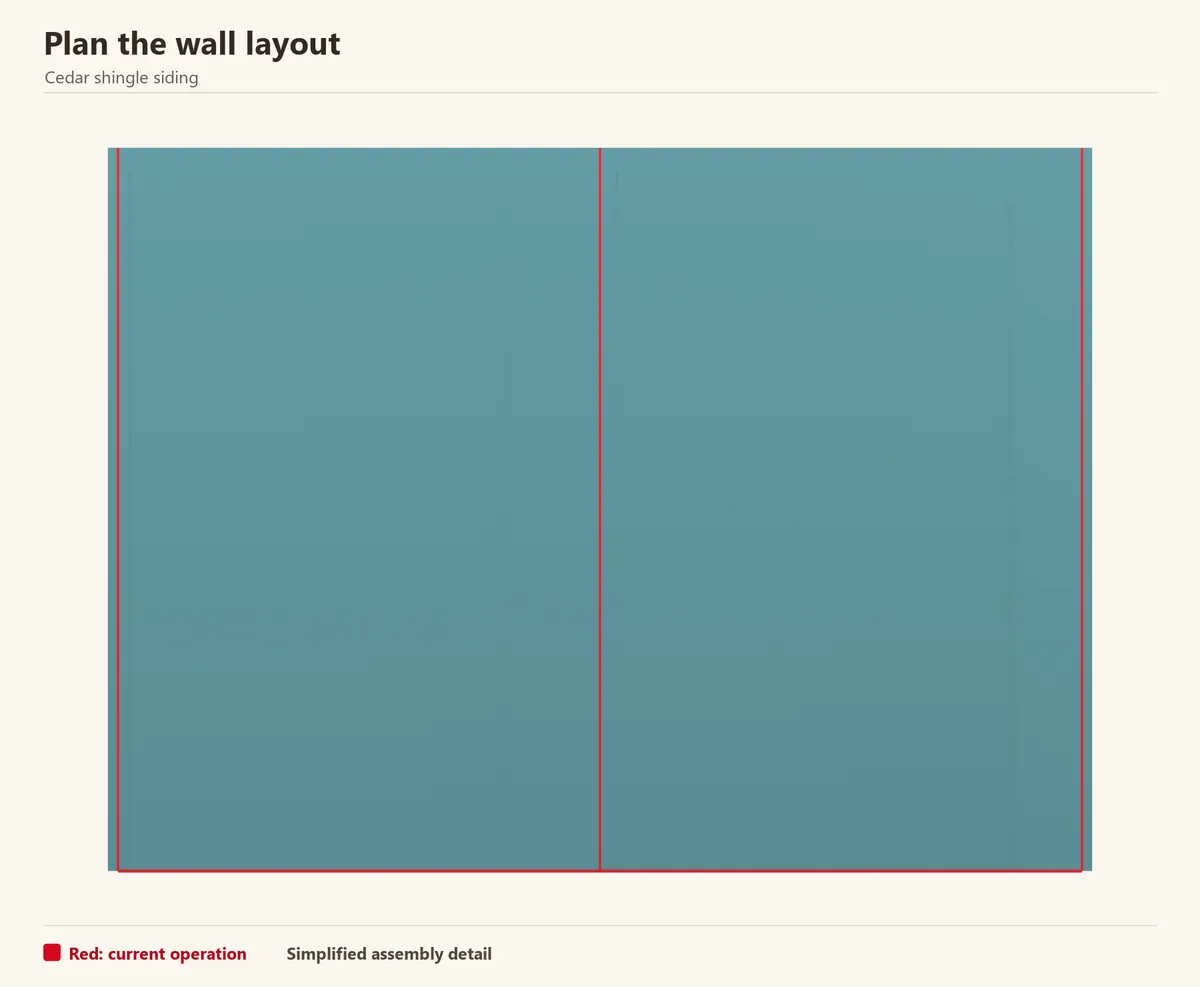
Exposure is the visible height between successive butt lines. Choose it from the table for the species, grade, length and application. The example uses about 6 inches of exposure with 16-inch shingles; confirm that your selected product permits it.
Mark those course heights on a story pole and compare them with the windows and roof trim. Calculate coverage at that exposure, then allow for the doubled starter, cut pieces and waste. Bundle coverage quoted for a roof may not match your wall layout.
Check before continuing: The exposure is allowed for the actual shingles you are buying.
Reference: Cedar Shake & Shingle Bureau — 2025 Exterior and Interior Wall Manual (PDF)
Step 2 of 12
Store the bundles and sort useful widths
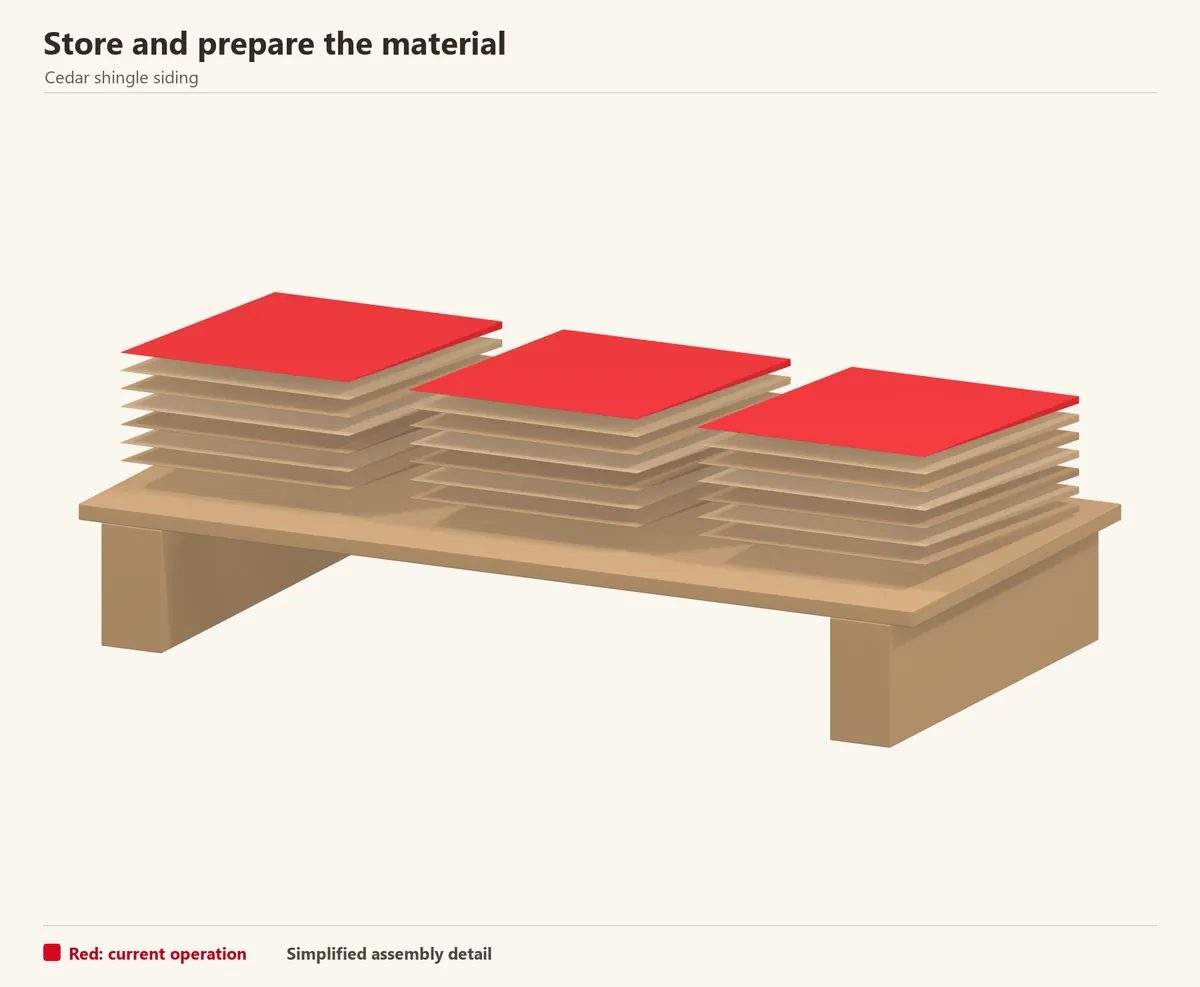
Keep bundles dry and supported off the ground. Check the species, grade, length and finish against the order. Save labels so replacement pieces and warranty paperwork can be matched later.
Sort enough widths for the first few courses. Set aside split or damaged pieces, and reserve some wider sound shingles for notches. Mix suitable pieces from several bundles if the supplier recommends blending the colour.
Reference: Maibec — individual cedar shingle handling and installation (PDF)
Step 3 of 12
Prepare cuts without leaving fragile slivers
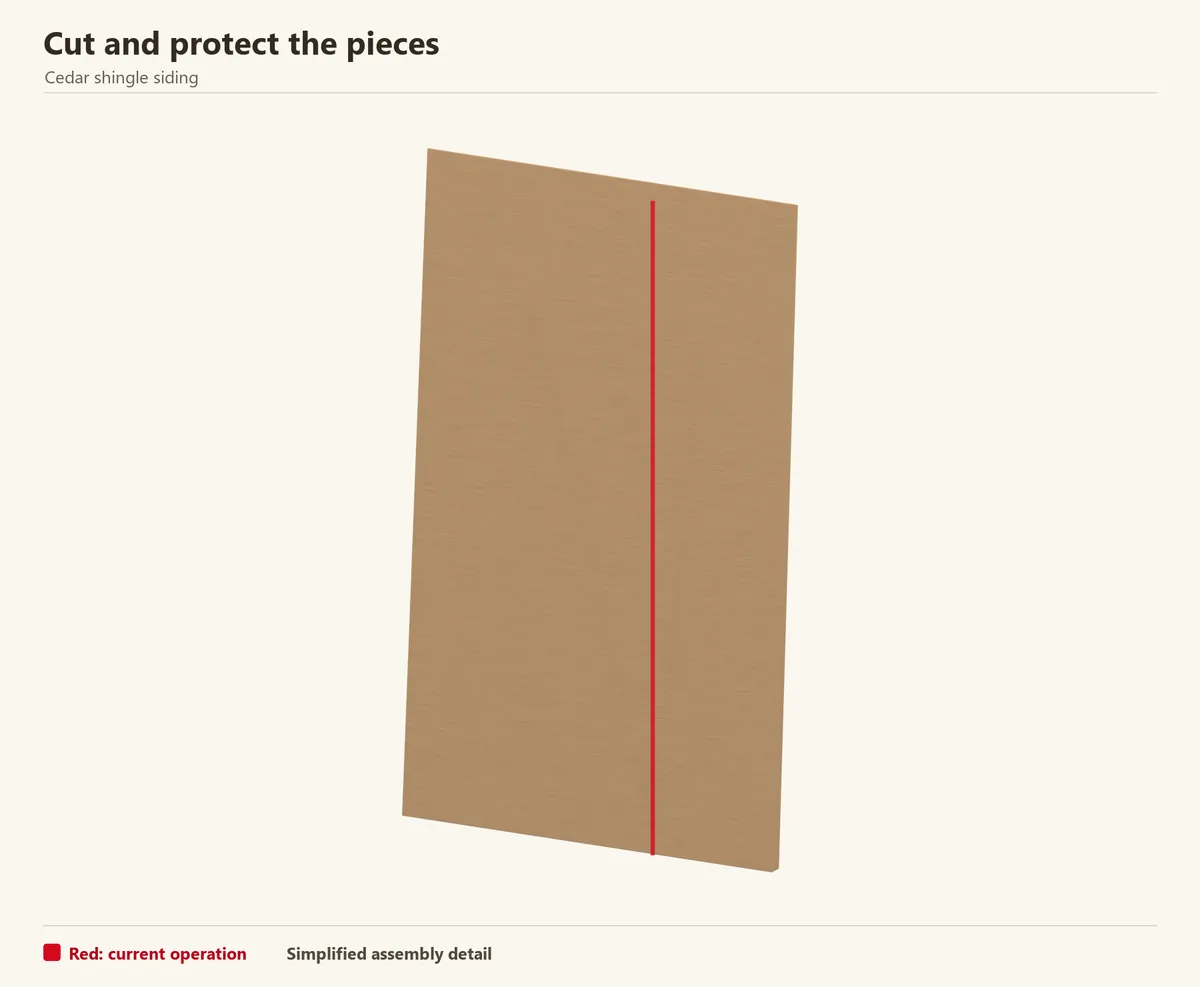
Lay out pieces near the corners and openings before cutting. A slightly different combination of widths can avoid a very narrow strip next to the window.
Use a controlled cutting method suitable for the shingle and keep hands clear of the blade. Support the work, keep the butt edge square where the design calls for it, and treat new cuts as required by the finish supplier.
Check before continuing: Cut pieces remain wide enough to fasten and do not split at the notch.
Step 4 of 12
Double the starter course
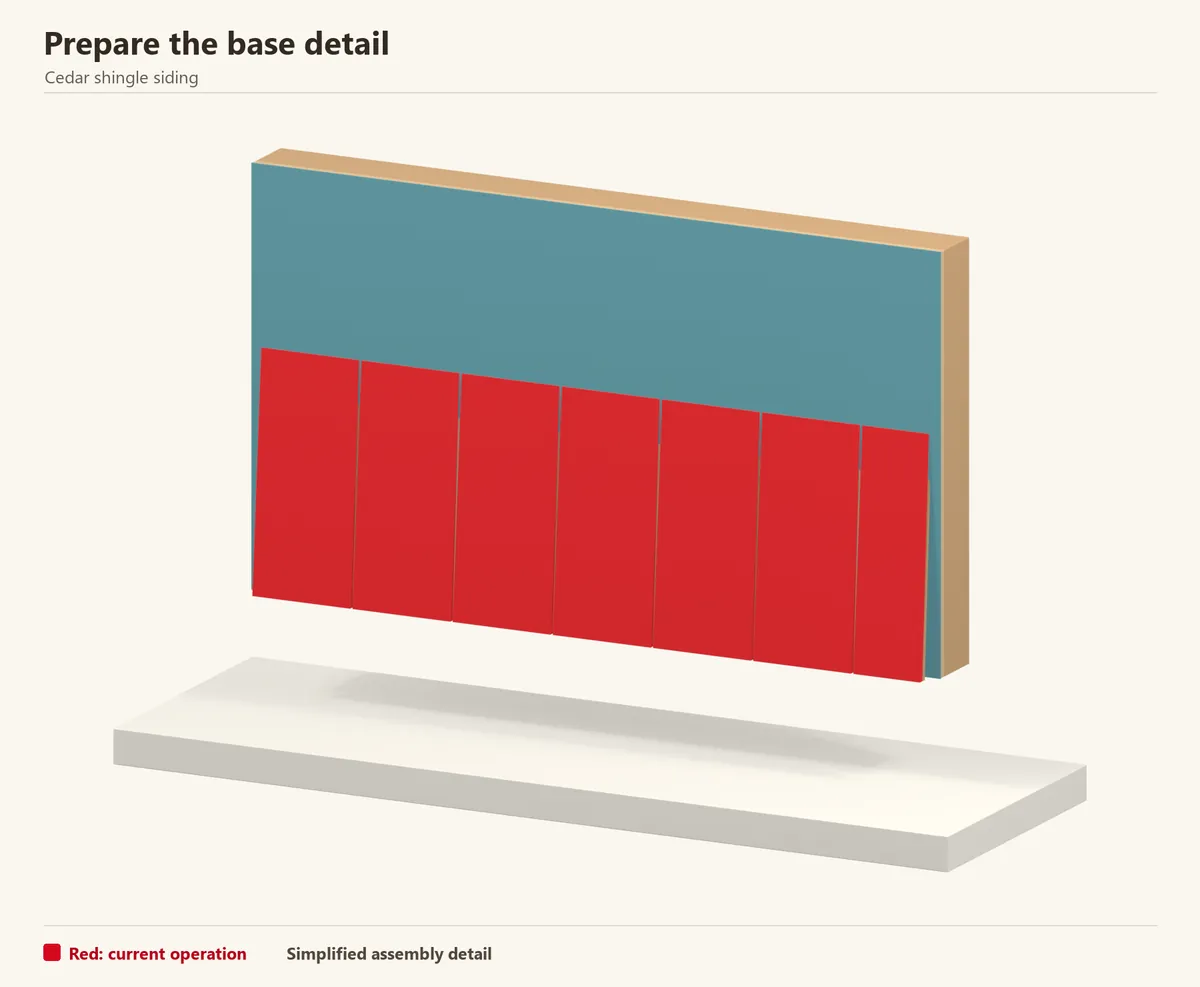
Complete the approved backing, weather barrier and base detail before fitting shingles. Mark a level butt line above the required clearances.
Install the starter undercourse, then the outer starter course over it with offset side joints. The second layer puts timber behind the keyways at the bottom of the wall. Keep the flashing exit clear and do not let the butts rest on the surface below.
Check before continuing: The starter has two layers with offset joints and a level visible edge.
Reference: Cedar Shake & Shingle Bureau — 2025 Exterior and Interior Wall Manual (PDF) · DuPont — wall weather barrier and opening flashing
Step 5 of 12
Set the next course to the marked exposure
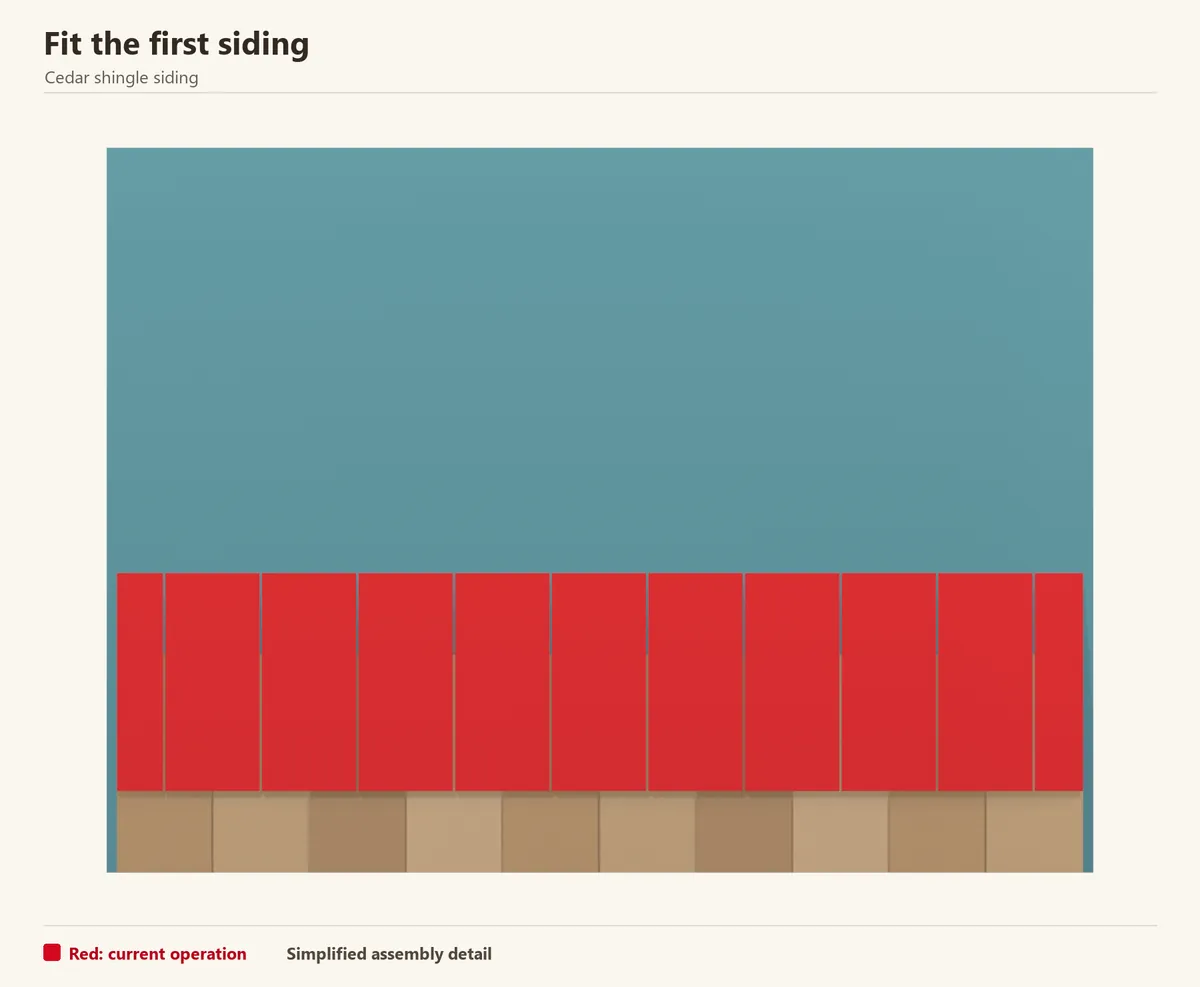
Use the story pole and a level reference to position the next row. Keep the visible butt line straight rather than following the varying thin tips of the shingles below.
Offer several pieces before fixing them. Choose widths that leave the required side gaps and place the new joints safely away from those in the preceding course. A temporary straightedge helps keep the row level.
Check before continuing: The butt line follows the exposure marks around the wall.
Step 6 of 12
Place the shingle nails where they will be covered
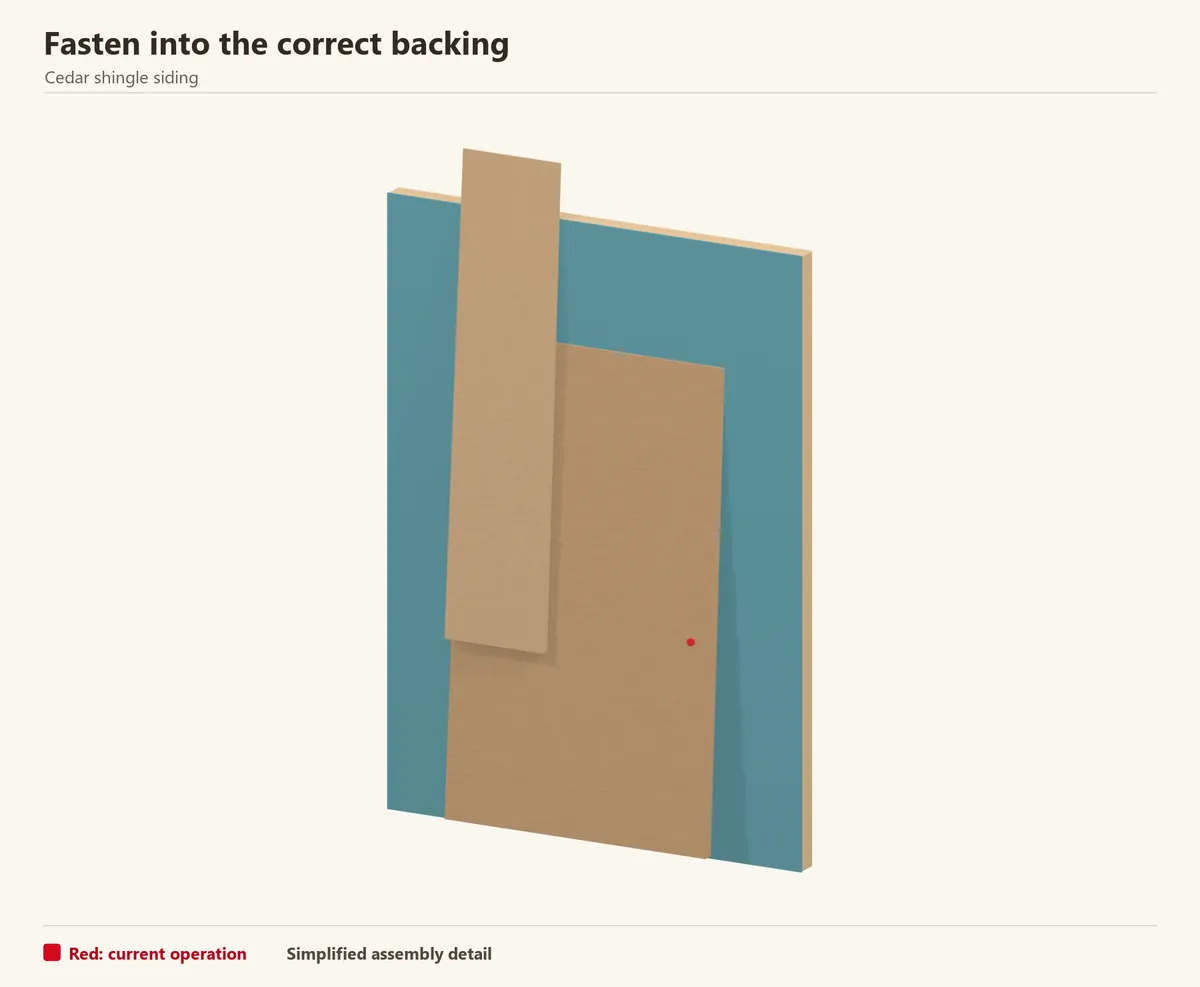
Use the fastener material and size required for the shingle, treatment and exposure. Cedar’s tannins and wet conditions make unsuitable fasteners a source of staining and failure; coastal or treated products can require a specific stainless grade.
The normal single-course detail uses two nails positioned as the manual shows, with their heads flush and covered by the next course. Keep the prescribed edge distance and backing penetration. Check wide-piece exceptions instead of adding nails arbitrarily.
Check before continuing: The nails grip the approved backing without crushing the shingle.
Reference: Cedar Shake & Shingle Bureau — 2025 Exterior and Interior Wall Manual (PDF)
Step 7 of 12
Space the keyways and offset adjacent joints
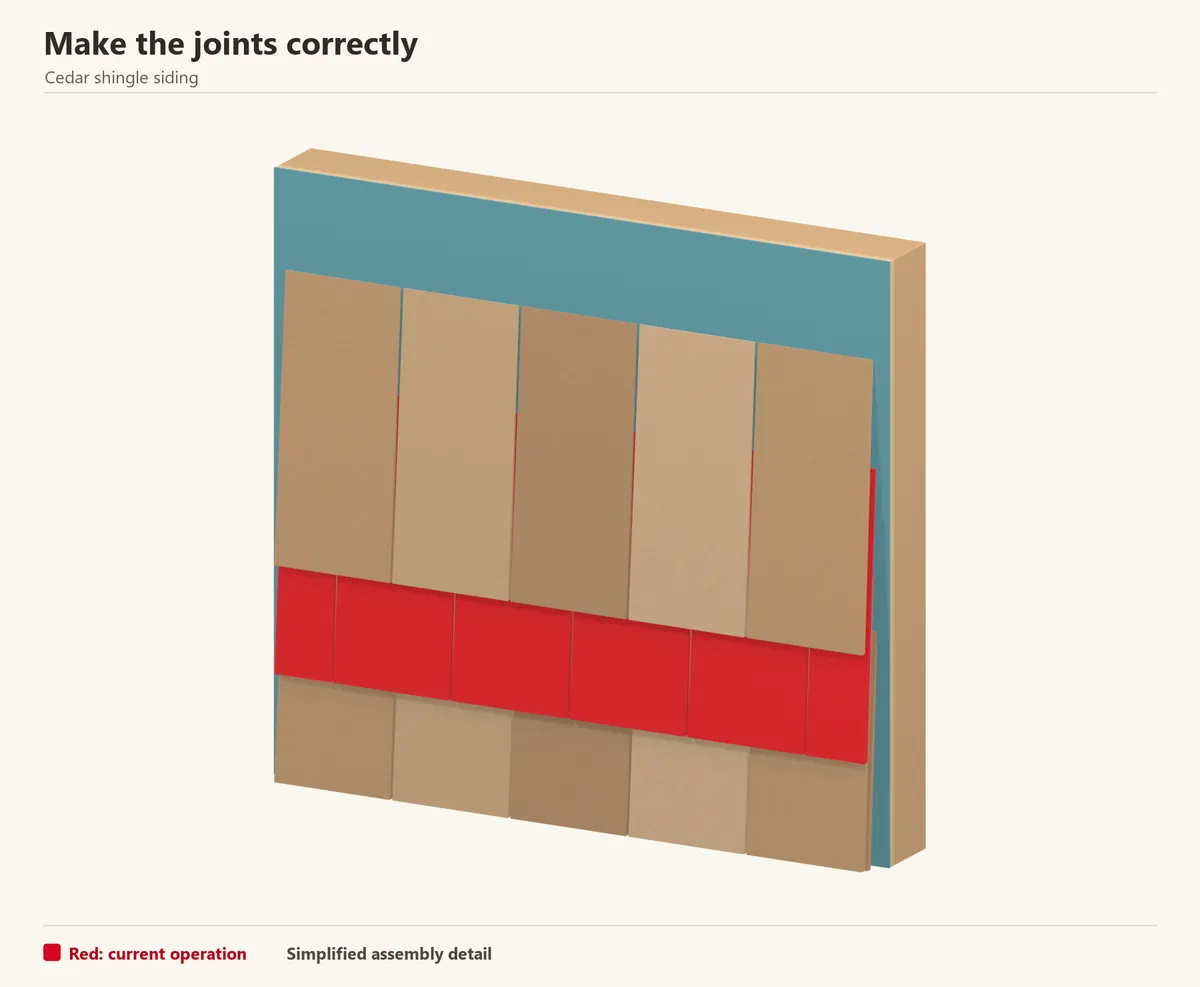
A keyway is the gap between neighbouring shingles. CSSB gives 1/8–1/4 inch for Number 1 Western Red Cedar shingles and at least 1½ inches of joint offset between adjacent courses. Other species, grades and shakes use different gaps.
Check the joints as you select each piece. If two gaps line up too closely, change the shingle width before nailing. Do not fill the keyways with caulk; they are part of the assembly.
Check before continuing: Adjacent courses have the required joint offset.
Reference: Cedar Shake & Shingle Bureau — 2025 Exterior and Interior Wall Manual (PDF)
Step 8 of 12
Continue the same exposure across the wall
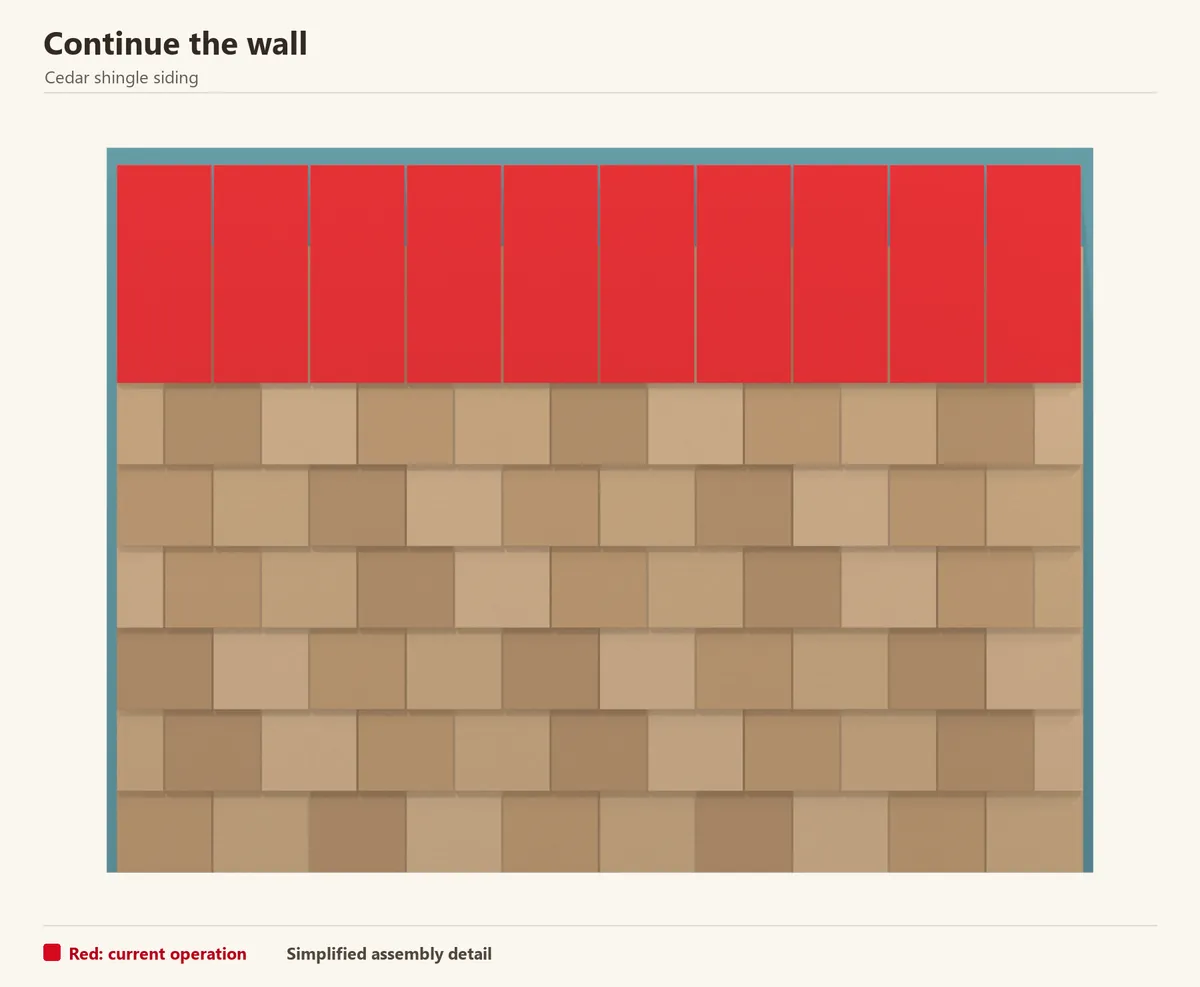
Work across the wall in manageable courses, checking the story pole at both ends. Blend widths and colour while keeping the structural joint rules consistent.
Periodically step back to inspect the butt lines. Correct a drifting course before the next row hides its fixing line. Keep offcuts sorted so useful pieces can be chosen deliberately around the openings.
Step 9 of 12
Fit shingles around the window casing
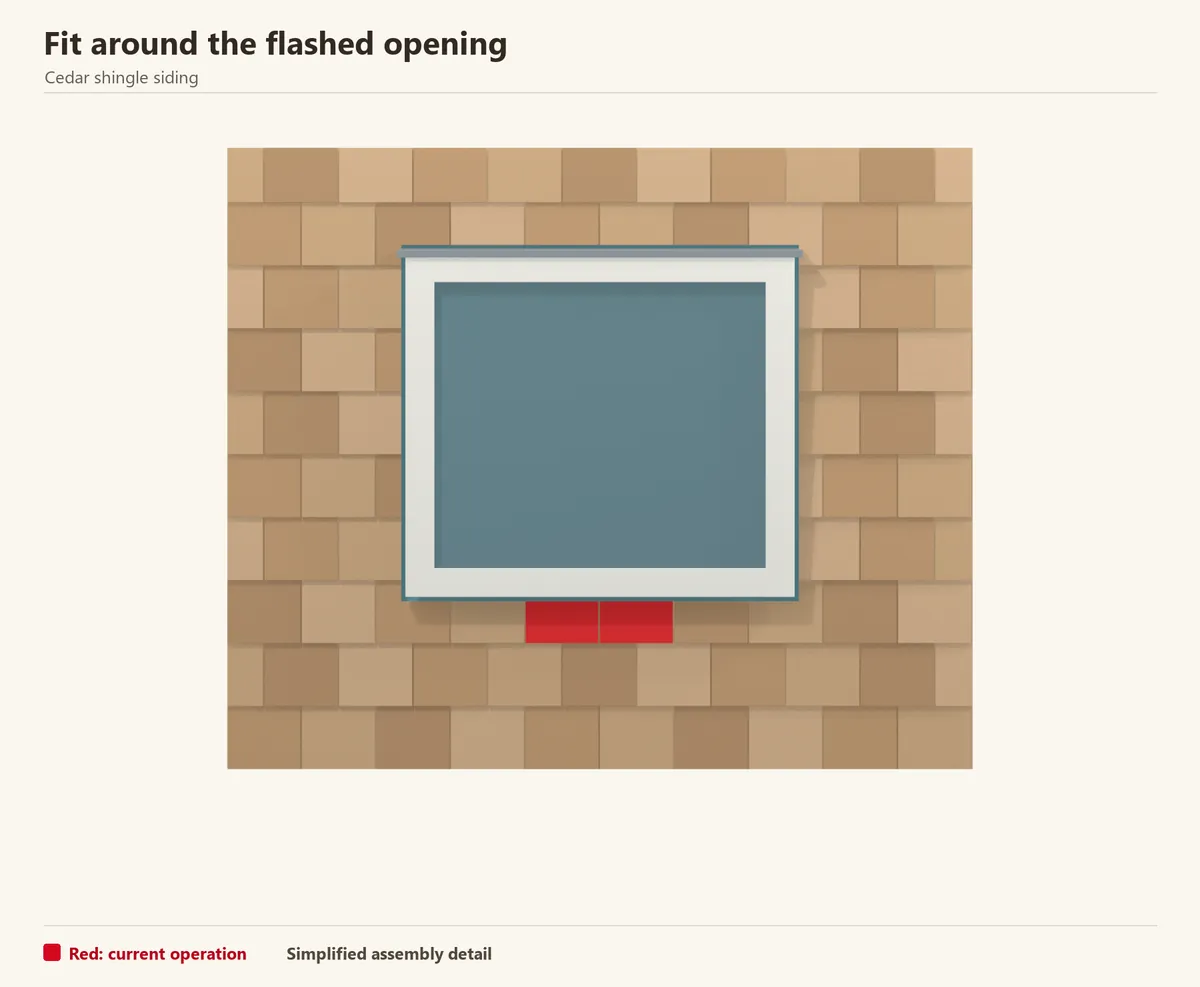
Carry the course marks across the opening so the wall reads as one continuous surface. Mark notches from the actual casing and choose a wider piece if a cut would leave a weak leg.
Preserve the window’s head flashing and the shingle clearance above it. Support short pieces and follow the selected manual for additional fastening at trim. Treat the cuts before they become difficult to reach.
Check before continuing: The courses align on both sides and water can leave above the head trim.
Reference: DuPont — wall weather barrier and opening flashing
Step 10 of 12
Finish against simple corner boards
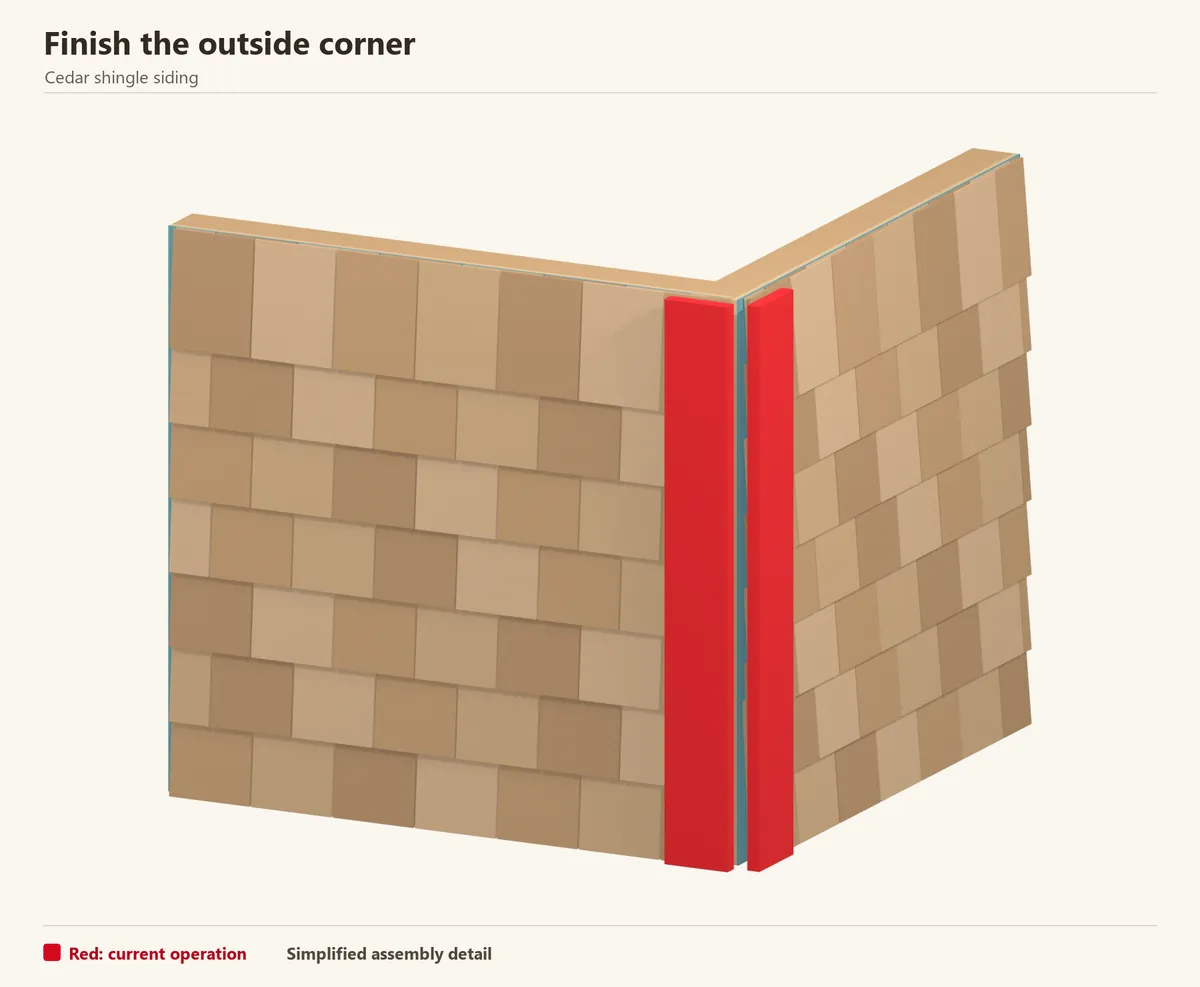
This example uses corner boards to give the shingles a clear termination. Install trim with suitable depth and backing, then fit the shingle ends using the selected corner-joint detail.
Check the two faces together so corresponding course lines meet neatly. Woven shingle corners are another traditional option, but they require a different alternating layout; decide that before beginning the wall.
Step 11 of 12
Secure the final cut course
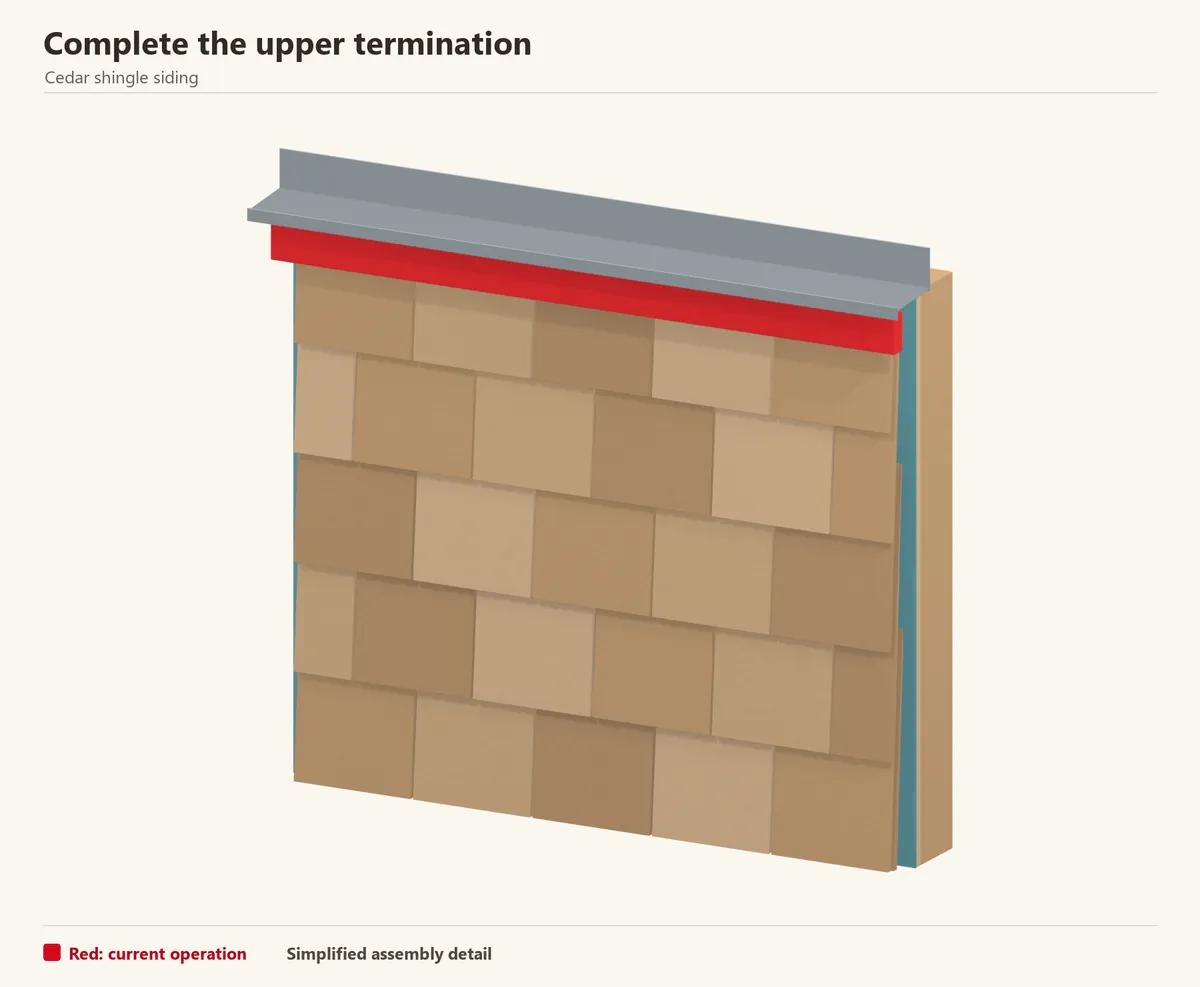
Measure the remaining height and plan the upper cover before cutting the last pieces. Retain the overlap and fastening required for the shortened course.
Fit the top cover to conceal the final fixing line where the approved detail permits it. Protect the head with flashing and keep any required ventilation route open. Check the gable separately rather than copying one cut angle to every piece.
Check before continuing: The shortened top pieces are fixed securely beneath the finished head detail.
Step 12 of 12
Inspect the courses and maintain the finish
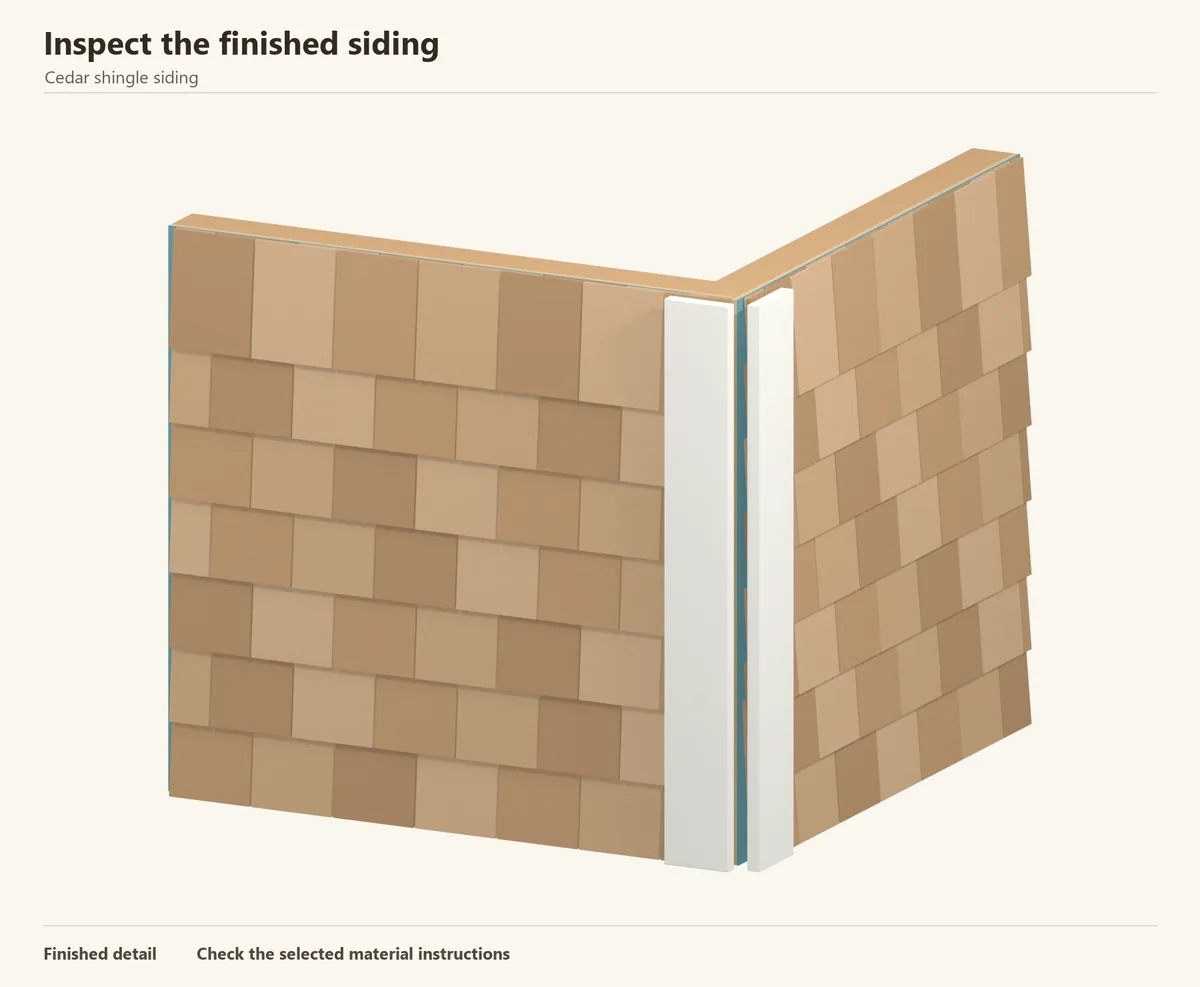
Remove temporary guides and inspect the wall for split pieces, protruding nail heads, tight keyways and missed cuts. Check the lowest course and every opening from close range.
Complete finish touch-ups with the approved coating. Keep vegetation and stored items away from the wall, and inspect the base, flashings and finish periodically. Save spare shingles flat and dry for future repairs.
Check before continuing: The shingles are sound, their keyways remain open and the flashings drain.
Common questions
Can I install shakes with the same gaps?
No. Shake and shingle instructions differ, and so can the requirements for Western Red, Yellow and Eastern White Cedar. Select the exposure, side gaps and fasteners from the manual for the actual material.
Are cedar shingle panels quicker?
Preassembled panels cover a larger area per piece. Compare the complete panel system, including backing, joints, corners and trim; it has a different installation sequence from individual shingles.
Do I use the roof exposure on a wall?
Use the permitted sidewall exposure for the product and application. A roof and a wall shed water differently, so a bundle’s roofing coverage is not automatically the right wall takeoff.
Installation references
Sources checked 24 October 2026. Use the current instructions for your product and region when purchasing and installing.