
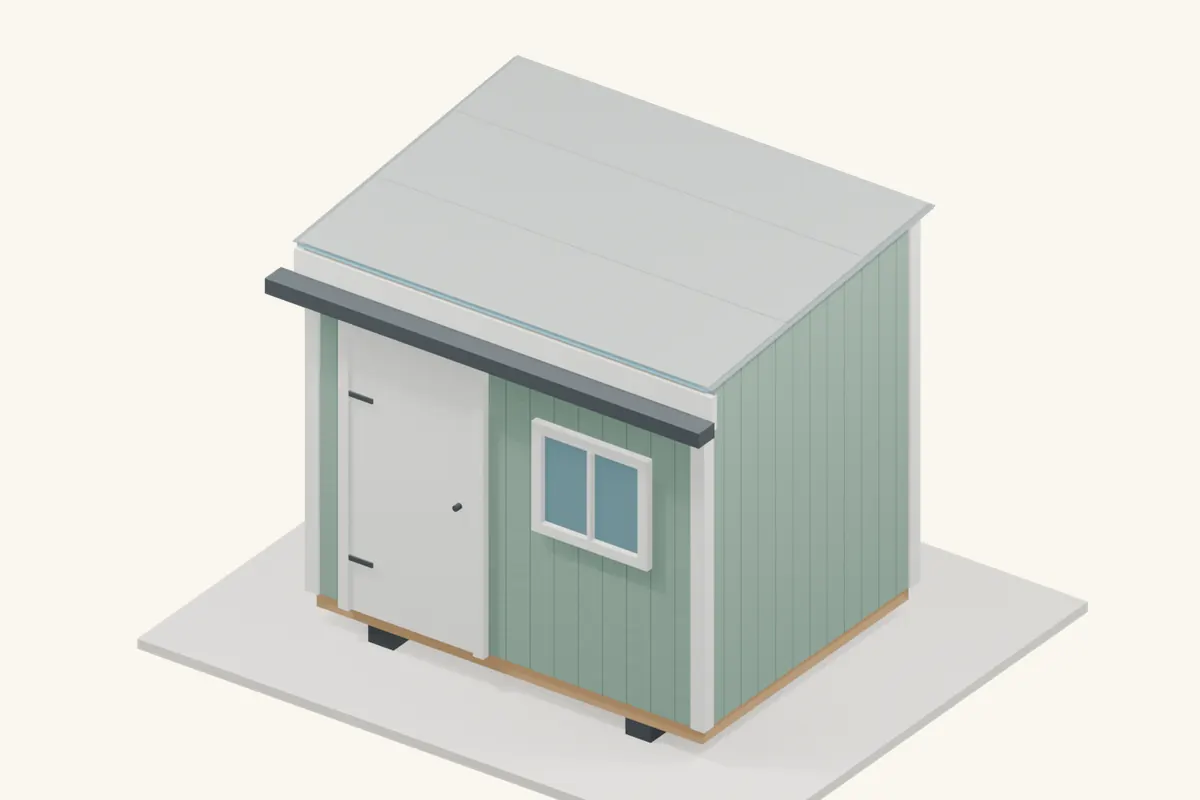
Self-adhered bitumen roofing is a finished roof system, not just a roll of underlayment left exposed. This guide follows a two-ply arrangement: primer, an adhered base sheet, the system edge flashing and a mineral-surfaced cap sheet. It avoids torch application and suits a simple low-slope shed when the chosen system permits the pitch.
- A good fit for
- A low-slope deck where an approved peel-and-stick base-and-cap system is suitable.
- Plan for
- Dry conditions, compatible components and firm rolling of both layers and their laps.
Jump to a step
- 1.Match the roof to a complete two-ply system
- 2.Prepare and support the roof deck
- 3.Prime the substrate and allow it to dry
- 4.Dry-lay the first base-sheet course
- 5.Peel and bond the base sheet progressively
- 6.Complete and roll the base layer
- 7.Install edge metal over the base sheet
- 8.Offset the cap-sheet seams
- 9.Adhere the cap sheet without wrinkles
- 10.Seal and roll the cap laps and T-joints
- 11.Finish all four roof edges
- 12.Inspect the complete roof and drainage
Materials and tools
Materials
- Approved dry, smooth wood deck with tongue-and-groove edges or full blocking as required
- System asphalt primer, self-adhered base sheet and mineral-surfaced cap sheet
- Compatible metal edge flashing, roofing nails and specified flashing cement
- System transition/corner materials where the roof design needs them
Tools and access
- Tape, chalk line, hook-blade knife and cutting board
- Primer roller/brush, trowel, hand roller and weighted roof roller
- Gloves, eye protection, a helper and stable protected roof access
Measure the actual roof and allow for laps, edge turns and cuts. Work from stable access with suitable fall protection; wet roofs and loose sheets are unsafe work surfaces.
Understand the roof assembly
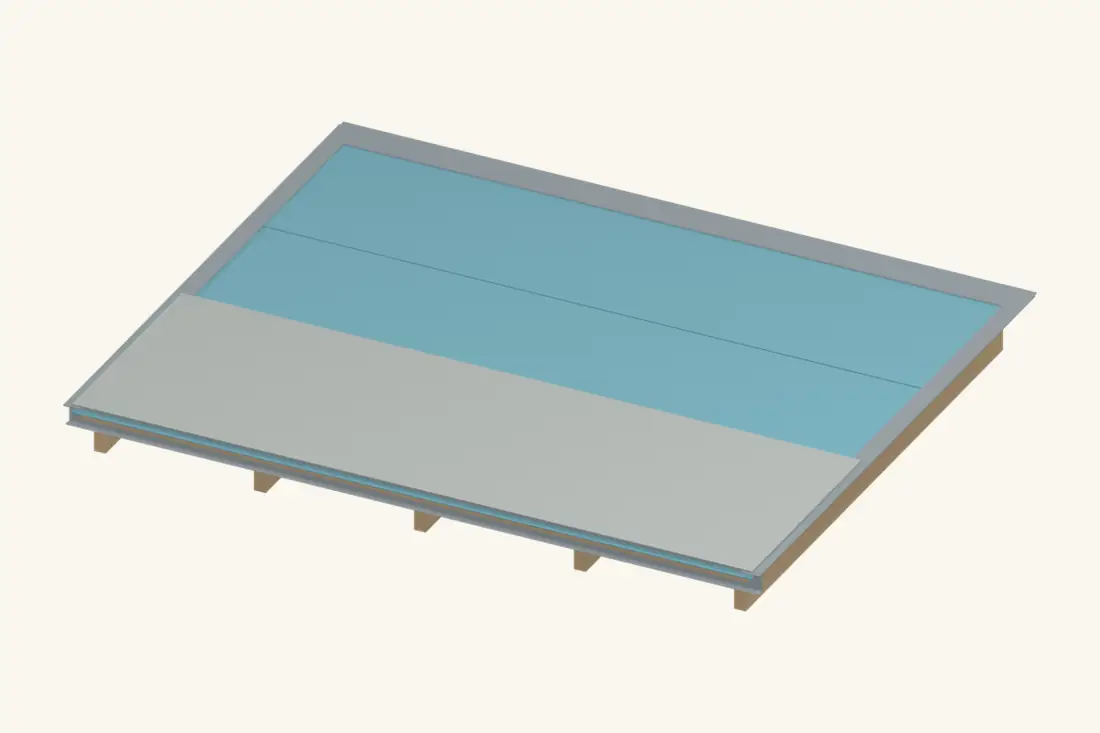
The sequence follows the cited GAF Liberty two-ply detail, including edge metal above the base and below the cap. Use the current instructions supplied with the actual system; single-ply roll roofing and ice barriers have different requirements.
Step 1 of 12
Match the roof to a complete two-ply system
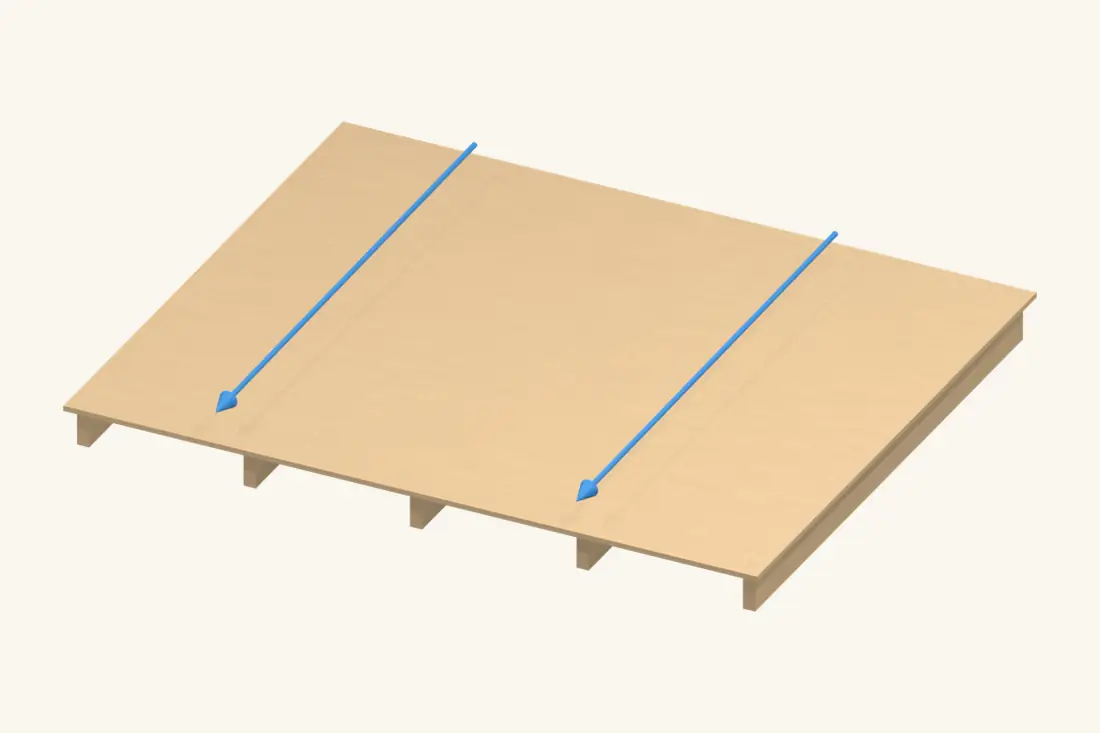
Check the product names on both rolls and confirm that they form the specified finished roof. The cited two-ply system covers slopes from 1/4:12 to 3:12. Select a suitable alternative if your roof falls outside its limits.
Order the primer, flashing cement and edge components with the membrane. Check the forecast and installation temperature limits. Do not use an ice-and-water underlayment as an unverified exposed cap sheet.
Check before continuing: The slope, substrate and complete component set are approved together.
Installation reference: GAF — Liberty self-adhered two-ply installation instructions
Step 2 of 12
Prepare and support the roof deck
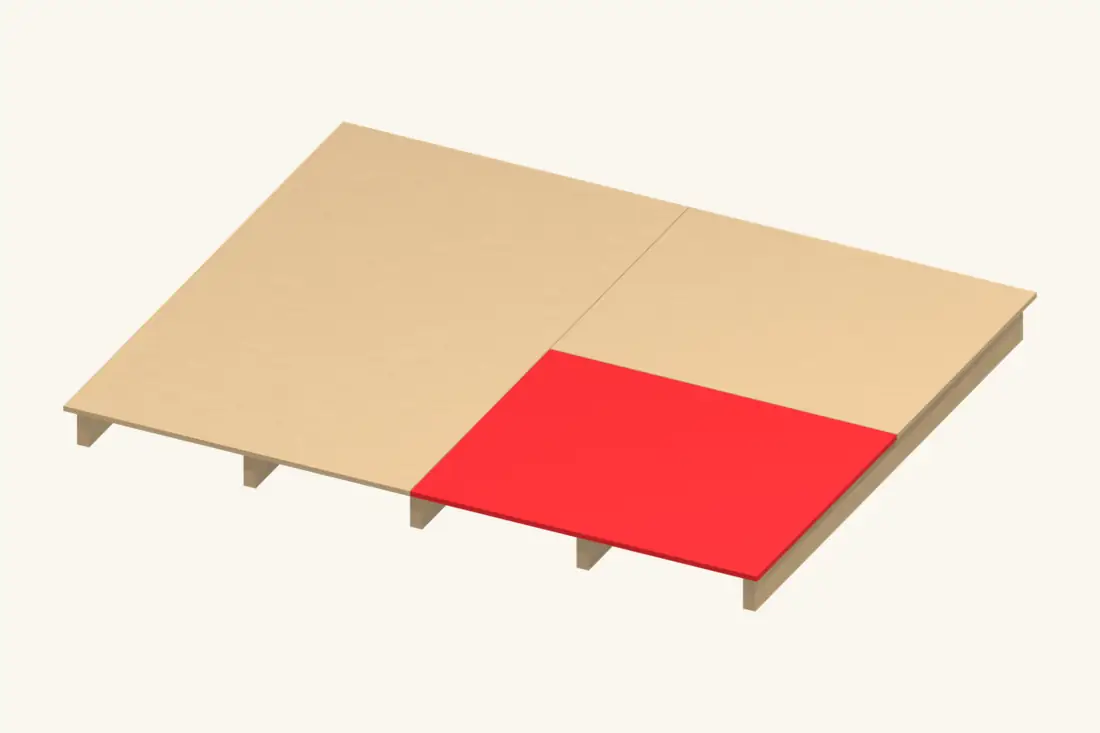
Inspect the entire deck and replace damaged areas. Provide the edge support required by the system, set fastener heads flush and remove loose material. The roof must be dry before adhesive layers conceal it.
Check that there is a continuous fall to the eave. A membrane follows the deck; it does not correct a hollow or create slope. Resolve soft areas and unsupported seams before opening the rolls.
Check before continuing: The deck is firm, smooth, clean and dry.
Step 3 of 12
Prime the substrate and allow it to dry
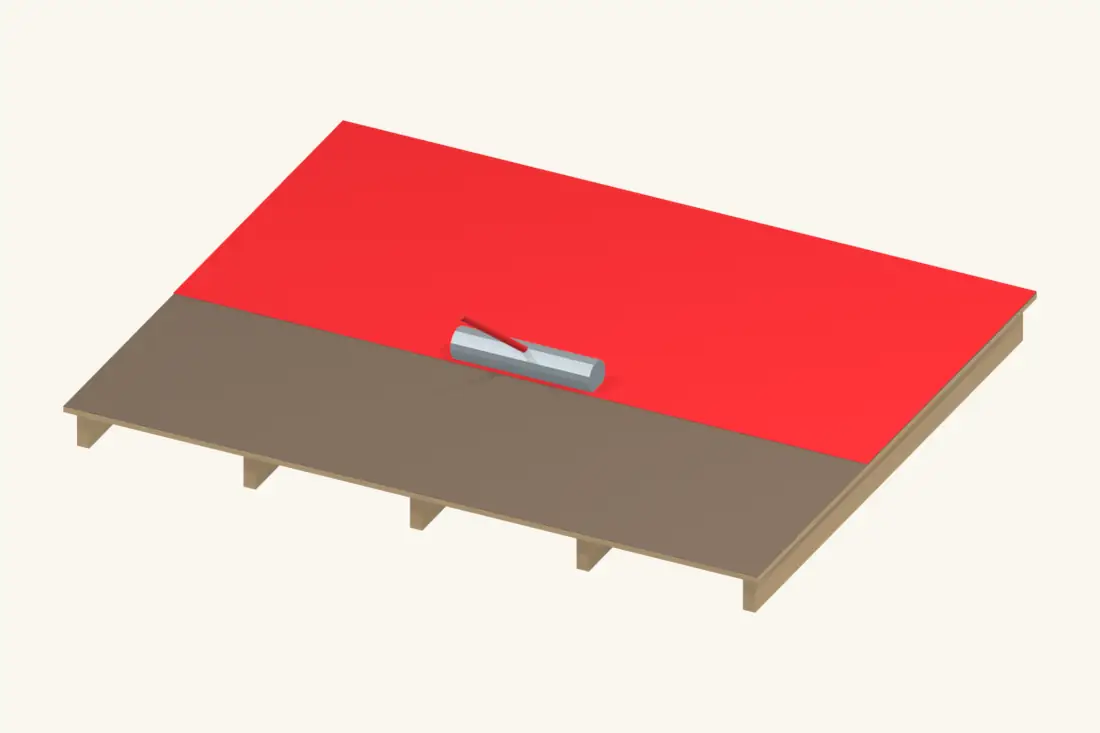
Apply the system primer evenly at its specified rate and let it reach the required dry condition. Keep dirt and debris off the primed area.
Prime only the surfaces required by the detail, using compatible products. Follow ventilation and ignition precautions on the primer container; a cold-applied roof still uses chemicals that need careful handling.
Check before continuing: The primer is ready for bonding, with no wet pools or missed areas.
Installation reference: GAF — Liberty self-adhered two-ply installation instructions
Step 4 of 12
Dry-lay the first base-sheet course
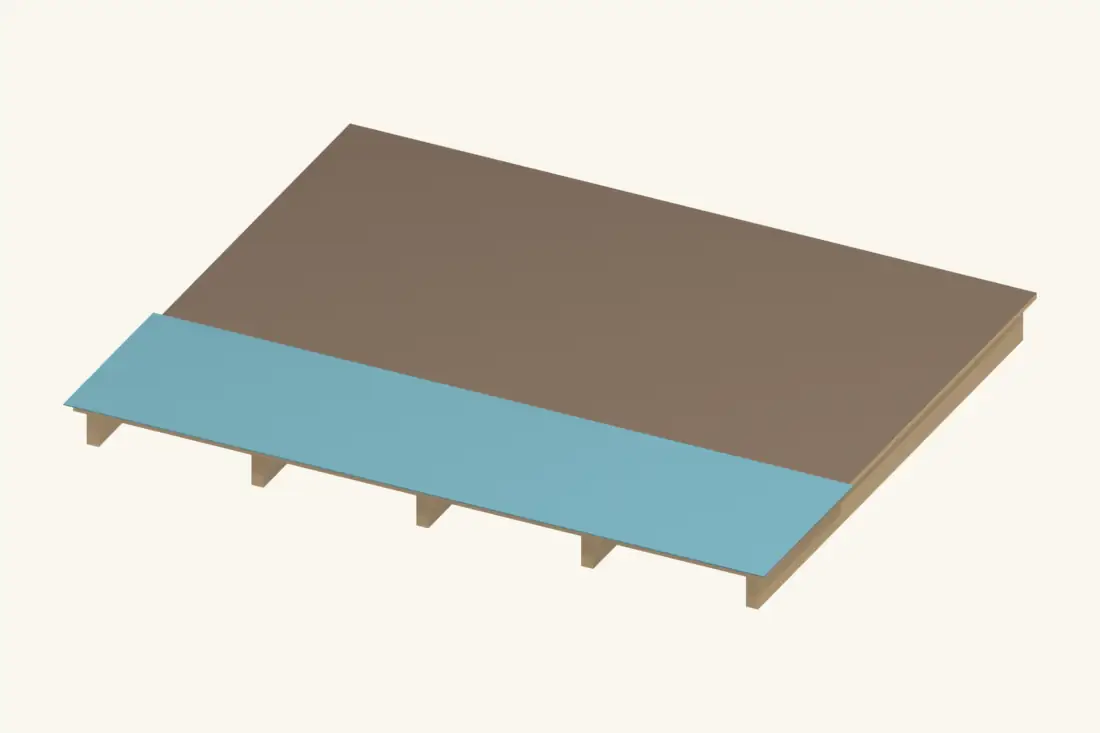
Start at the low roof edge. Cut a manageable length and set the first course to the base-sheet layout, including its reduced starter width and the required edge turn.
Align it before removing the backing film. Check the distance to the opposite edge and mark the next course line. Keep the sheet relaxed so the finished roof does not inherit a wrinkle from the dry layout.
Check before continuing: The base starter is straight and leaves the specified perimeter allowance.
Step 5 of 12
Peel and bond the base sheet progressively
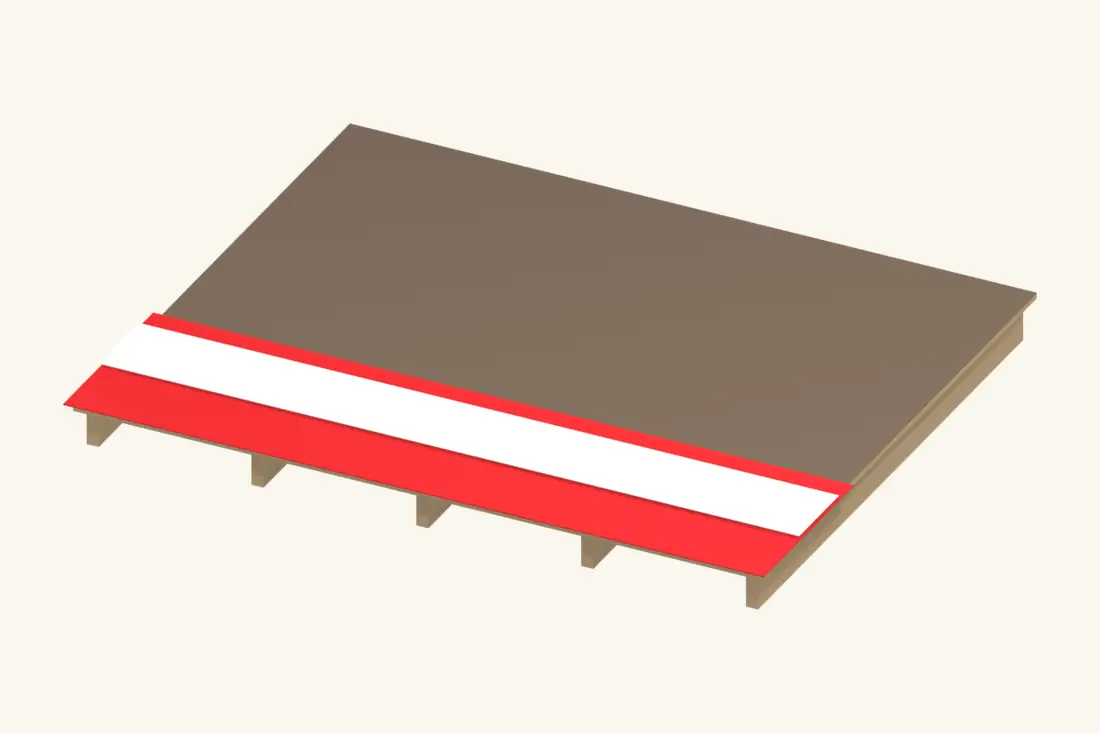
Hold the aligned membrane in place and remove the release backing in a controlled sequence. Press the sheet onto the prepared deck as the film comes away, keeping air ahead of the bond.
Use two people for control where needed. Do not remove all the film and allow the sheet to fall onto itself. Work manageable lengths and keep the adhesive free of grit.
Check before continuing: The base lies flat without trapped folds or contaminated adhesive.
Step 6 of 12
Complete and roll the base layer
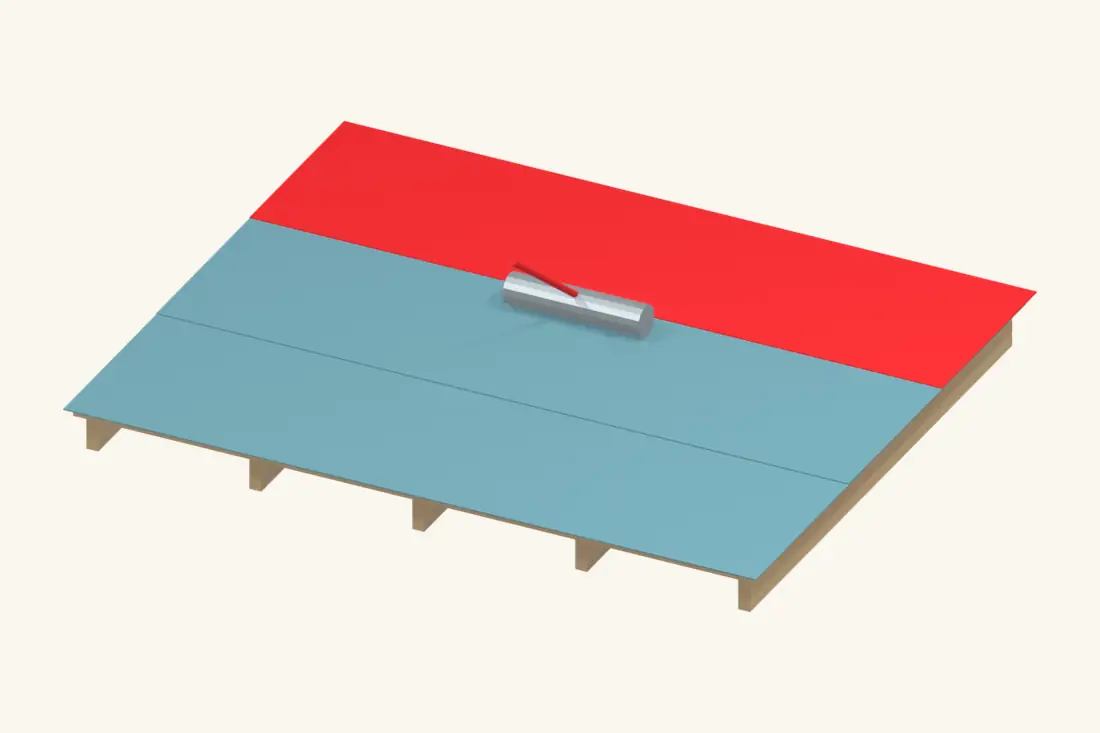
Continue from low to high, keeping upper courses over lower courses. Set side laps, end laps and stagger to the base-sheet instructions; do not confuse them with the cap-sheet allowances.
Roll the field and laps with the specified weighted roller. Check the entire base layer before covering it. A loose edge or fishmouth is easier to correct now than beneath the cap.
Check before continuing: The base is fully bonded, weather-lapped and rolled.
Installation reference: GAF — Liberty self-adhered two-ply installation instructions
Step 7 of 12
Install edge metal over the base sheet
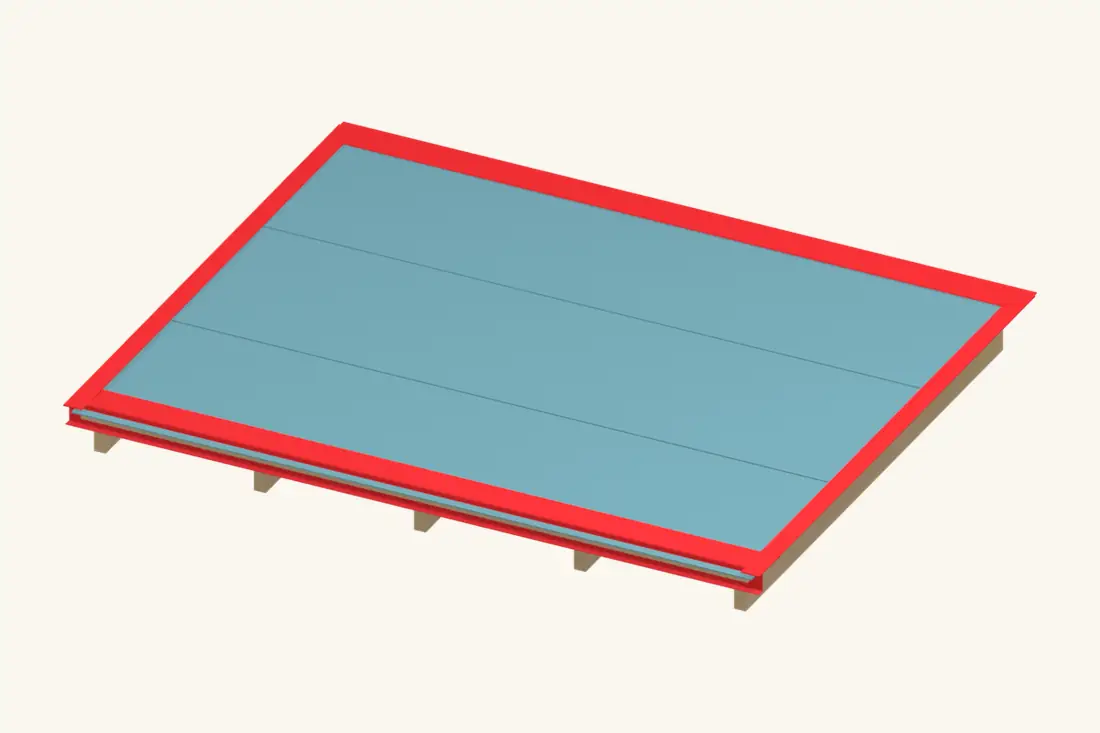
Prepare the edge flashing to the system detail. In the cited assembly its primed flange is bedded in compatible flashing cement over the base sheet and then fastened.
Lap and fix the metal as directed, preserving the specified overlap zones. Keep the eave straight and the drip clear of the fascia. This layer order is a key difference from simply nailing metal onto the bare deck.
Check before continuing: Edge metal sits above the base and is ready to be covered by the cap.
Installation reference: GAF — Liberty self-adhered two-ply installation instructions
Step 8 of 12
Offset the cap-sheet seams
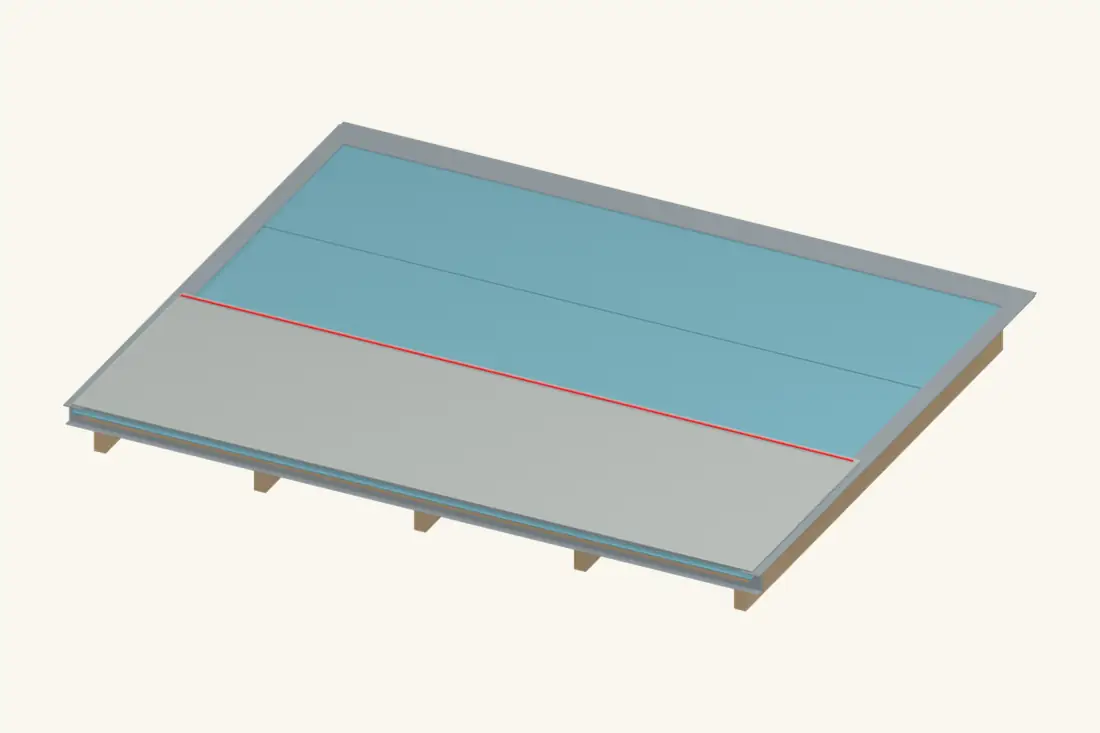
Dry-lay the cap sheet from the low edge with its seams offset from the base seams. Check the course width, lap strip and end-joint position before removing the release film.
Keep granules and cutting debris off exposed adhesive zones. Orient the factory lap edge correctly and plan the final row so the high edge can be terminated with the specified detail.
Check before continuing: Cap seams will not directly repeat the underlying base seams.
Step 9 of 12
Adhere the cap sheet without wrinkles
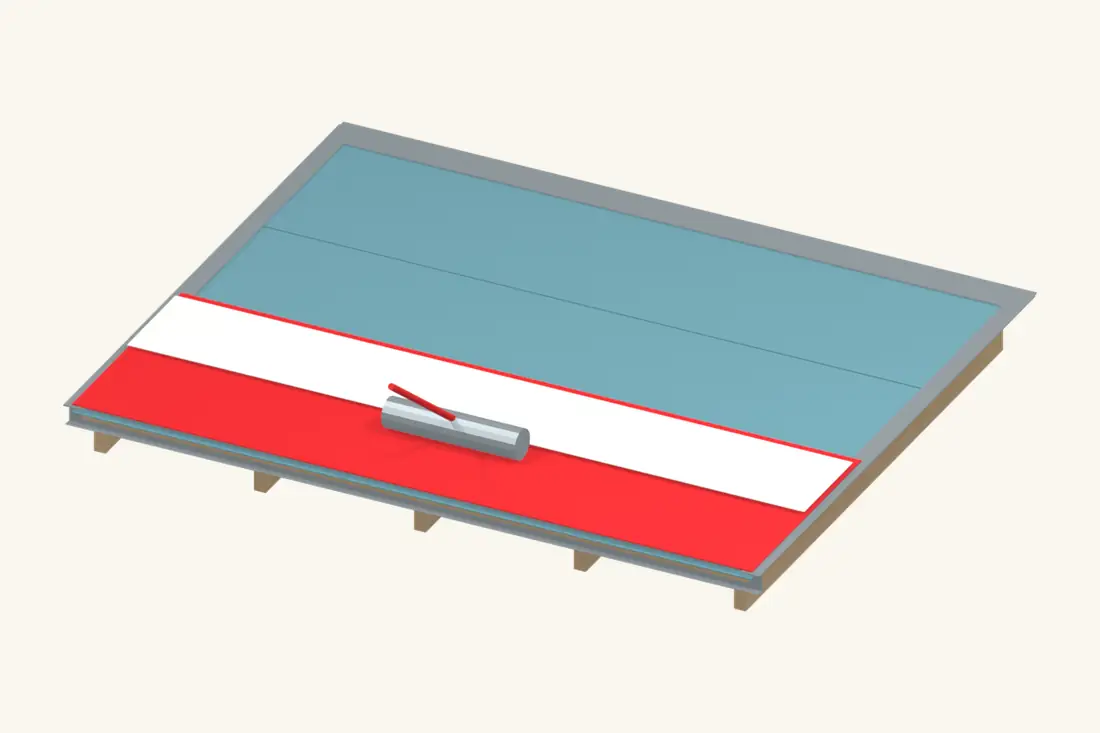
Peel the backing and bond the cap progressively while keeping its alignment. Work from the centre toward the ends as directed and avoid stretching the sheet.
Roll the field to establish full contact with the base. Keep adhesive faces clean and stop to correct a fold before continuing across it. The mineral-surfaced cap is the exposed weathering layer.
Check before continuing: The cap is flat, aligned and firmly bonded.
Step 10 of 12
Seal and roll the cap laps and T-joints
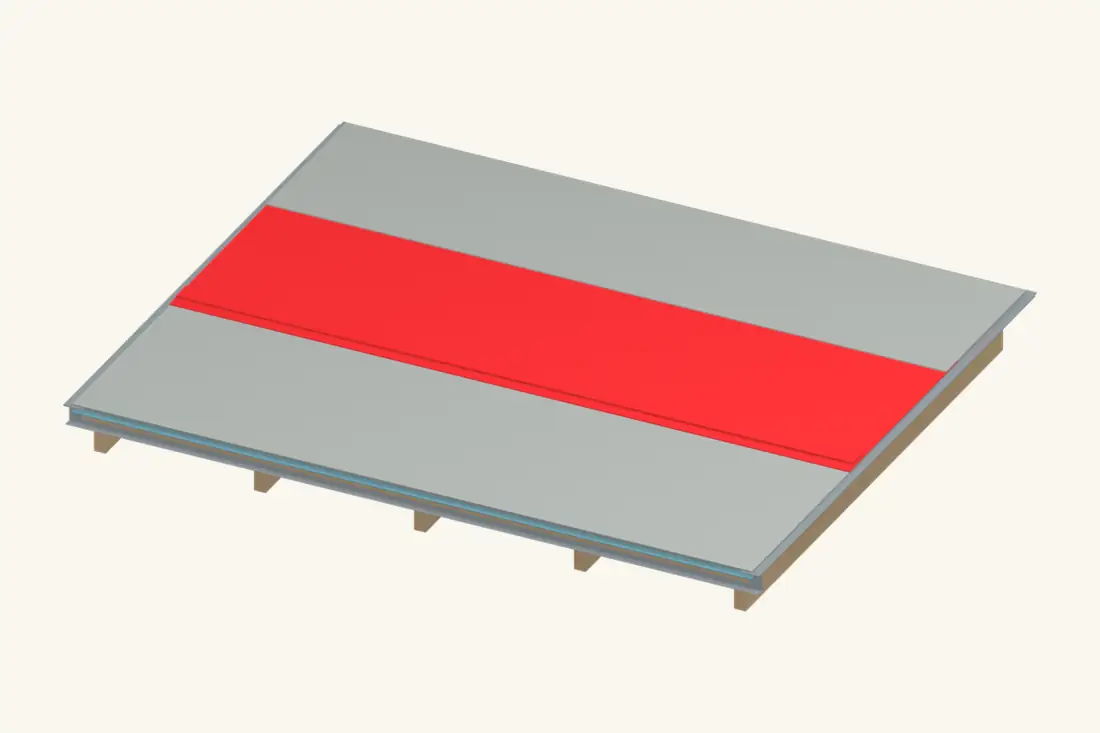
Use the factory selvage at side laps and the specified flashing cement where the system requires it at granulated end laps and T-joints. Form the prescribed corner cuts so extra thickness does not leave a water channel.
Roll each joint thoroughly. Do not rely on a surface bead at the edge to compensate for a poorly bonded lap. Check the current manual for the exact overlap and cement application for your cap sheet.
Check before continuing: Every lap is fully bonded and no open fishmouth remains.
Installation reference: GAF — Liberty self-adhered two-ply installation instructions
Step 11 of 12
Finish all four roof edges
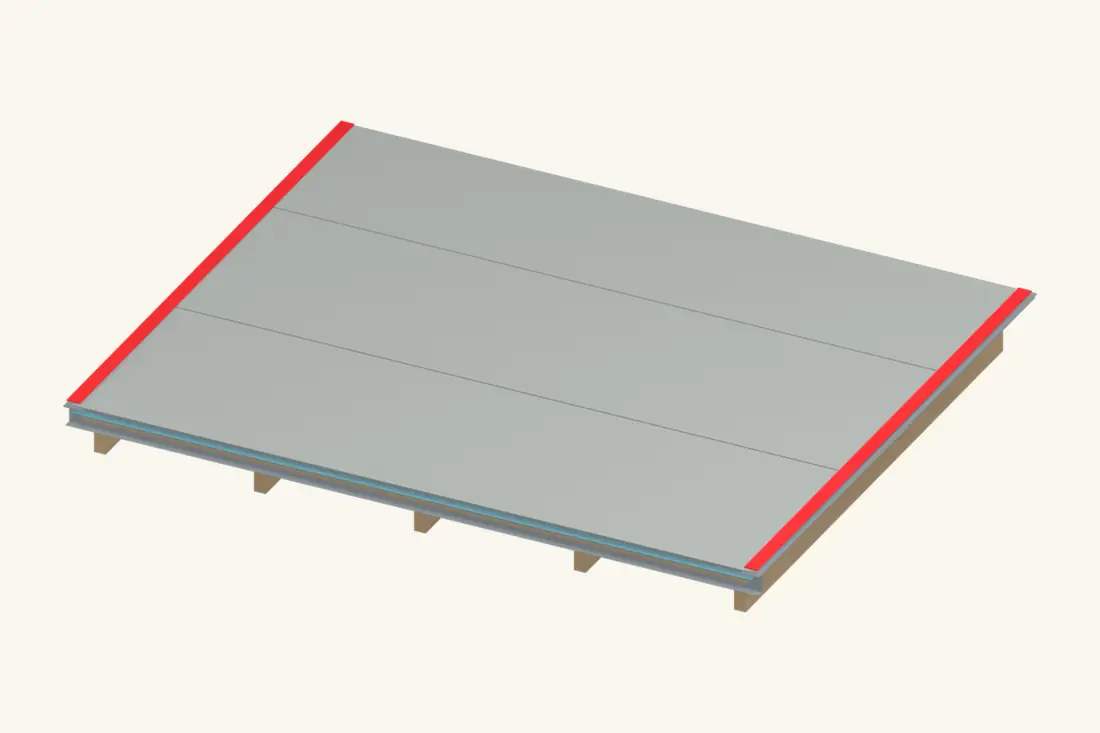
Complete the cap termination over the edge metal and the system detail at the high edge and side corners. Keep runoff directed over the drip into the gutter.
Wall abutments, pipes and curbs require their own base-and-cap flashing details. If present on your shed, finish those specified details before treating the field as complete; do not improvise them with loose strips.
Check before continuing: Each edge and any penetration has its complete approved termination.
Step 12 of 12
Inspect the complete roof and drainage
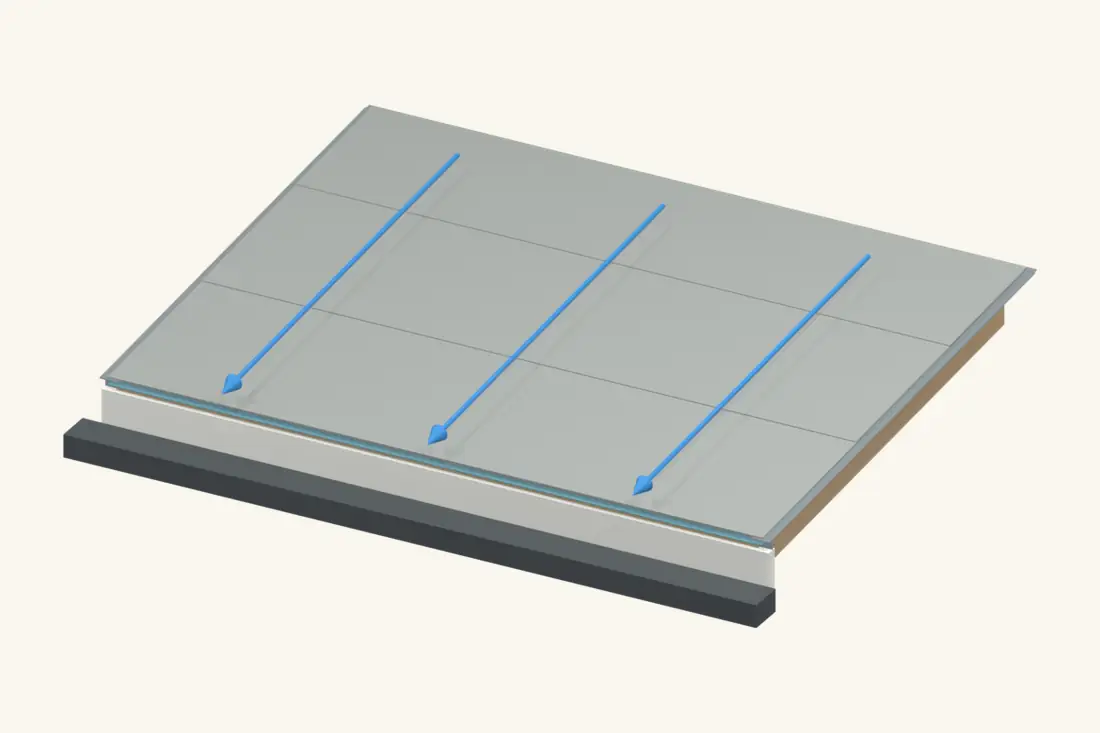
Look closely at lap ends, corners, the low edge and the transition from cap sheet to metal. Check for trapped debris, loose edges or damage from tools, and use the system repair method where needed.
Clear the gutter and roof, then inspect after rainfall. Keep records of the products used so a future repair can use compatible materials. This roof does not need a torch to complete the specified self-adhered installation.
Check before continuing: The cap, laps and trims form one continuous drainage surface.
Common questions
Is peel-and-stick underlayment a finished roof?
Only a product and complete assembly approved for permanent exposed roofing should be used that way. Many self-adhered underlayments are intended to be covered and are not a substitute for a mineral-surfaced cap system.
Does every bitumen roof need two layers?
No. Systems differ. This guide deliberately shows one documented two-ply method; do not remove its base layer or apply its sequence to a different single-ply product.
Can I use a torch to improve the bond?
Follow the self-adhered system instructions. Do not add torch heat to this installation. Resolve unsuitable temperature, dirty surfaces or poor adhesion with the manufacturer’s prescribed method.
Installation references
Checked 24 October 2026. Use the current instructions for your product and region, together with your shed’s framing design.