
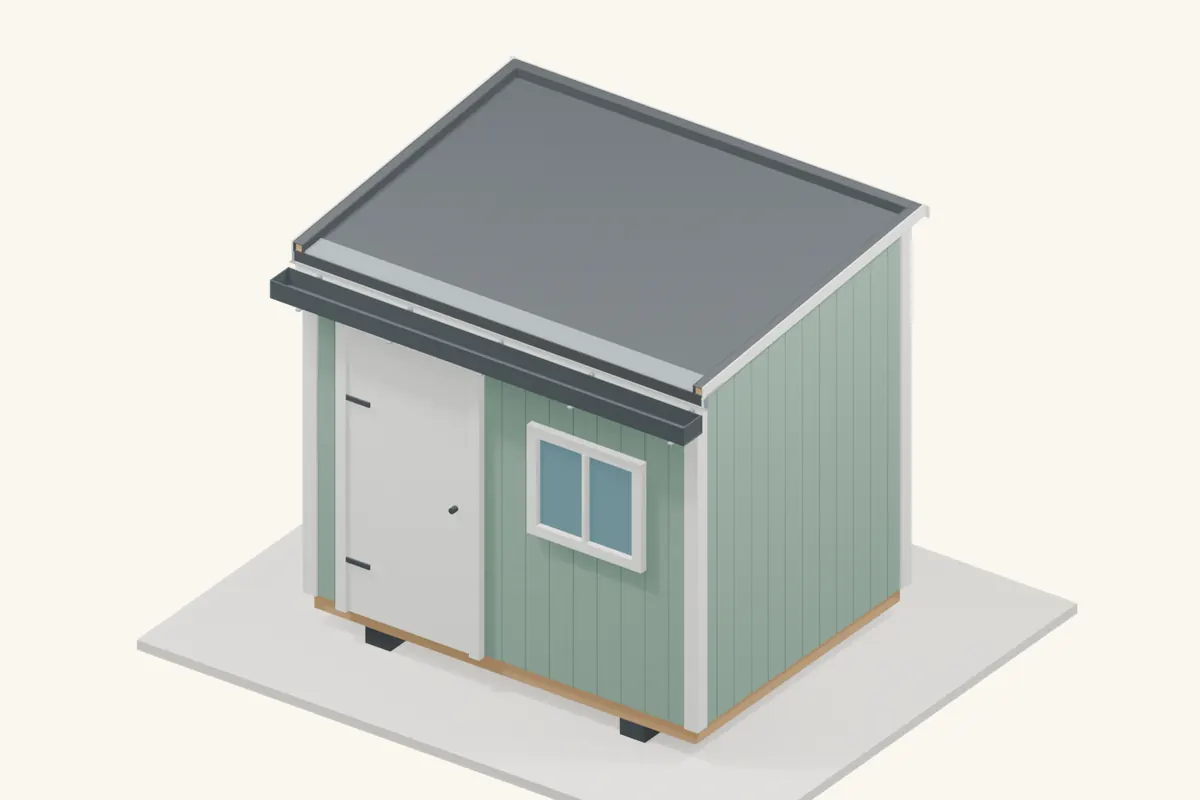
A single EPDM rubber sheet can cover a small low-slope shed with few field seams. Good preparation matters: a clean deck, the right adhesive and carefully finished edges do more than simply pulling the sheet tight. The sequence below is for an uninsulated timber deck with three retained edges and one draining gutter edge.
Before you start this guide
Have the roof frame completed and checked. Confirm the pitch, deck or support arrangement, and drainage suit the exact roofing product. Repair loose, damaged or wet areas before covering them.
Need to build the frame? Start with the roof shapes →- A good fit for
- A low-slope shed where a continuous flexible membrane and simple outline suit the design.
- Plan for
- An approved deck and adhesive combination, dry conditions, controlled sheet handling and secure perimeter details.
Jump to a step
- 1.Check the drainage and choose the system
- 2.Make the deck smooth, sound and dry
- 3.Prepare the perimeter backing
- 4.Unfold and centre the rubber sheet
- 5.Let the sheet relax and settle
- 6.Fold back one half without moving the other
- 7.Apply an even field-adhesive coat
- 8.Roll the sheet down and broom it flat
- 9.Bond the edges using the perimeter detail
- 10.Form and seal the corners
- 11.Finish the kerb trims and gutter edge
- 12.Inspect the bonds and protect the curing roof
Materials and tools
Materials
- Single EPDM roofing membrane sized for the deck, kerbs, edge turns and working allowance
- Compatible water-based field adhesive where permitted, contact adhesive and seam primer
- System corner flashing/patches, perimeter trims and gutter-edge components
- Smooth suitable roof deck, edge backing and specified trim fixings
Tools and access
- Tape, scissors/roofing knife and a clean cutting board
- Adhesive roller, brush, seam roller and clean broom
- Gloves, safe access and lifting help; observe adhesive ventilation and fire precautions
Measure the actual roof and allow for laps, edge turns and cuts. Work from stable access with suitable fall protection; wet roofs and loose sheets are unsafe work surfaces.
Understand the roof assembly
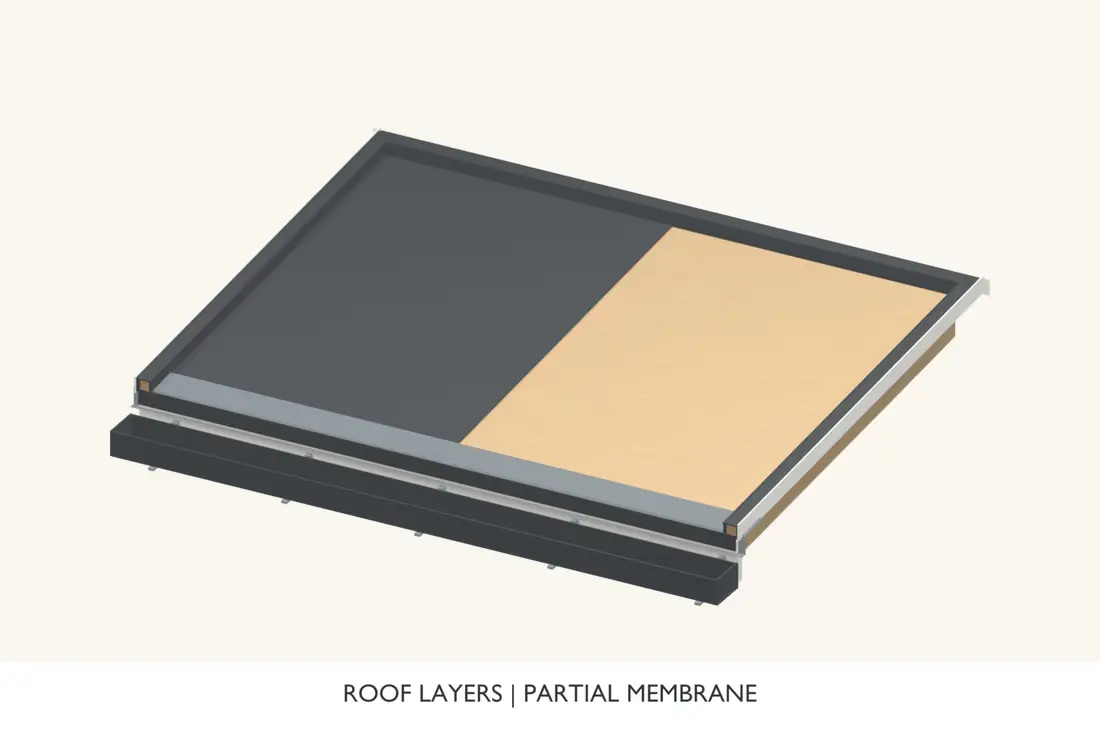
The illustrated method uses water-based adhesive on an absorbent wood deck and the compatible contact-bonded perimeter detail. Some EPDM systems use contact adhesive throughout. Follow one complete system; do not combine its components with an unrelated kit.
Step 1 of 12
Check the drainage and choose the system
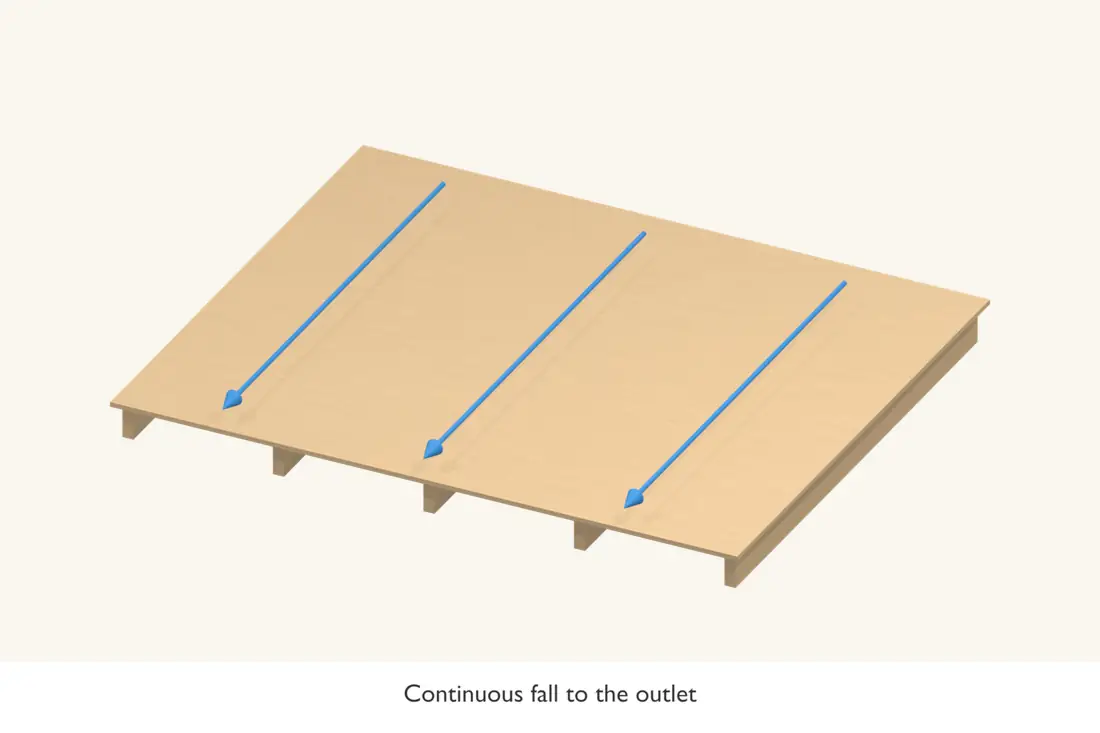
Check that the deck has continuous fall to the gutter with no local hollows. Measure the whole roof, including edge turns and kerbs, before ordering the sheet. Allow the working margin required by the membrane supplier.
Confirm whether the deck, insulation and cover board, if any, are approved for the chosen adhesive. This guide’s timber-deck method is not automatically suitable for a warm roof or an old bitumen surface.
Check before continuing: The sheet size and adhesive system match the complete roof assembly.
Installation reference: Elevate — RubberCover EPDM system and detailing resources
Step 2 of 12
Make the deck smooth, sound and dry
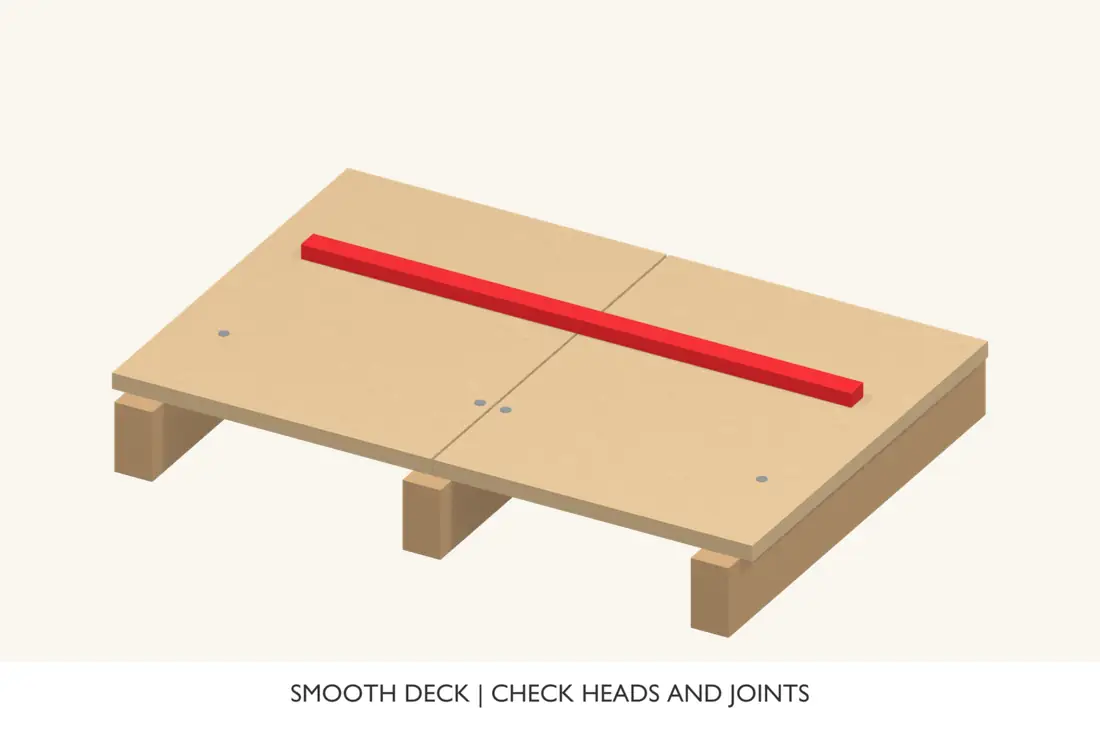
Refasten loose boards, repair damaged areas and remove sharp projections. Sweep the surface and check it by hand for splinters or raised screw heads that could damage the rubber.
The selected water-based adhesive is intended for acceptable absorbent wood substrates. Water-repellent treatments or coated panels can change adhesion and drying. Do not glue onto a surface simply because it looks like ordinary OSB.
Check before continuing: The deck is clean, dry, smooth and compatible with the selected adhesive.
Installation reference: Elevate — water-based bonding adhesive technical sheet
Step 3 of 12
Prepare the perimeter backing
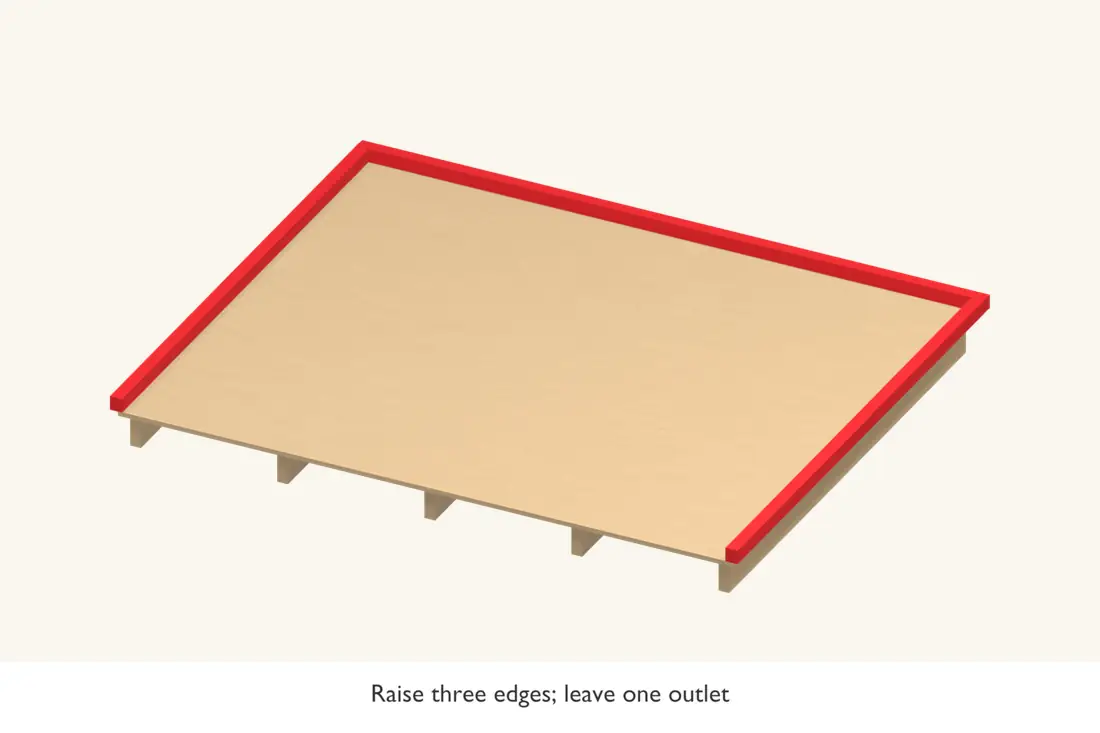
Fit sound backing for the retained side/high edges and the draining gutter edge. Set the profiles to the system drawing, including any edge components that must sit beneath the membrane.
Keep the low edge open to drain. A kerb all the way around would create a tray unless an approved outlet detail were added. Check the gutter position before the membrane covers the backing.
Check before continuing: Three retained edges and the low drainage edge have the correct backing.
Step 4 of 12
Unfold and centre the rubber sheet
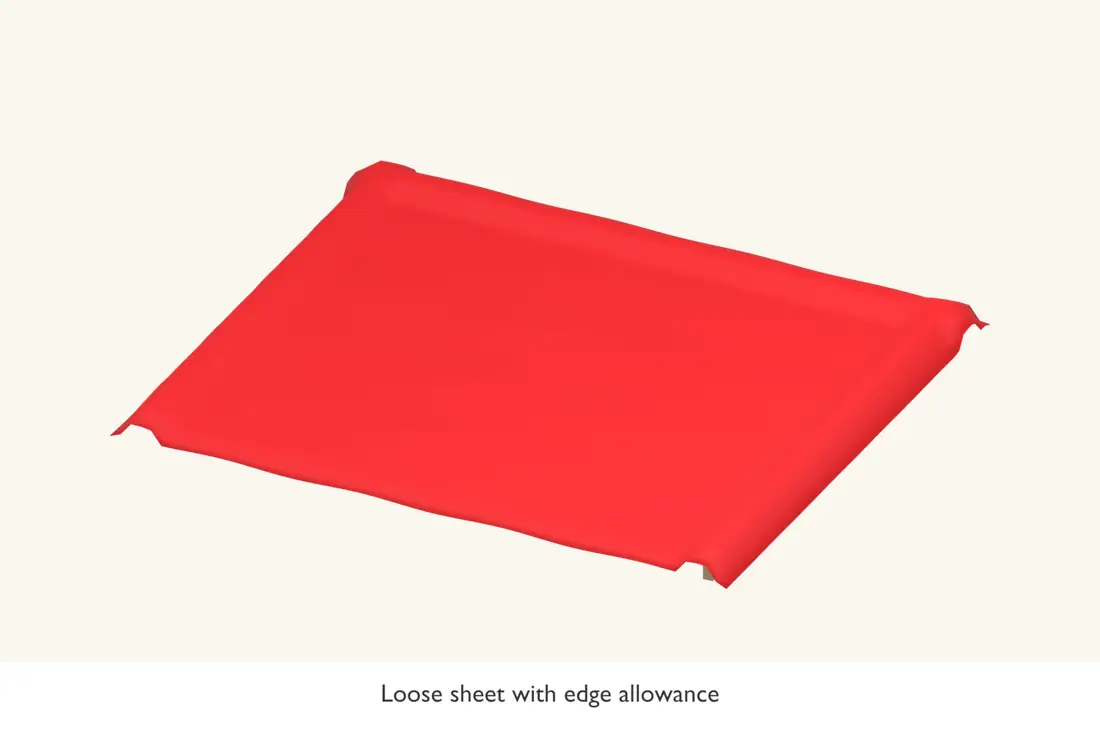
Lift the membrane onto the roof with help and unfold it without dragging it over sharp edges. Centre it so there is adequate material at every perimeter and corner.
Check the entire sheet for damage and confirm that it covers every turn before making cuts. Keep the membrane relaxed rather than pulling it tight to reach a short edge.
Check before continuing: All sides have their required allowance and the sheet has no damage.
Step 5 of 12
Let the sheet relax and settle
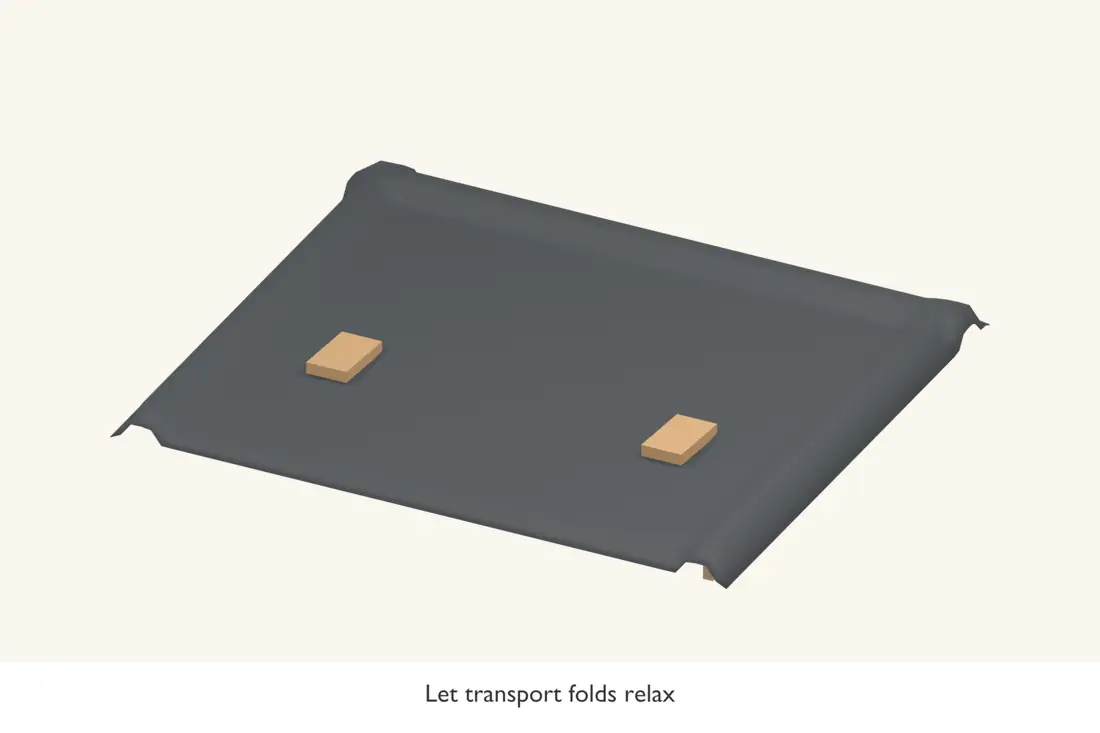
Leave the sheet laid out for the relaxation period specified by its supplier; approximately 30 minutes is common in the cited EPDM guidance. Wind and temperature affect handling, so keep it under control with suitable temporary ballast that cannot puncture it.
Smooth the sheet gently and check the perimeter allowances again. Do not cut the final edges yet: bonding and corner formation can consume material.
Check before continuing: Transport folds have settled and every edge still has enough material.
Installation reference: Elevate — membrane and contact-adhesive installation questions
Step 6 of 12
Fold back one half without moving the other
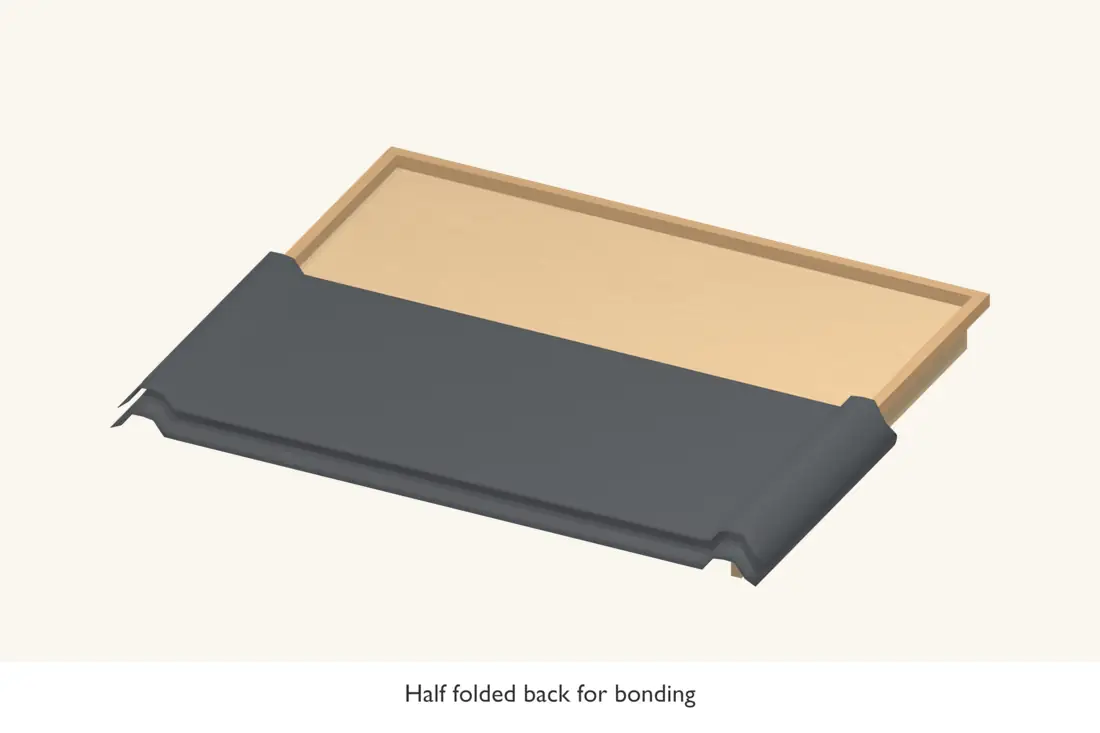
Fold half the membrane back onto itself, leaving the other half positioned on the deck. Mark the limits of the field-adhesive area and keep perimeter and seam zones clear where the chosen system requires a different adhesive.
Work in an area you can bond and lay within the adhesive’s working time. Keep grit off the underside of the folded sheet and keep tools on a protective surface.
Check before continuing: The sheet can return to its exact position without stretching or twisting.
Step 7 of 12
Apply an even field-adhesive coat
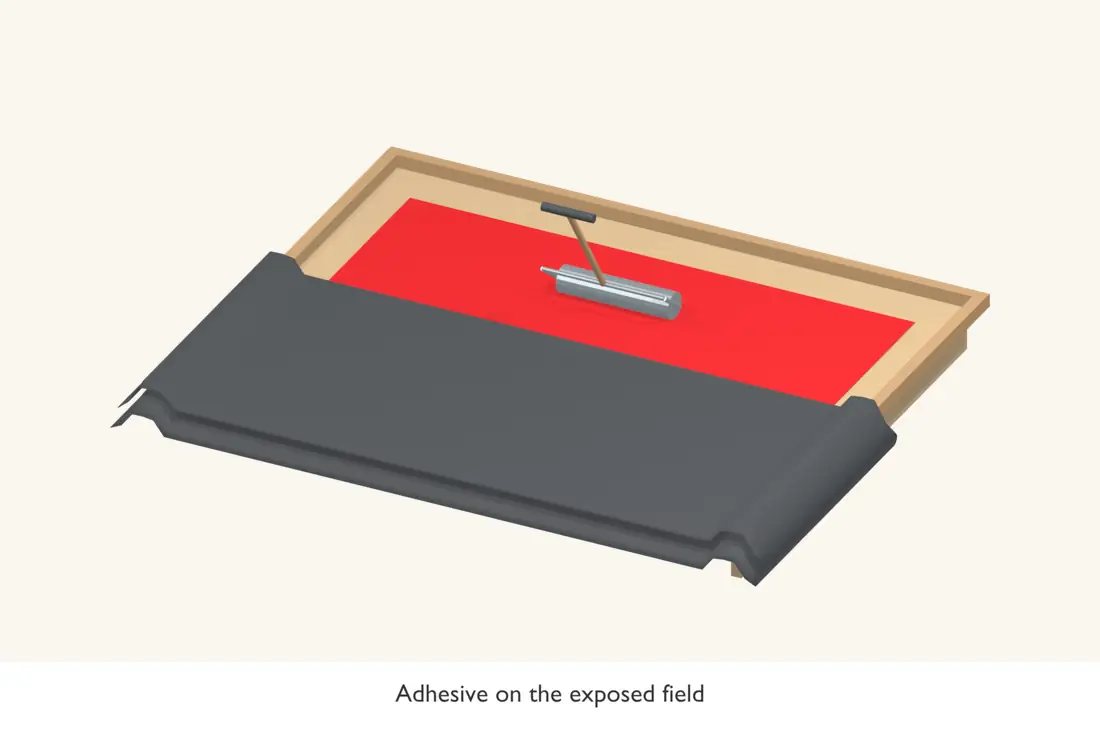
For the illustrated water-based method, roll the specified adhesive evenly onto the acceptable wood deck. Avoid puddles, dry gaps and coating areas you cannot cover in time.
This wet-bonded method differs from contact adhesive, which is normally applied to both mating faces and allowed to flash off. Do not mix the two procedures. Follow the chosen product’s coverage and weather limits.
Check before continuing: The adhesive coat is uniform and ready for the correct mating method.
Installation reference: Elevate — water-based bonding adhesive technical sheet · Elevate — membrane and contact-adhesive installation questions
Step 8 of 12
Roll the sheet down and broom it flat
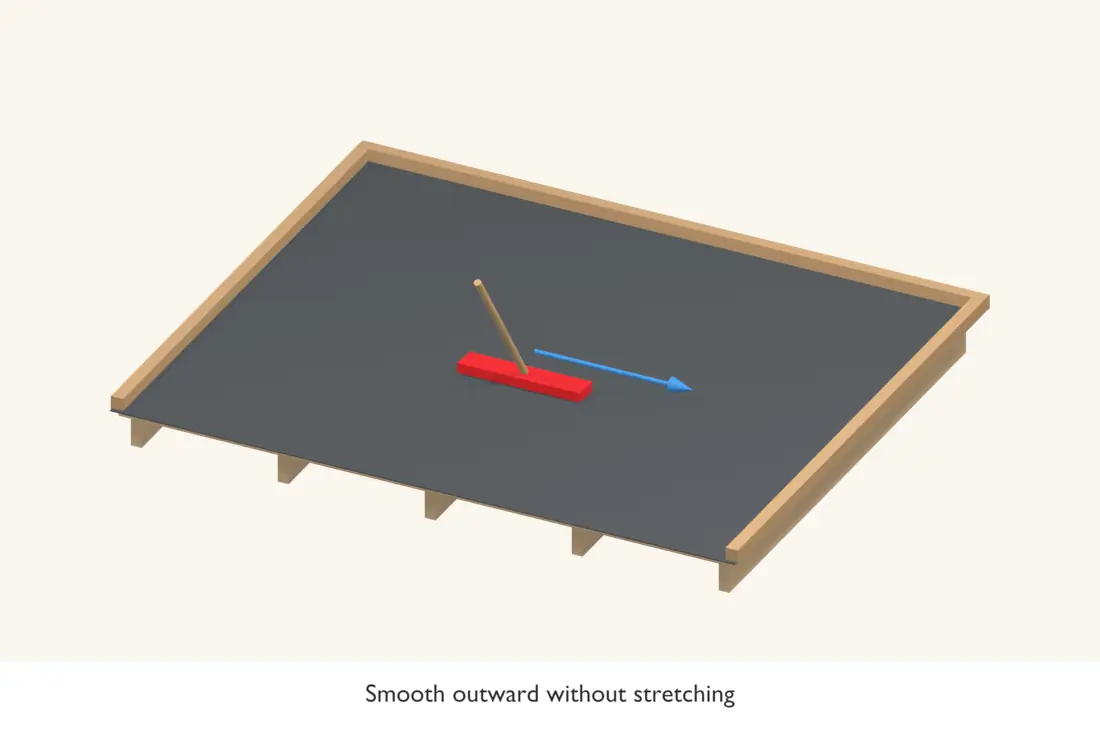
Bring the folded sheet back into position progressively, keeping air ahead of the bond line. Lower it onto the adhesive without stretching and smooth it from the centre toward the edges.
Broom or roll the bonded area as directed, then repeat for the second half. If a wrinkle appears, deal with it while the adhesive system permits repositioning rather than trapping a fold under force.
Check before continuing: The field is bonded with no ridges, trapped folds or unbonded pockets.
Installation reference: Elevate — water-based bonding adhesive technical sheet
Step 9 of 12
Bond the edges using the perimeter detail
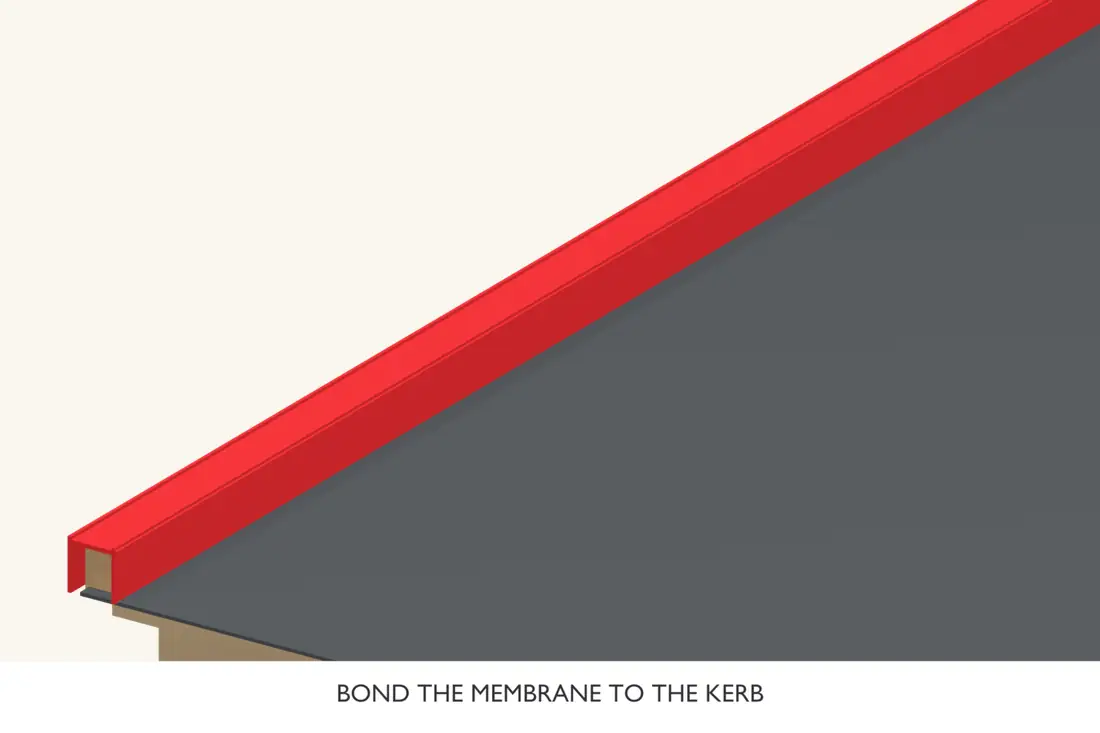
Apply the specified contact adhesive to the required mating faces at perimeter and vertical surfaces. Keep seam and patch areas free of bonding adhesive where their separate primer/tape system requires it.
Wait for the product’s stated readiness test, then bring the surfaces together without tension and press firmly. A stretchy membrane should not be used to bridge an unsupported corner or hide missing backing.
Check before continuing: The edge bond is continuous and the membrane lies against its supporting detail.
Installation reference: Elevate — membrane and contact-adhesive installation questions
Step 10 of 12
Form and seal the corners
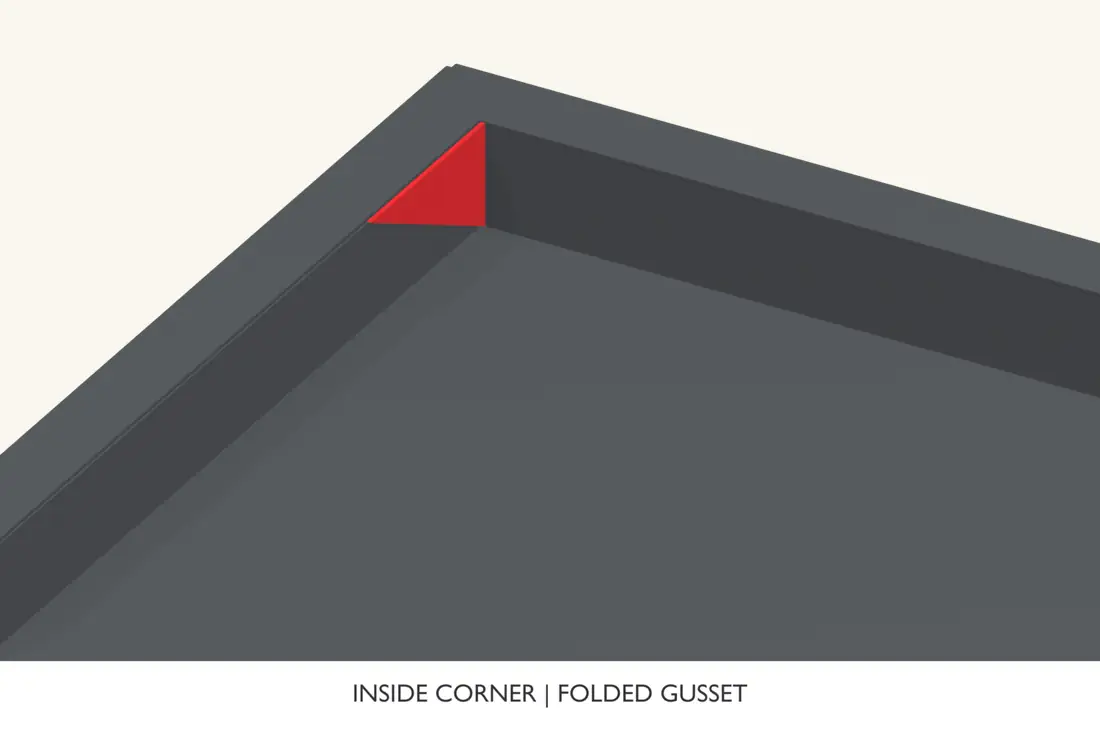
Fold the membrane at internal corners where the system allows a fold. For cut corners and changes of plane, use the specified primer and compatible corner flashing or patch, with the required rounded edges and coverage.
Roll every bonded patch to remove small air channels. Do not replace a system corner detail with a thick bead of general-purpose sealant. Take a close look at the point where the corner meets the horizontal field.
Check before continuing: Corners are fully supported, tension-free and sealed by the system detail.
Installation reference: Elevate — RubberCover EPDM system and detailing resources
Step 11 of 12
Finish the kerb trims and gutter edge
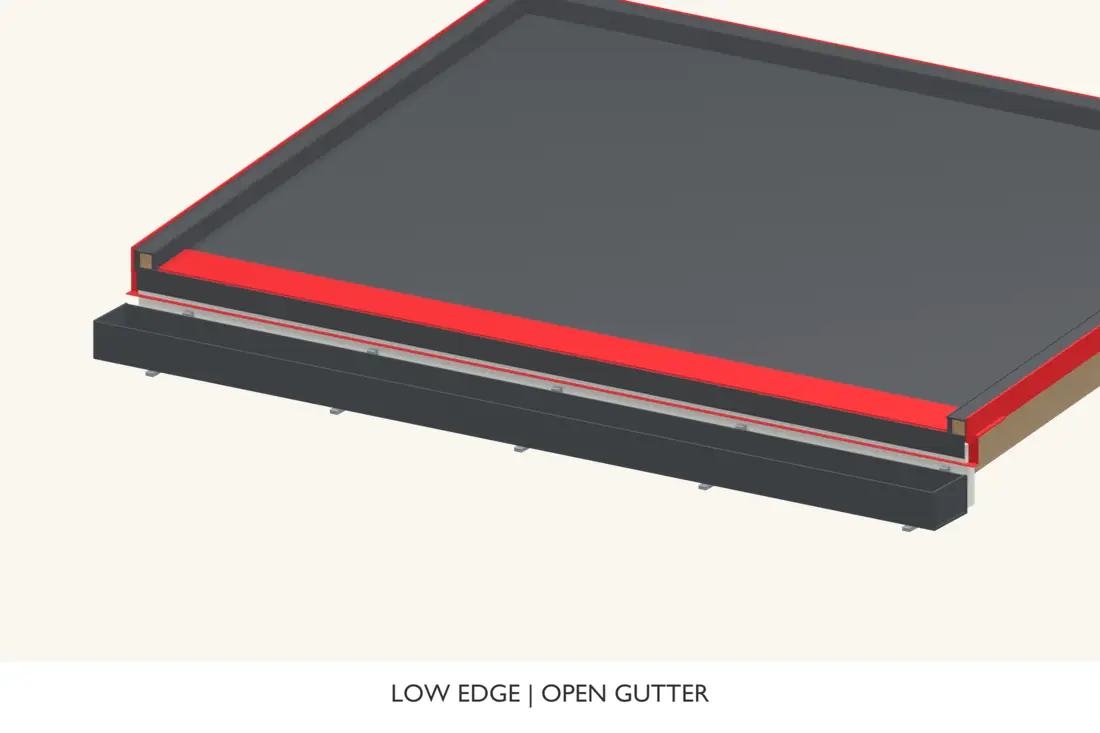
Install the matching edge trims and their corner pieces, fastening into the prepared backing. Trim excess membrane only after checking the final capture and drip detail.
At the low edge, route the membrane over the designated drip component so runoff enters the gutter. Keep screws and exposed holes out of the water path unless the system expressly incorporates them.
Check before continuing: The membrane is mechanically retained as specified and drains into the gutter.
Step 12 of 12
Inspect the bonds and protect the curing roof
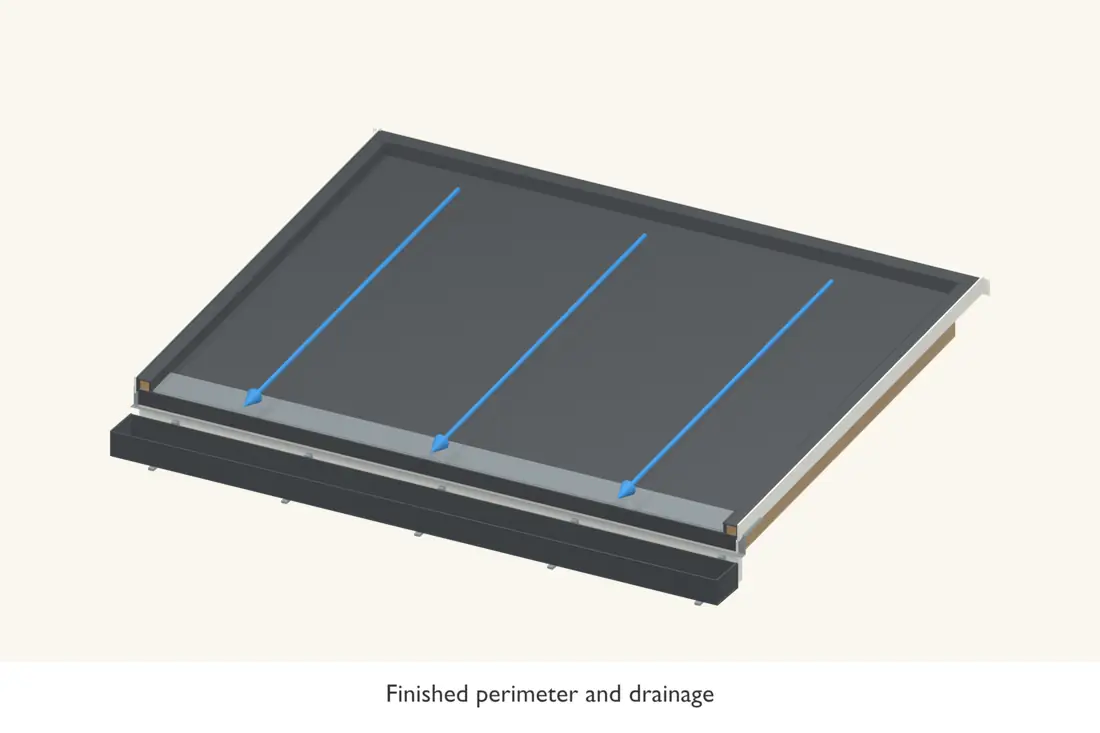
Check all patches, corners and trim ends, and remove adhesive containers and sharp offcuts. Follow the adhesive’s cure and weather restrictions before leaving the membrane exposed to stress.
The cited water-based adhesive requires protection from wind stresses and freezing for 48 hours after mating. Plan the installation window around that condition. Inspect drainage after rainfall without deliberately flooding an unverified shed structure.
Check before continuing: All terminations are complete and the curing conditions can be maintained.
Installation reference: Elevate — water-based bonding adhesive technical sheet
Common questions
Can I use pond liner instead?
Use a roofing membrane supplied with a compatible roof adhesive, flashing and trim system. Similar-looking rubber does not establish that a pond liner is suitable or warranted as a roof.
Is water-based adhesive used everywhere?
No. Its use depends on the substrate and system. The illustrated method uses it only where approved on an absorbent wood field, with the specified perimeter treatment. Other systems use contact adhesive throughout.
Can I glue EPDM onto old bitumen?
Confirm compatibility and any required separation or cover board with the membrane manufacturer. Do not bond onto fresh bitumen, contaminated surfaces or an unidentified old roof using a generic adhesive.
Installation references
Checked 24 October 2026. Use the current instructions for your product and region, together with your shed’s framing design.