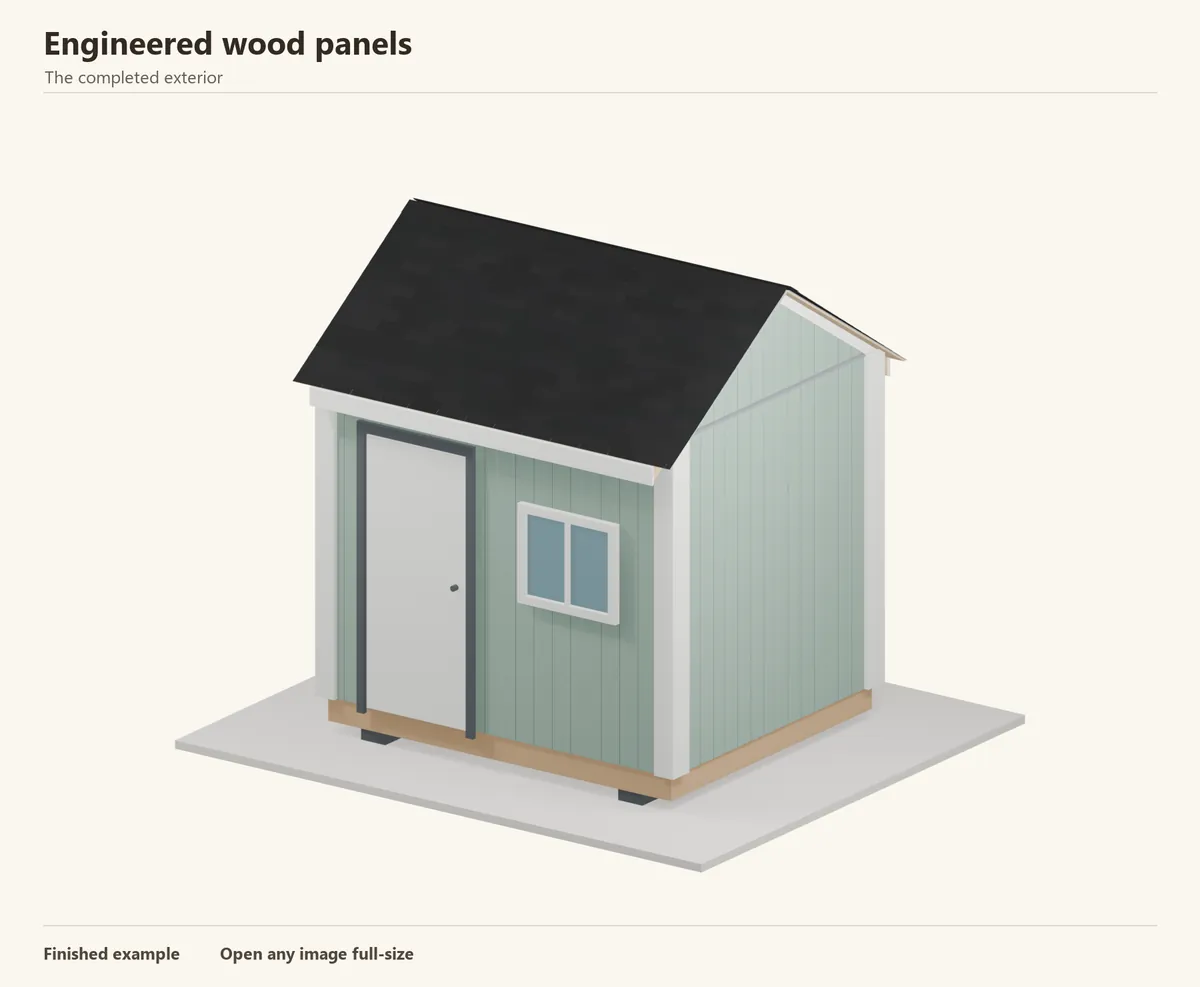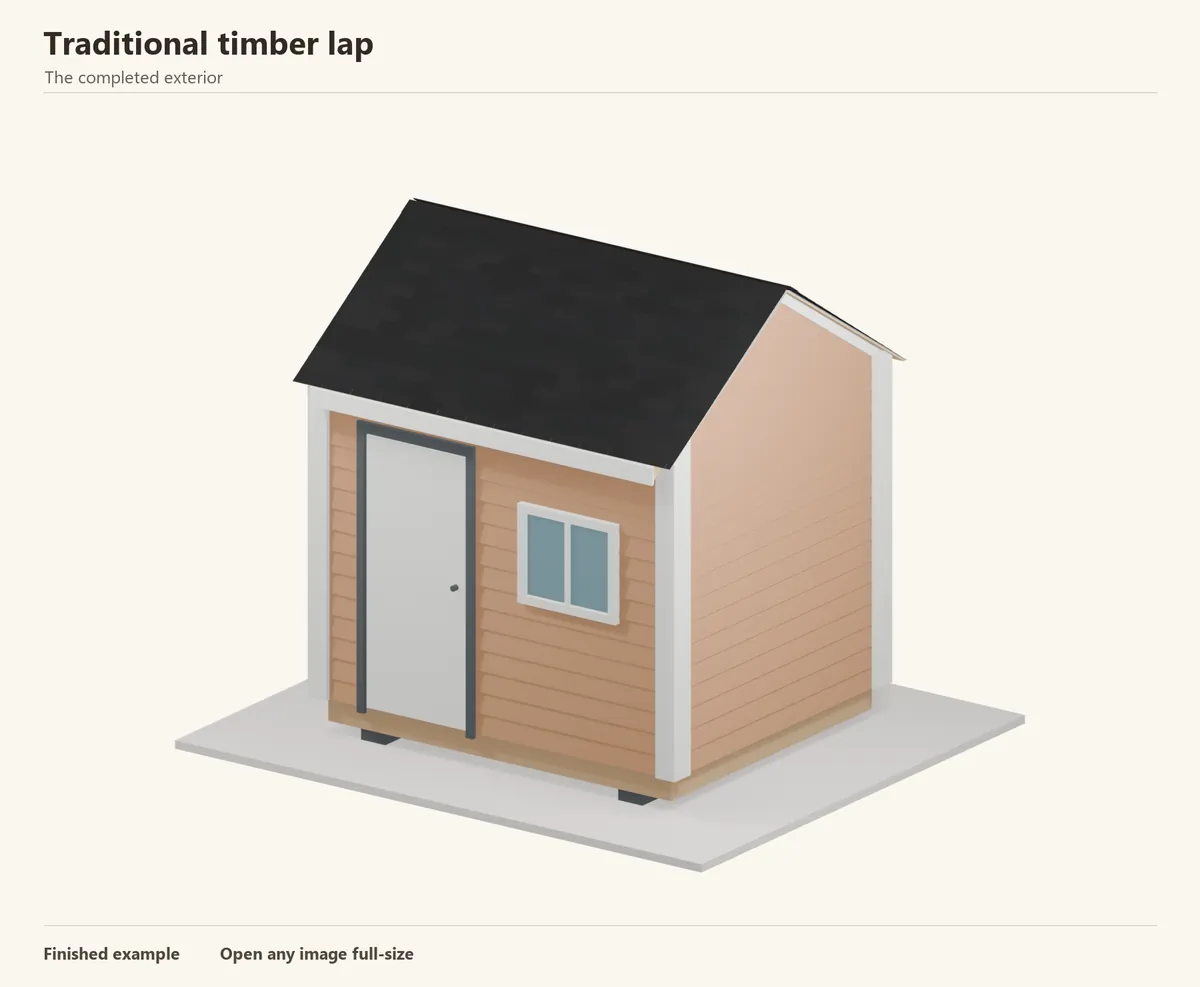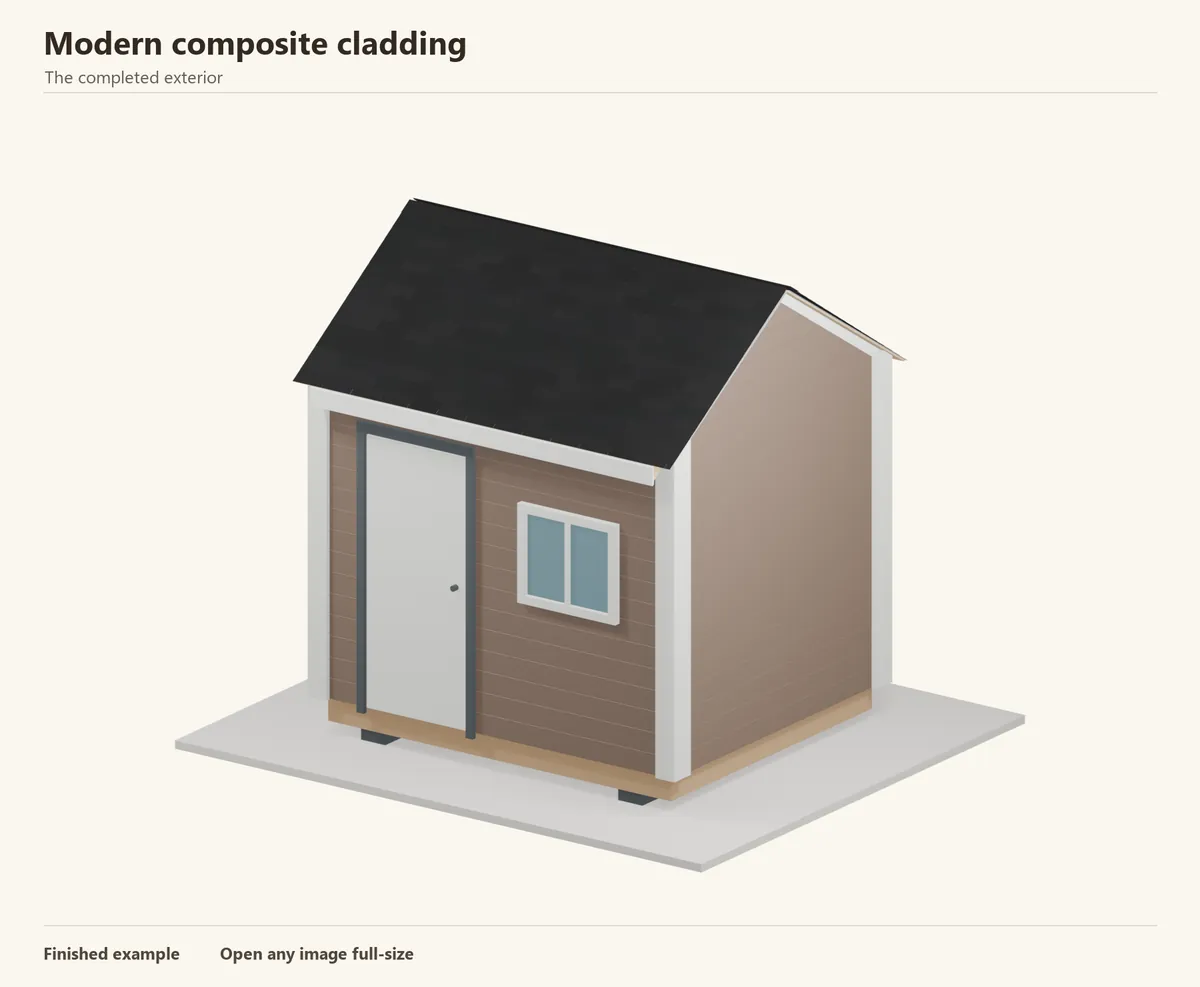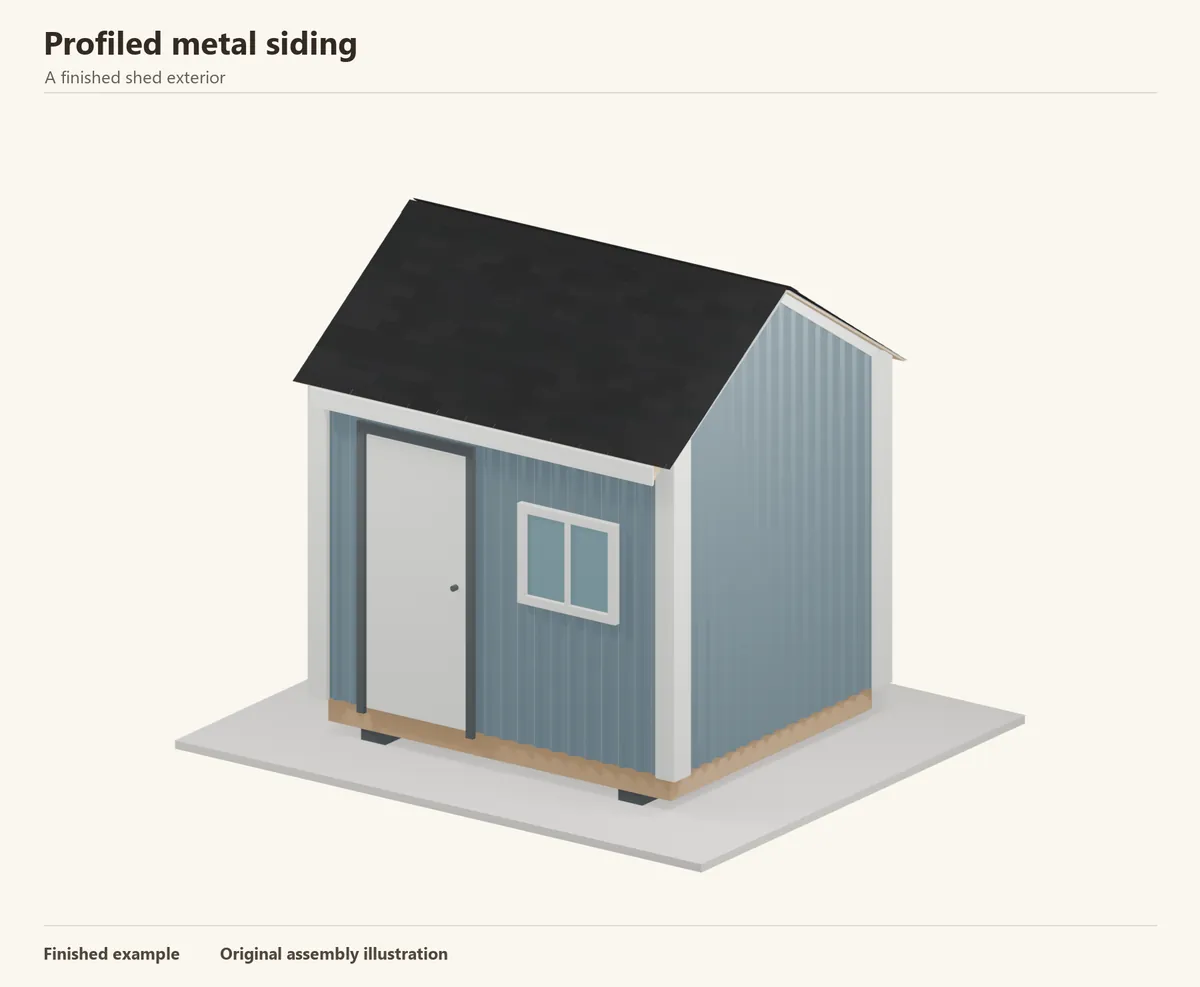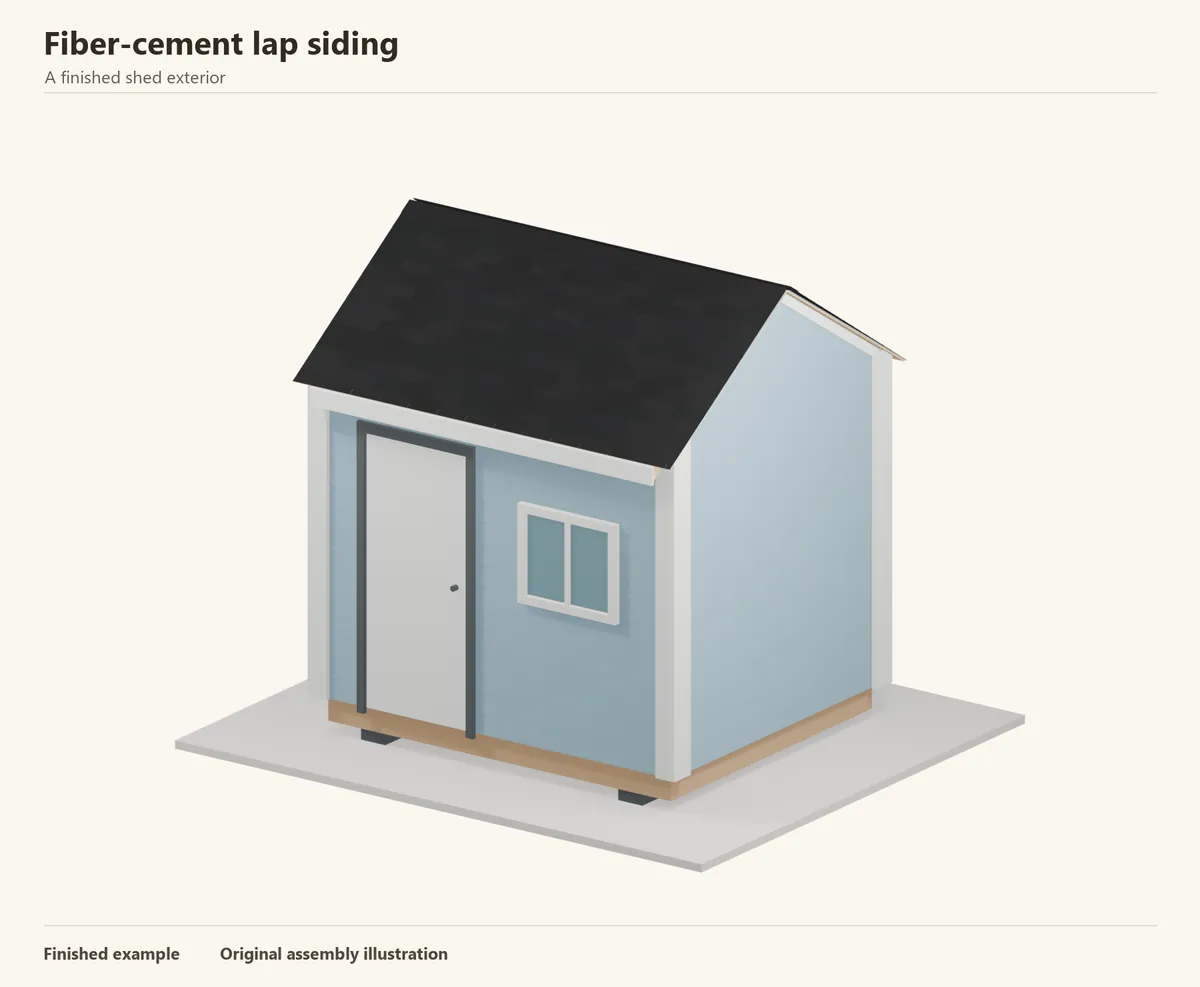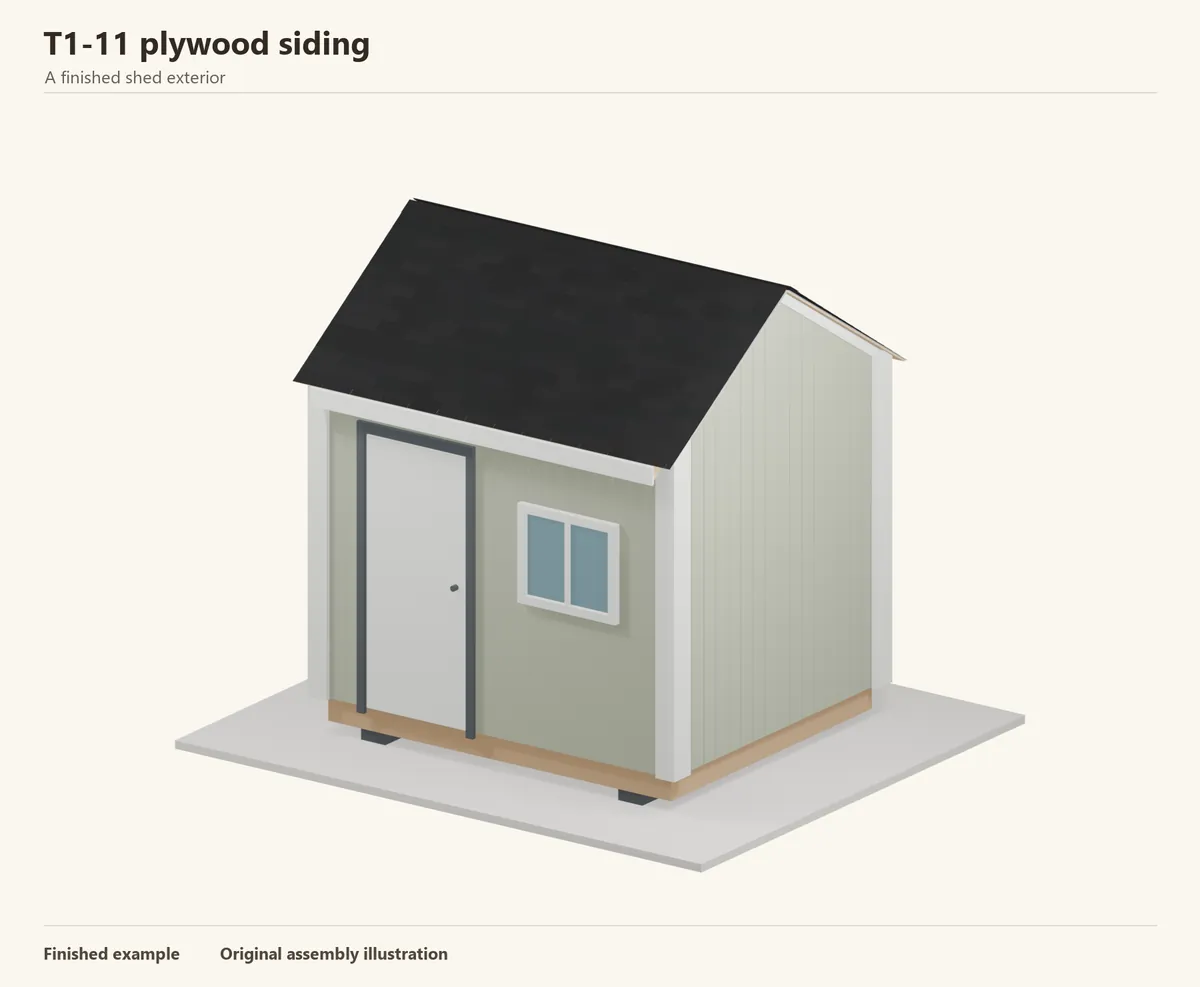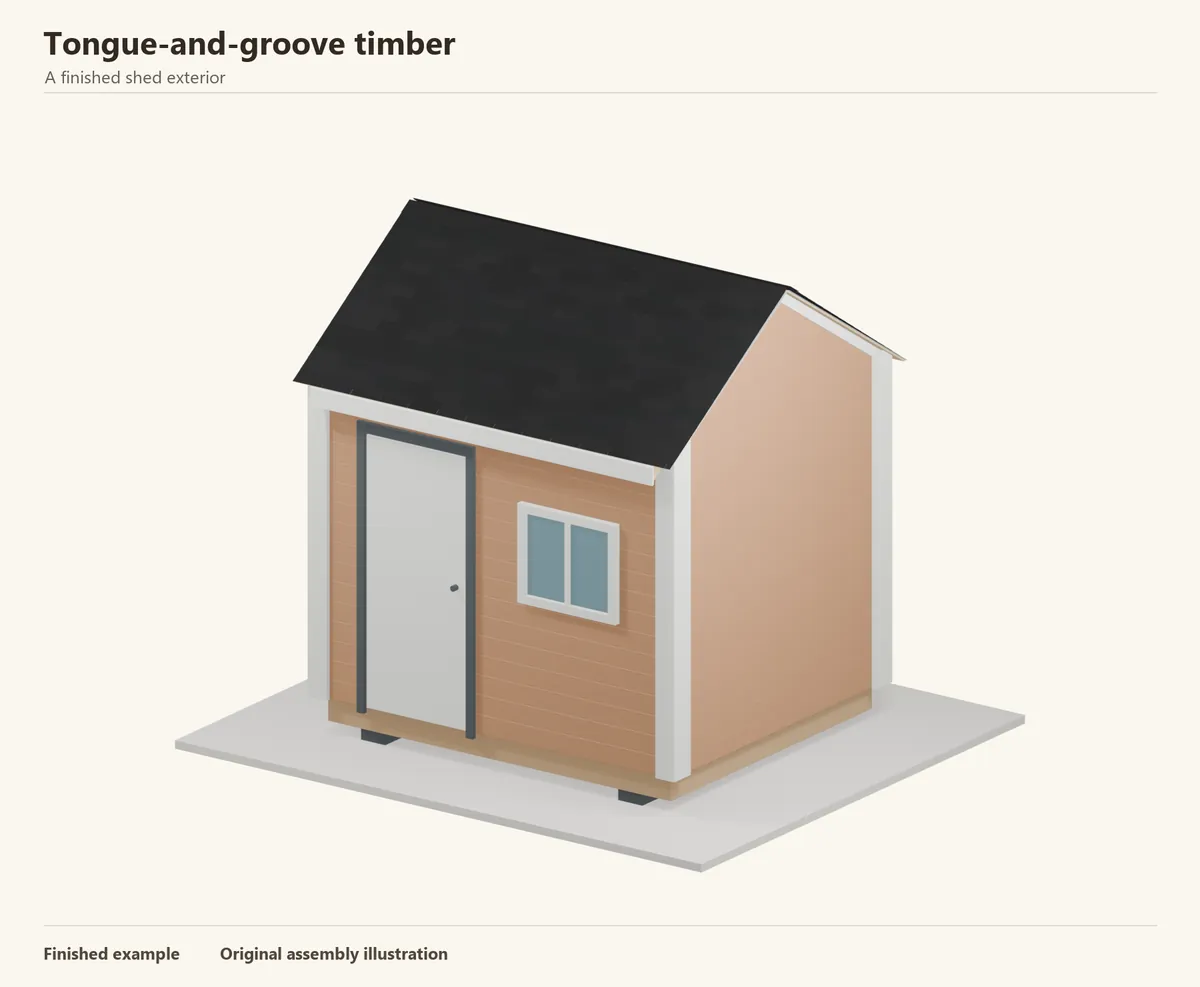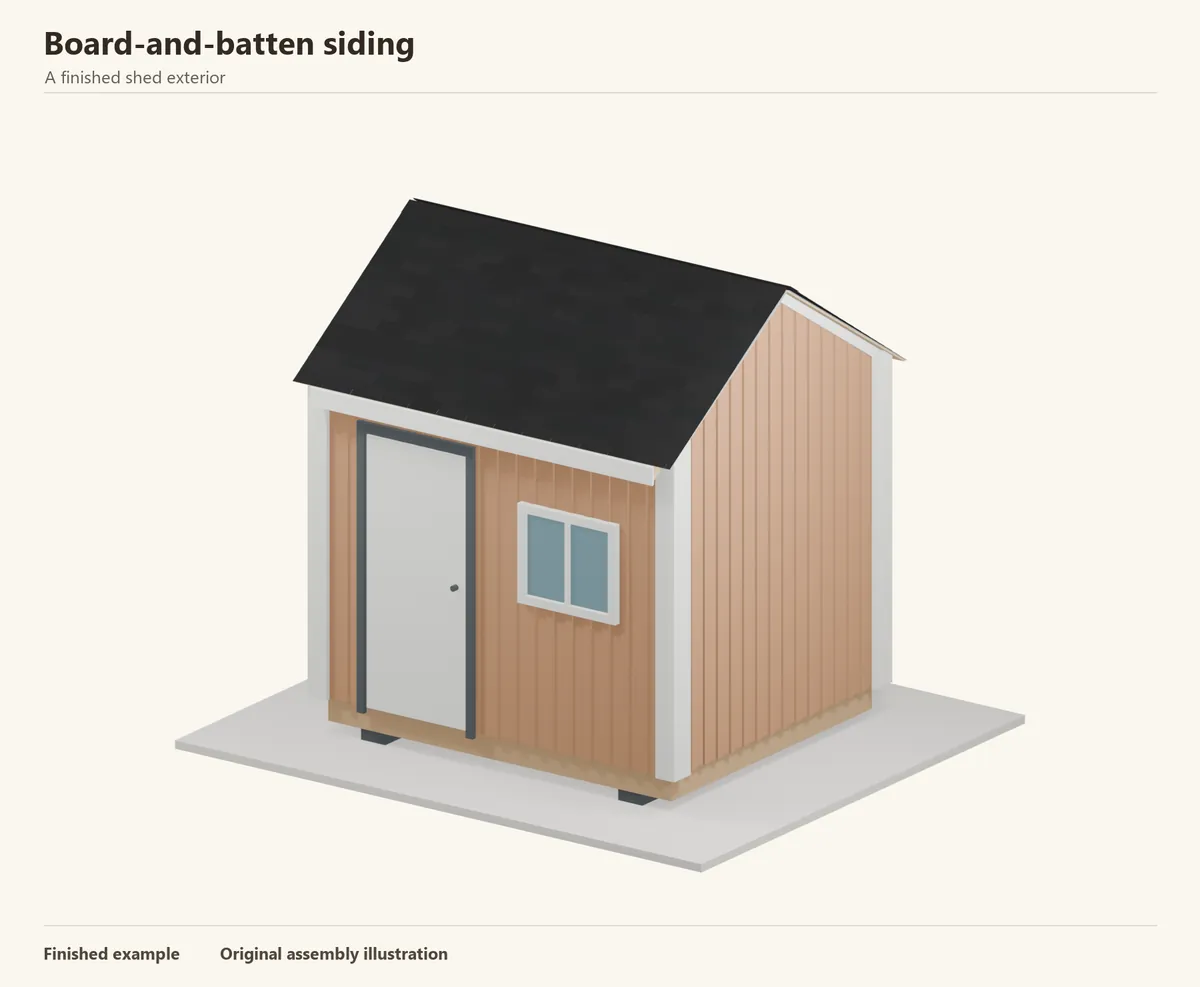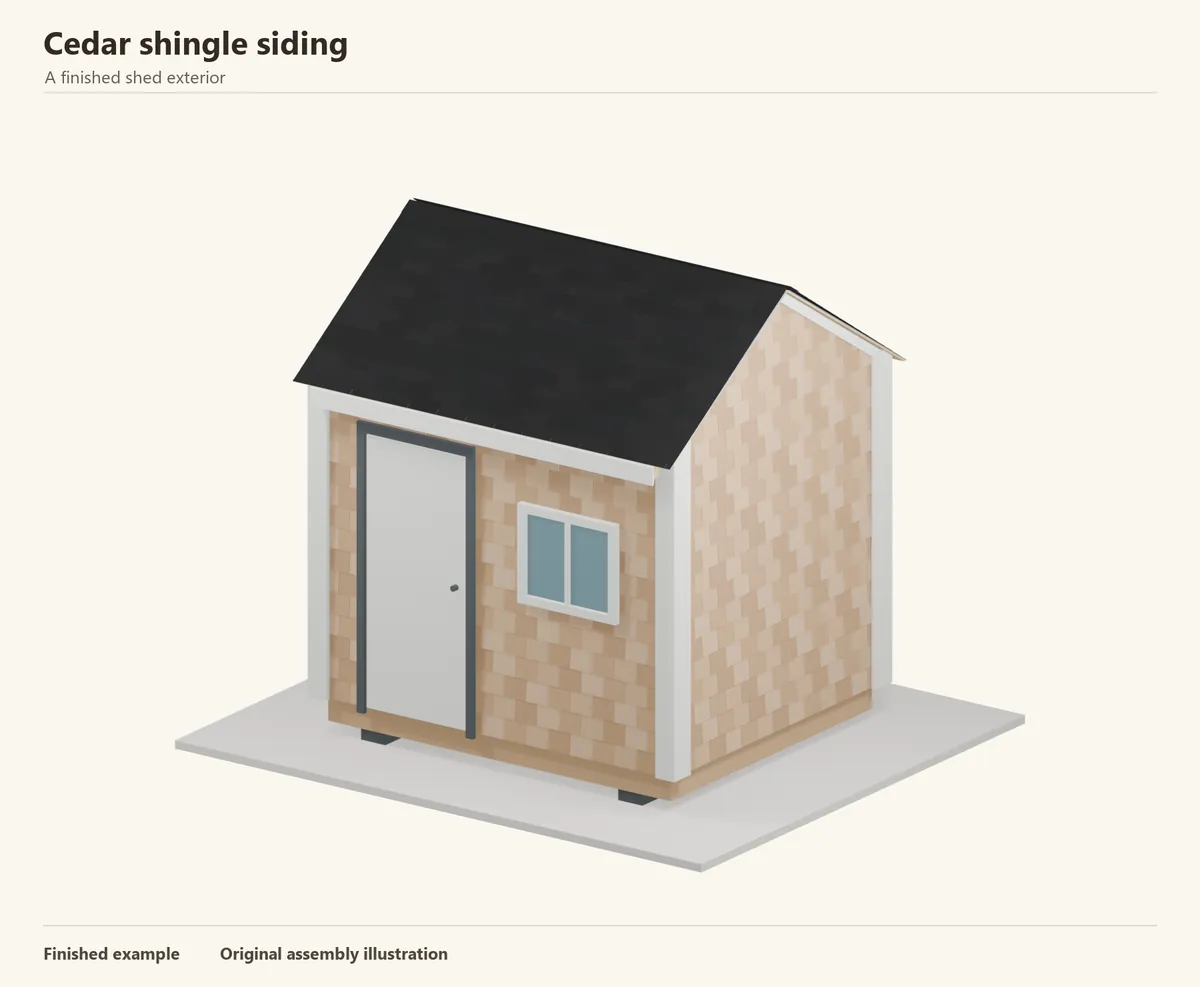
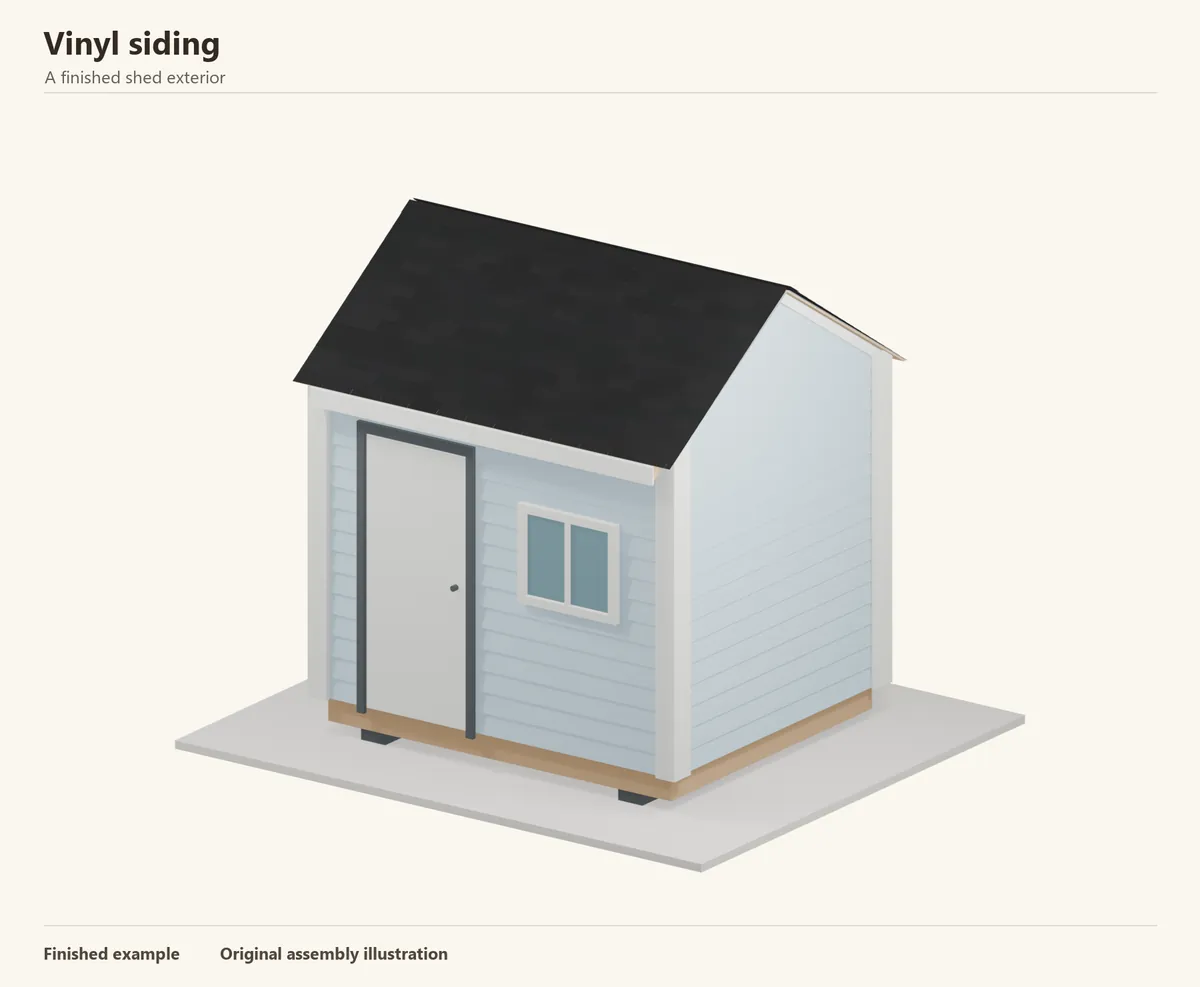
- A good fit for
- A shed that should coordinate with a vinyl-sided house, with little routine painting work.
- Plan for
- Panels need room to move. Tight nails, trapped ends and poorly fitted trims can turn a quick installation into a wavy wall.
Jump to an installation step
- 1. Measure and prepare the wall
- 2. Sort the panels and accessories
- 3. Measure the cut with movement space included
- 4. Install corners, receivers and the starter
- 5. Lock in the first panels
- 6. Centre the fasteners and leave head clearance
- 7. Keep the ends free inside the trim
- 8. Work upward and check the running height
- 9. Notch around the flashed openings
- 10. Check the cornerpost fit
- 11. Retain the final course with finish trim
- 12. Inspect and clean the finished siding
Before you begin
Buy the cladding and its required accessories together. Measure the wall area and openings, then calculate coverage using the actual product profile and allow for cuts.
- Horizontal exterior vinyl panels and compatible starter strips
- Outside cornerposts, J-channel, utility/undersill trim and matching mounting blocks
- Sound sheathing, weather barrier, flashing tape and head flashings
- Approved corrosion-resistant fasteners with the required head size and penetration
- Tape, square, chalk line, level, snips, scoring knife and snap-lock punch
- Eye protection, gloves and a stable working platform
Companies offering this type of siding include CertainTeed and Ply Gem. Check local availability and follow the installation instructions for the product you choose.
Understand the lock and slotted nail hem
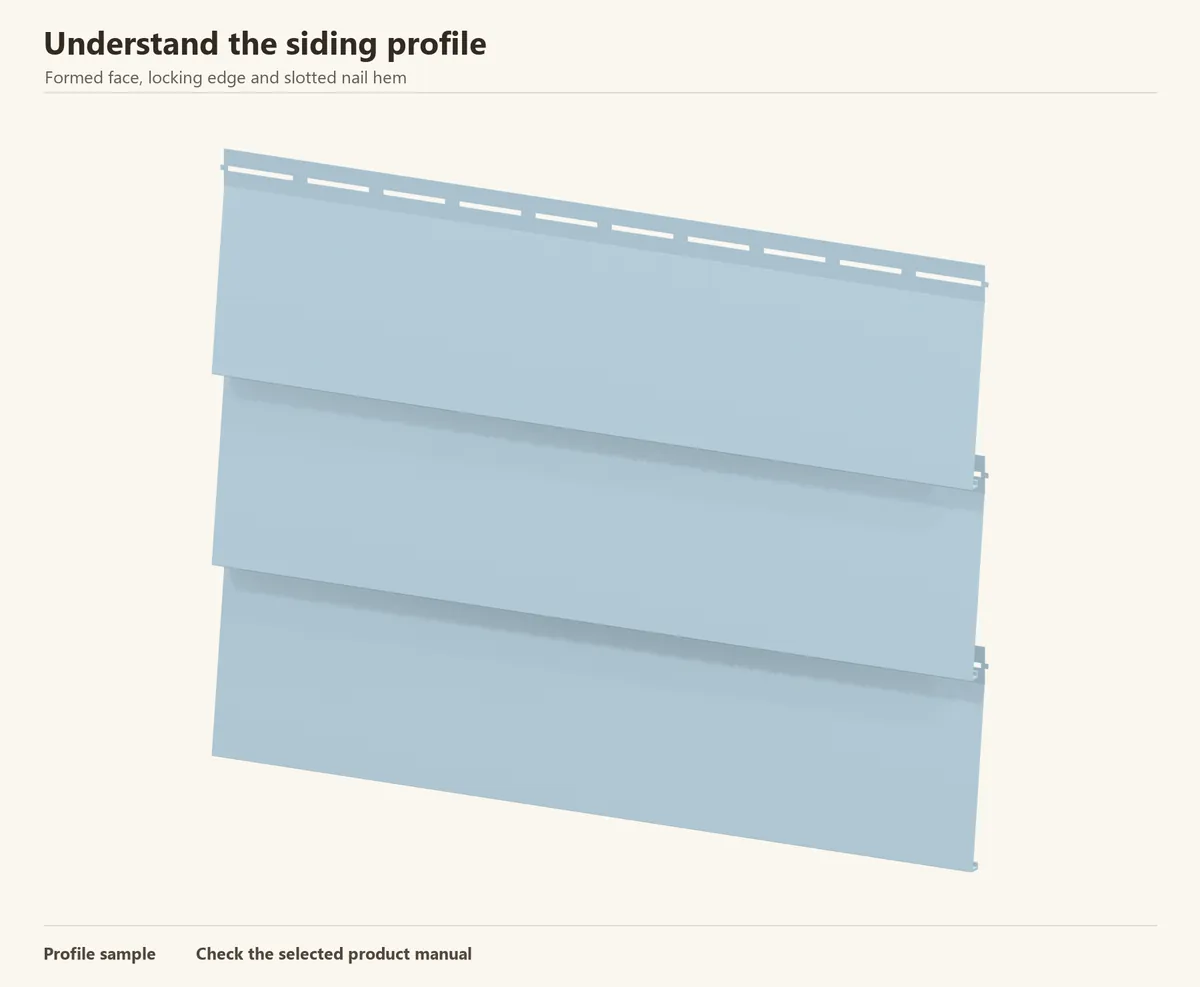
Horizontal vinyl is a formed panel with a locking edge below and a slotted fixing hem above. One panel can imitate more than one timber course. Use the panel’s actual coverage when counting rows.
This sequence shows conventional horizontal vinyl over a sheathed wall. Insulated vinyl, vertical panels and moulded shingle products have additional or different details. Keep the instructions for the exact product beside you.
Reference: PEPA / Vinyl Siding Institute — installation manual (PDF)
Step 1 of 12
Measure and prepare the wall

Measure each wall and gable, then sketch the doors, windows and corners. Count the accessory lengths separately from the panel area, and allow for the actual cuts your layout creates.
Repair the sheathing and make the surface flat. Complete the weather barrier and flashings before installing the siding accessories. Transfer support positions and a level starting datum onto the prepared wall.
Check before continuing: The substrate is flat, the flashings are complete and the starting line is level.
Reference: CertainTeed — vinyl siding installation basics · DuPont — weather barrier and opening flashing instructions
Step 2 of 12
Sort the panels and accessories
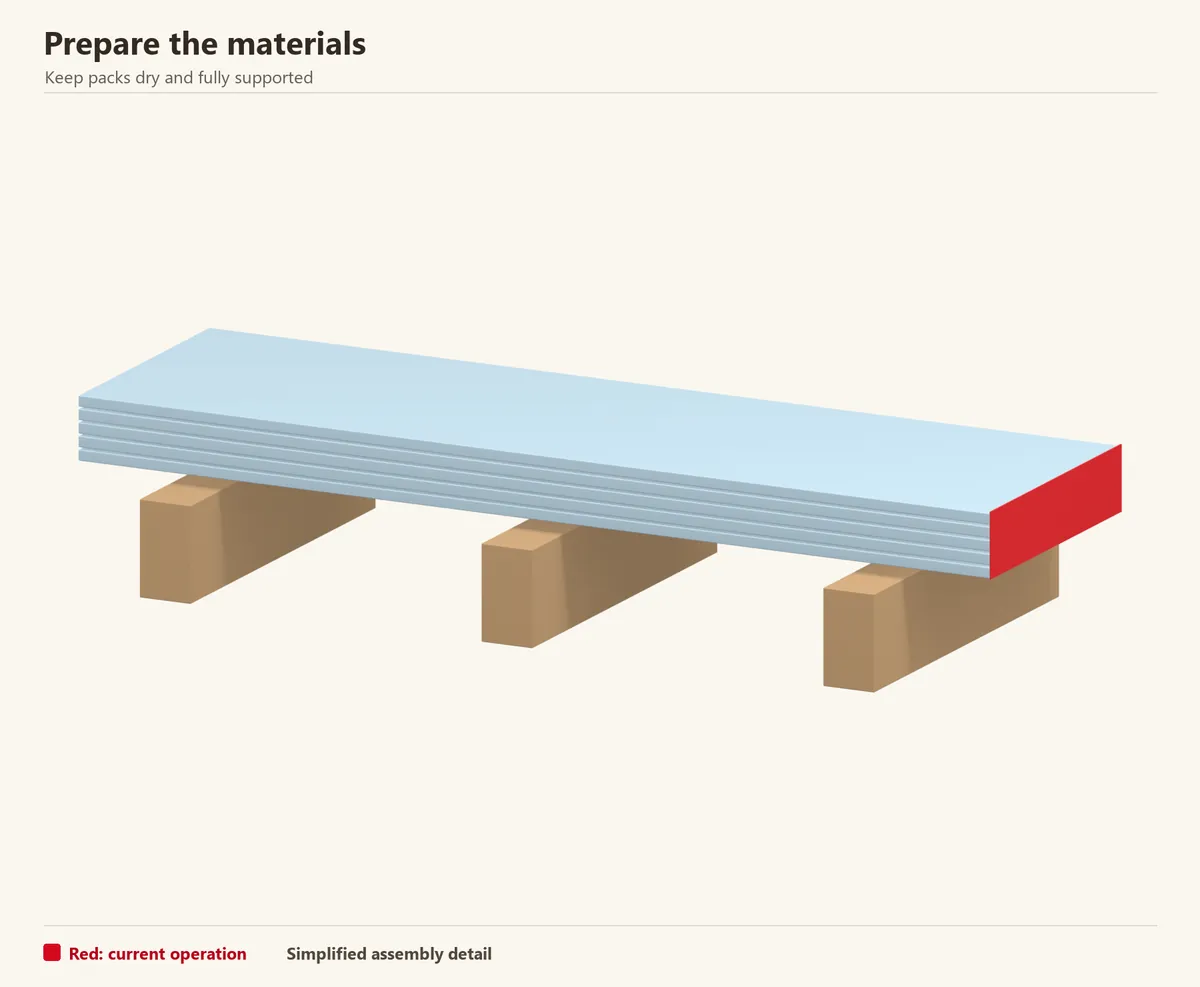
Open the delivery and match the colour and profile across the cartons. Check that the cornerposts and receiving channels accept the chosen panel thickness. Put damaged panels aside before they reach the wall.
Store cartons flat, supported and away from excessive heat. Set up a cutting area close enough for accurate measuring but clear of the doorway and walking route. Keep short usable offcuts sorted by length.
Check before continuing: All the required accessories fit an actual panel offcut.
Reference: PEPA / Vinyl Siding Institute — installation manual (PDF)
Step 3 of 12
Measure the cut with movement space included
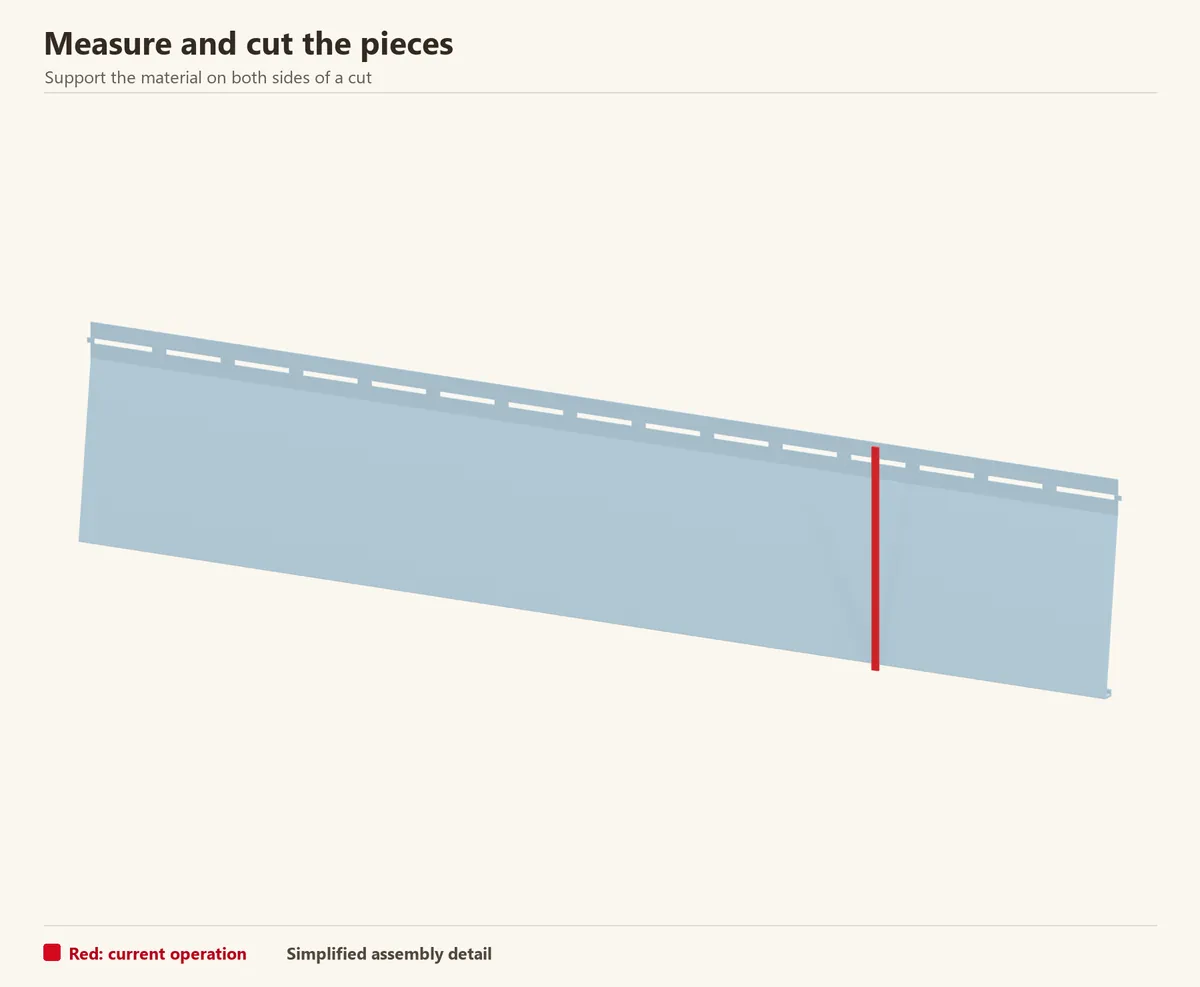
Measure to the inside of the receiving pockets, then deduct the specified allowance. Mark the panel with a square. For short cross-cuts and notches, use suitable snips; for a rip cut, use the permitted scoring-and-snapping method.
Temperature and panel length affect end gaps and overlaps. As one example, CertainTeed’s general guidance uses 1/4 in at receivers above 40°F and 3/8 in below it; longer or specialised panels can differ. Follow your panel’s table.
Check before continuing: The cut panel can enter both receivers without being wedged between them.
Step 4 of 12
Install corners, receivers and the starter

Fit the cornerposts and opening channels at the stage specified by the accessory instructions. Then fasten the starter strip along the level datum, maintaining the required clearances and spacing between separate lengths.
Keep the starter straight across the whole wall. Check the intended bottom position using an offcut locked into it; the starter’s fixing line is not the visible bottom of the siding.
Check before continuing: A sample panel locks into the starter at the intended finished height.
Reference: PEPA / Vinyl Siding Institute — installation manual (PDF)
Step 5 of 12
Lock in the first panels
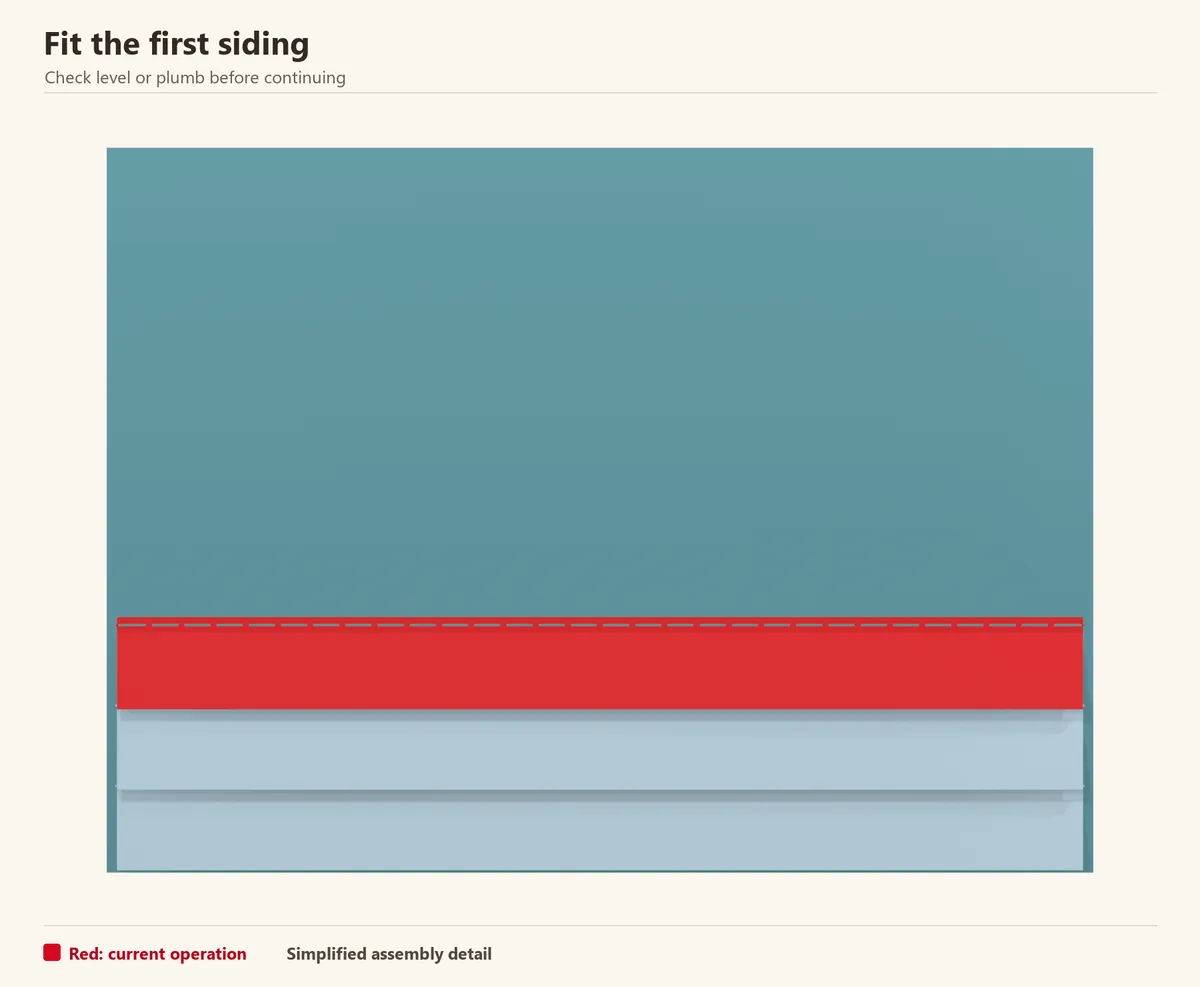
Place the end inside the corner pocket and engage the bottom lock along the starter. Check the full length before fastening; a short unlocked section can be difficult to notice from above.
Keep the panel relaxed as you secure it. Pulling hard upward can distort the lock. Check that it remains level and can slide after fastening.
Check before continuing: The complete bottom edge is engaged and the panel still moves sideways.
Reference: CertainTeed — horizontal panels, openings and top courses
Step 6 of 12
Centre the fasteners and leave head clearance
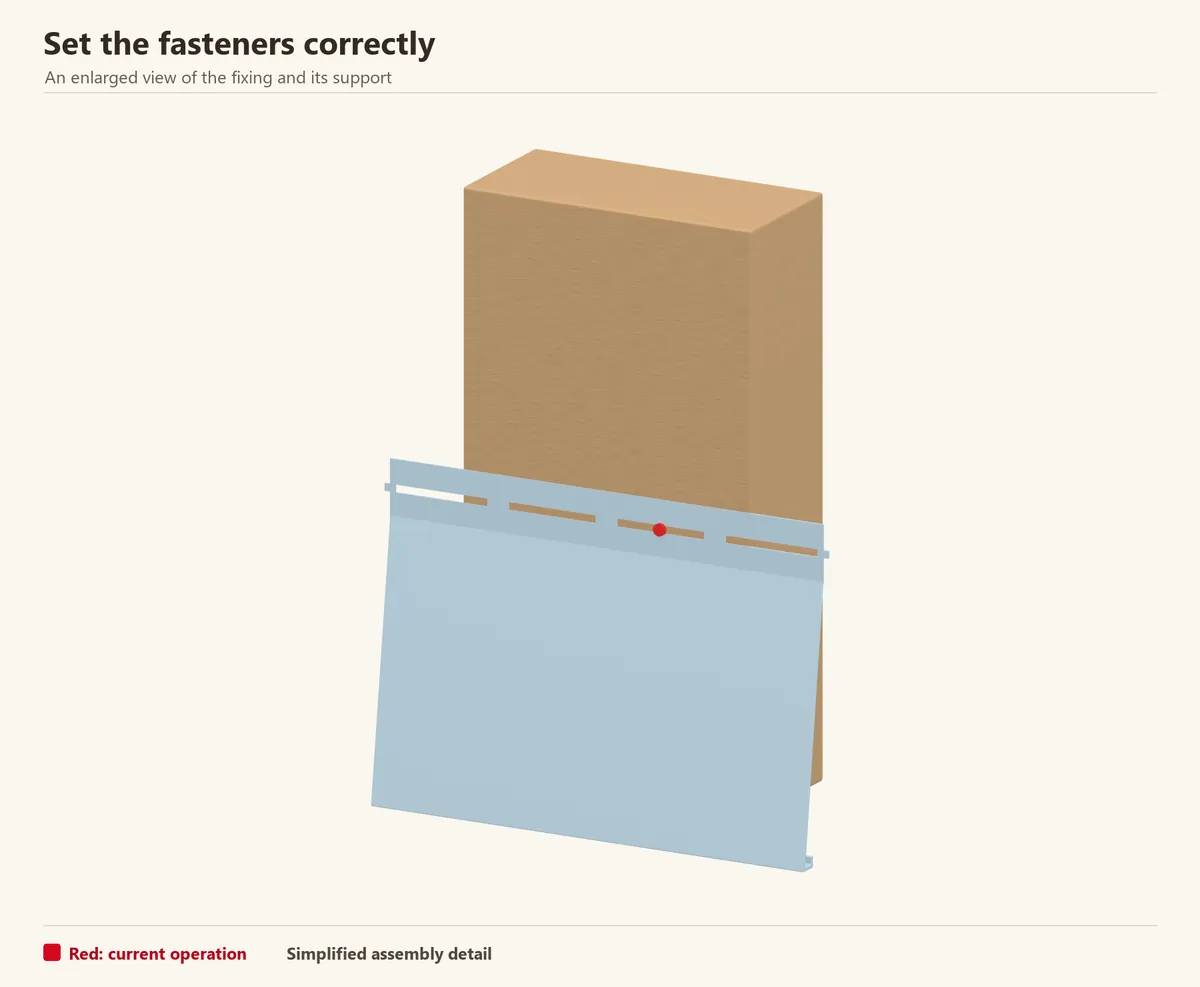
Drive the approved fasteners straight through the centres of the horizontal slots, leaving the specified clearance beneath their heads. The close-up highlights a centred fastener; it does not show a nail pinning the face of the panel.
Match spacing and penetration to the panel, backing and wind requirements. Vertical accessories may have a different first-fastener rule. Check the installed panel by sliding it gently rather than assuming a nail that looks loose enough is correct.
Check before continuing: Fasteners hold the hem without clamping it.
Reference: CertainTeed — vinyl siding installation basics · PEPA / Vinyl Siding Institute — installation manual (PDF)
Step 7 of 12
Keep the ends free inside the trim
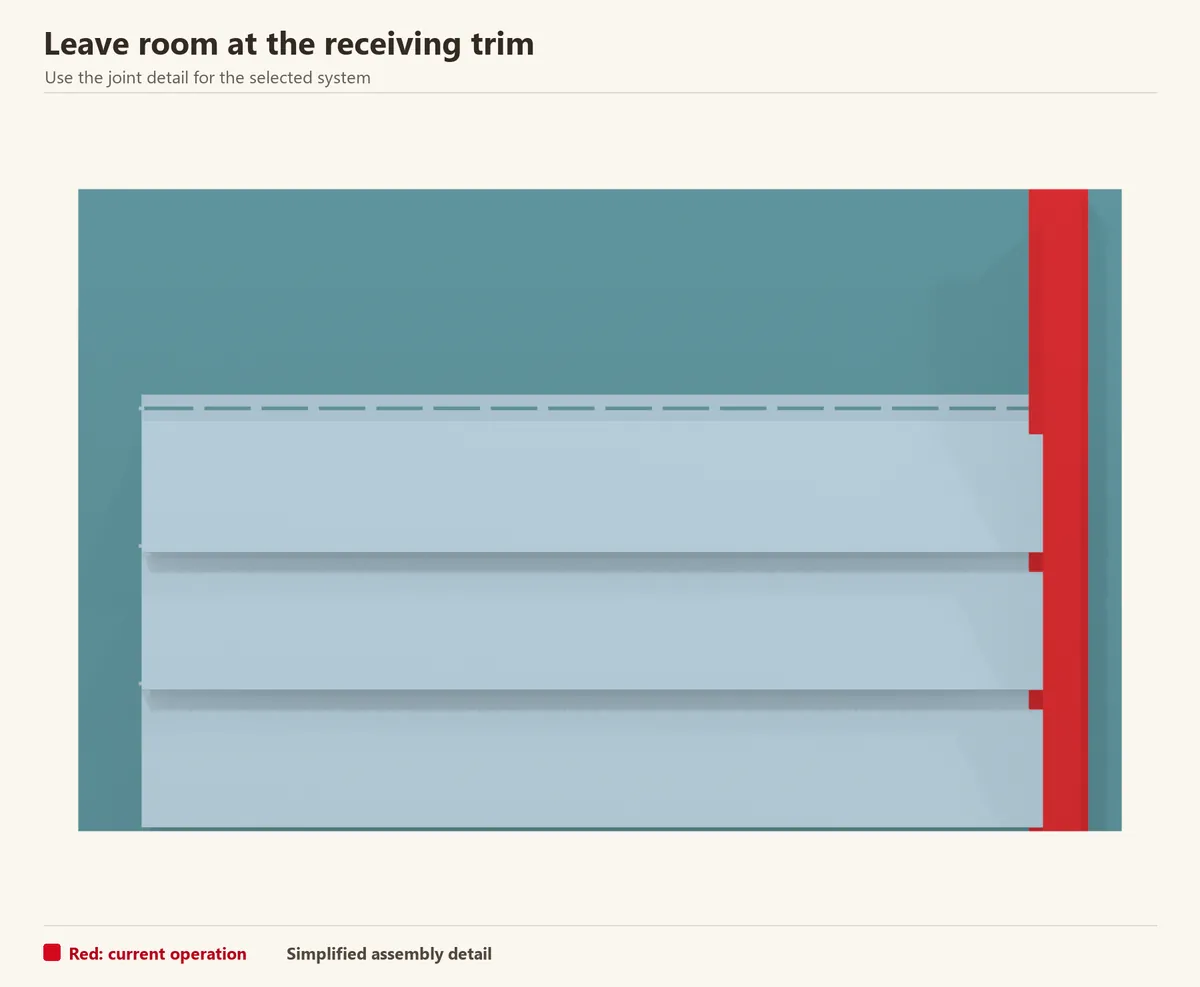
Look into the receiver before covering the end: the panel must have the allowance you measured. A trim pocket conceals movement space; it should not be filled with sealant around the panel end.
Where two panels share a course, overlap their factory notches as directed. Plan those seams away from the main approach where possible, and avoid a repeating vertical stack of end joints.
Check before continuing: End pockets retain movement space and panel laps follow the product detail.
Reference: CertainTeed — horizontal panels, openings and top courses
Step 8 of 12
Work upward and check the running height

Engage each new panel fully with the course below. Check the course height at both ends and at the next corner before fixing another row. Use the same datum on adjoining walls.
Pause below the first window to check the remaining layout. A small error is easier to correct across a few courses than after reaching the roof. Keep the locks and receiving channels clear of cuttings.
Check before continuing: The courses remain level and line up around the shed.
Step 9 of 12
Notch around the flashed openings
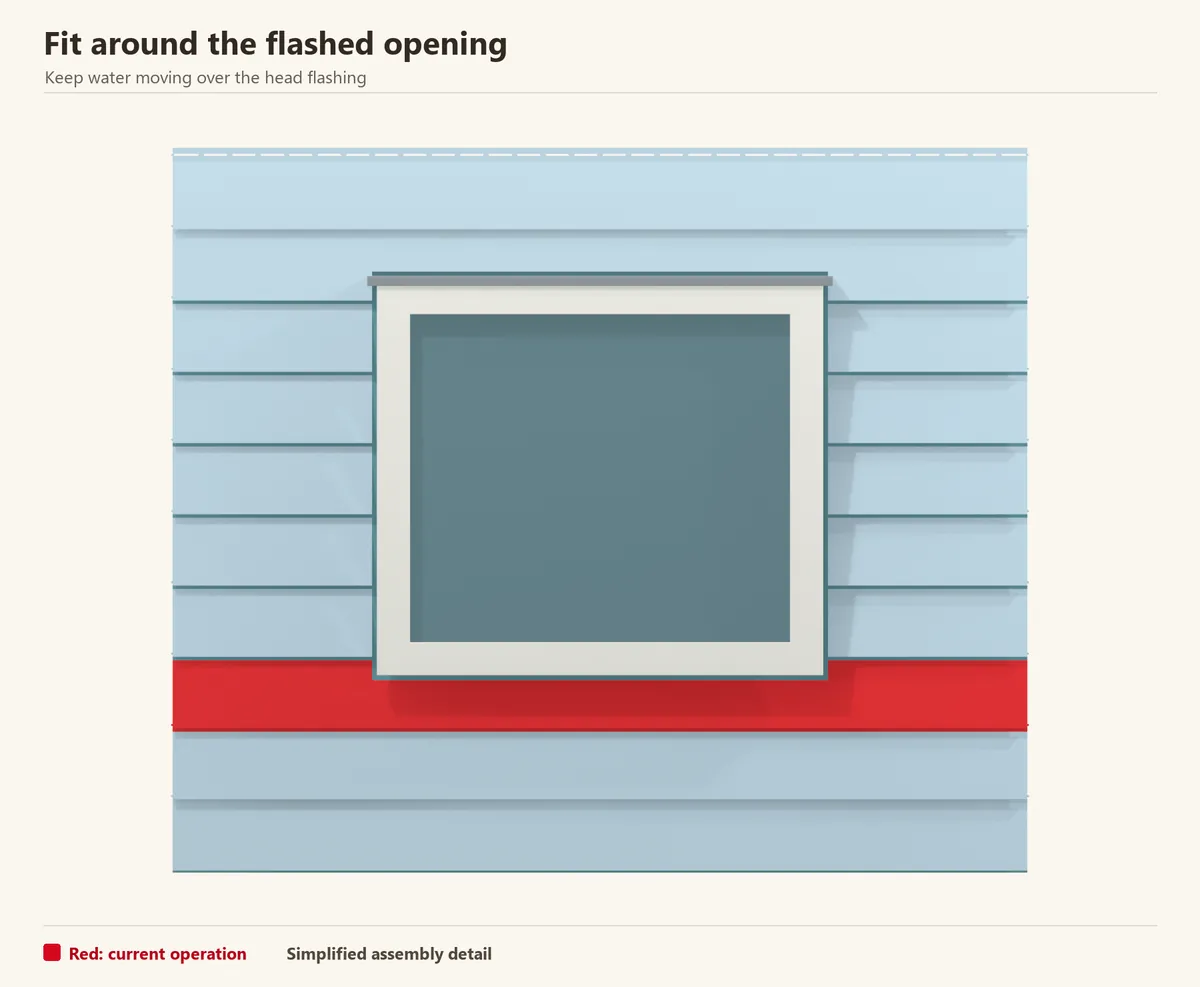
Transfer the opening position onto the panel, including movement space, then cut and test the notch. Where a cut removes the nail hem, use the specified utility trim and punched locking tabs to retain the edge.
The image shows the continuous course layout around the opening. J-channel collects and redirects water; it does not replace the window flashing behind it. Keep its drainage tabs and outlets arranged as the accessory instructions show.
Check before continuing: Cut edges are retained without face-nailing or blocking drainage.
Reference: CertainTeed — horizontal panels, openings and top courses · DuPont — weather barrier and opening flashing instructions
Step 10 of 12
Check the cornerpost fit
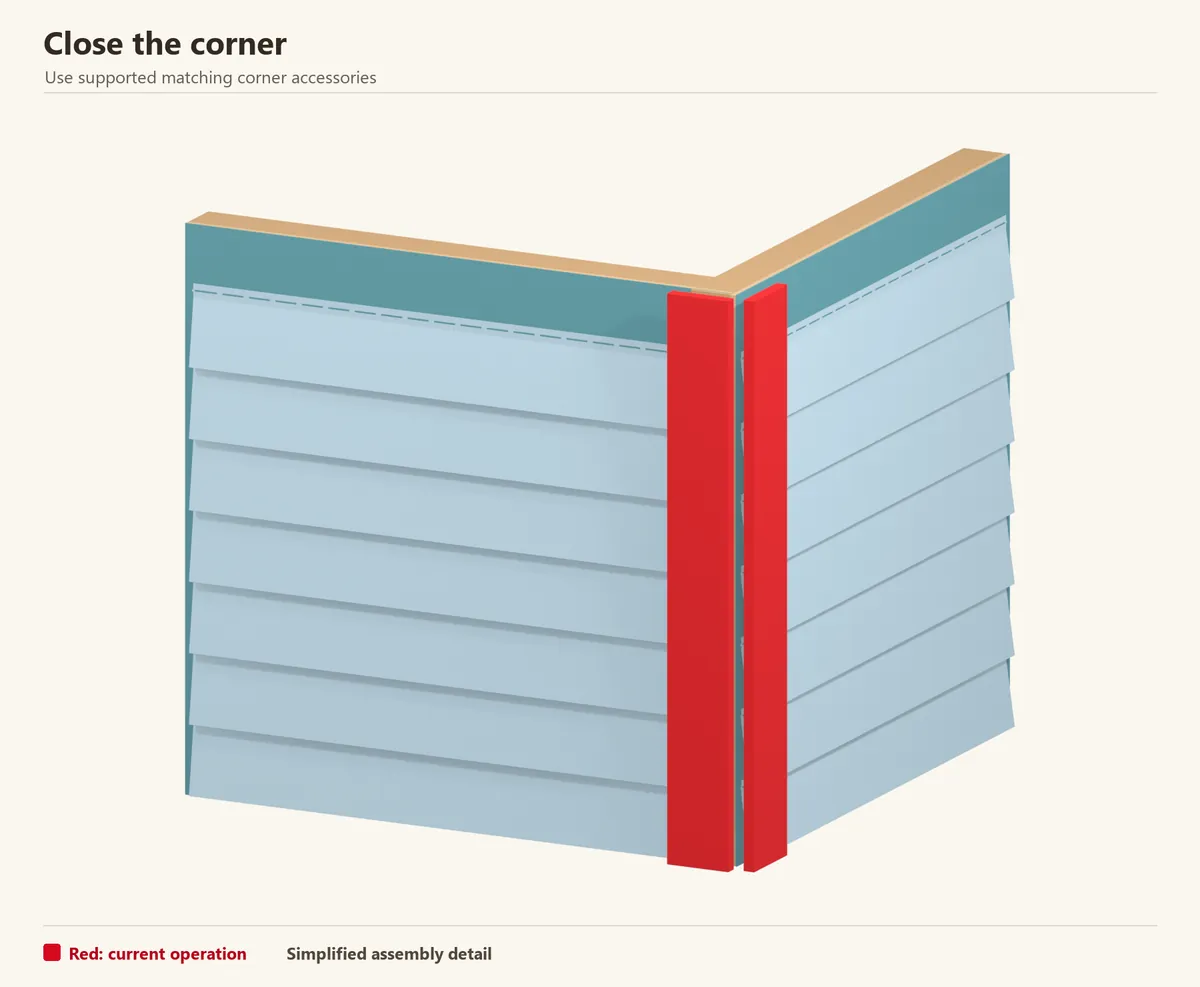
The cornerpost should already be in place when the panels enter its receiving pockets. Check both wall faces now: the ends should stay concealed through normal movement without bottoming out inside the post.
The corner view highlights the accessory for inspection, not a piece to nail through the finished panels. Fix any pinched end before the top course makes access harder.
Check before continuing: Both sides have a neat corner line and untrapped panel ends.
Step 11 of 12
Retain the final course with finish trim
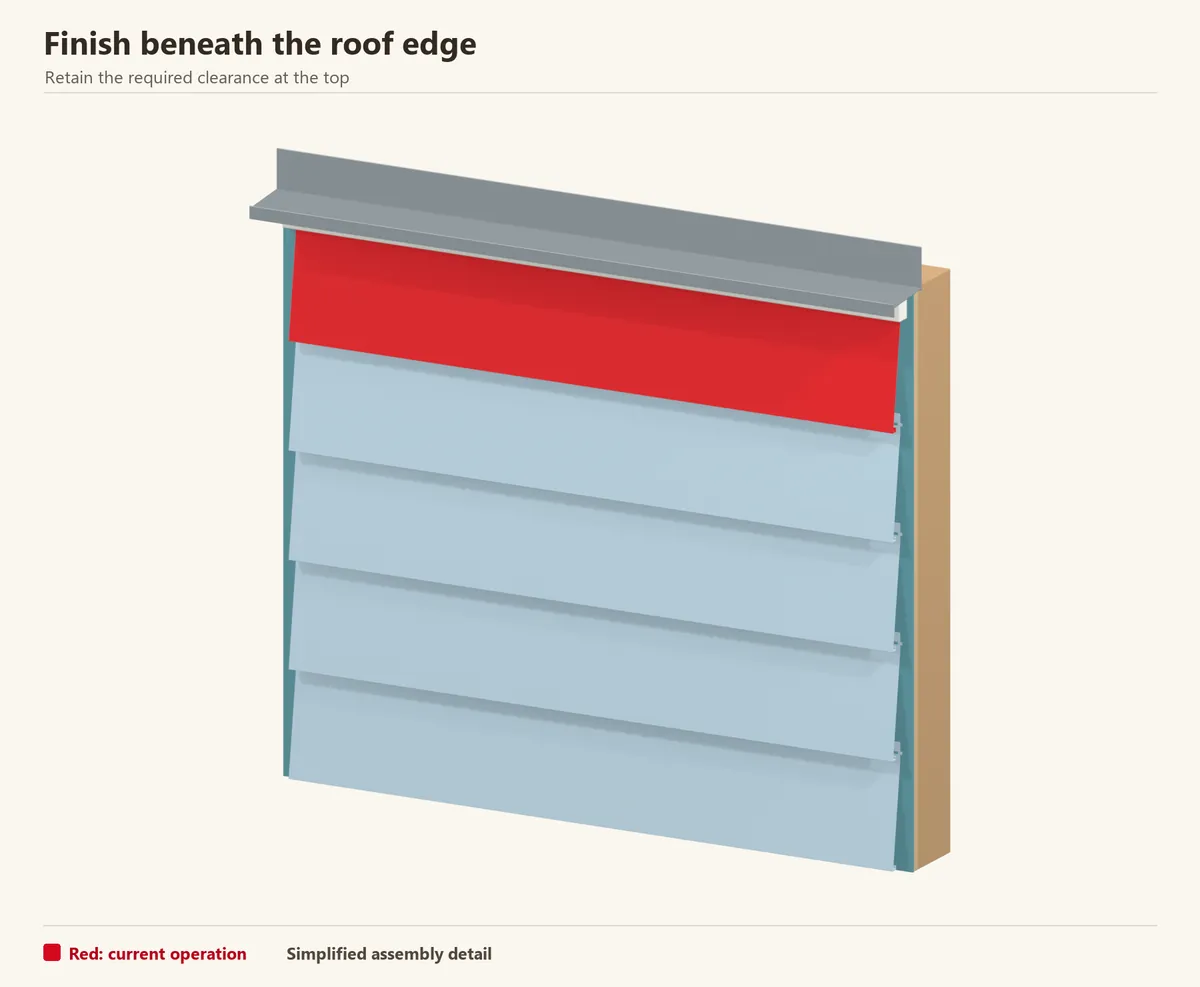
Measure the remaining height at several points and cut the final panel while keeping its lower lock. Fit the specified utility or finish trim and form the required locking tabs in the cut edge.
Engage the lower edge, then seat the top in its receiver. Tug gently to confirm it is retained. Do not use a row of tight face nails as a substitute for the correct top-course detail.
Check before continuing: The last course is retained and can still move.
Reference: CertainTeed — horizontal panels, openings and top courses
Step 12 of 12
Inspect and clean the finished siding
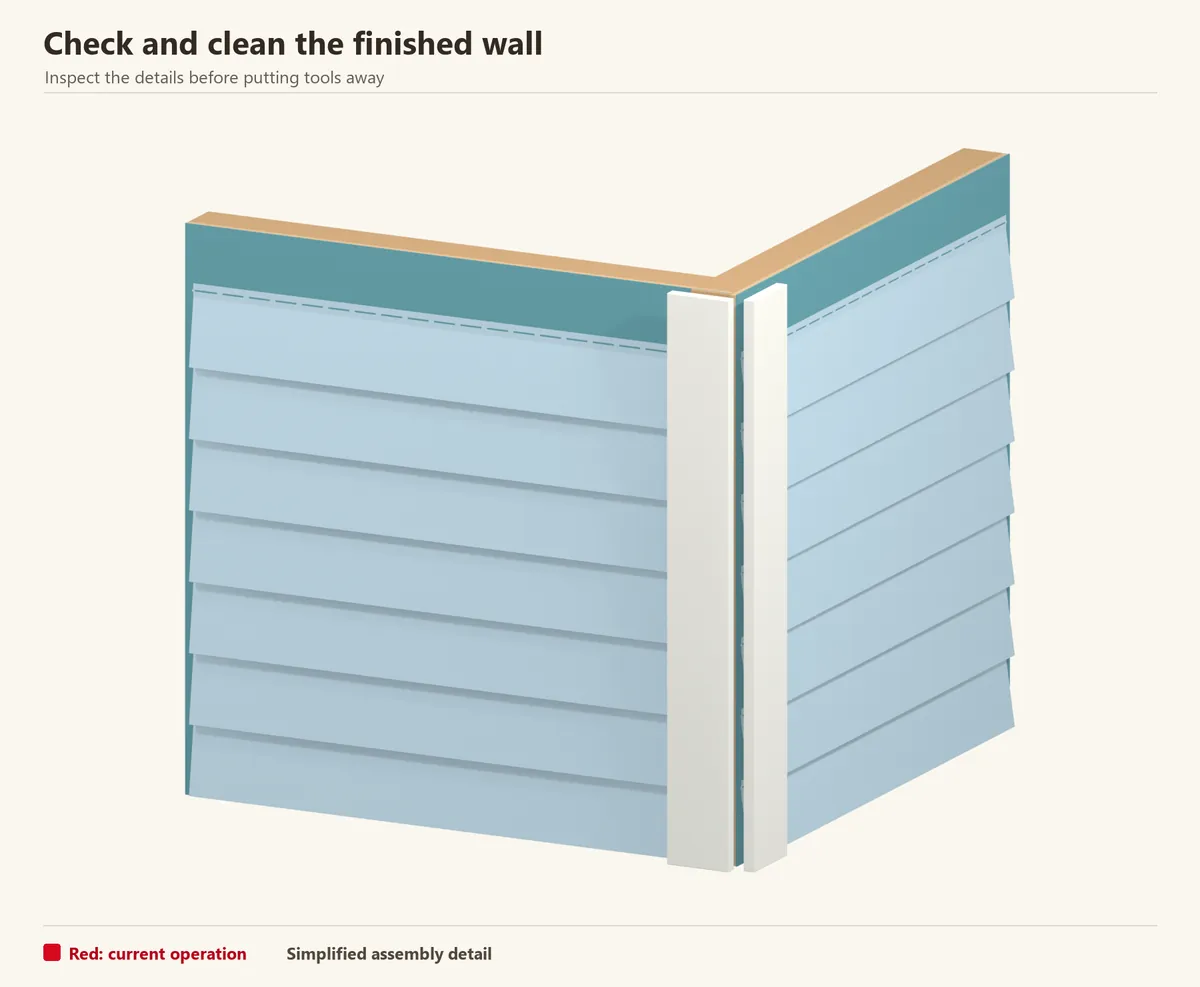
Check every lock, receiver and accessory, then remove scraps from the base. Wash dirt away using the maker’s approved method. Save a spare panel and record its product code and colour.
Attach lights, hooks and downpipes to proper backing using suitable mounting details. Their fixings must not clamp the siding and prevent its movement.
Check before continuing: Panels move, accessories are secure and external fittings have independent support.
Reference: CertainTeed — mounting external fixtures
Common questions
Can vinyl siding go straight over open shed studs?
This guide uses a flat, sheathed wall. Follow the siding manufacturer’s substrate requirements; conventional vinyl is not a replacement for structural wall sheathing.
Why must vinyl siding move after it is nailed?
Temperature changes alter panel length. Centred slots, head clearance and end allowances let that change happen without forcing the panel to buckle.
Is insulated vinyl a direct substitute?
Check the complete system. Its greater thickness can require different cornerposts, receiving channels and fastener lengths, so do not assume the ordinary vinyl accessories will fit.
Installation references
Sources checked 24 October 2026. Use the current instructions for your product and region when purchasing and installing.