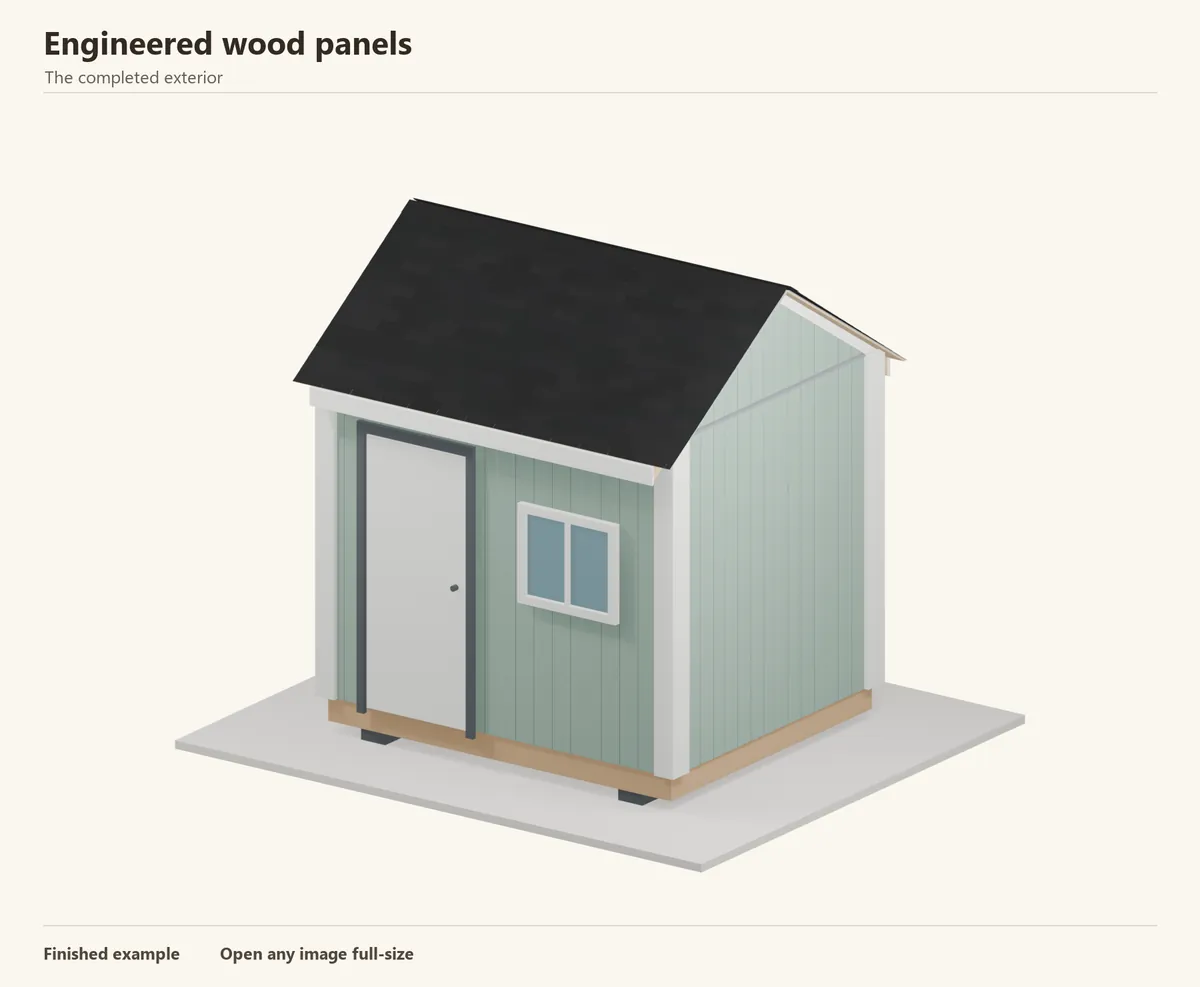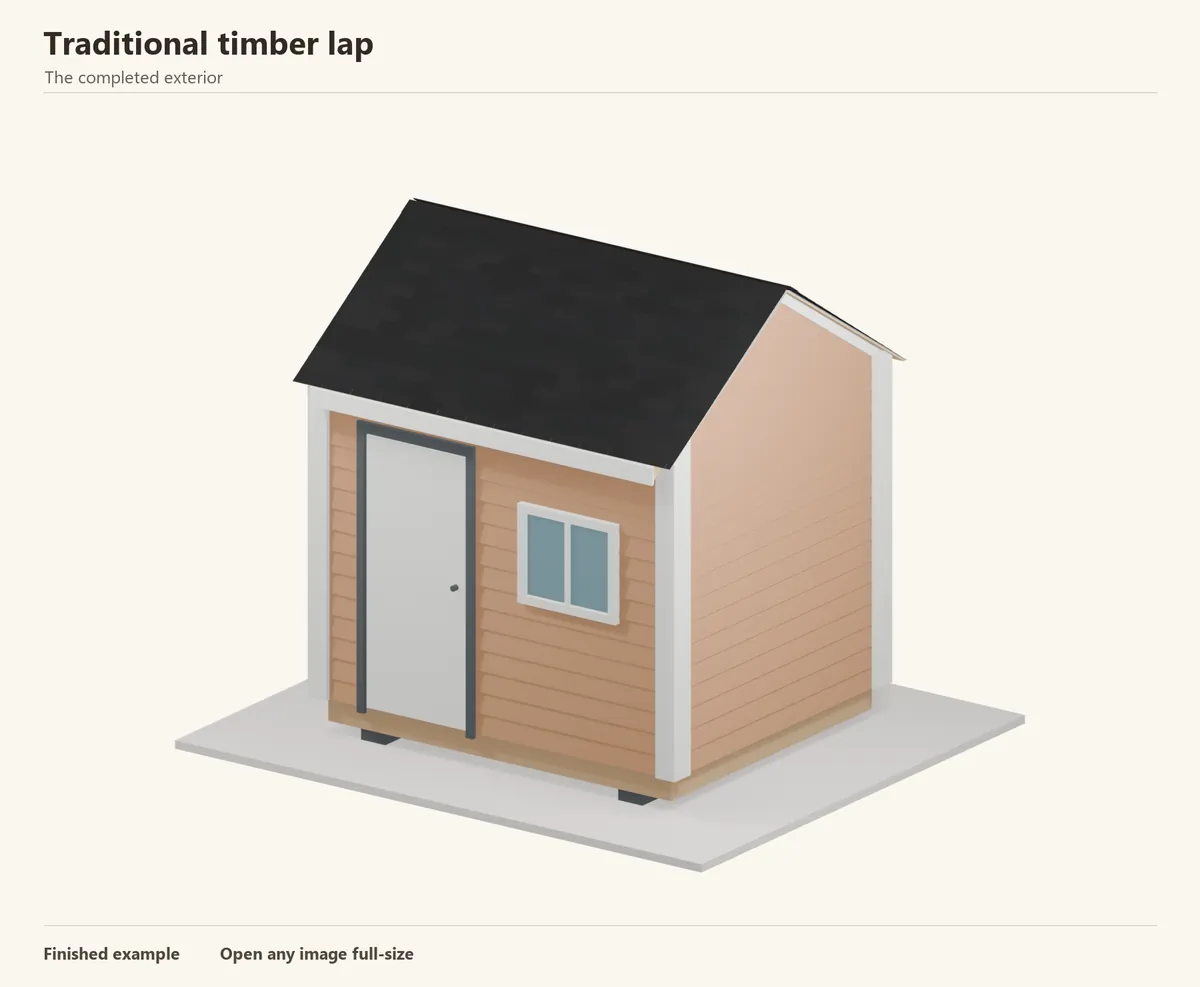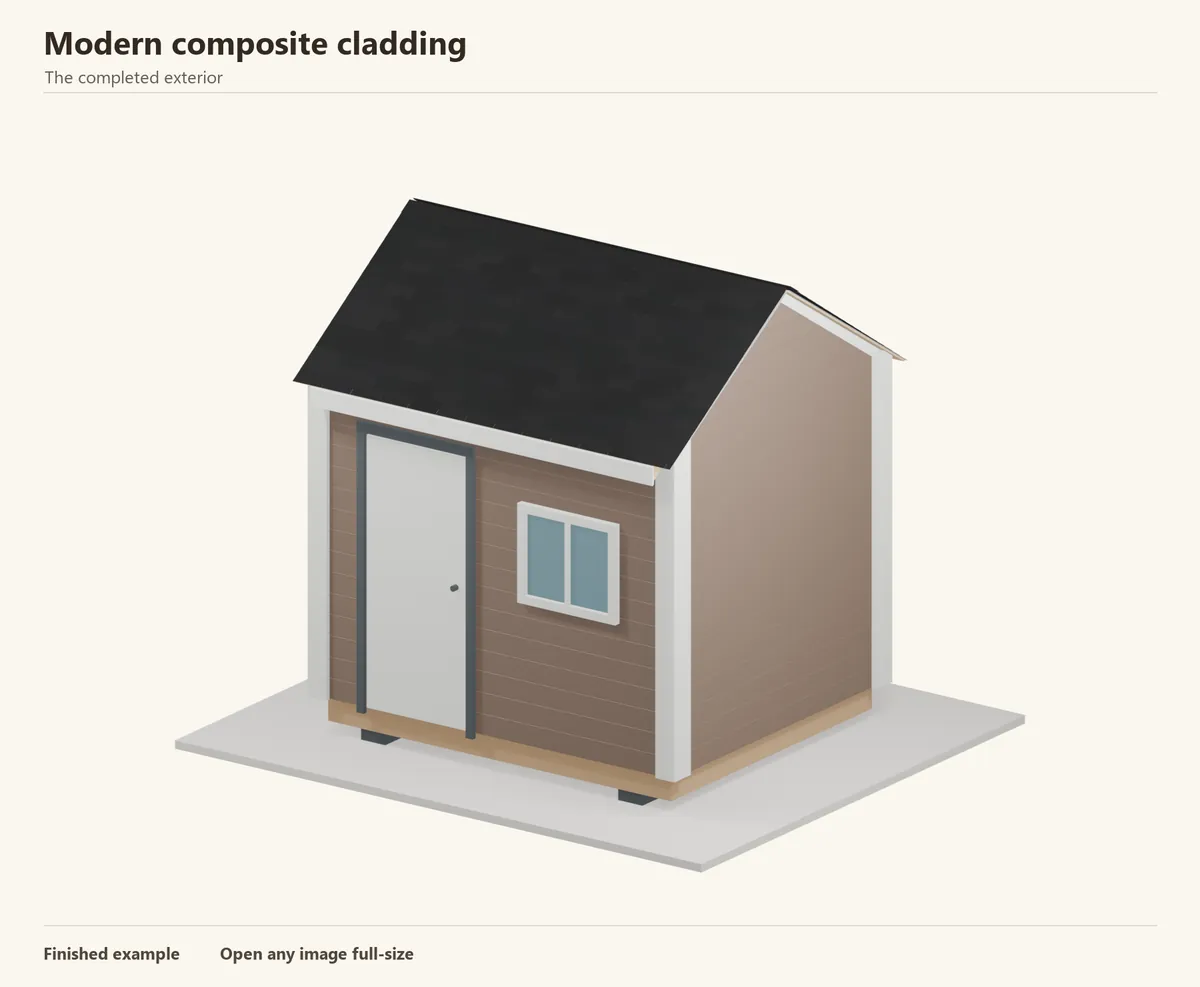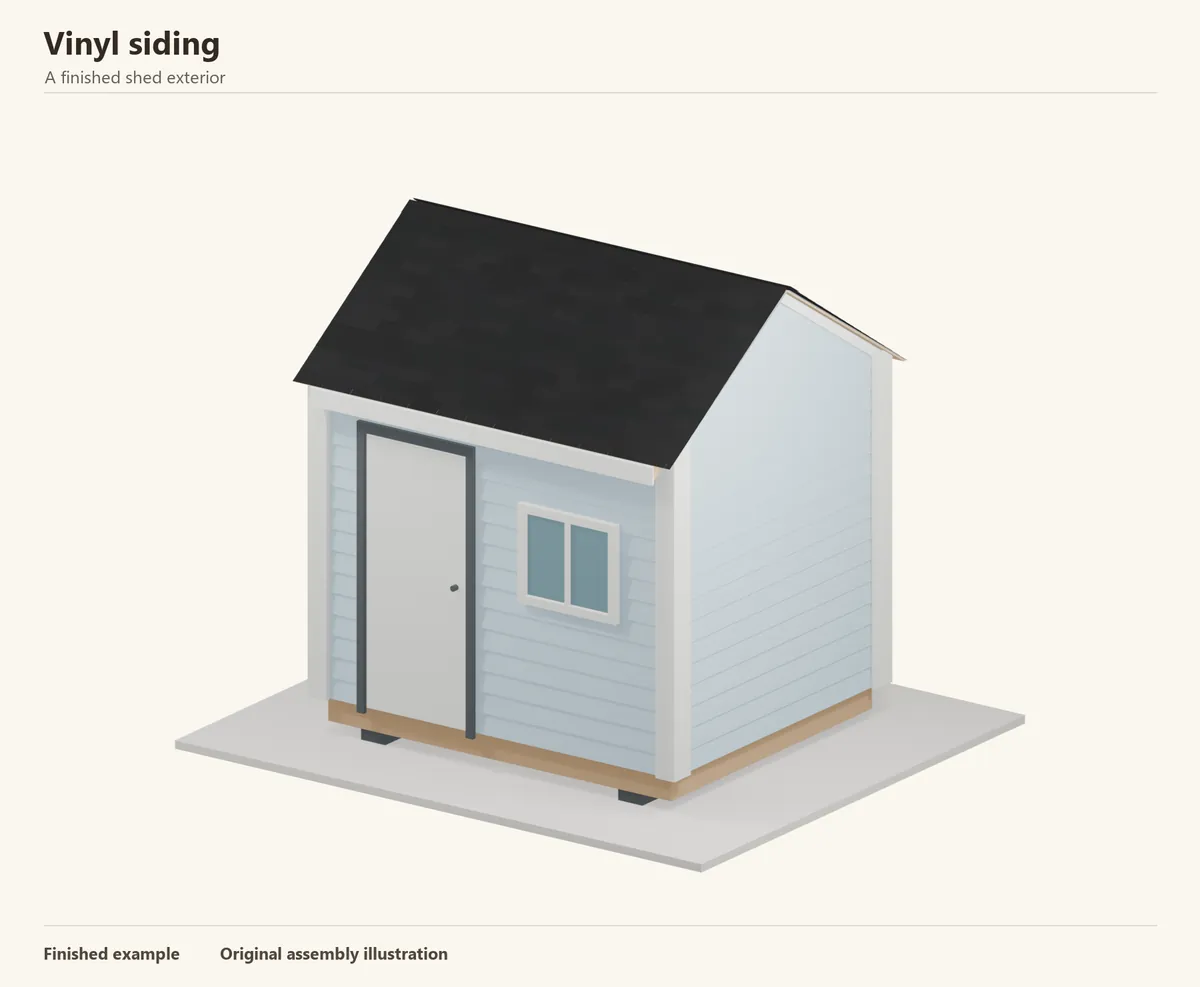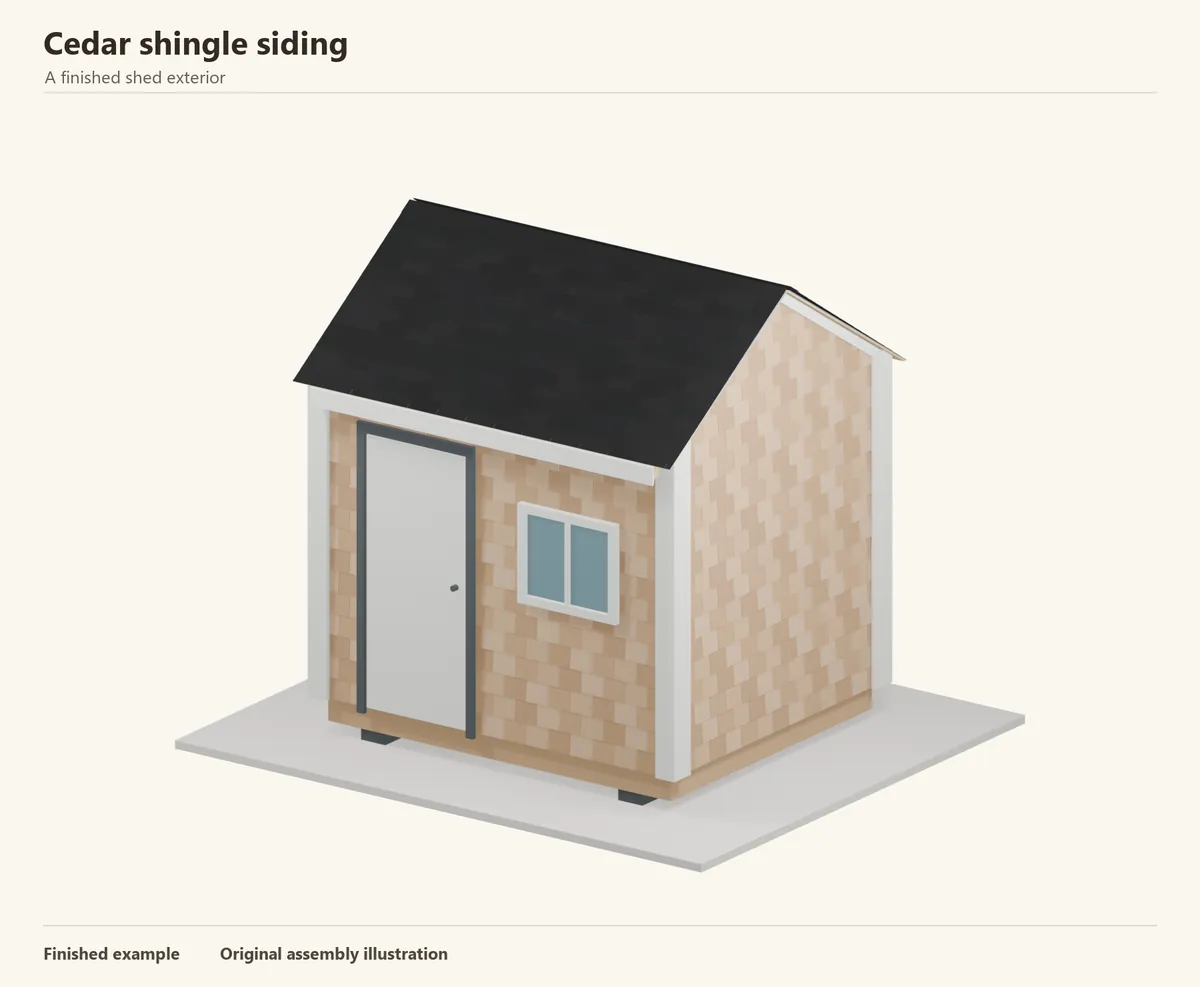
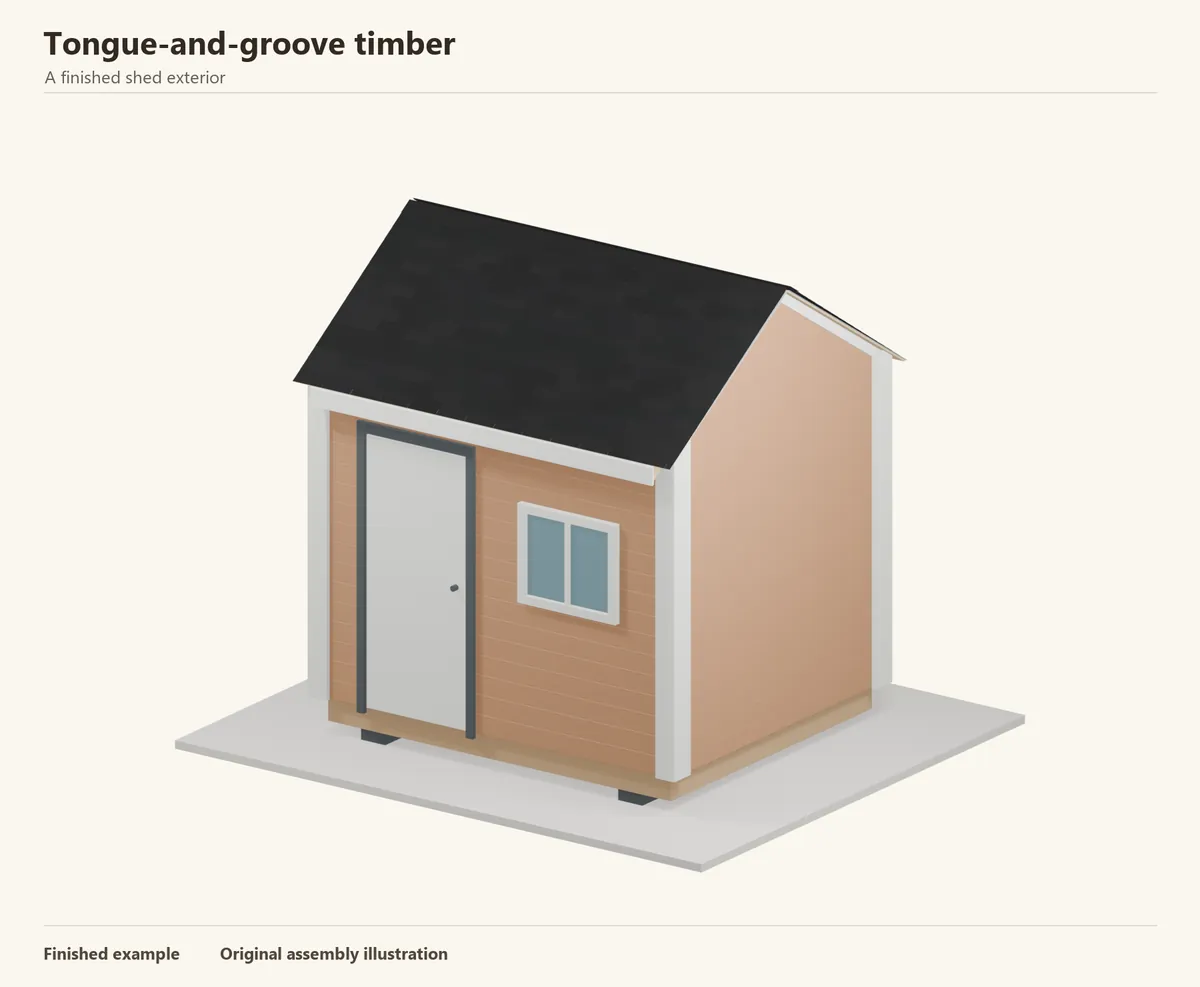
- A good fit for
- A tidy timber finish with close, consistent joint lines and a choice of smooth or textured faces.
- Plan for
- Moisture movement and damaged tongues can spoil the fit. Exterior-rated boards and the right fixing method matter.
Jump to an installation step
- 1. Plan the course heights and backing
- 2. Acclimatize and sort the boards
- 3. Cut to length and finish the end grain
- 4. Leave the cavity and ground clearance open
- 5. Start level with the tongue facing upward
- 6. Use the fixing method for the board width
- 7. Support each end joint
- 8. Engage the next boards without crushing the joint
- 9. Carry the same courses around the opening
- 10. Fit the corner boards
- 11. Rip and secure the last course
- 12. Touch up and inspect the completed timber
Before you begin
Buy the cladding and its required accessories together. Measure the wall area and openings, then calculate coverage using the actual product profile and allow for cuts.
- Exterior-rated solid-timber tongue-and-groove boards
- Sheathing, weather barrier and compatible opening flashings
- Designed vertical furring, cavity closures and structural attachment screws
- Suitable siding nails, corner boards and head trim
- The selected exterior coating and cut-end treatment
- Tape, level, square, story pole, saw, drill and a sacrificial tapping block
- Eye, hearing and dust protection, plus a safe working platform
Companies offering this type of siding include Western Forest Products. Check local availability and follow the installation instructions for the product you choose.
Choose an exterior profile and its visible face
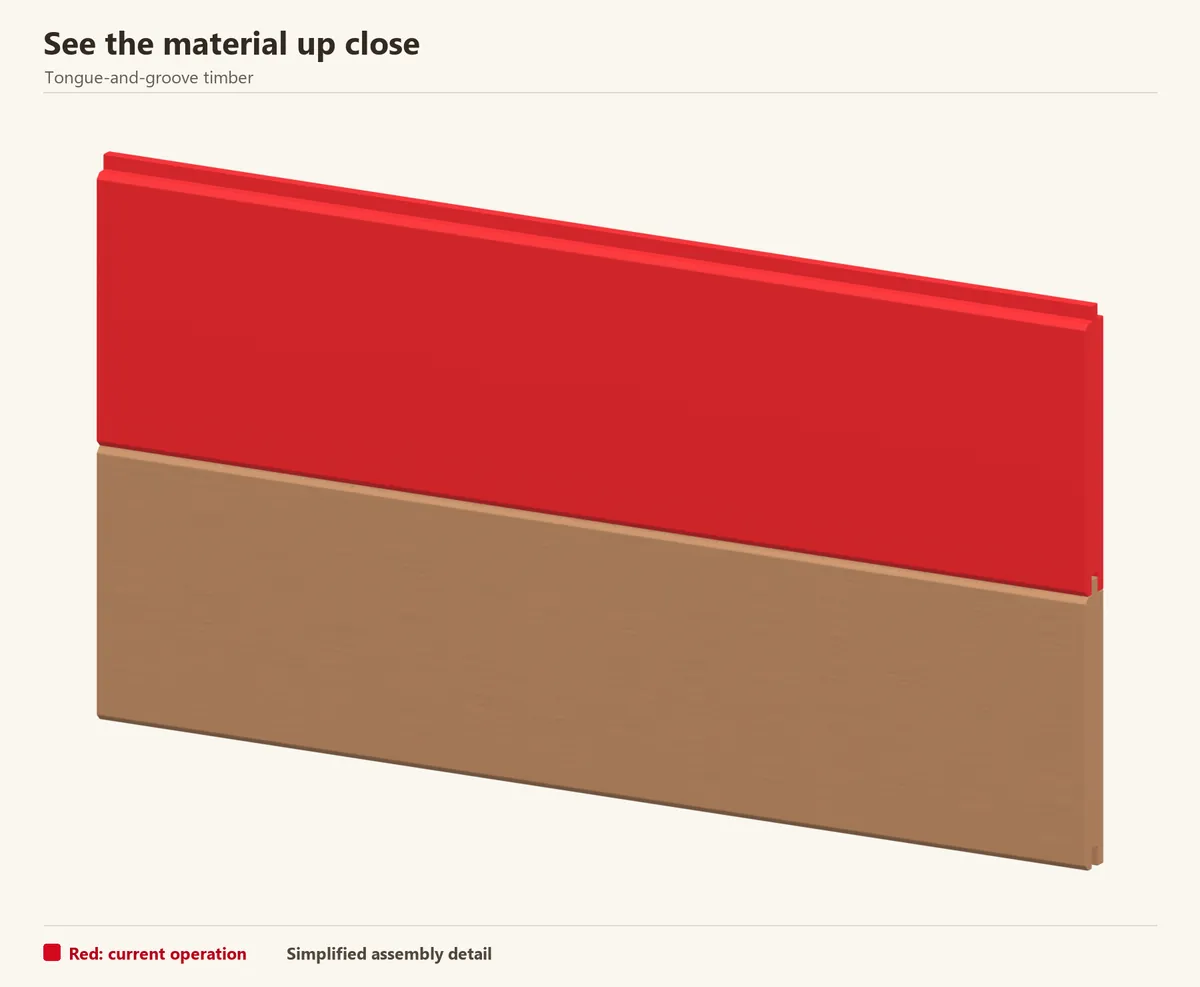
A tongue projects from one edge and fits into the groove of the next board. The joint can leave a V-shaped shadow or a finer line depending on the machining. Check two actual samples together before ordering: nominal width is not the same as installed coverage.
This example uses horizontal cedar boards. Factory finishing is a useful modern option for a traditional timber wall, while reversible profiles can offer smooth and sawn faces. Select the exterior profile, finish and fastening instructions as a package.
Reference: Western Forest Products — exterior tongue-and-groove profiles
Step 1 of 12
Plan the course heights and backing
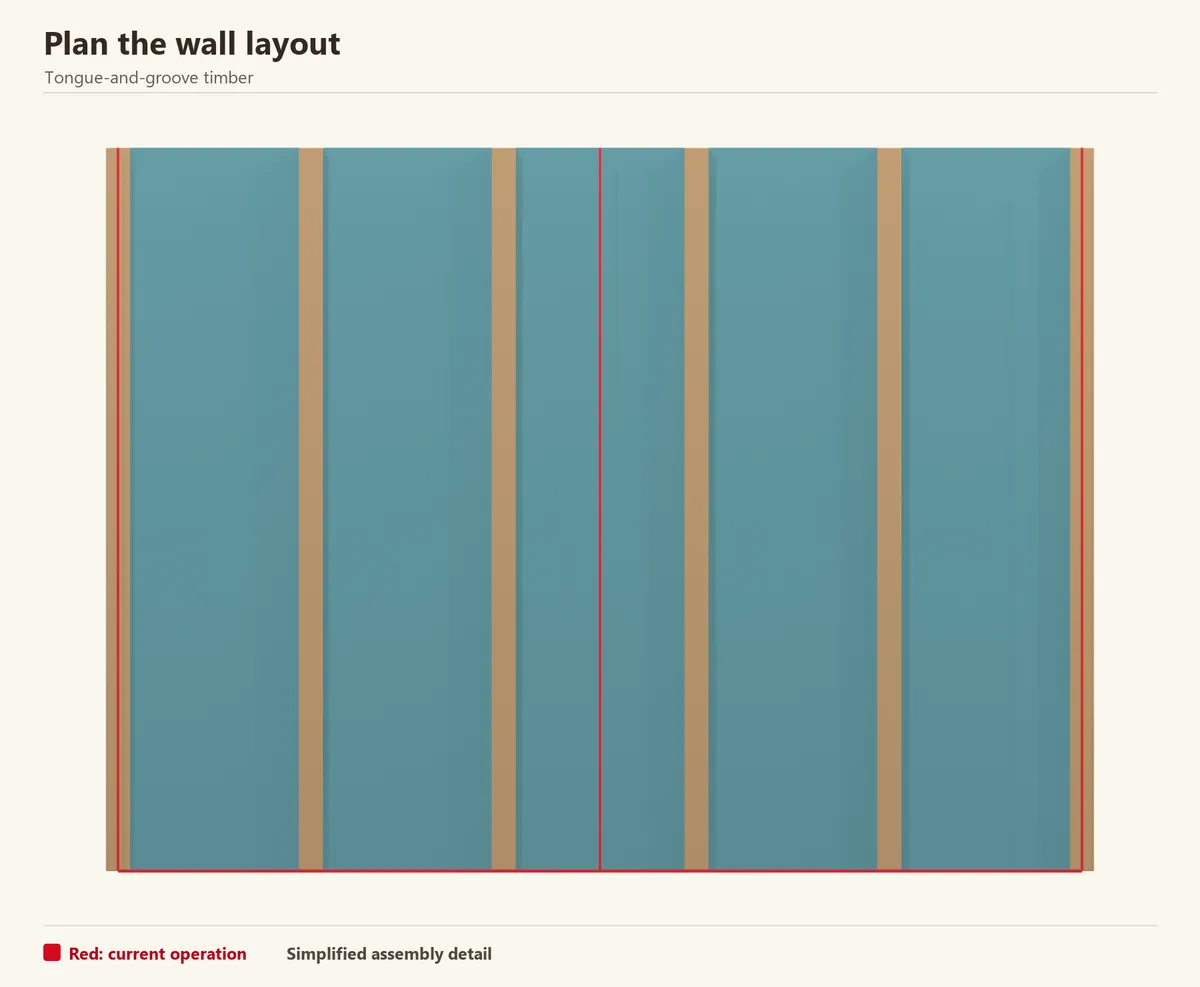
Measure from the planned bottom edge to the roof trim and divide by the actual coverage. Adjust the start if that would leave a fragile sliver at the top. Use a story pole to carry the same course marks to both sides of each opening.
Prepare the sheathing, weather barrier and flashing before covering the wall. Lay out vertical furring with support for short pieces and end joints; size and attach it for the siding loads.
Check before continuing: The course layout works at the top and at every opening.
Reference: DuPont — wall weather barrier and opening flashing · Real Cedar — fastening and wall preparation
Step 2 of 12
Acclimatize and sort the boards
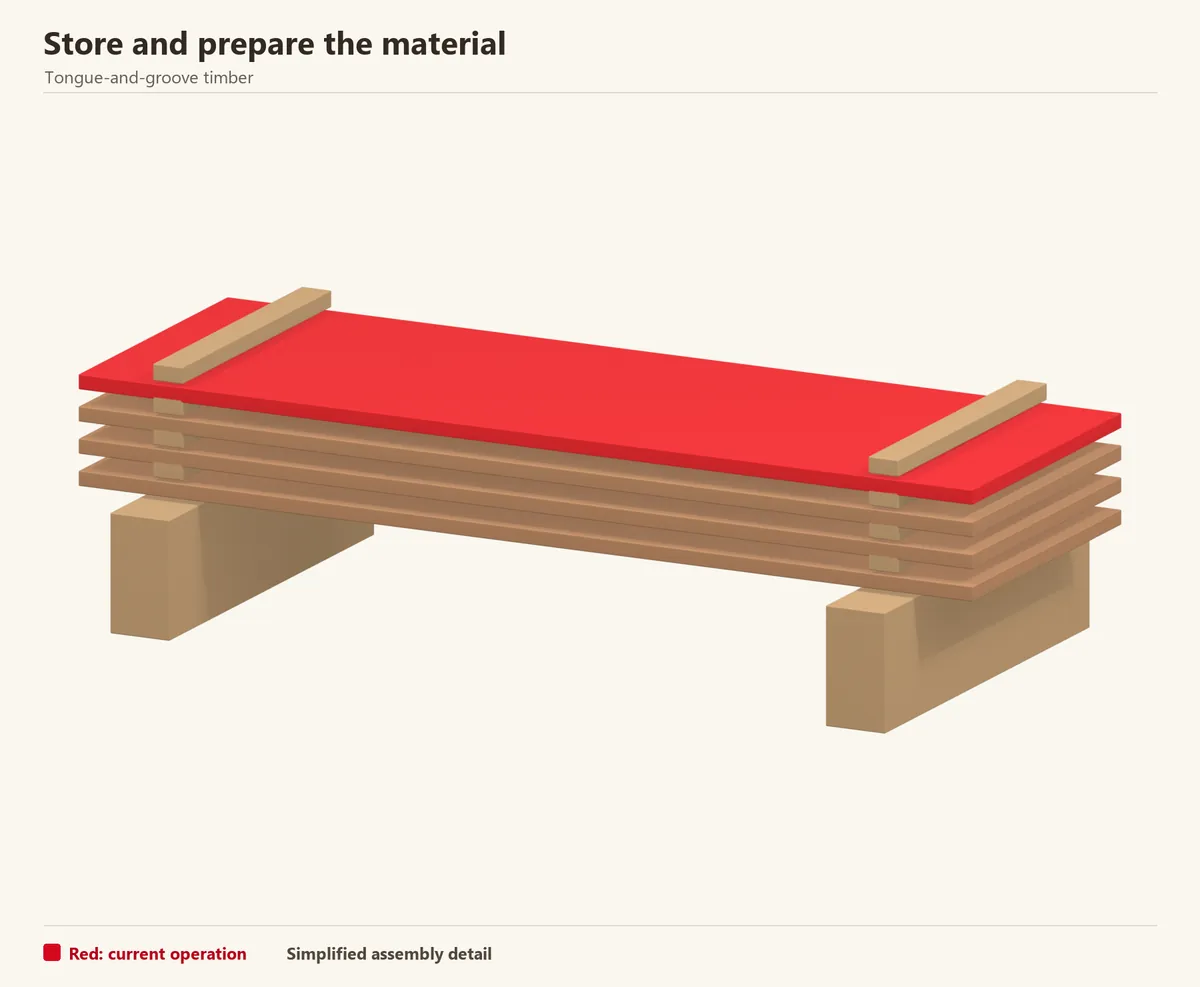
Store the timber flat, off the ground and under a ventilated cover. Acclimatization depends on the delivered moisture condition and the site. Follow the supplier’s requirements rather than assuming every board is ready after the same number of days.
Sort by length and appearance, and set aside split tongues or damaged grooves. Place the most consistent faces together on the entrance wall. Keep enough long pieces for the most visible uninterrupted courses.
Reference: Real Cedar — storage and acclimatization
Step 3 of 12
Cut to length and finish the end grain
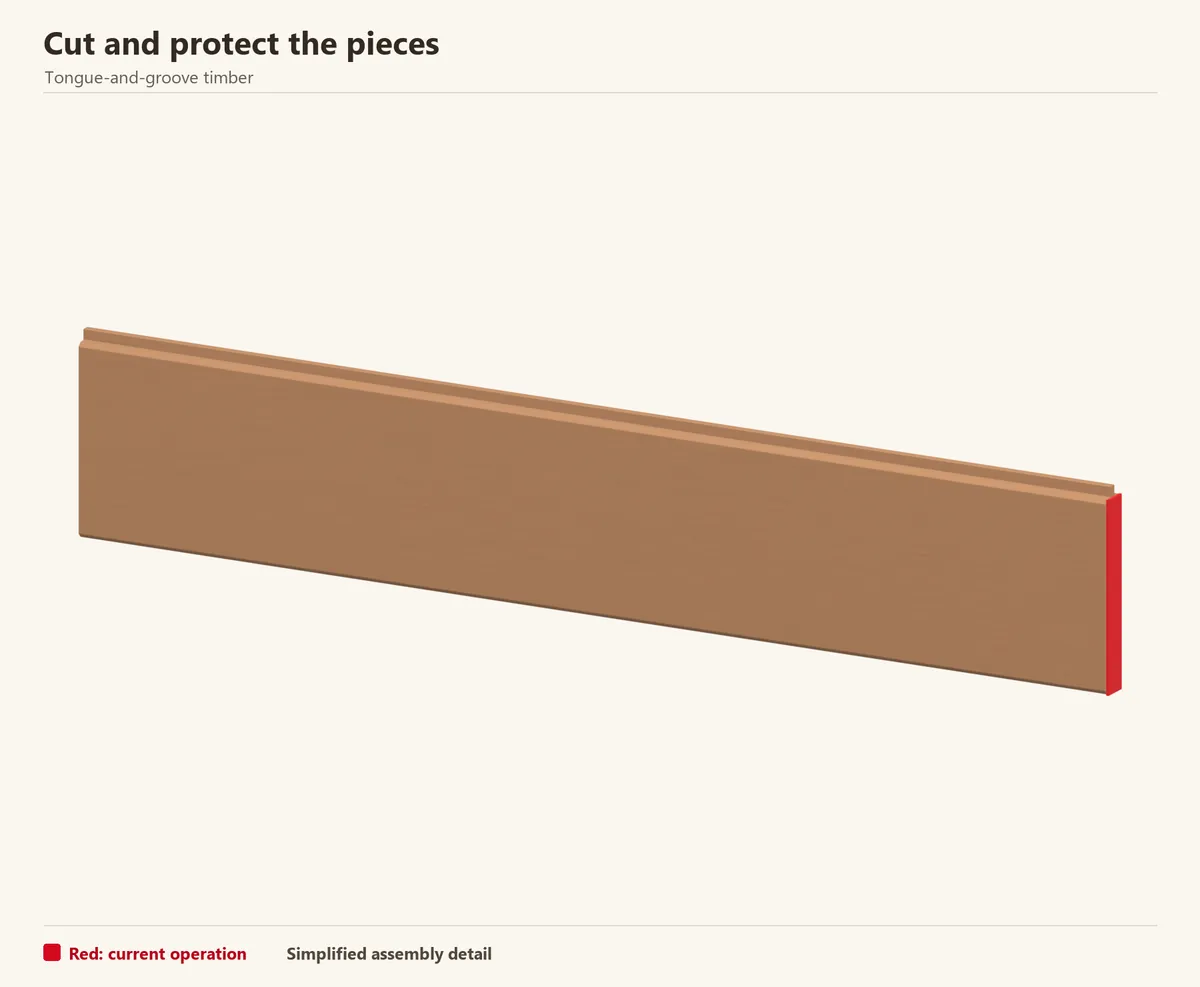
Measure between the intended trim lines, including the required end allowance. Support the board before cutting and keep the selected face consistent.
Apply the specified finish to all required surfaces before installation, then touch up every new cut. Use a short offcut to test the finish and the fit of the tongue before processing the remaining boards.
Check before continuing: The cuts are protected and the tongue still fits freely.
Reference: Real Cedar — finishing and moisture protection (PDF)
Step 4 of 12
Leave the cavity and ground clearance open
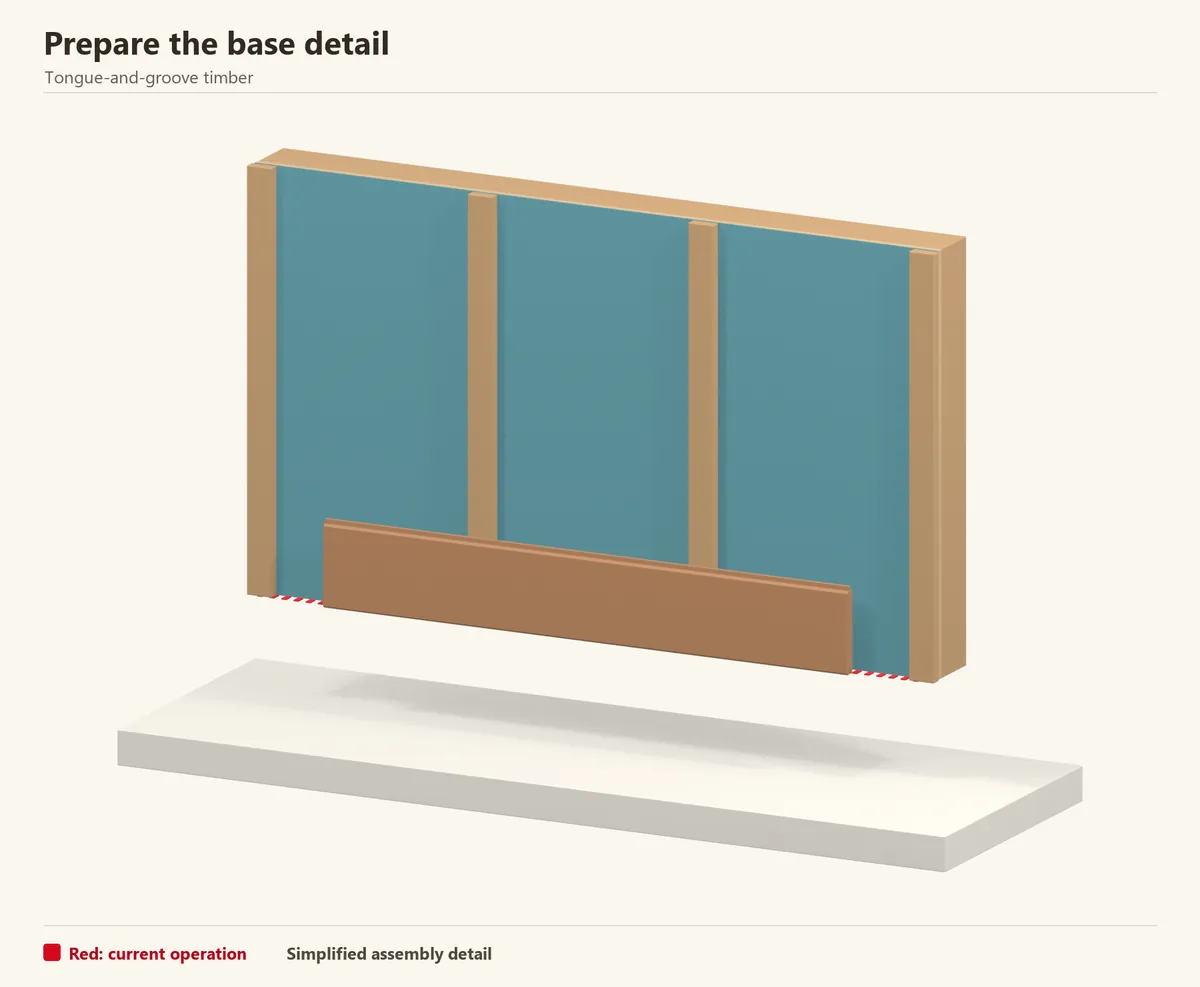
Fit the base cavity closure without blocking its drainage openings. Establish the bottom line from the highest finished ground level and preserve the required clearance from paving, soil and nearby roofs.
Check that the vertical drainage route continues behind the whole wall. The horizontal board should not sit on a shelf that holds water against its lower edge.
Check before continuing: Water can leave the cavity below the first course.
Reference: Real Cedar — finishing and moisture protection (PDF)
Step 5 of 12
Start level with the tongue facing upward
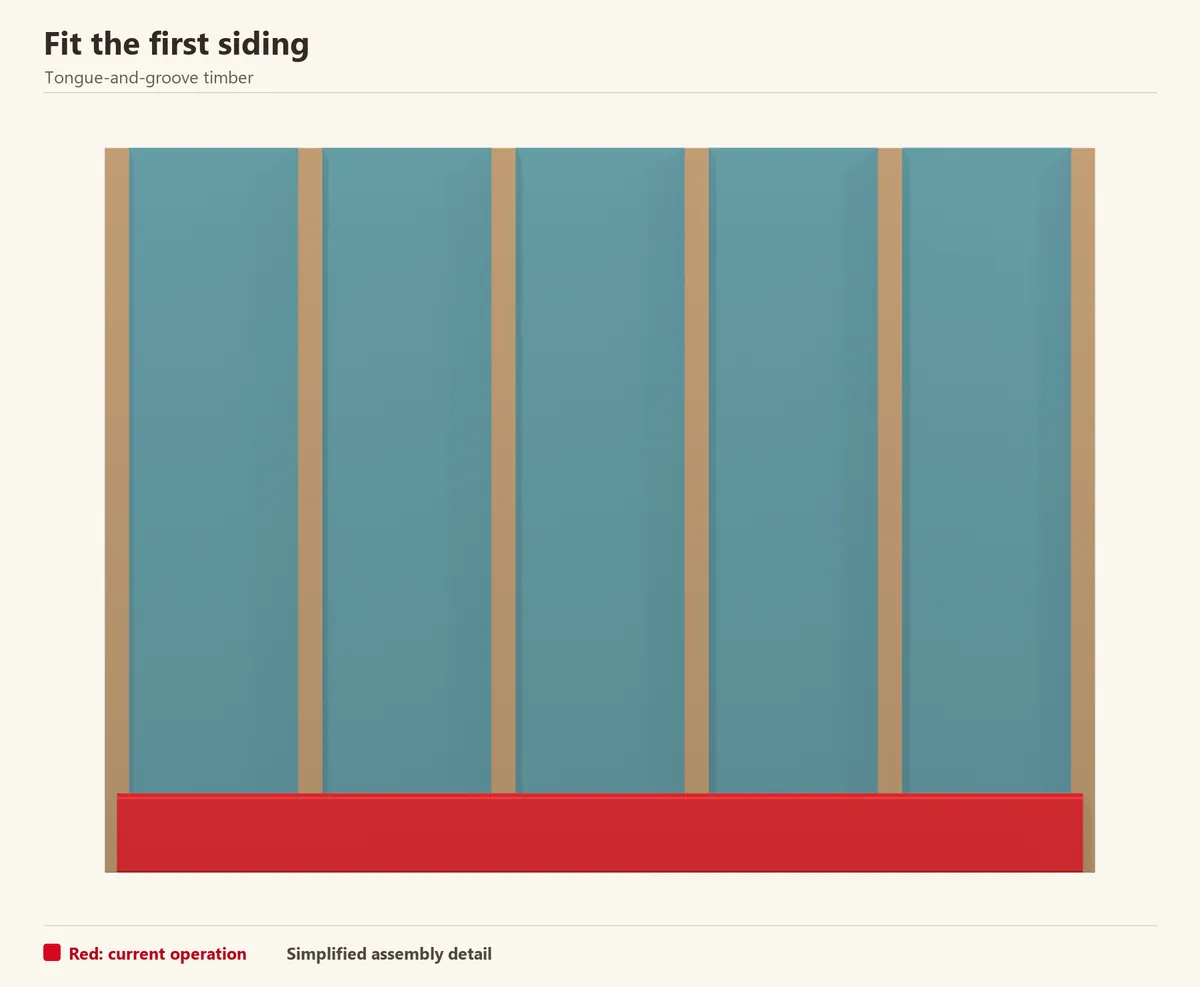
Install horizontal tongue-and-groove from the bottom upward, with the tongue on top. Check the full length with a level before setting the fixings.
Keep the first board straight rather than following a crooked floor edge. Use temporary support where helpful and remove it afterwards. This course establishes the joint line on the rest of the shed.
Check before continuing: The first tongue points upward and the board is level.
Reference: Real Cedar — tongue-and-groove installation
Step 6 of 12
Use the fixing method for the board width
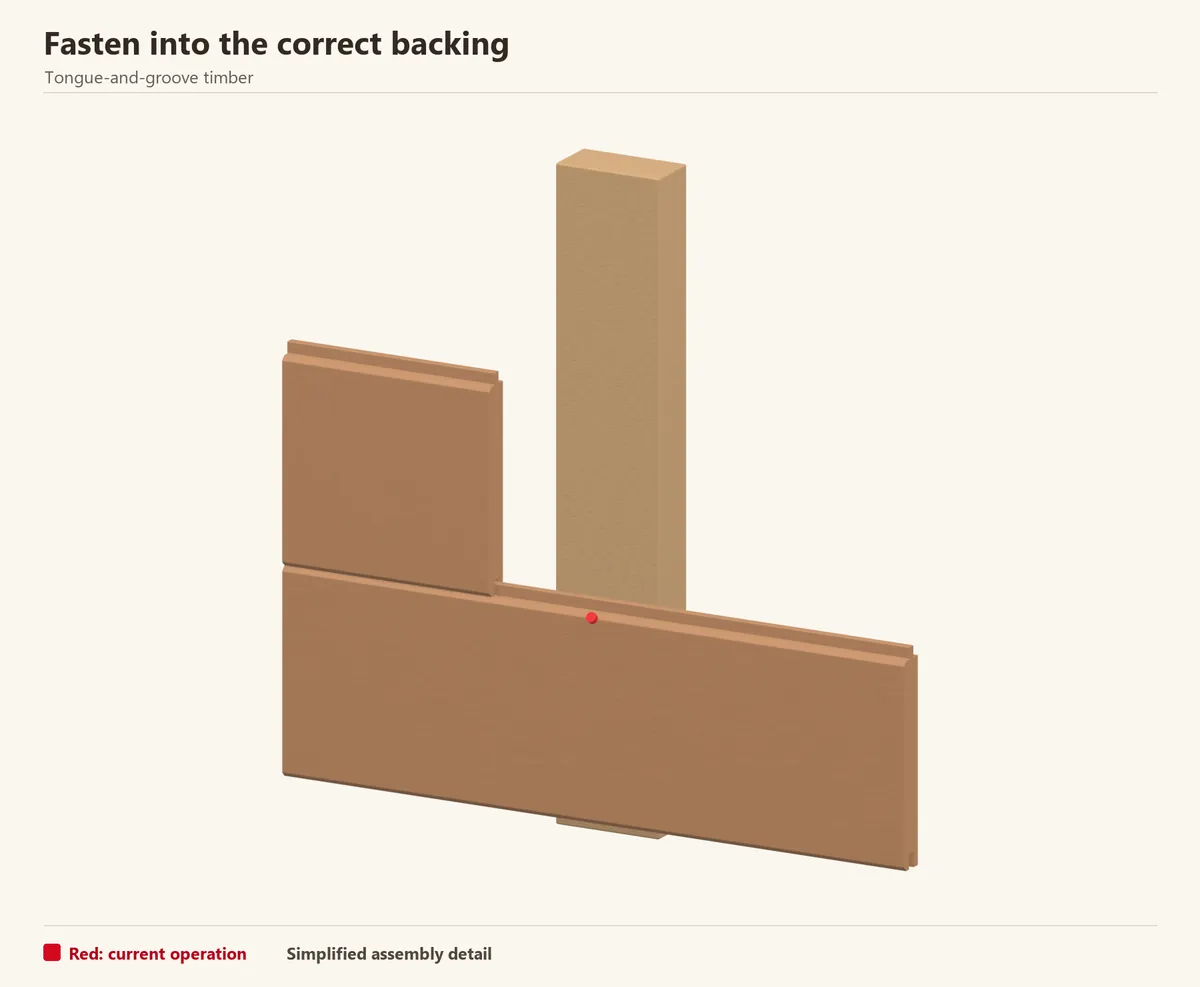
The close-up shows blind nailing through the upper shoulder of a narrow cedar profile. Real Cedar permits this for boards up to nominal 6 inches wide; wider pieces need face nailing. The selected profile may impose further limits.
Use nails long enough to reach the required solid backing, allowing for the cavity and intervening layers. Predrill vulnerable ends and set the head so it does not obstruct the next groove.
Check before continuing: The fixing is secure without splitting the tongue or blocking the next board.
Reference: Real Cedar — tongue-and-groove installation · Real Cedar — fastening and wall preparation
Step 7 of 12
Support each end joint
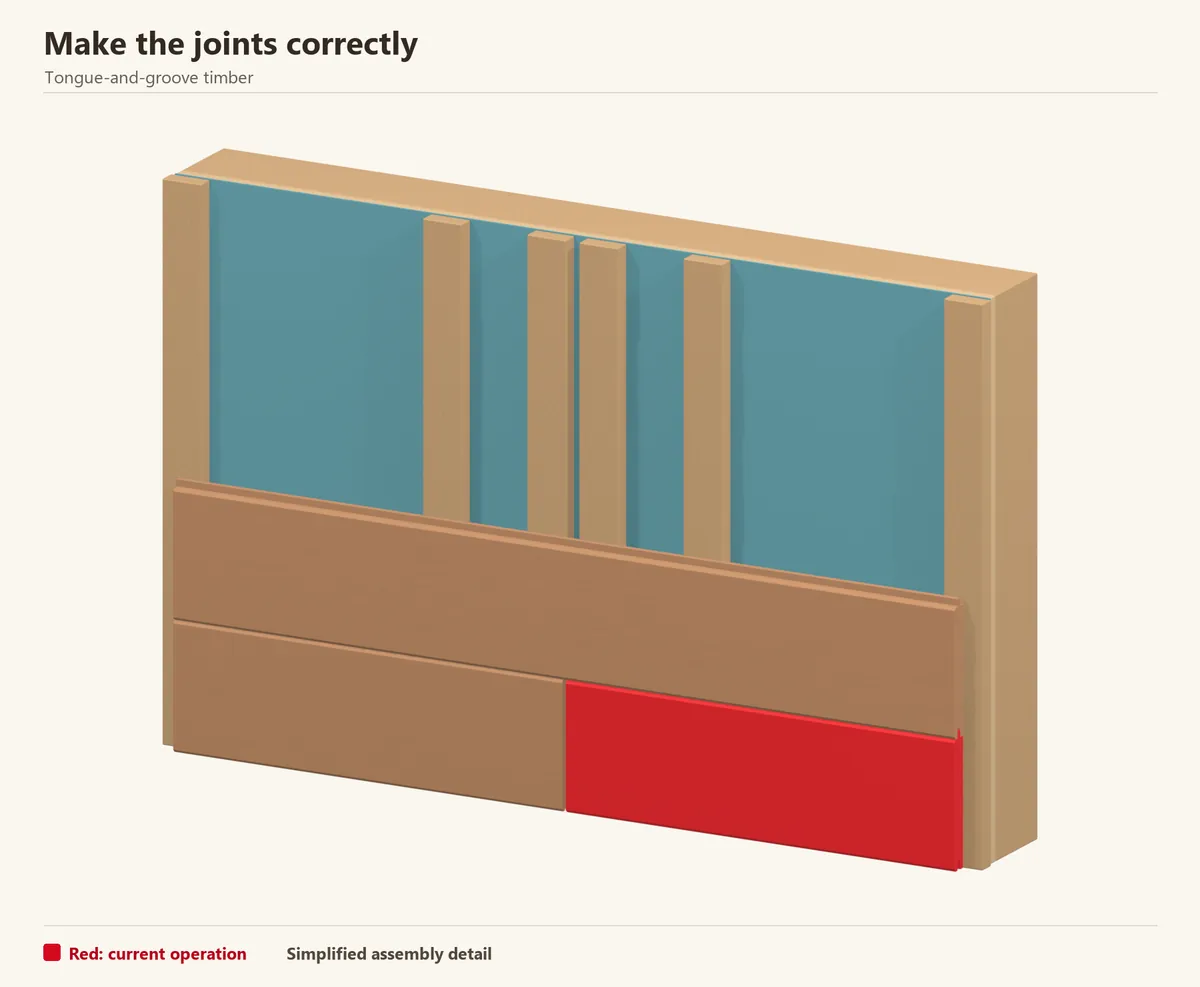
Full-length boards can avoid joints on small shed walls. When an end joint is necessary, provide adequate backing for both pieces and use the joint shape, allowance and sealing detail required by the supplier.
Make the joint on a straight part of the wall where it can be cut and fixed cleanly. Do not leave a board end hanging between battens or pin two boards together with one misplaced nail.
Check before continuing: Both ends have sound backing and independently placed fixings.
Step 8 of 12
Engage the next boards without crushing the joint
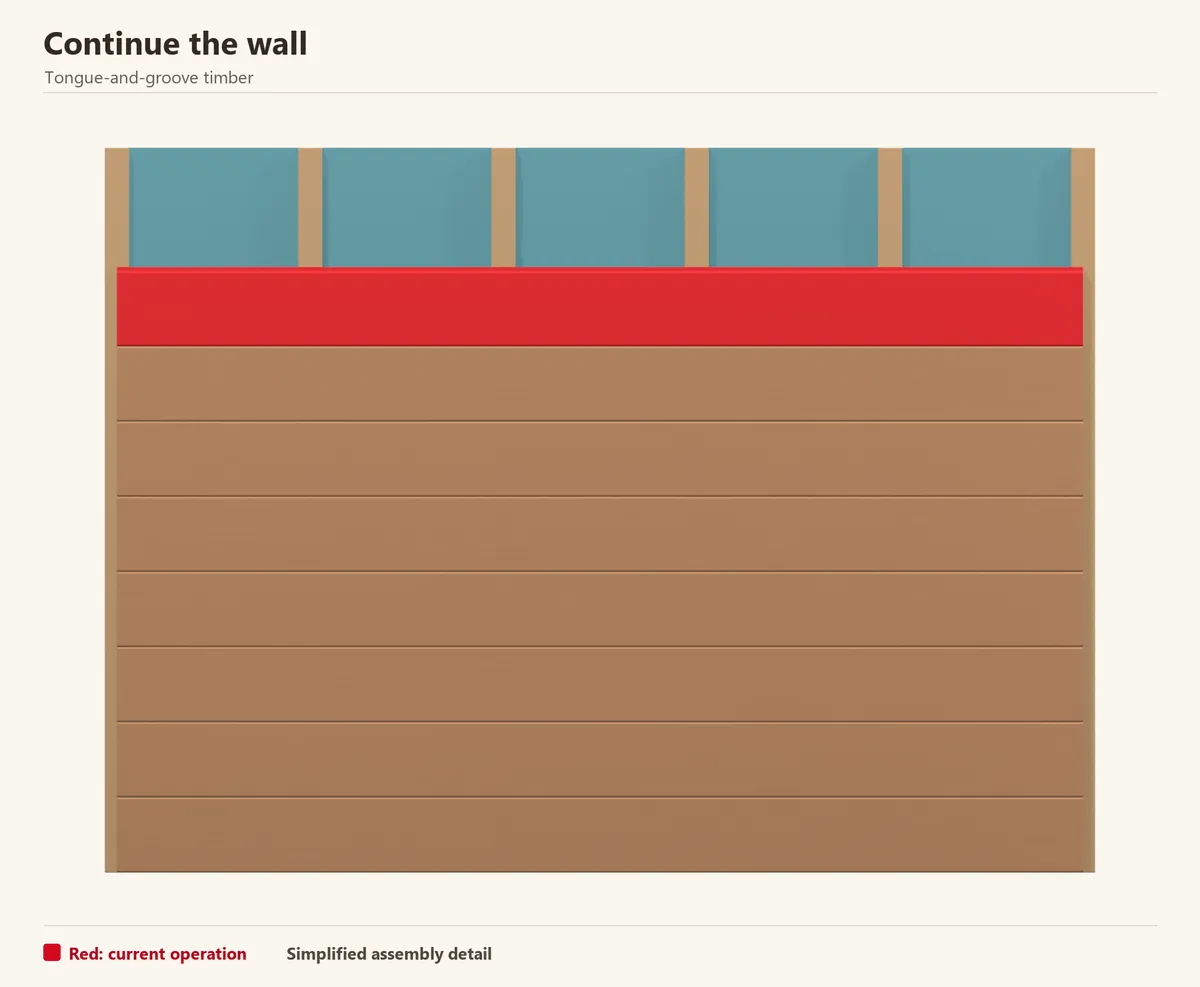
Offer the groove to the installed tongue along the whole board. If it needs gentle persuasion, use a matching sacrificial block to protect the machined edge. Do not hammer directly on the exposed tongue.
Check the joint line and course marks before fixing. Follow the timber supplier’s fit and movement instructions; forcing wet boards tightly together can create problems as the wall dries or swells. Clear chips from the groove as you work.
Step 9 of 12
Carry the same courses around the opening
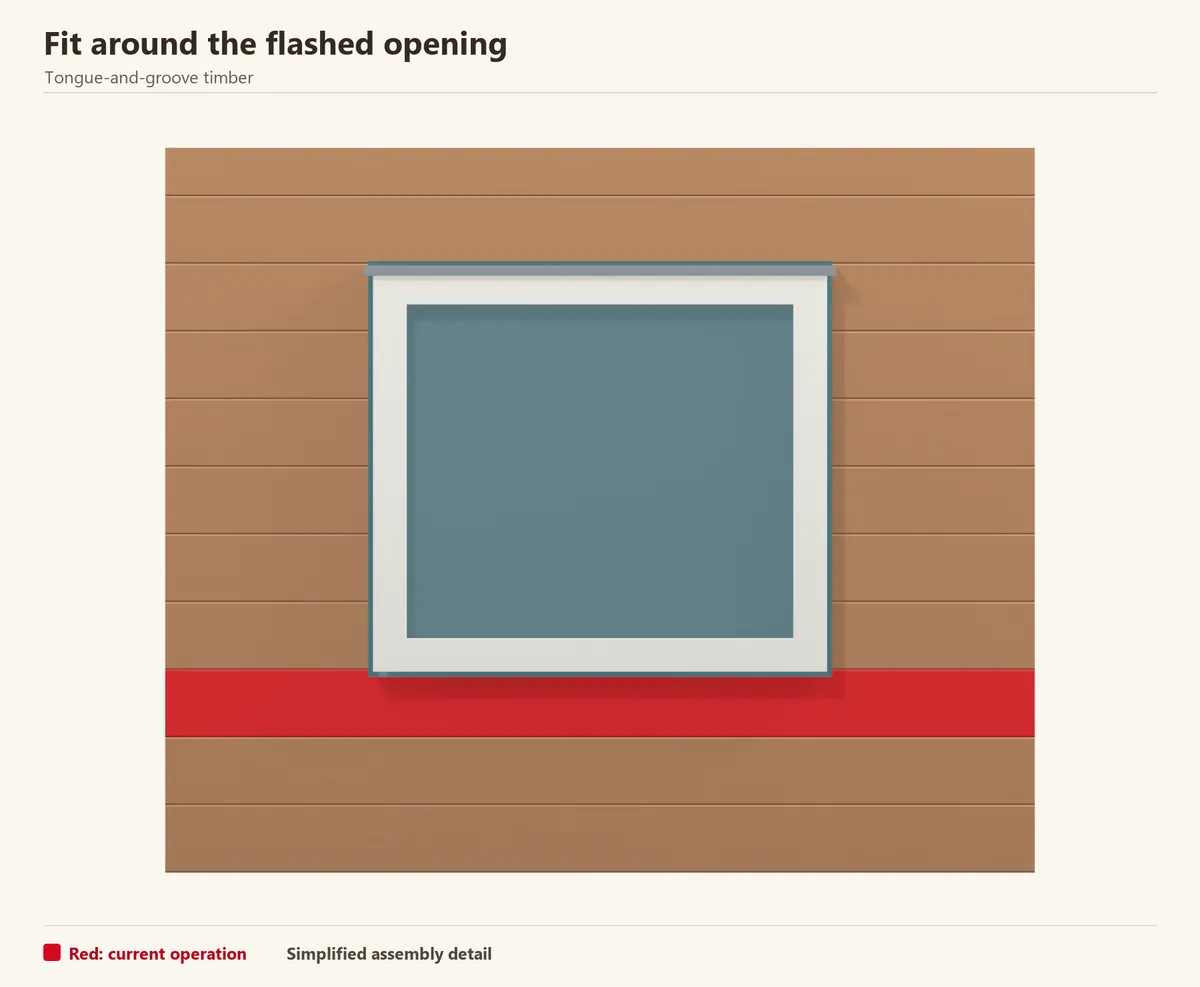
Mark the notch from the actual casing position and leave the required clearance. Cut carefully at the notch corners, treat the new edges and support the remaining ends.
Continue the course datum across both sides of the opening. Keep the head flashing separate from the timber joint so water can drain out above the casing.
Check before continuing: The cut course aligns on both sides and the flashing remains open.
Reference: DuPont — wall weather barrier and opening flashing
Step 10 of 12
Fit the corner boards
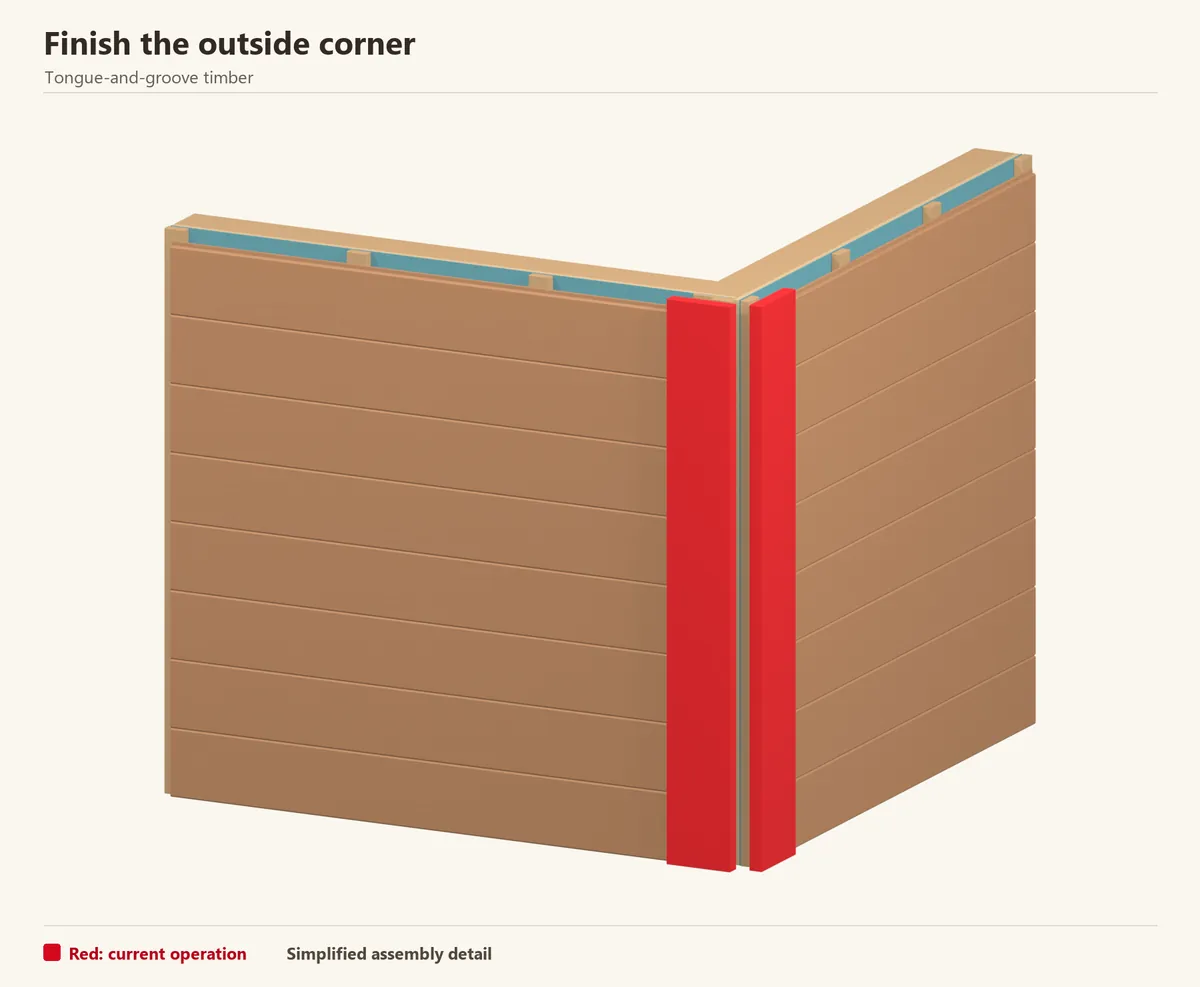
Use corner trim deep enough for the siding and furring assembly. Position the ends behind or beside the trim according to the selected detail, preserving their required allowance.
Fix the corner boards into their own backing and check both faces for plumb. Finish concealed cuts before closing the corner. A consistent reveal makes slight variations in timber colour look deliberate.
Step 11 of 12
Rip and secure the last course
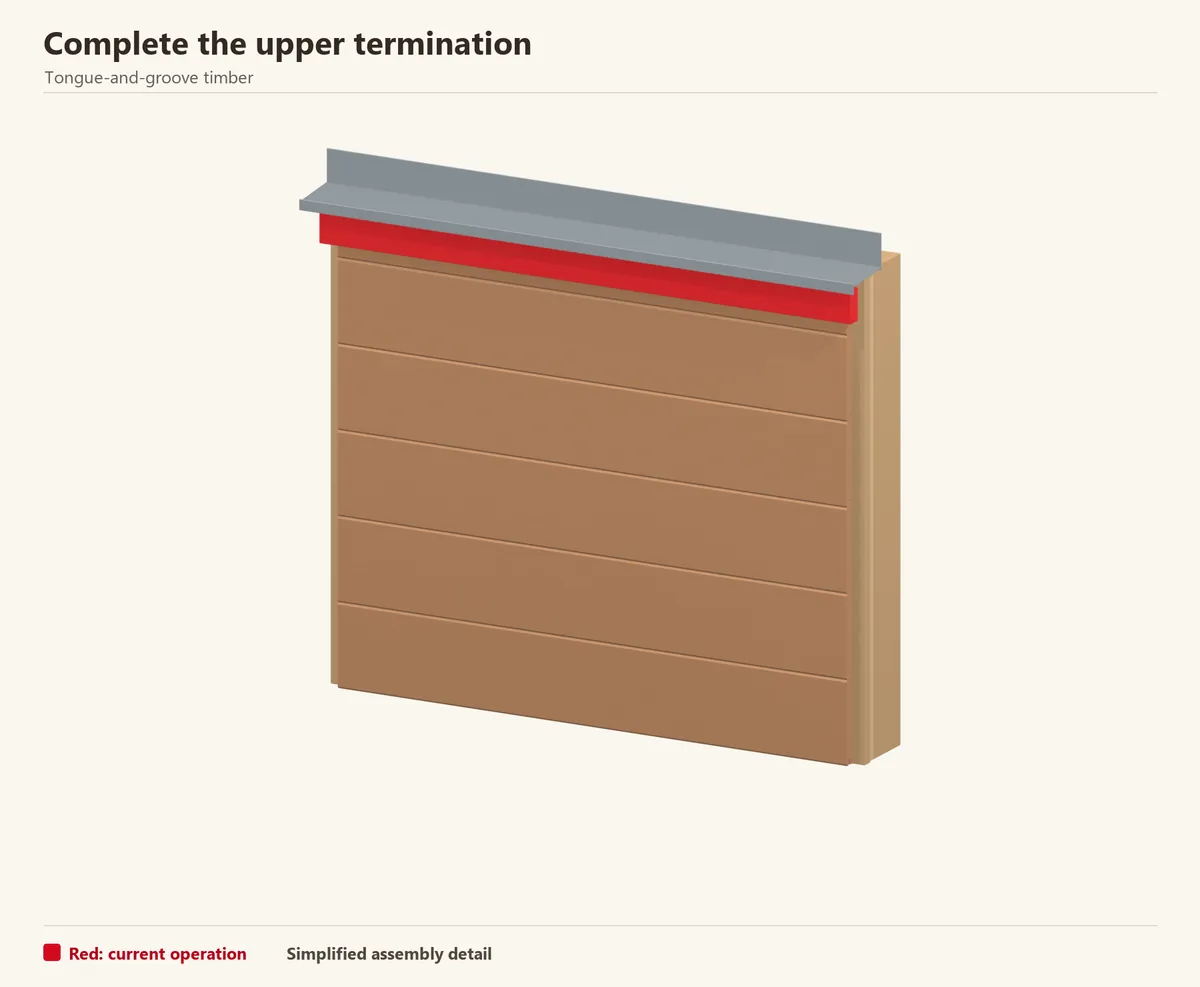
Measure the remaining height at several points and mark the upper cut. A ripped board may lose its tongue, so plan a supported face fixing concealed by the top cover where the approved detail allows it.
Treat the cut and install the cover below the flashing. Keep the specified head ventilation and clearance; the cover should finish the wall without sealing the cavity shut.
Check before continuing: The last board has a real fixing and the upper drainage detail is intact.
Step 12 of 12
Touch up and inspect the completed timber
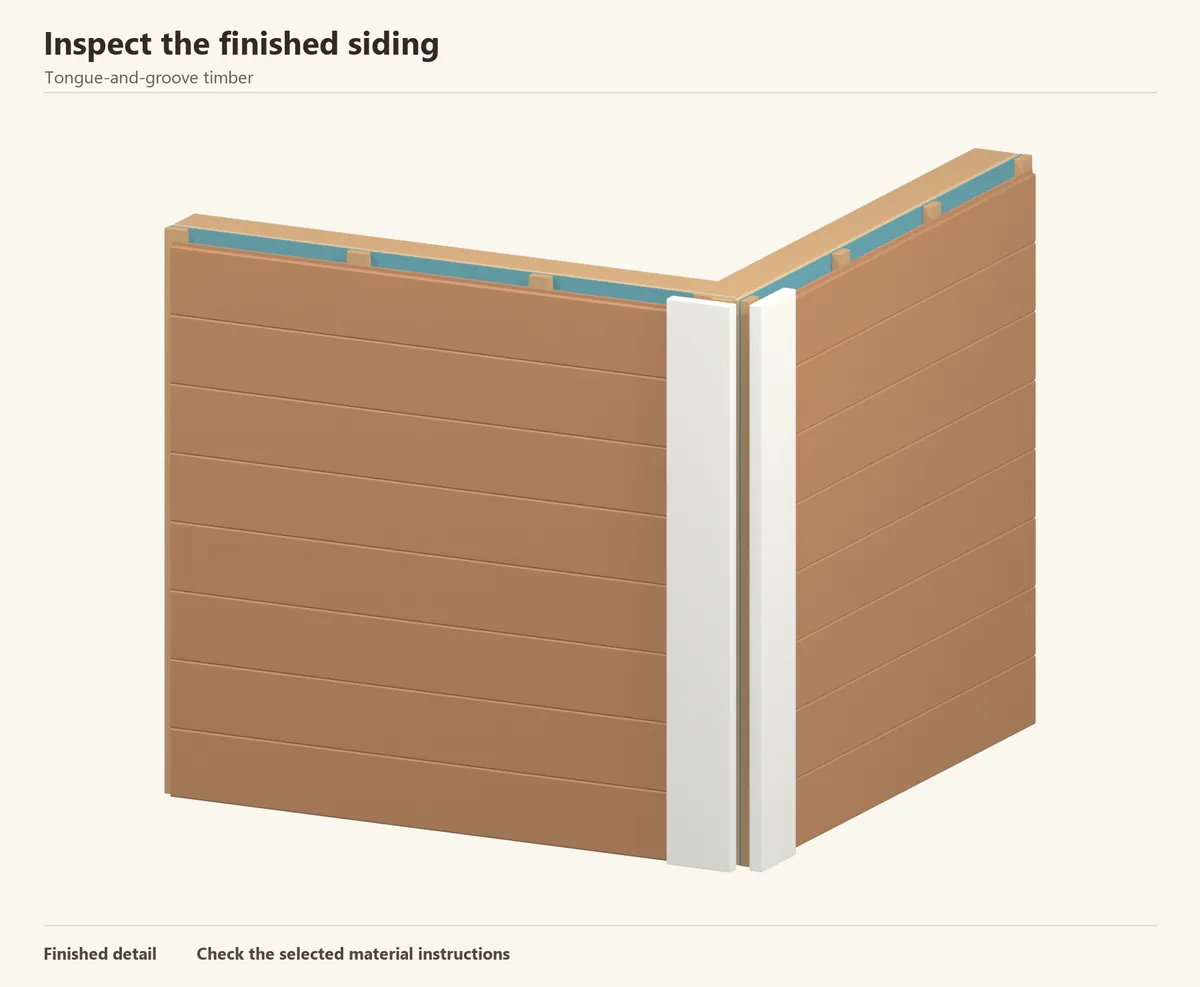
Complete any finishing coats and touch up exposed cuts or fixing damage. Inspect along the wall in low-angle light to spot uneven joints or a board that has not engaged fully.
Keep a labelled offcut with the profile and coating information. Check the finish and lower edges periodically, especially on the wettest wall, and recoat according to the coating maker’s condition-based guidance.
Check before continuing: The joint lines are even and all exposed cuts are protected.
Common questions
Can tongue-and-groove siding run vertically?
Yes, with a profile approved for that orientation. It needs horizontal nailing support and a wall detail that still drains vertically. This article illustrates the horizontal version; rotating the boards alone is not a complete change of assembly.
Is it the same as shiplap?
No. Tongue-and-groove has a projecting tongue inside a matching groove. Shiplap uses overlapping rebates. Check the actual edge shape, since the fixing and fitting details differ.
Can I use interior panelling outside?
Use timber sold and detailed for exterior siding. An indoor profile, glue line, coating or moisture specification may not suit an exposed shed wall.
Installation references
Sources checked 24 October 2026. Use the current instructions for your product and region when purchasing and installing.
- Real Cedar — tongue-and-groove installation
- Western Forest Products — exterior tongue-and-groove profiles
- Real Cedar — storage and acclimatization
- Real Cedar — fastening and wall preparation
- Real Cedar — finishing and moisture protection (PDF)
- Real Cedar — flashing, corners and field joints
- DuPont — wall weather barrier and opening flashing