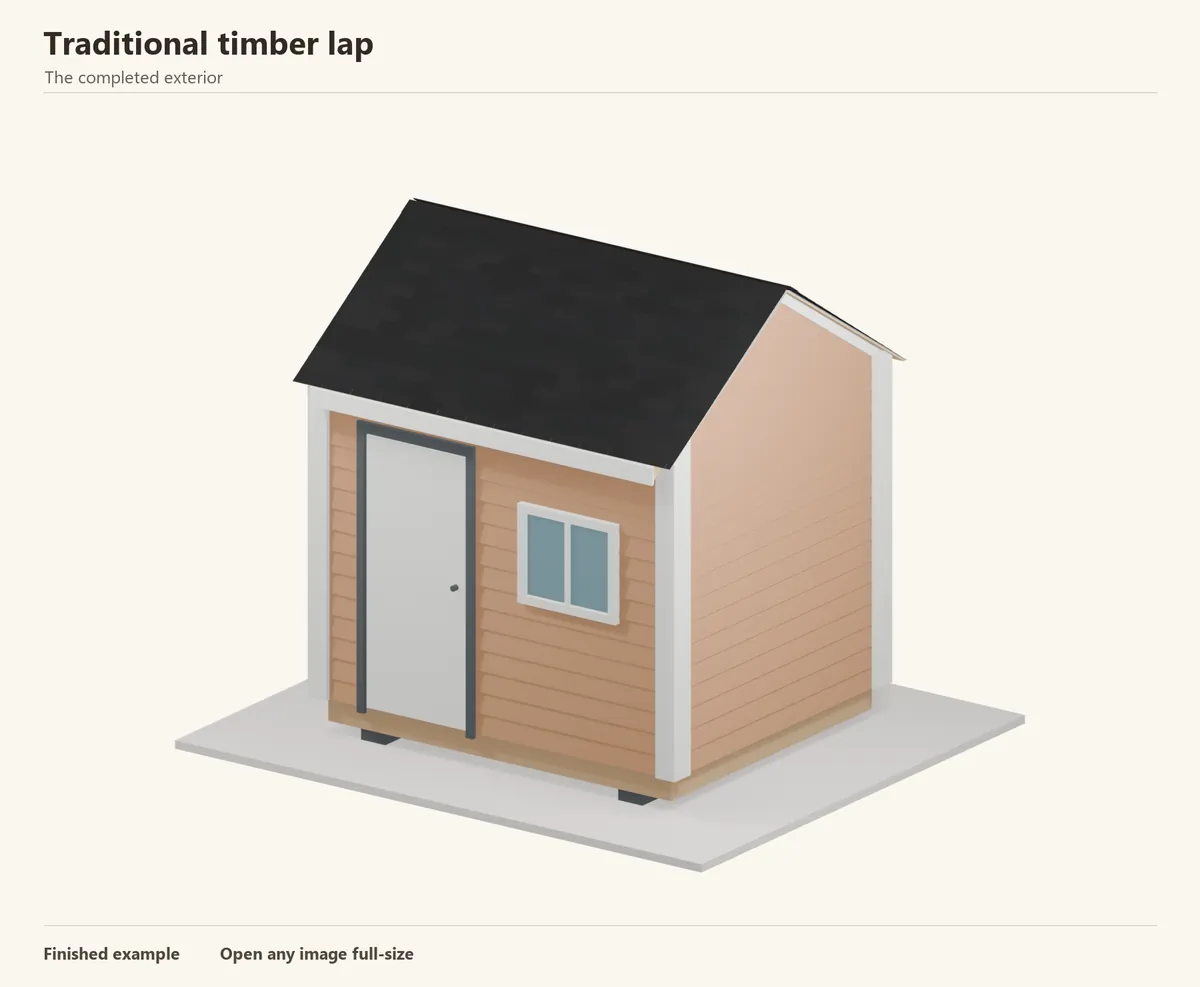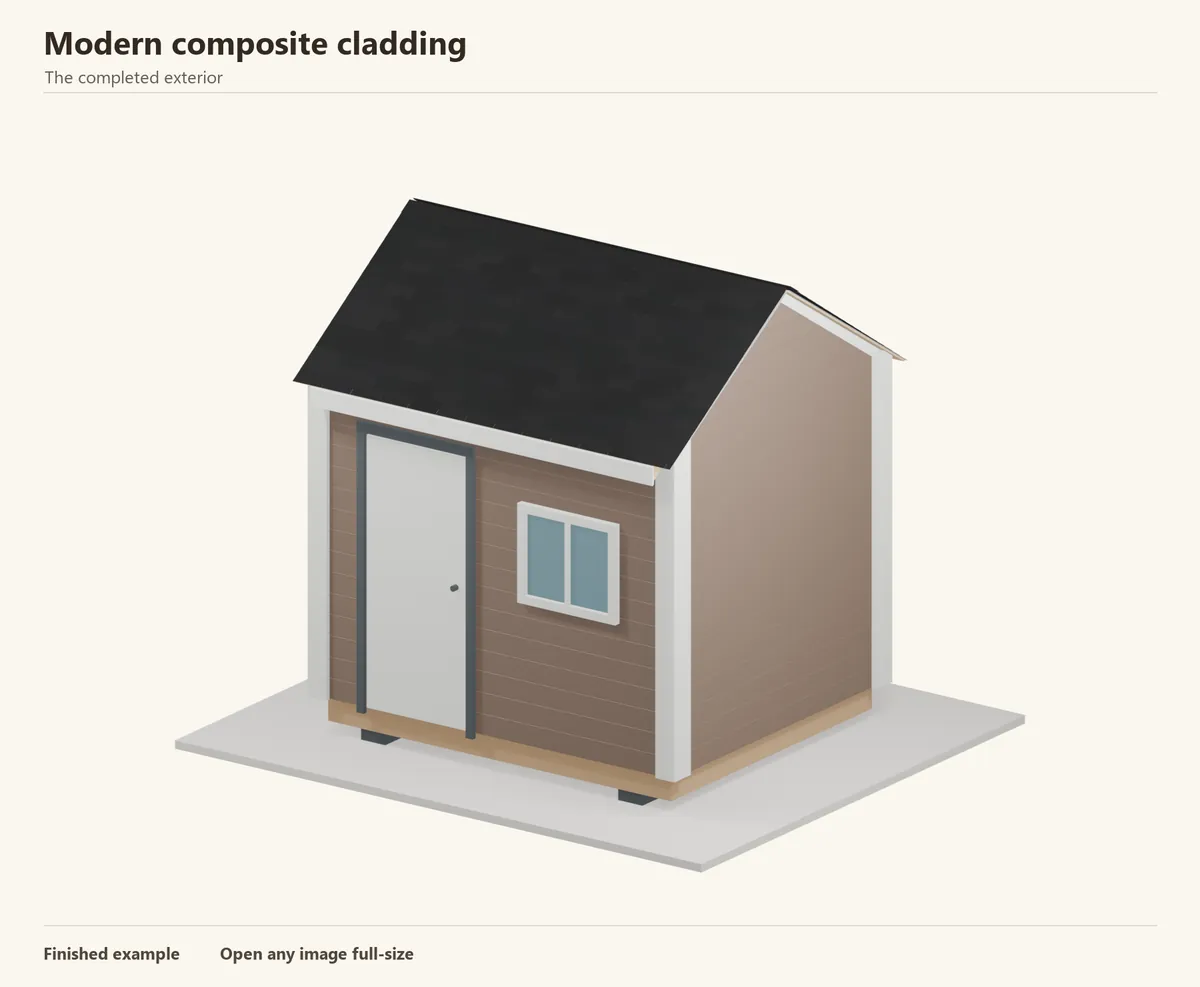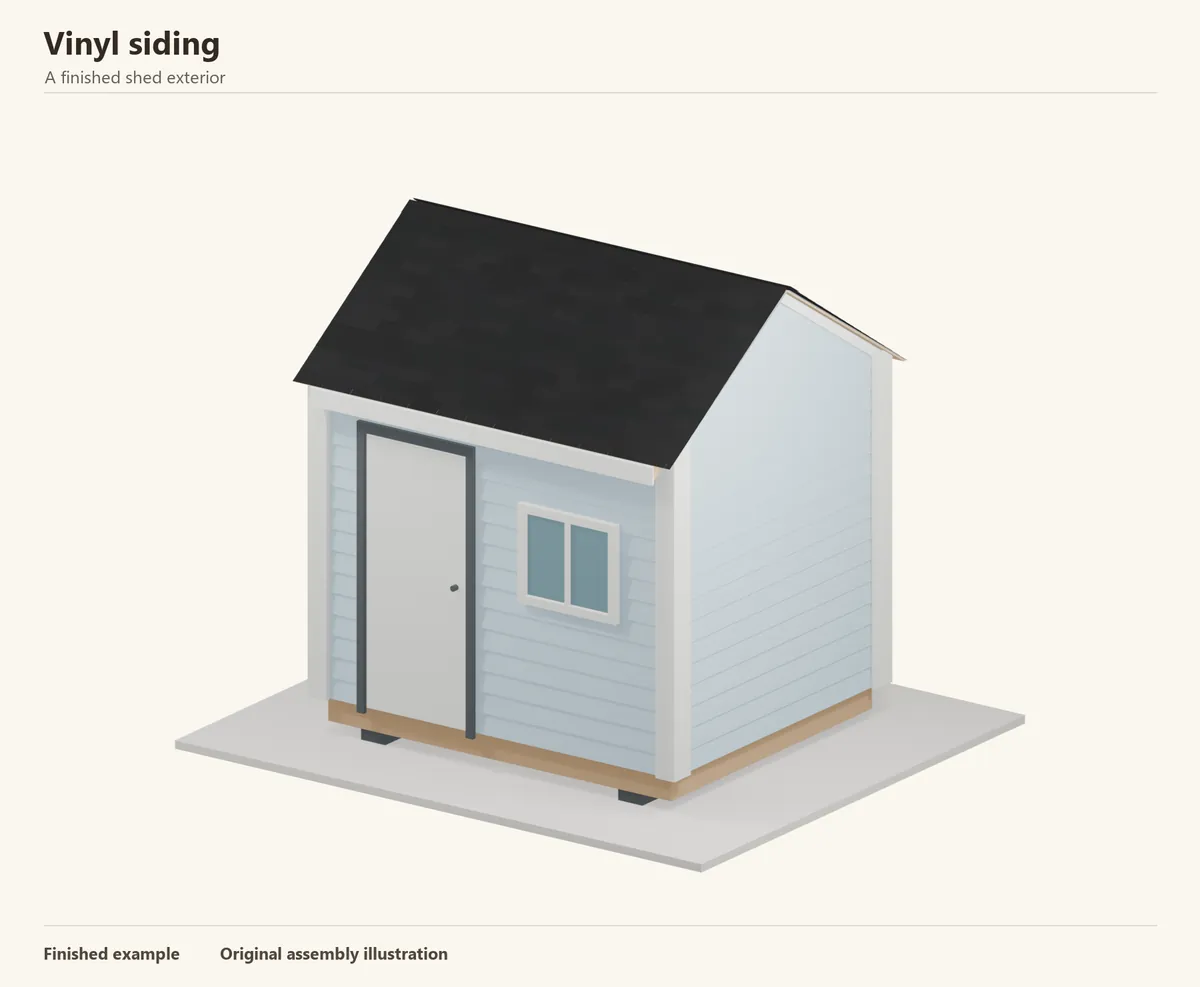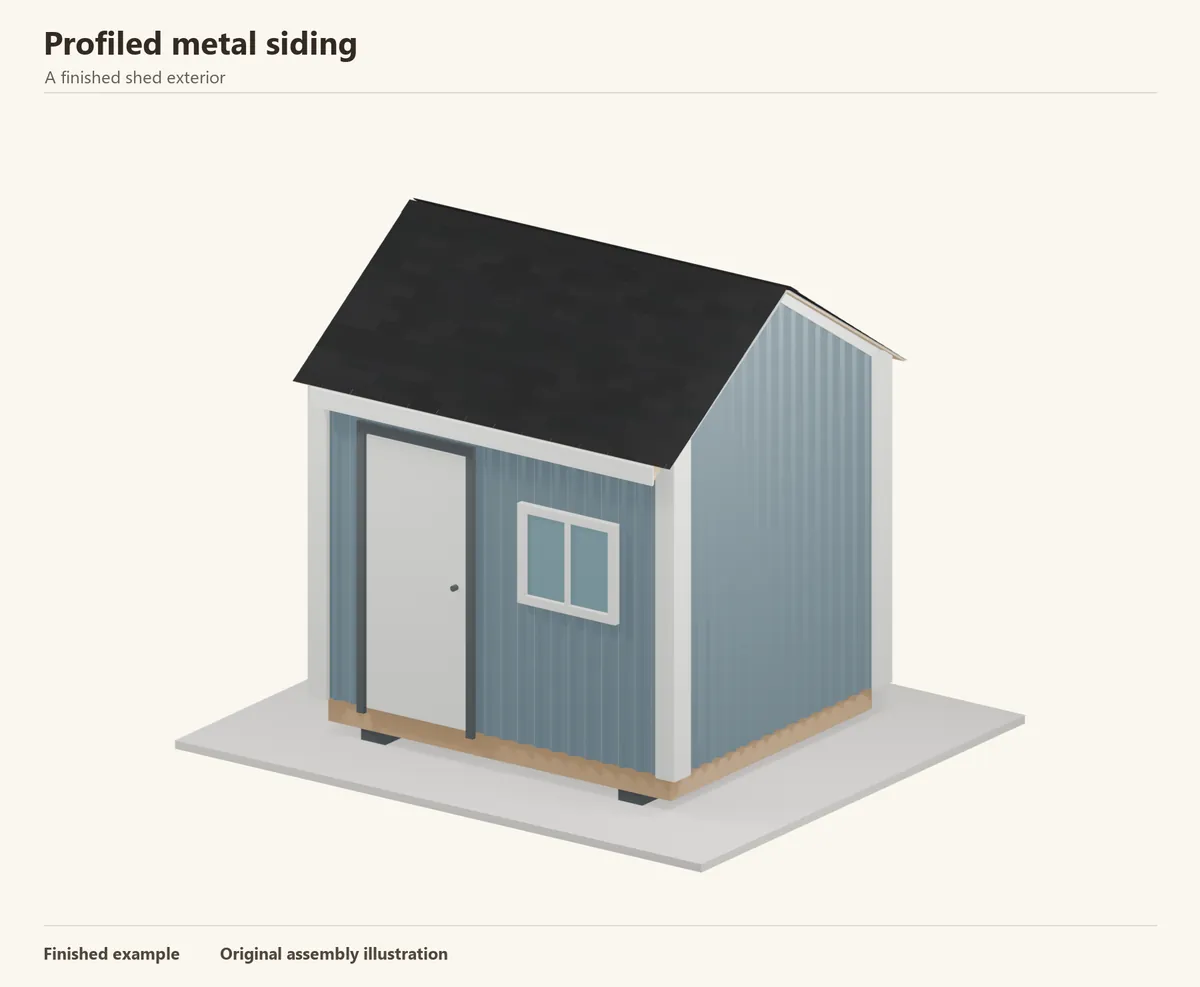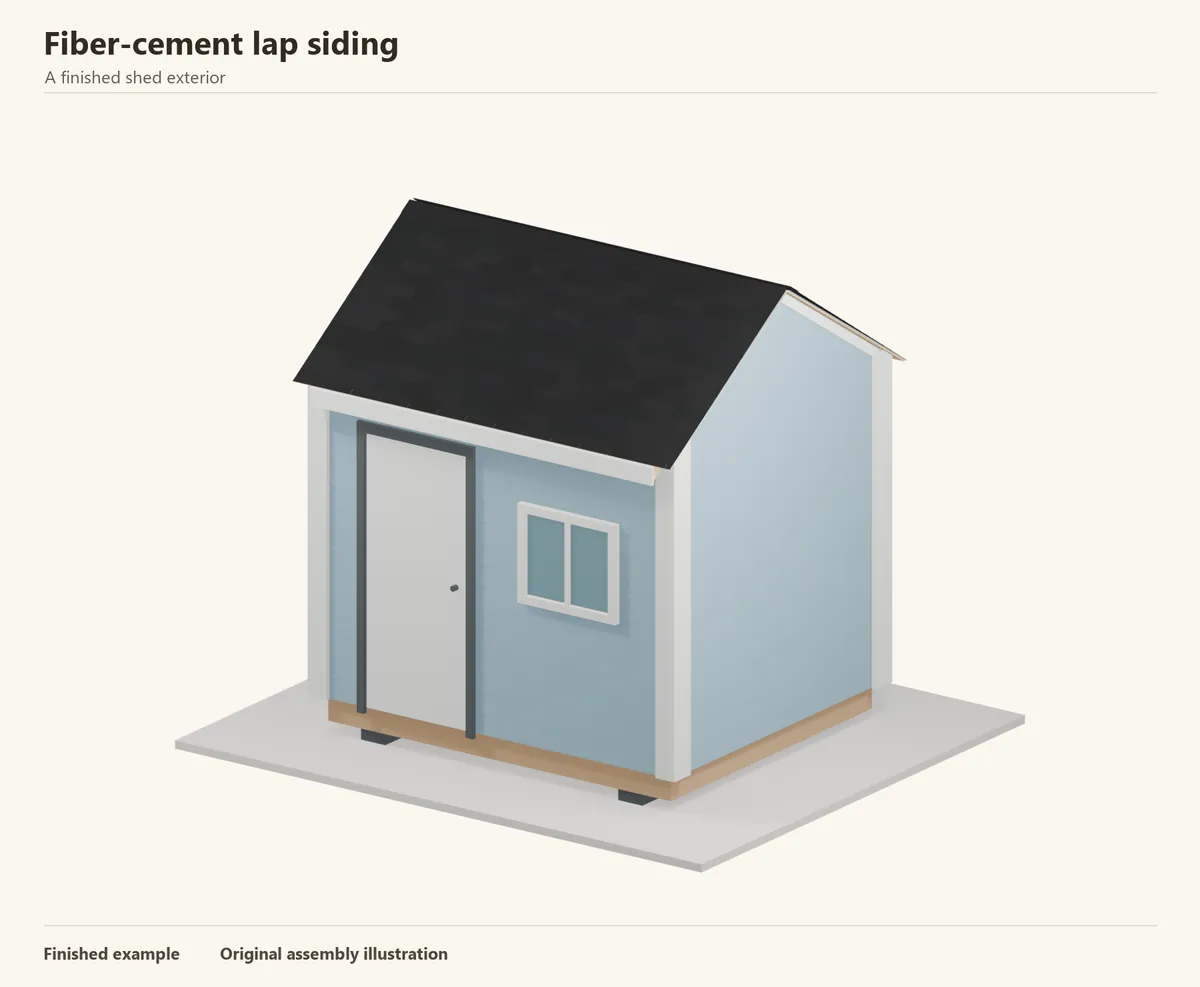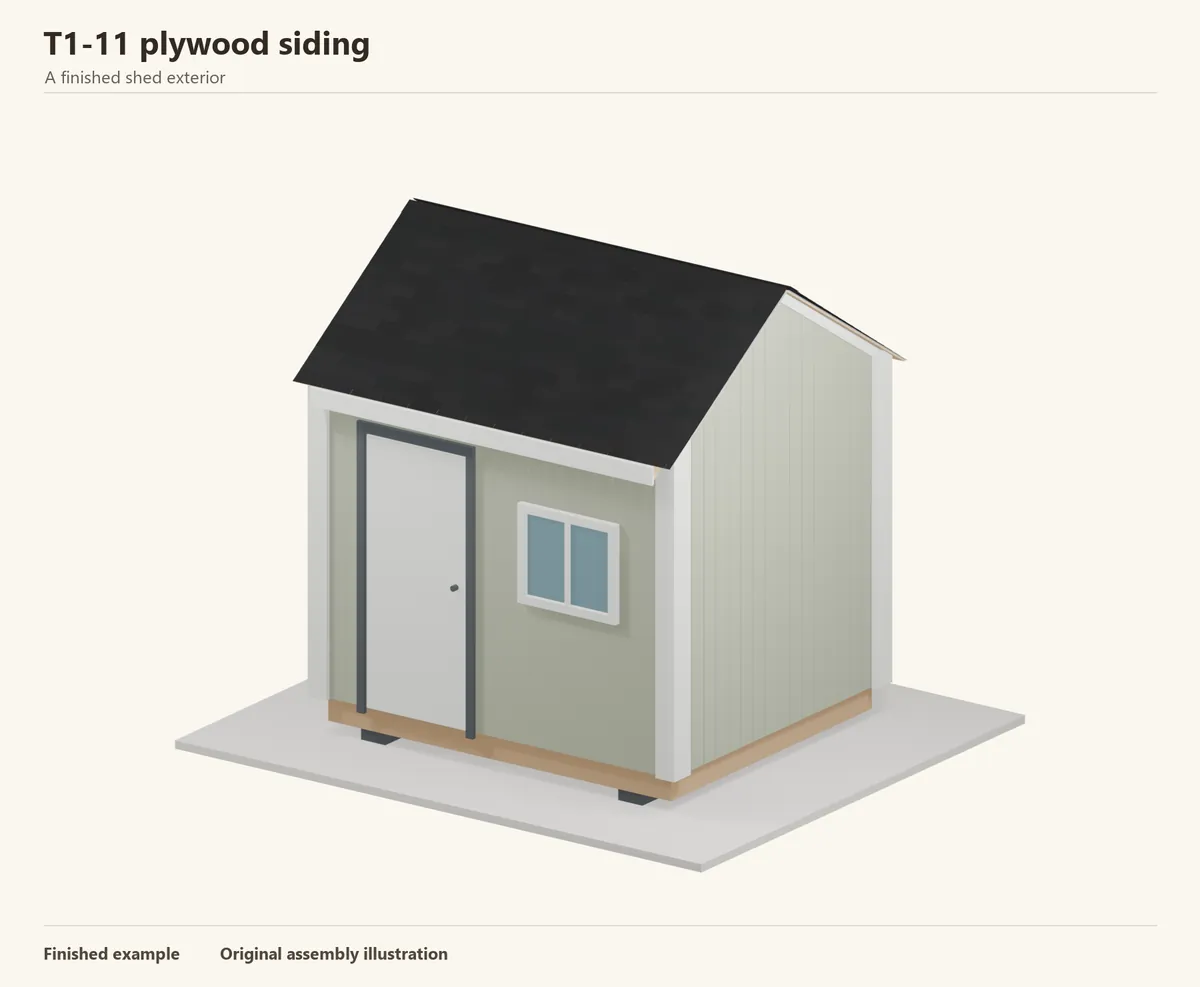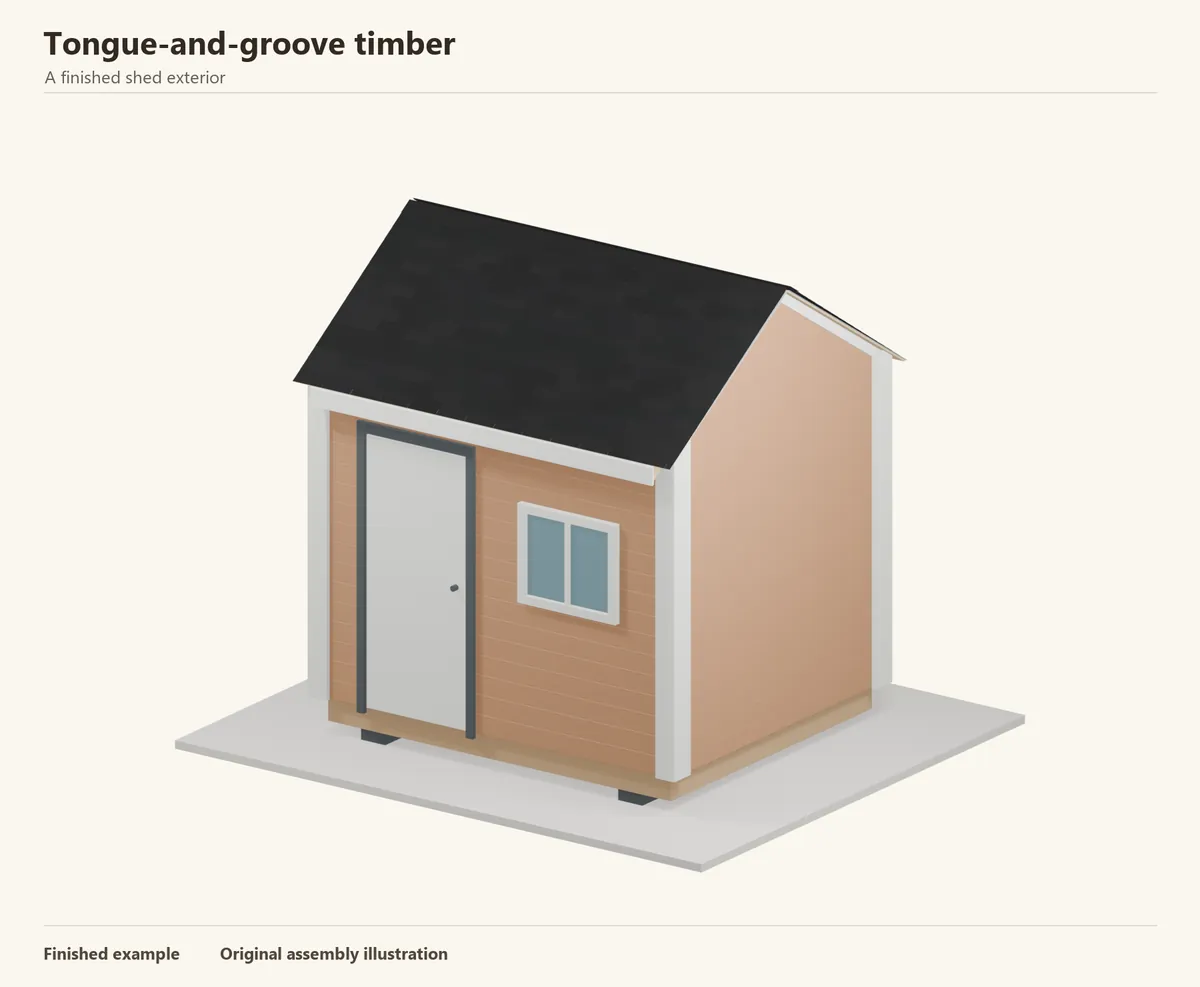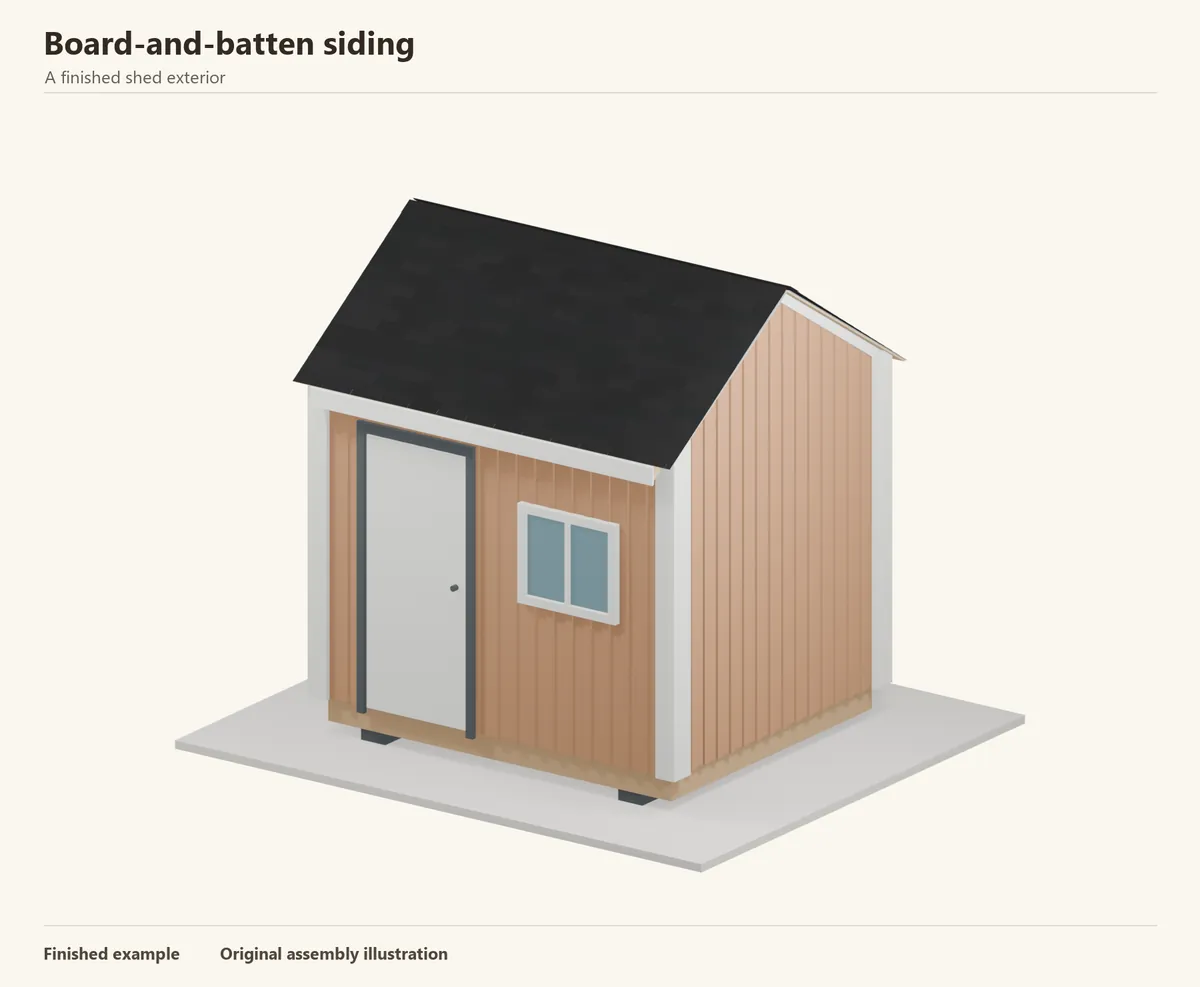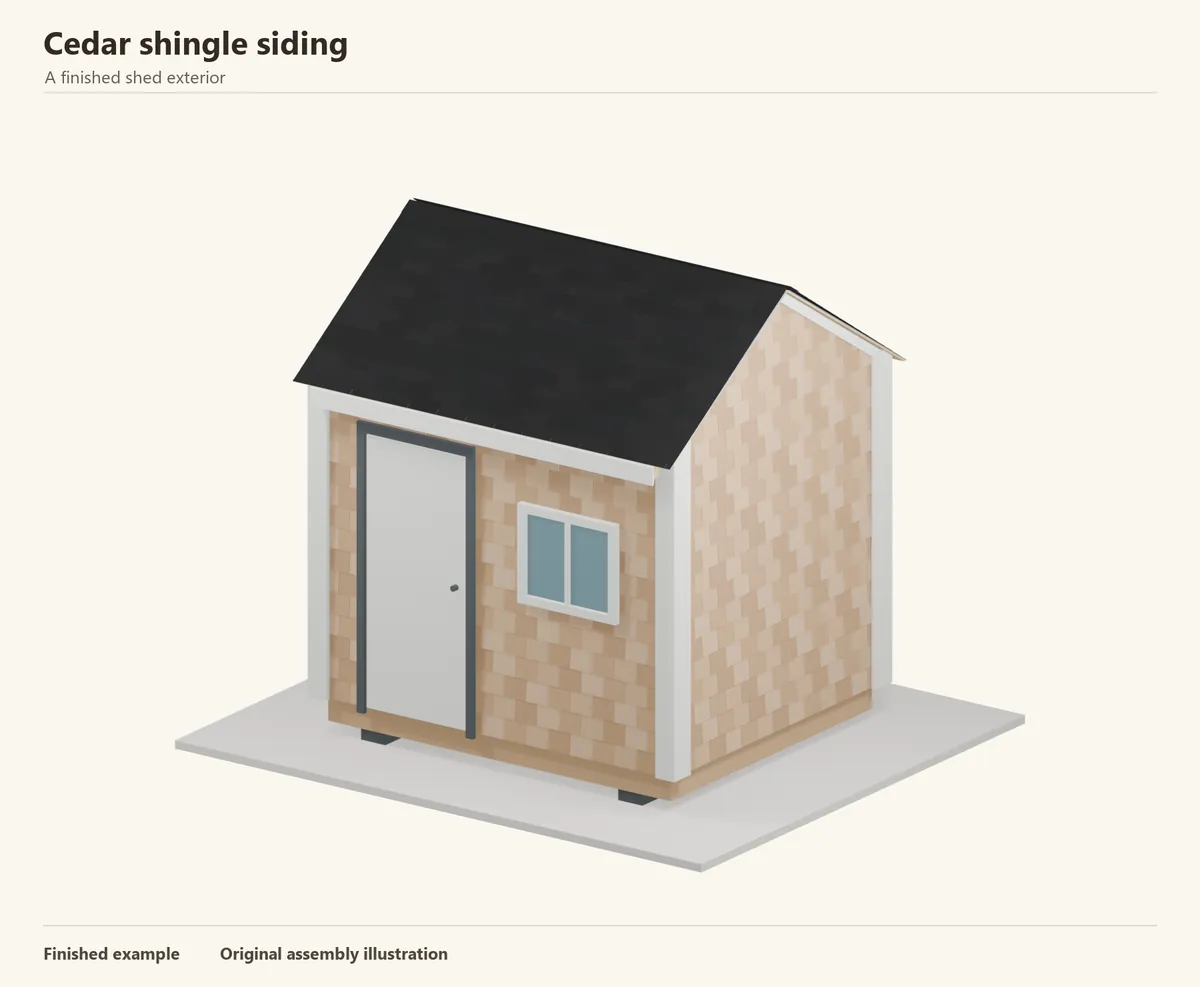
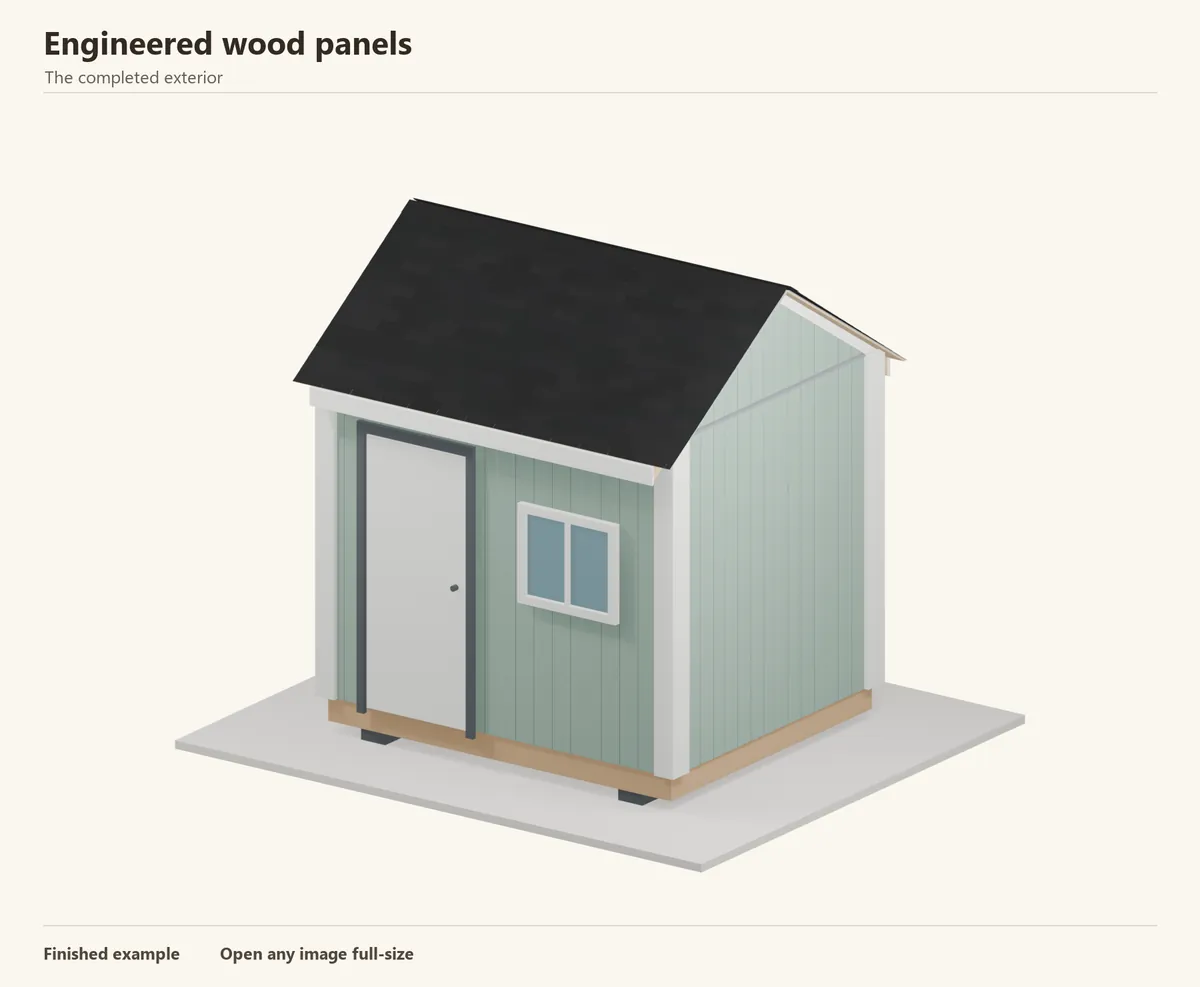
- A good fit for
- A painted storage shed, fast wall coverage and a traditional vertical-groove appearance.
- Plan for
- Large sheets are awkward in wind; cut edges and paint need careful attention. Panels and plywood T1-11 are different products.
Jump to an installation step
- 1. Measure the wall and plan every sheet edge
- 2. Finish the WRB and window flashing first
- 3. Set the bottom line above finished ground
- 4. Cut on supports and coat exposed edges
- 5. Support and plumb the first panel
- 6. Use the panel joint’s built-in alignment
- 7. Fasten into the specified backing
- 8. Fit the panels around doors and windows
- 9. Flash a horizontal panel joint
- 10. Fit the corner and opening trim
- 11. Template the gable and roof-edge pieces
- 12. Paint, remove supports and inspect the wall
Before you begin
Buy the cladding and its required accessories together. Measure the wall area and openings, then calculate coverage using the actual product profile and allow for cuts.
- Approved engineered wood panels and matching trim
- Wall sheathing, WRB and compatible flashing tape
- Head flashing and Z-flashing for any horizontal panel joint
- Specified corrosion-resistant nails; cut-edge coating, exterior finish and compatible sealant
- Tape, square, chalk line, long level, panel supports and a suitable saw
- Eye, hearing and dust protection; stable working platform and a helper for sheets
Companies offering this type of siding include LP Building Solutions and SWISS KRONO. Check local availability and follow the installation instructions for the product you choose.
Choose the complete wall assembly
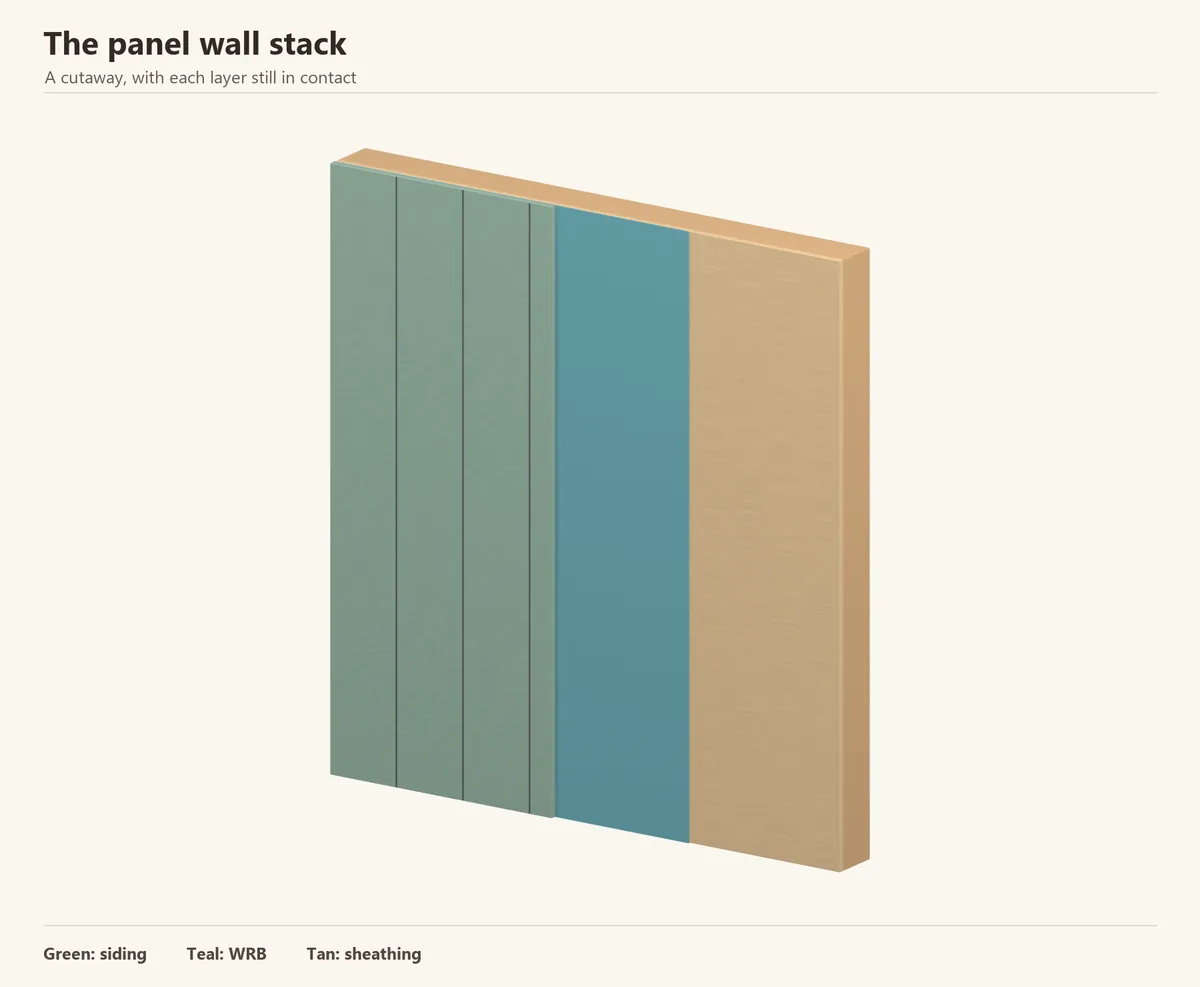
Treat the siding as the outer weather surface of a complete wall. The cutaway shows framing, structural sheathing, a water-resistive barrier (WRB) and the finish panel. Confirm where the shed gets its bracing before buying materials; a decorative panel is not automatically structural sheathing.
Do not copy the batten cavity from the timber or composite guides into this assembly. LP’s panel instructions do not generally recommend installation over furring. Shed-specific SilverTech and SmartFinish restrictions also differ from an insulated, internally lined room.
Reference: LP SmartSide panel siding — current installation instructions
Step 1 of 12
Measure the wall and plan every sheet edge
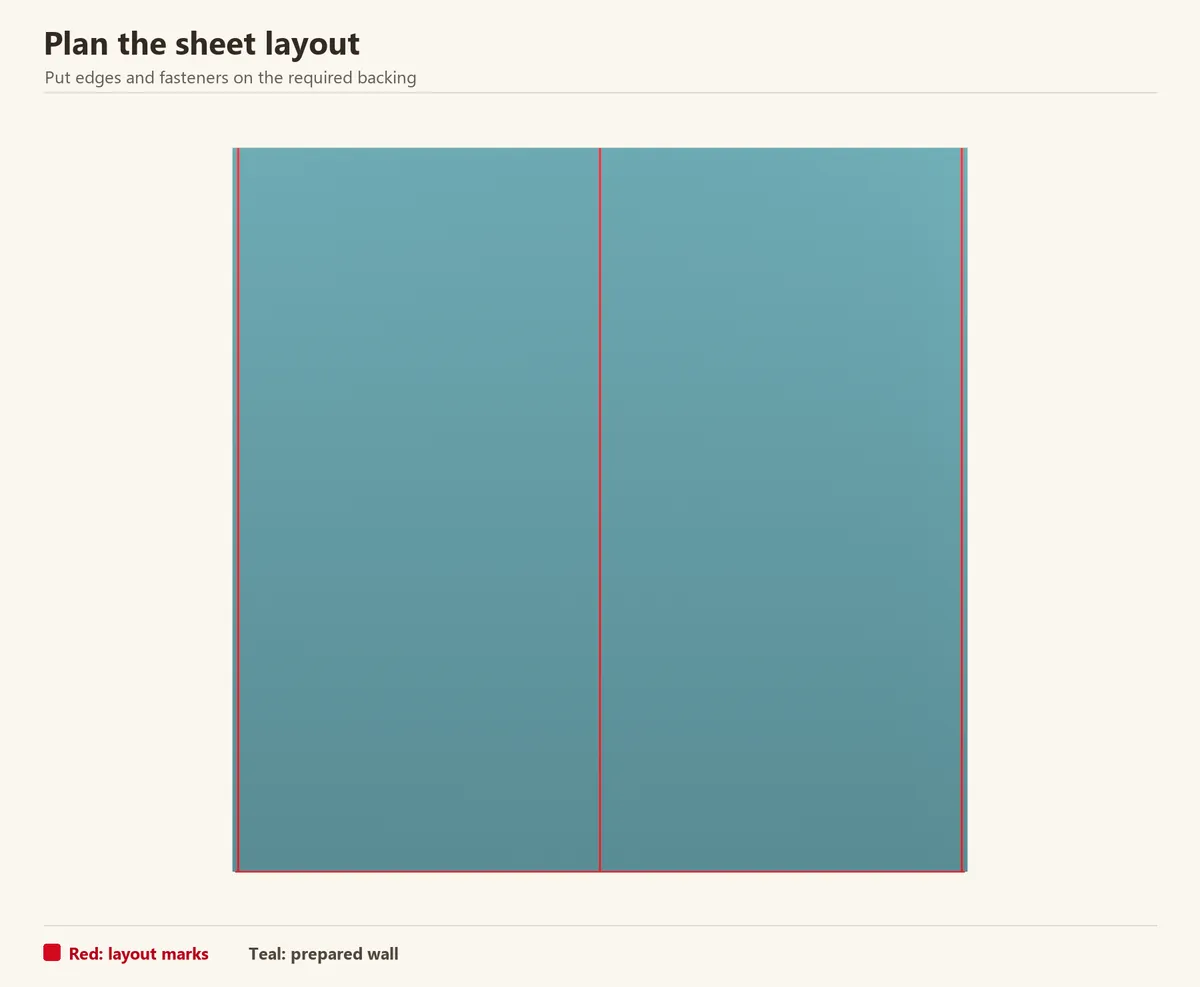
Measure each finished wall and locate the studs, openings and corner trim. Sketch the panel widths before cutting. Aim to put joints on the required backing and avoid leaving a narrow, fragile strip beside a door. Mark the stud locations where they will remain visible as you work.
Check the actual sheet dimensions and overlap before calculating quantities. Allow for the gable, cutouts and unusable offcuts; do not assume that the nominal sheet width is its installed coverage.
Check before continuing: Every planned edge and fastening line has suitable backing.
Step 2 of 12
Finish the WRB and window flashing first
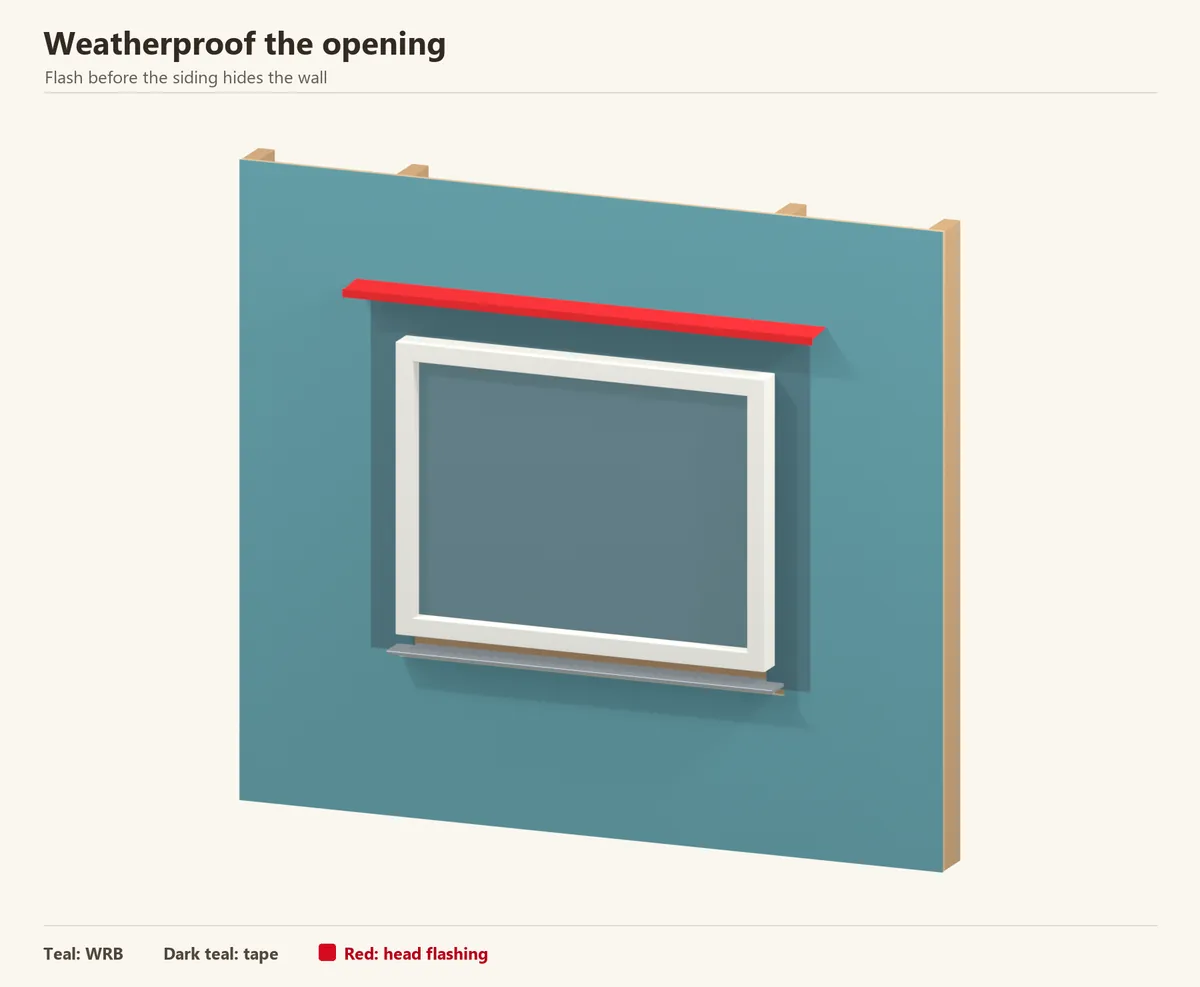
Start with a flat, dry, square wall. Complete the opening’s sill drainage, window installation and flashing sequence before covering it. Lap the water-control layers so water travels down and out rather than into the opening. Repair punctures and use tapes compatible with the WRB and window.
Set the window or door head flashing to shed water beyond the trim. Follow the opening manufacturer’s detail; caulk around the outside of an unfinished opening is not a substitute for this work.
Check before continuing: The sill can drain and the head flashing connects to the WRB above.
Reference: DuPont — window and door flashing systems and installation resources
Step 3 of 12
Set the bottom line above finished ground
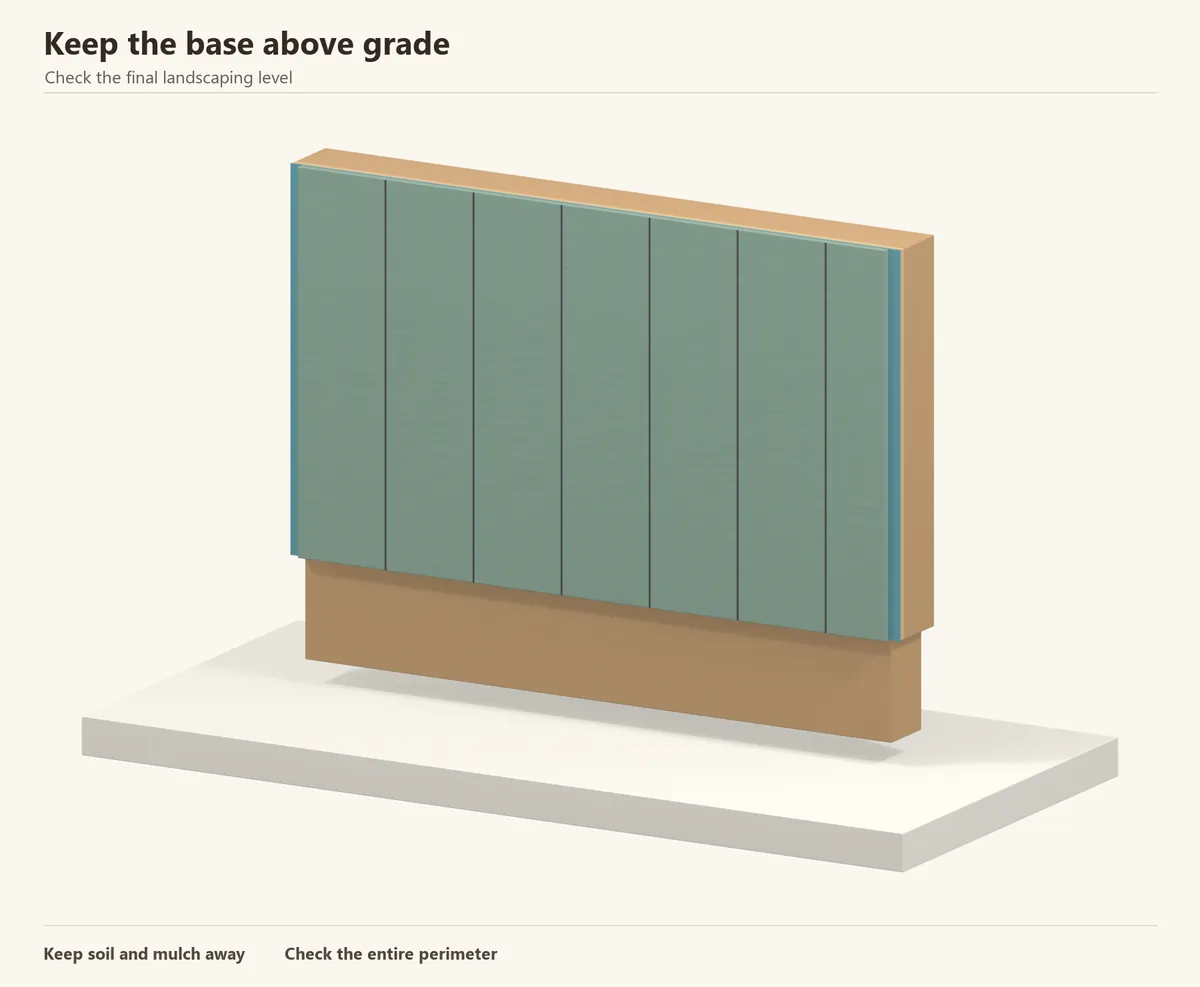
Mark the bottom of the siding around the whole shed, allowing for the final landscaping rather than today’s excavation. Use a level or laser to carry the line around corners. Check the downhill and uphill sides separately.
For the cited LP panel instructions, maintain at least 6 in (152 mm) above finished grade in the US; the Canadian instruction is 8 in (200 mm). Roofs, paving and flashing have their own clearances. Do not bury the edge with mulch after installation.
Check before continuing: The lowest finished ground-to-panel clearance meets the applicable instructions.
Reference: LP SmartSide panel siding — current installation instructions
Step 4 of 12
Cut on supports and coat exposed edges
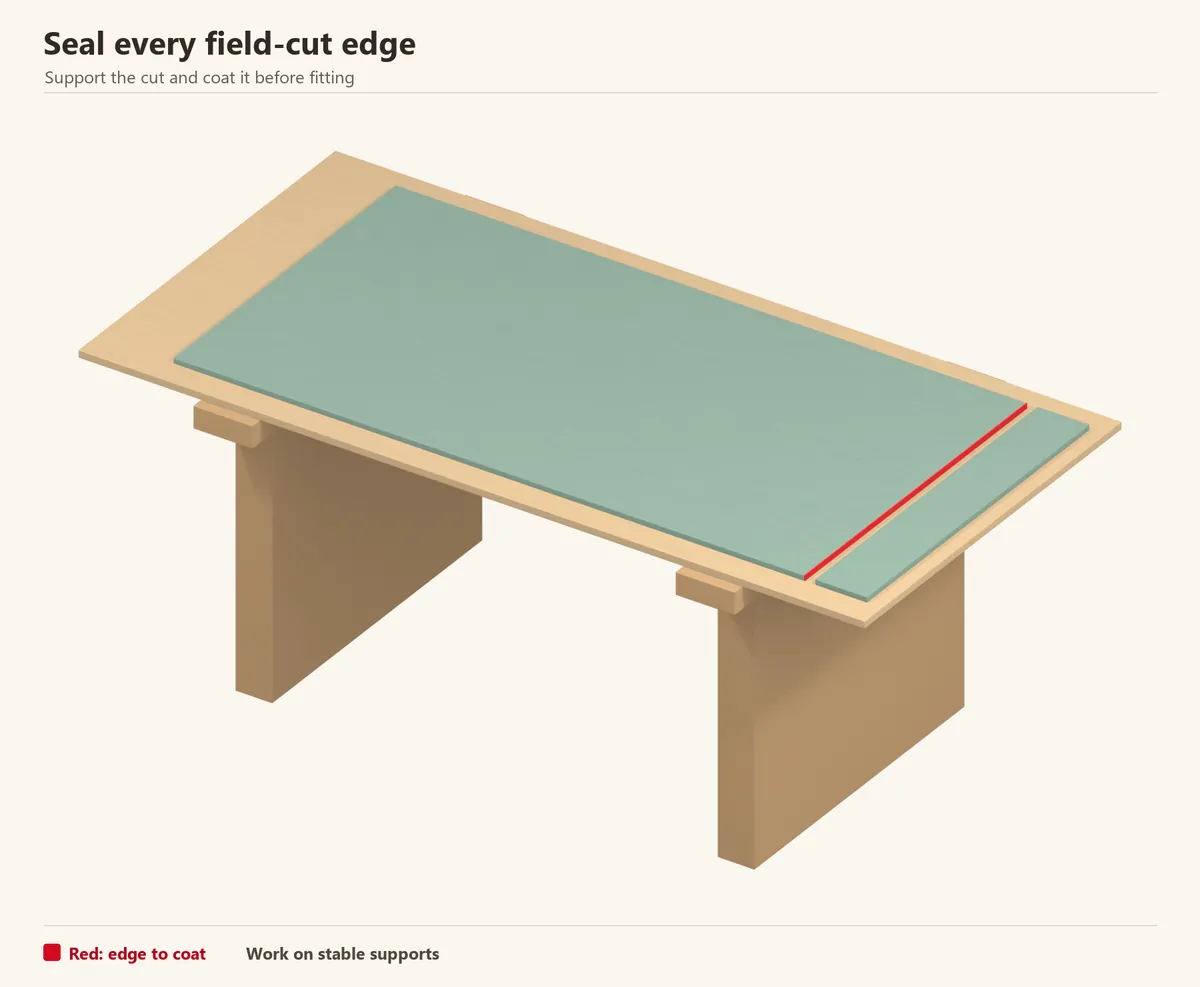
Transfer dimensions from the wall to the sheet and identify its outside face and top. Support the whole panel so the offcut cannot tear away as the cut finishes. Keep the work stable and control cutting dust with suitable extraction and protection.
Dry-fit difficult cuts, then coat every newly exposed edge with the manufacturer-approved coating before the edge becomes inaccessible. This includes the bottom, window cutouts and gable cuts. Let the coating dry as directed.
Check before continuing: No raw field-cut edge will be hidden behind trim.
Reference: LP — installing siding on a shed · Andrew Thron — panel siding installation and video companion
Step 5 of 12
Support and plumb the first panel
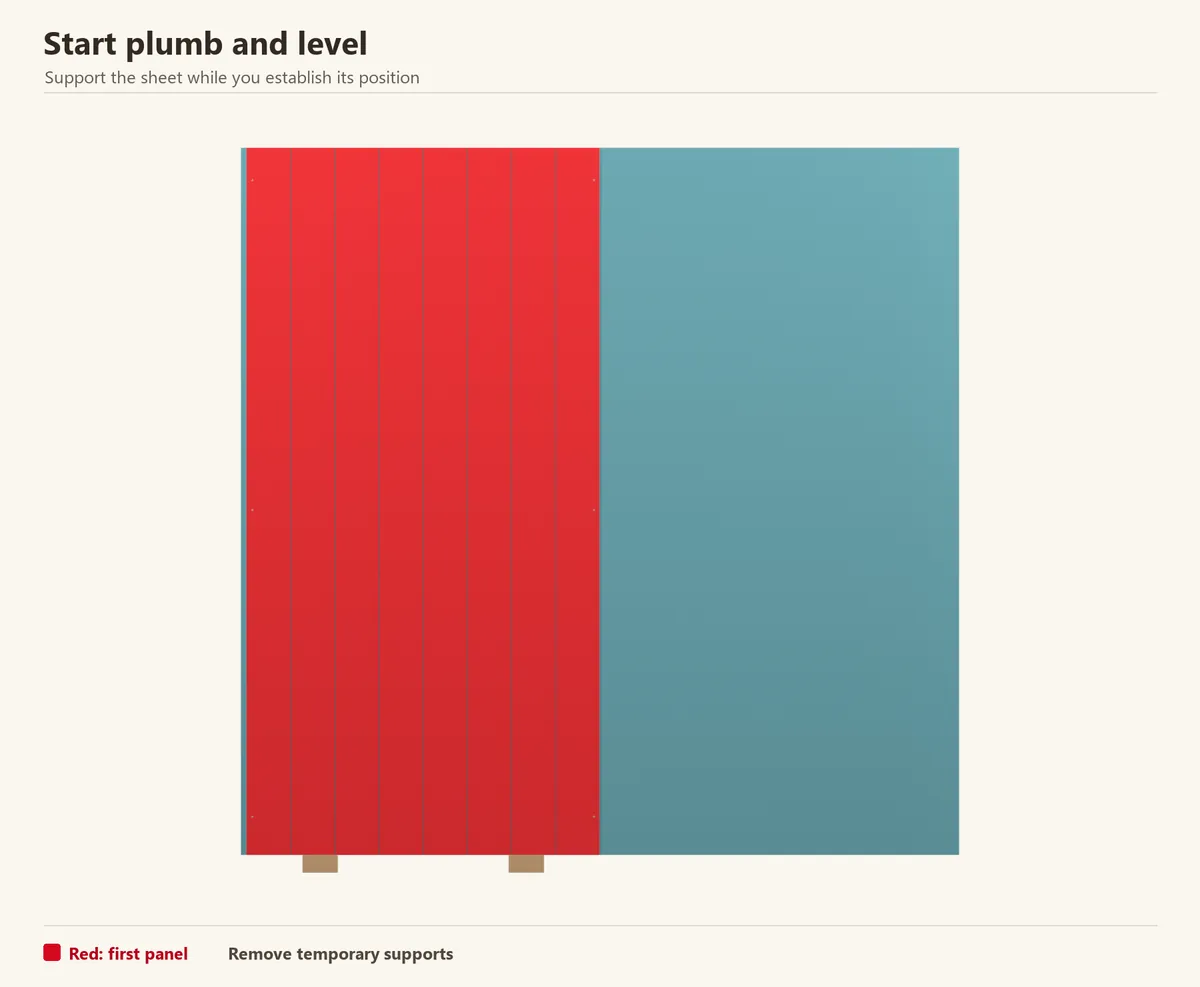
Use temporary supports at the level bottom line and have a helper steady the sheet. Bring the first panel into position without dragging its coated edge across the ground. Establish the corner allowance required by your trim arrangement.
Check the panel edge with a long level before fixing it. Start with a few holding fasteners in supported locations, then recheck both the base line and the vertical edge. Remove temporary supports when the sheet is secured.
Check before continuing: The first sheet is plumb; later sheets will follow its edge.
Reference: iCreatables — shed siding installation sequence · Andrew Thron — panel siding installation and video companion
Step 6 of 12
Use the panel joint’s built-in alignment
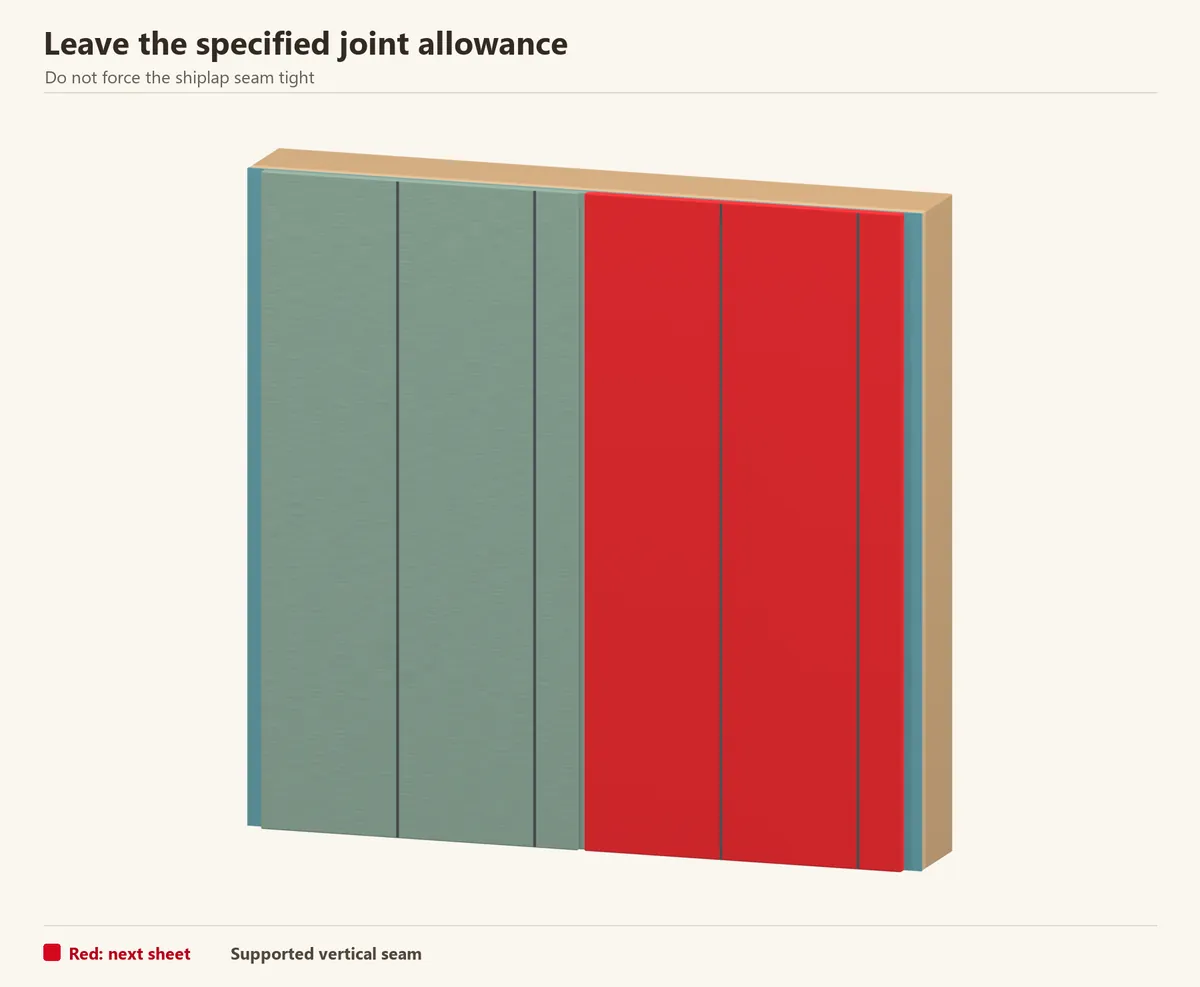
Bring the next sheet to the first without forcing the edges together. The vertical grooves and horizontal base line should remain aligned. A narrow joint close-up is more useful here than judging the seam from several feet away.
For this LP panel system, the shiplap alignment feature provides a 1/8 in (3 mm) expansion space. Keep grooved shiplap panels vertical. Do not turn the sheets sideways or tighten the joint simply to hide a small gap.
Check before continuing: The joint has the specified allowance and stays supported.
Reference: LP SmartSide panel siding — current installation instructions
Step 7 of 12
Fasten into the specified backing
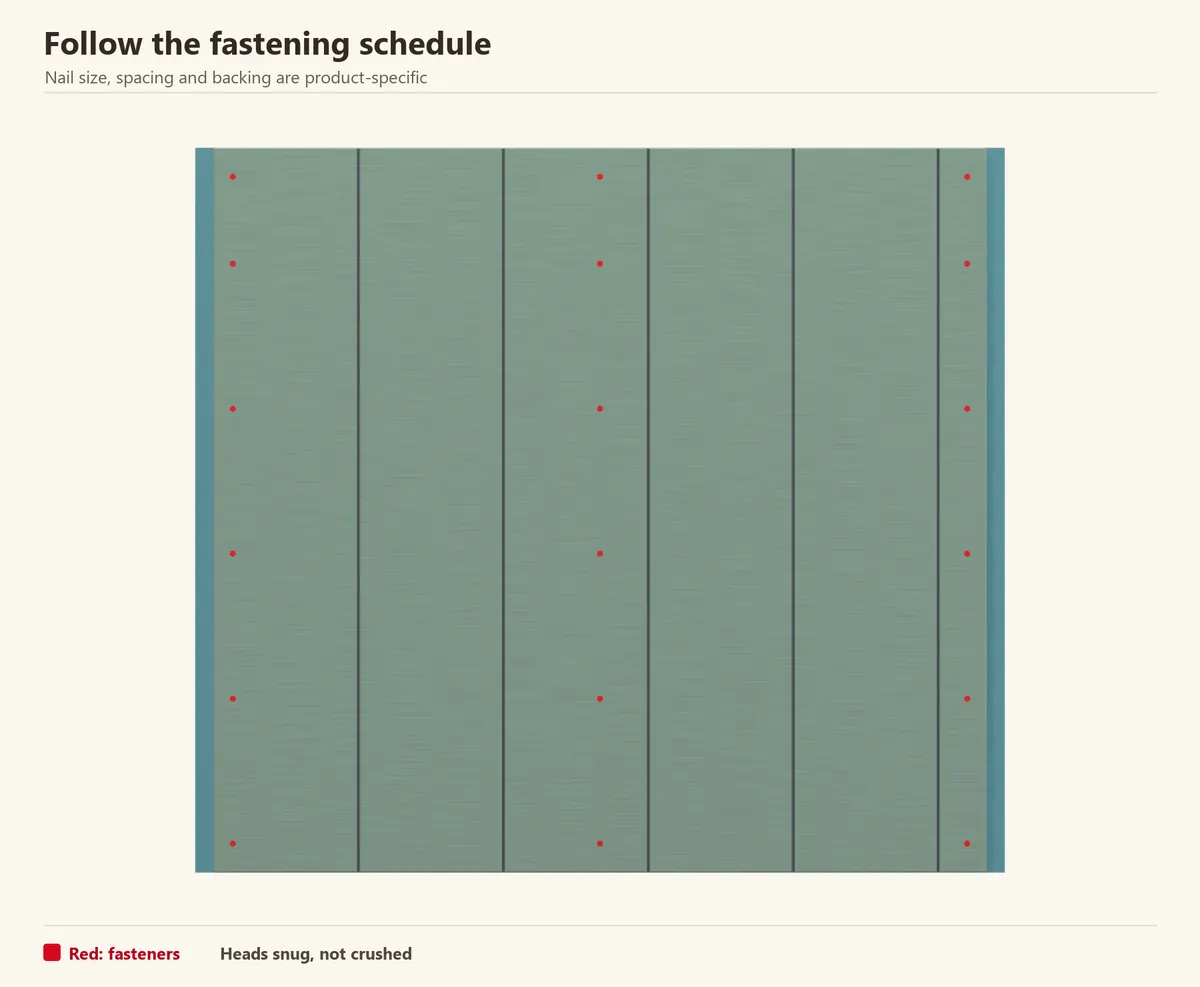
Follow the fastening schedule for the exact panel, wall framing and local wind demand. Mark it on a spare strip before starting; a remembered “every few inches” rule is not a schedule. Confirm the nail diameter, head, length, corrosion protection and framing penetration.
Work evenly across the supported sheet. Keep heads snug to the surface without crushing it. Stop and adjust the nailer if it overdrives nails; use the manufacturer’s correction detail for damaged locations.
Check before continuing: Inspect the first fasteners closely before repeating the setting over the whole wall.
Reference: LP — installing siding on a shed
Step 8 of 12
Fit the panels around doors and windows
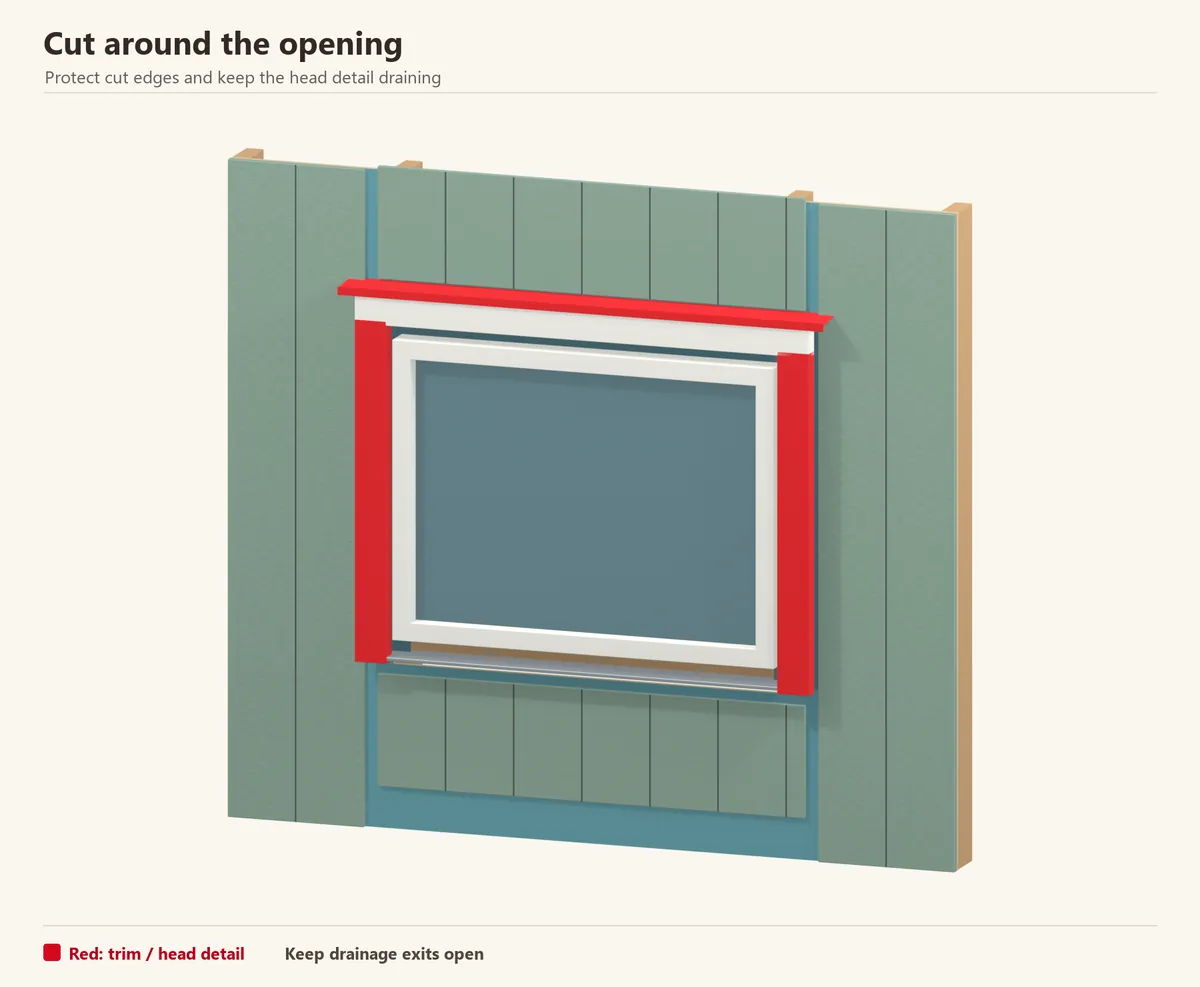
Measure openings from the installed sheet edge, not from an assumed stud layout. Transfer both sides and the height, then check the dimensions against the actual window or door before cutting. Support narrow sections to prevent breakage.
Keep the planned clearance to trim and the drainage route above the head flashing. Coat the cutout edges. Use sealant only at joints that the siding and opening details call for; keep intended drainage exits open.
Check before continuing: The cutout clears the opening and does not puncture or trap the flashing.
Reference: DuPont — window and door flashing systems and installation resources · Andrew Thron — panel siding installation and video companion
Step 9 of 12
Flash a horizontal panel joint
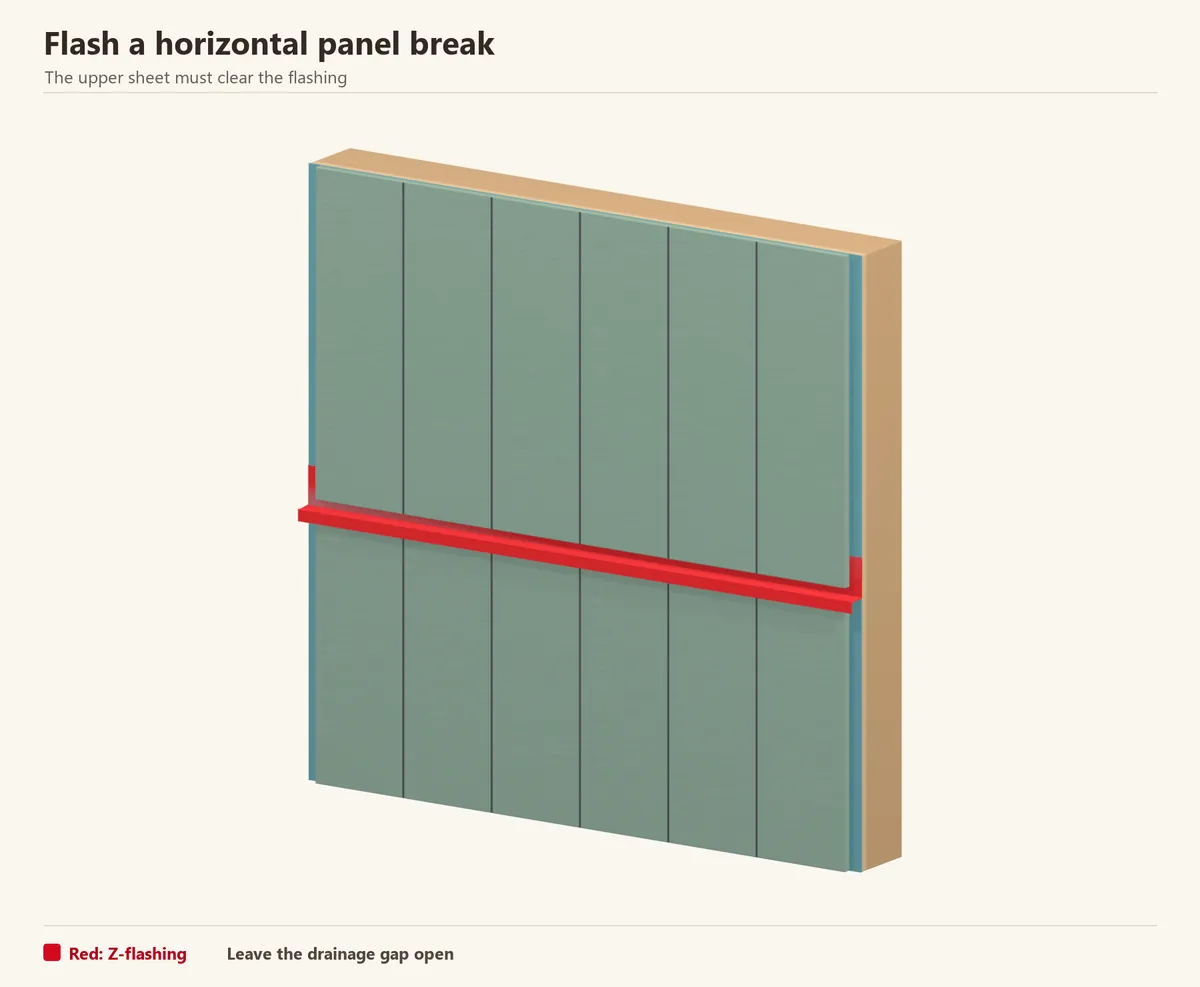
If a wall needs a second tier of panels, detail the horizontal break before attaching the upper sheets. Support the edges and install a continuous Z-flashing that drains over the lower panel. Integrate its rear upstand with the water-control layer.
The cited LP detail leaves at least 3/8 in (10 mm) between the upper panel and the flashing. Leave that drainage gap open. Do not disguise the break with an unflashed horizontal trim board.
Check before continuing: Water can exit the joint without entering the lower panel edge.
Reference: LP SmartSide panel siding — current installation instructions
Step 10 of 12
Fit the corner and opening trim
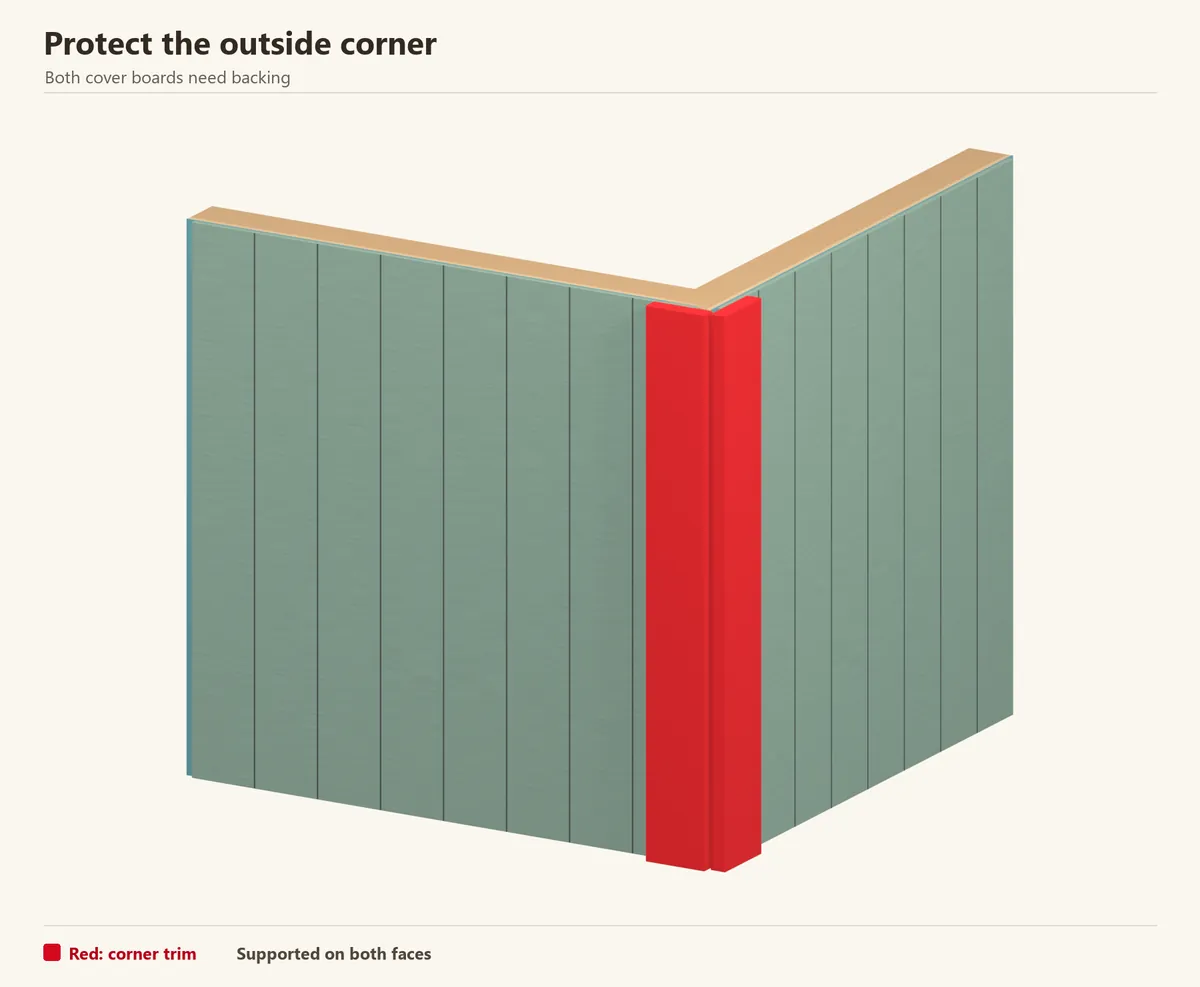
Cut and prefinish the trim pieces before fitting them. Arrange the corner so both wall edges are protected and the boards have continuous attachment behind them. The illustration shows an outside corner; the trim maker’s joint and fastening instructions still apply.
Plan the trim order with the siding detail. Where panels butt to trim, the cited LP instruction uses a 3/16 in (5 mm) sealant joint. Do not apply that number to an overlapping cover board or to a different product.
Check before continuing: Trim fasteners reach the required backing and intended sealed joints are accessible.
Reference: LP SmartSide panel siding — current installation instructions
Step 11 of 12
Template the gable and roof-edge pieces
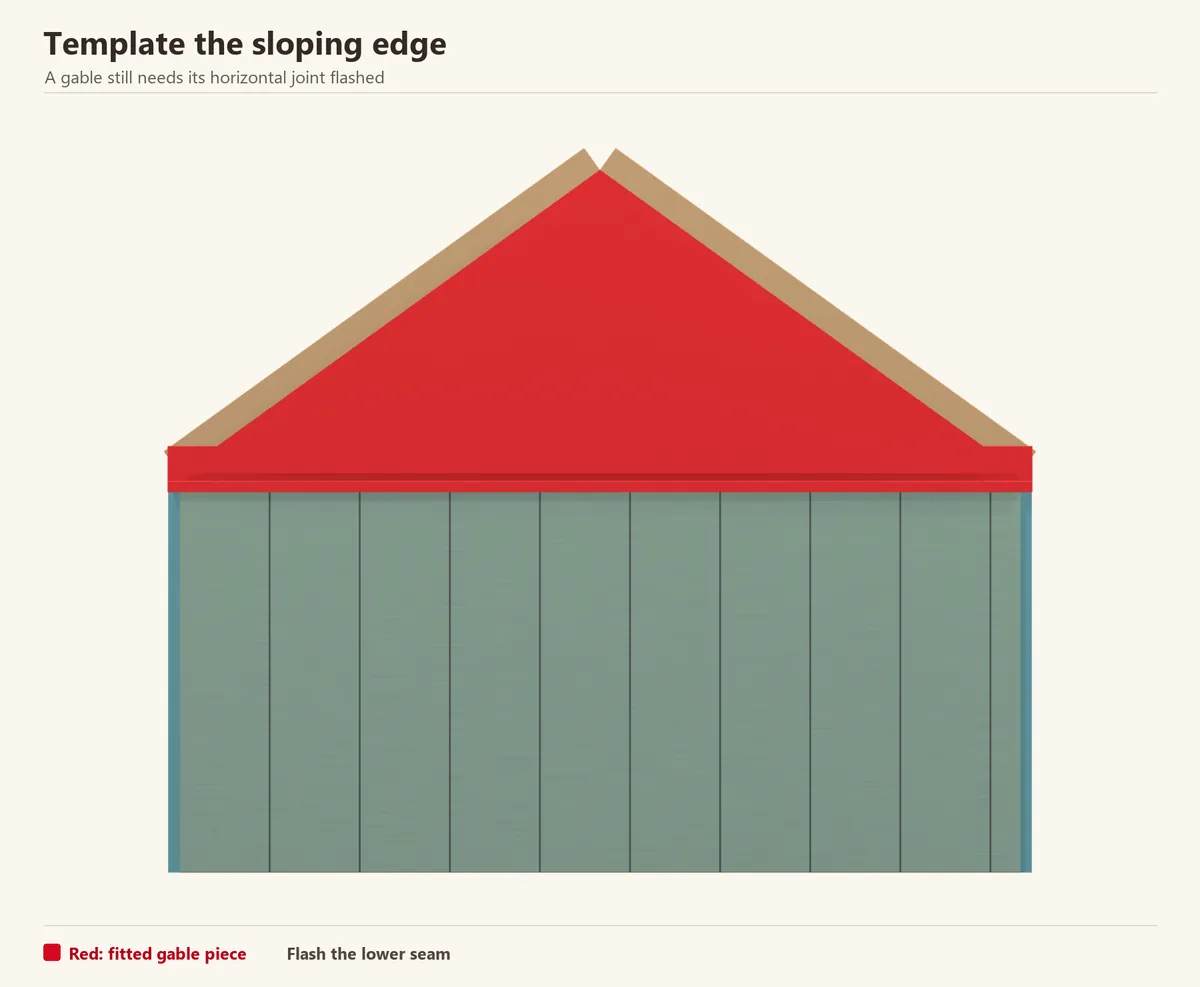
Measure the sloping edge at more than one point. Make a scrap template for the roof angle, transfer it to the panel and verify the direction before cutting. Keep enough material to reach the planned support and trim line.
Coat the new sloping edge and position the piece without pinching it against the roof assembly. Where a gable creates a horizontal panel break, use the flashed joint from step 9; a triangular shape does not remove the need to drain that seam.
Check before continuing: The roof-edge cut is coated and the gable’s lower joint is flashed.
Step 12 of 12
Paint, remove supports and inspect the wall
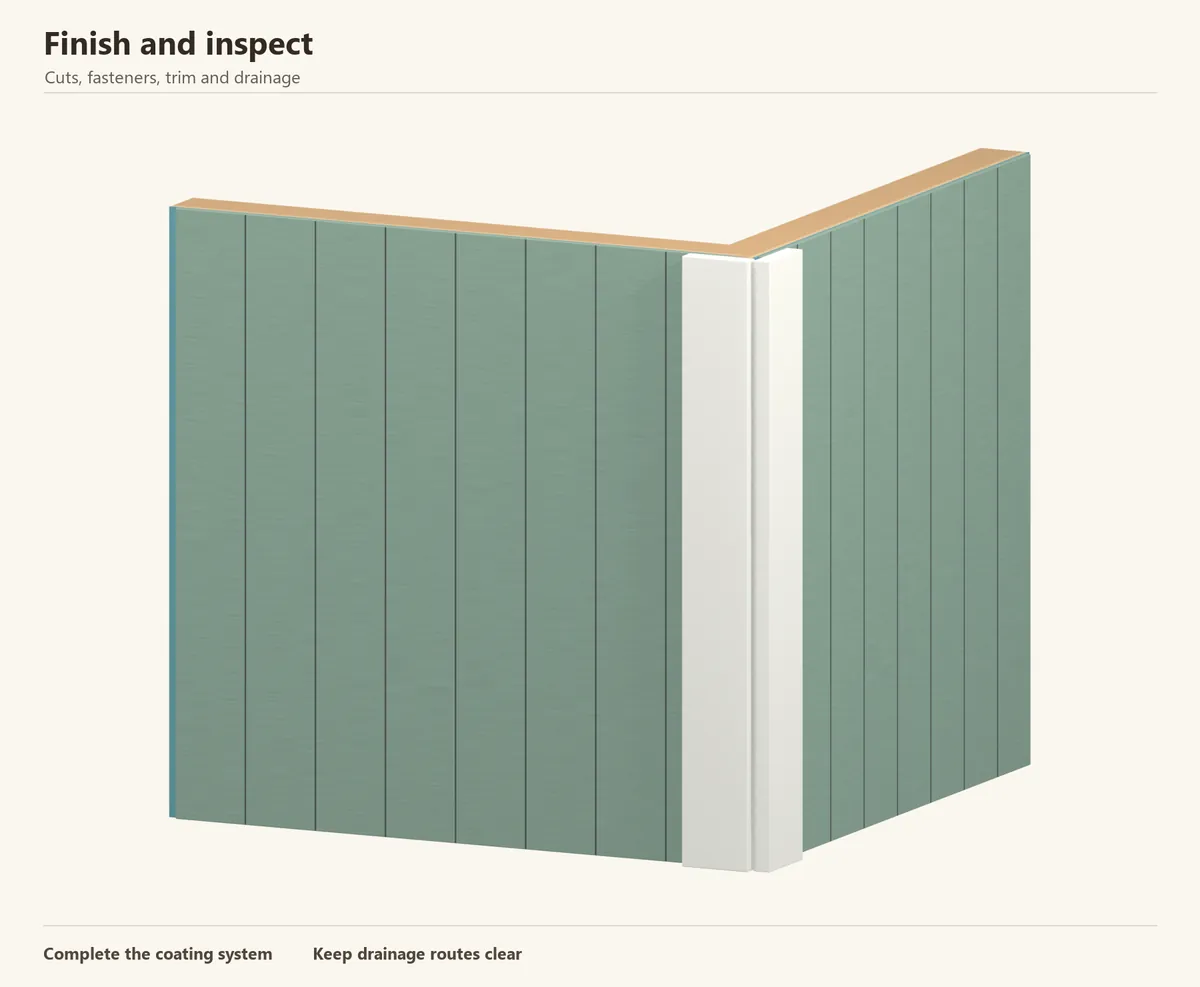
Complete the specified sealing, priming and exterior finish within the product’s allowed exposure period. Apply the finish to the required coverage rather than stretching a can across an extra wall. Keep the identification label and finish information with your shed records.
Walk around the shed in good light. Check exposed cuts, nail damage, trim joints, head flashings and ground clearance. After the first heavy rain, inspect the inside around openings and look for places where splashback is keeping the base wet.
Check before continuing: No raw cuts, trapped drainage gaps or temporary supports remain.
Reference: LP — installing siding on a shed
Common questions
Should the siding in this guide be horizontal or vertical?
The grooved panel layout in this guide runs vertically. Horizontal lap boards and timber shiplap use different fixing and joint details. Follow the orientation specified by the manufacturer of your chosen panel.
Is engineered wood panel siding the same as T1-11?
No. T1-11 commonly describes a grooved plywood siding product. Engineered wood panels use a different substrate and treatment. Select the instructions for the actual label on the sheet.
Can I put these panels over battens?
Do not assume so. LP’s panel instructions do not generally recommend furring, while other claddings may require it. Follow the exact product and regional assembly instructions.
Are the pictures photographs of a completed shed?
The 14 assembly images are Blender illustrations showing the installation sequence. Use your chosen panel manufacturer’s current installation manual for product-specific details.
Installation references
Sources checked 24 October 2026. Use the current instructions for your product and region when purchasing and installing.