
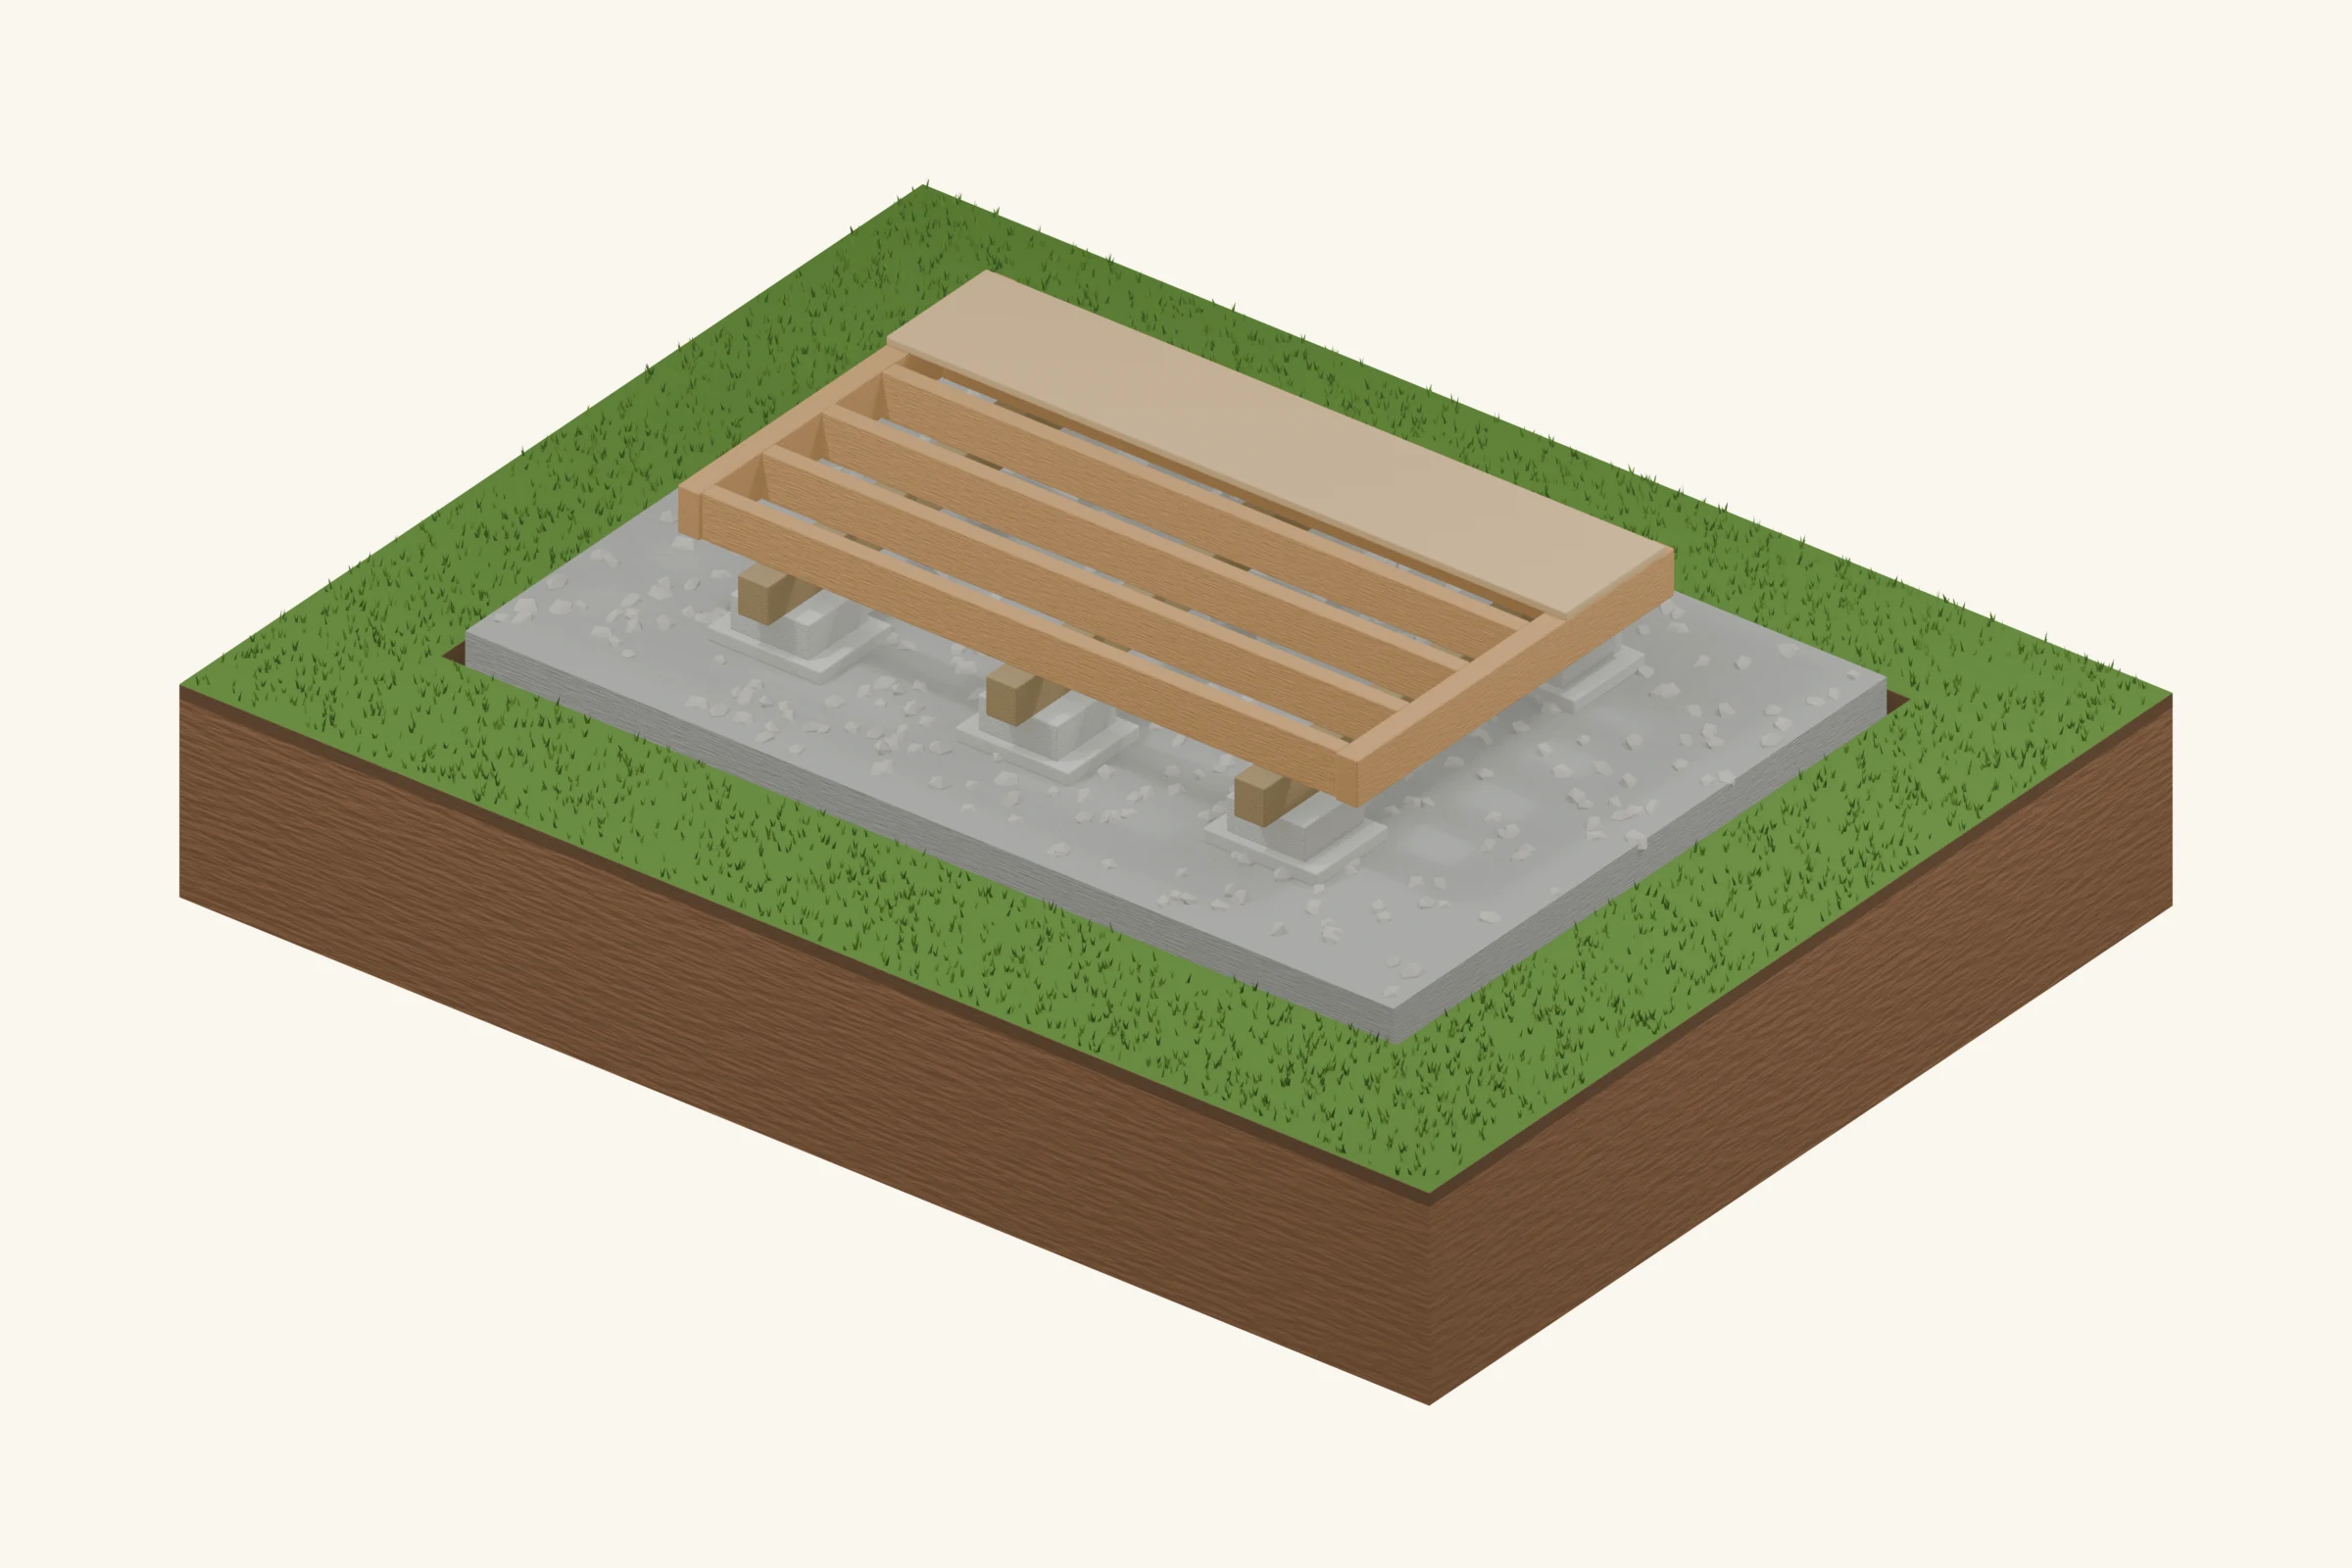
A block base is appealing because the supports can be carried by hand and set without a concrete pour. The important work happens before the blocks arrive: establishing firm bearing, locating each support under a designed beam, and keeping the arrangement low and stable. A grid of blocks copied from another shed is not a support schedule for yours.
Is it right for your shed?
Best fit: Light sheds with a verified timber floor on level ground where an on-grade base is permitted.
Advantages
- Few specialized tools are needed for a low base.
- Individual bearing locations are easy to inspect.
- Blocks can be reused when a shed is dismantled.
Limitations
- Small bearing areas can settle unevenly.
- Tall dry stacks have poor stability.
- Blocks supply no wind anchorage by themselves.
What goes under it? The ground layers
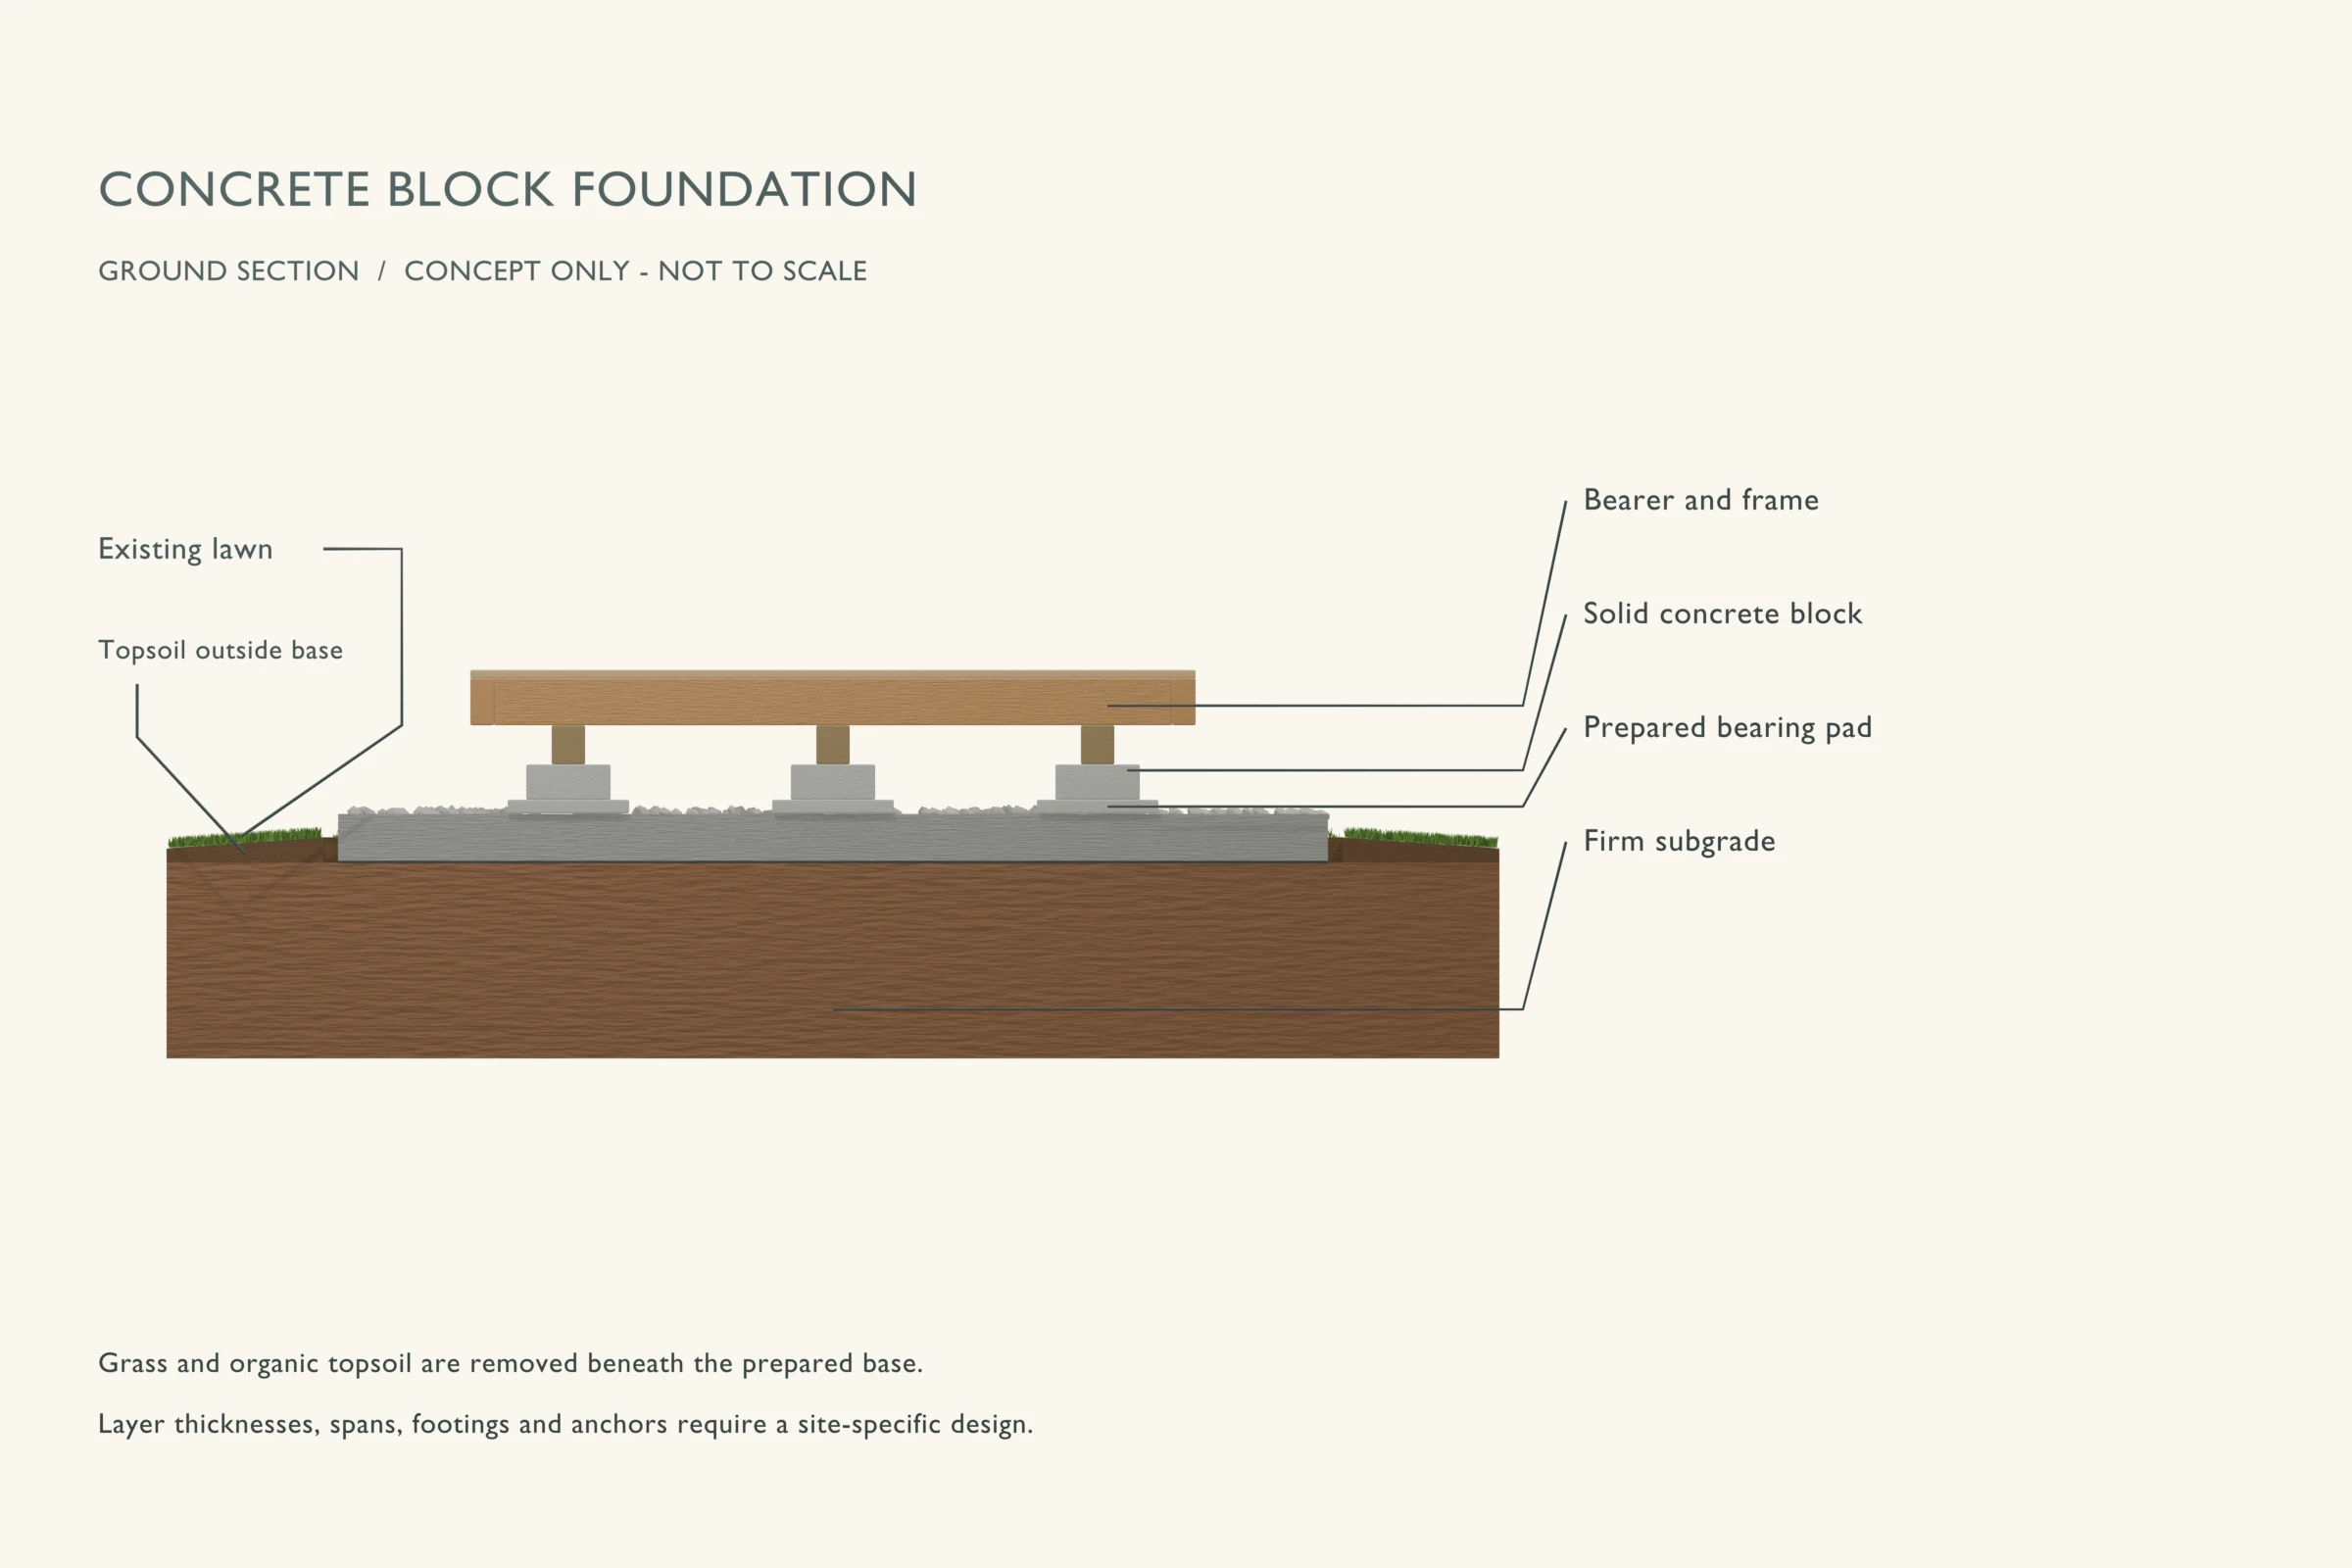
The explanation runs from the ground upward. Callout labels in the drawing identify the visible parts; some thin layers are enlarged for clarity.
- 1
Firm bearing soil
Each support must bear on competent material, not a pocket of buried topsoil.
- 2
Prepared bearing pad
A compacted granular pad spreads and levels the contact; its footprint follows the bearing design.
- 3
Solid concrete block
Use the specified solid bearing unit in its intended orientation. Loose hollow wall blocks are not interchangeable.
- 4
Beam and floor frame
Position the beam over the block contact area and maintain the required bearing length.
Materials and preparation
Use the quantities and specifications from your actual layout. Before ordering, resolve the pad footprint, support locations, finished floor height and the drainage route.
- Solid concrete units approved for the bearing application
- Specified compacted aggregate and bearing pads
- Designed beams, compatible connectors, level and string lines
Useful planning: choose the shed location and check permit requirements.
Build sequence
This sequence explains the order of work. Use it alongside the foundation design and the instructions for your chosen products.
Step 01
Draw the load path
Mark beam lines and support centers from the floor design. Include loads at wall lines, openings and heavy stored equipment. Joist spacing alone does not tell you where foundation blocks belong.
Step 02
Prepare every support position
Remove organic soil, establish the planned pad area and compact the specified aggregate. Use one reference elevation for the whole base so the blocks do not end up following the yard slope.
Step 03
Set low, stable blocks
Seat each block fully, check level and check the top elevations against the reference. If the grade difference demands a tall stack, reconsider the foundation instead of building a tower of loose units.
Step 04
Place and connect the frame
Install beams and joists with their intended bearing and connectors. Use only an approved durable leveling detail where needed; wedges of scrap plywood are not a permanent bearing solution.
Step 05
Anchor and inspect
Provide the separate uplift and lateral restraint required by the shed design. Recheck diagonals and support contact before installing the floor deck, while every bearing point is visible.
Mistakes to avoid
- Putting blocks directly on grass.
- Placing a block between beams where it cannot carry the intended load.
- Treating stacked patio units as a column.
Inspection and maintenance
Check for rocking units, erosion and gaps below beams. Binding doors can be an early sign of differential movement. Support the building safely before any correction; do not remove a loaded block to slide in a shim.
When to choose a different base
Blocks can work for a modest low base, but skids on a full pad distribute support differently. Use designed piers where height, soil, frost or concentrated loads make shallow blocks inappropriate.
Common questions
Are solid blocks and deck blocks the same?
No. A solid bearing block has a flat bearing surface; a proprietary deck block has a shaped seat and its own installation requirements.
How many blocks does a shed need?
The answer depends on beam spans, tributary loads and soil bearing. Use the foundation layout for the actual floor system rather than a universal block count.
Technical references
Use the currently adopted local requirements and the exact product instructions for your build. These references explain the principles behind this guide.
- ICC: 2024 IRC, Chapter 4 — Foundations
Model-code background for bearing and frost protection. Your adopted code and local amendments control.
- AWPA: treated wood guidance for homeowners
Use-category labels distinguish above-ground, ground-contact and more demanding exposures.