Shed walls are stud frames built flat on the floor deck and tilted up. For a typical shed you frame each wall from a bottom (sole) plate, a top plate, and 2x4 studs at 16 or 24 inches on center, with headers, king, jack and cripple studs framing every door and window rough opening. Build the wall on the deck, square it, nail on sheathing and diagonal bracing, then raise it, nail the bottom plate down into the floor, plumb and brace it, and tie the walls together with a double top plate. Post-and-beam and pole-barn are the two main alternatives when you don't want stud walls on a platform.
The walls turn a flat floor into a building. They set the shape and height of the shed, hold the door and windows, and carry the roof — so they have to stand plumb, square and firmly tied to the floor below and each other above. The good news is that shed walls are the most repetitive stage of the build: once you know the parts of a wall and the layout, every wall is the same handful of pieces cut to length and nailed together. This guide covers the three ways to frame shed walls, the anatomy of a stud wall, how to frame door and window openings, and how to build the walls flat and raise them square and plumb.
Walls sit on the floor, so square that first. If you haven't built the platform yet, our how to build a shed floor guide covers joists, decking and squaring the frame — a square, level deck is what makes wall framing go together cleanly. This wall stage is one part of the full how to build a shed sequence, and the walls carry the roof framing that comes next.
Quick answer: how shed walls go up
The build order for a stick-built (platform) shed wall is short and always the same:
Cut the top and bottom (sole) plates to the wall length, and mark stud layout on both at 16" or 24" on center. Frame the door and window openings — headers, king studs, jack studs, and cripples. Nail the studs between the plates, flat on the floor deck.
Square the wall (equal diagonals), then sheathe it and/or add a diagonal brace to hold it square. Tilt the wall up, line the bottom plate to the deck edge, and nail it down into the floor frame. Plumb and brace the wall, then raise the remaining walls and nail the corners together.
Add the double top plate, lapping the corners and plate joints to tie all the walls into one ring.
Everything below is the detail behind those steps: the three framing methods, the parts of a wall and their spacing, how to size and frame a rough opening, and how to raise the walls plumb and tie them down.
Framing methods compared
There are three common ways to frame shed walls. Most DIY sheds use the first — stick-built (platform) stud walls — but it is worth knowing all three so you pick the right one for your build.
| Method | How it works | Best for |
|---|---|---|
| Stick-built (platform) | 2x4 stud walls framed flat on the floor deck, then tilted up. | The default for almost every DIY shed on a floor platform. |
| Post-and-beam | Heavy posts carry beams; walls infill or panel between the posts. | Timber-look sheds, wide openings, or where you want an open frame. |
| Pole-barn (post-frame) | Posts set in the ground (or on brackets) carry girts and the roof — no stud wall or floor platform needed. | Large sheds and garages on grade, quick to put up, fewer materials. |
Stick-built (platform) is the standard for sheds built on a floor platform. You frame each wall flat from 2x4 studs and plates, then tilt it up onto the deck — the rest of this guide is mostly about this method because it is what almost every shed plan uses.
Post-and-beam uses fewer, heavier members: posts carry beams, and the walls are infill (studs, panels or boards) between the posts. It suits a timber-look shed, wide unobstructed openings, or an open-frame structure — but the joinery is fussier than a stud wall.
Pole-barn (post-frame) skips the stud wall and the floor platform entirely: posts set in the ground or on brackets carry horizontal girts and the roof, and the siding fastens to the girts. It goes up fast with fewer materials, which is why it is popular for larger sheds, garages and barns built on grade. Our shed foundation types guide covers the pole-barn base among the other foundation options.
Wall anatomy: plates, studs and spacing
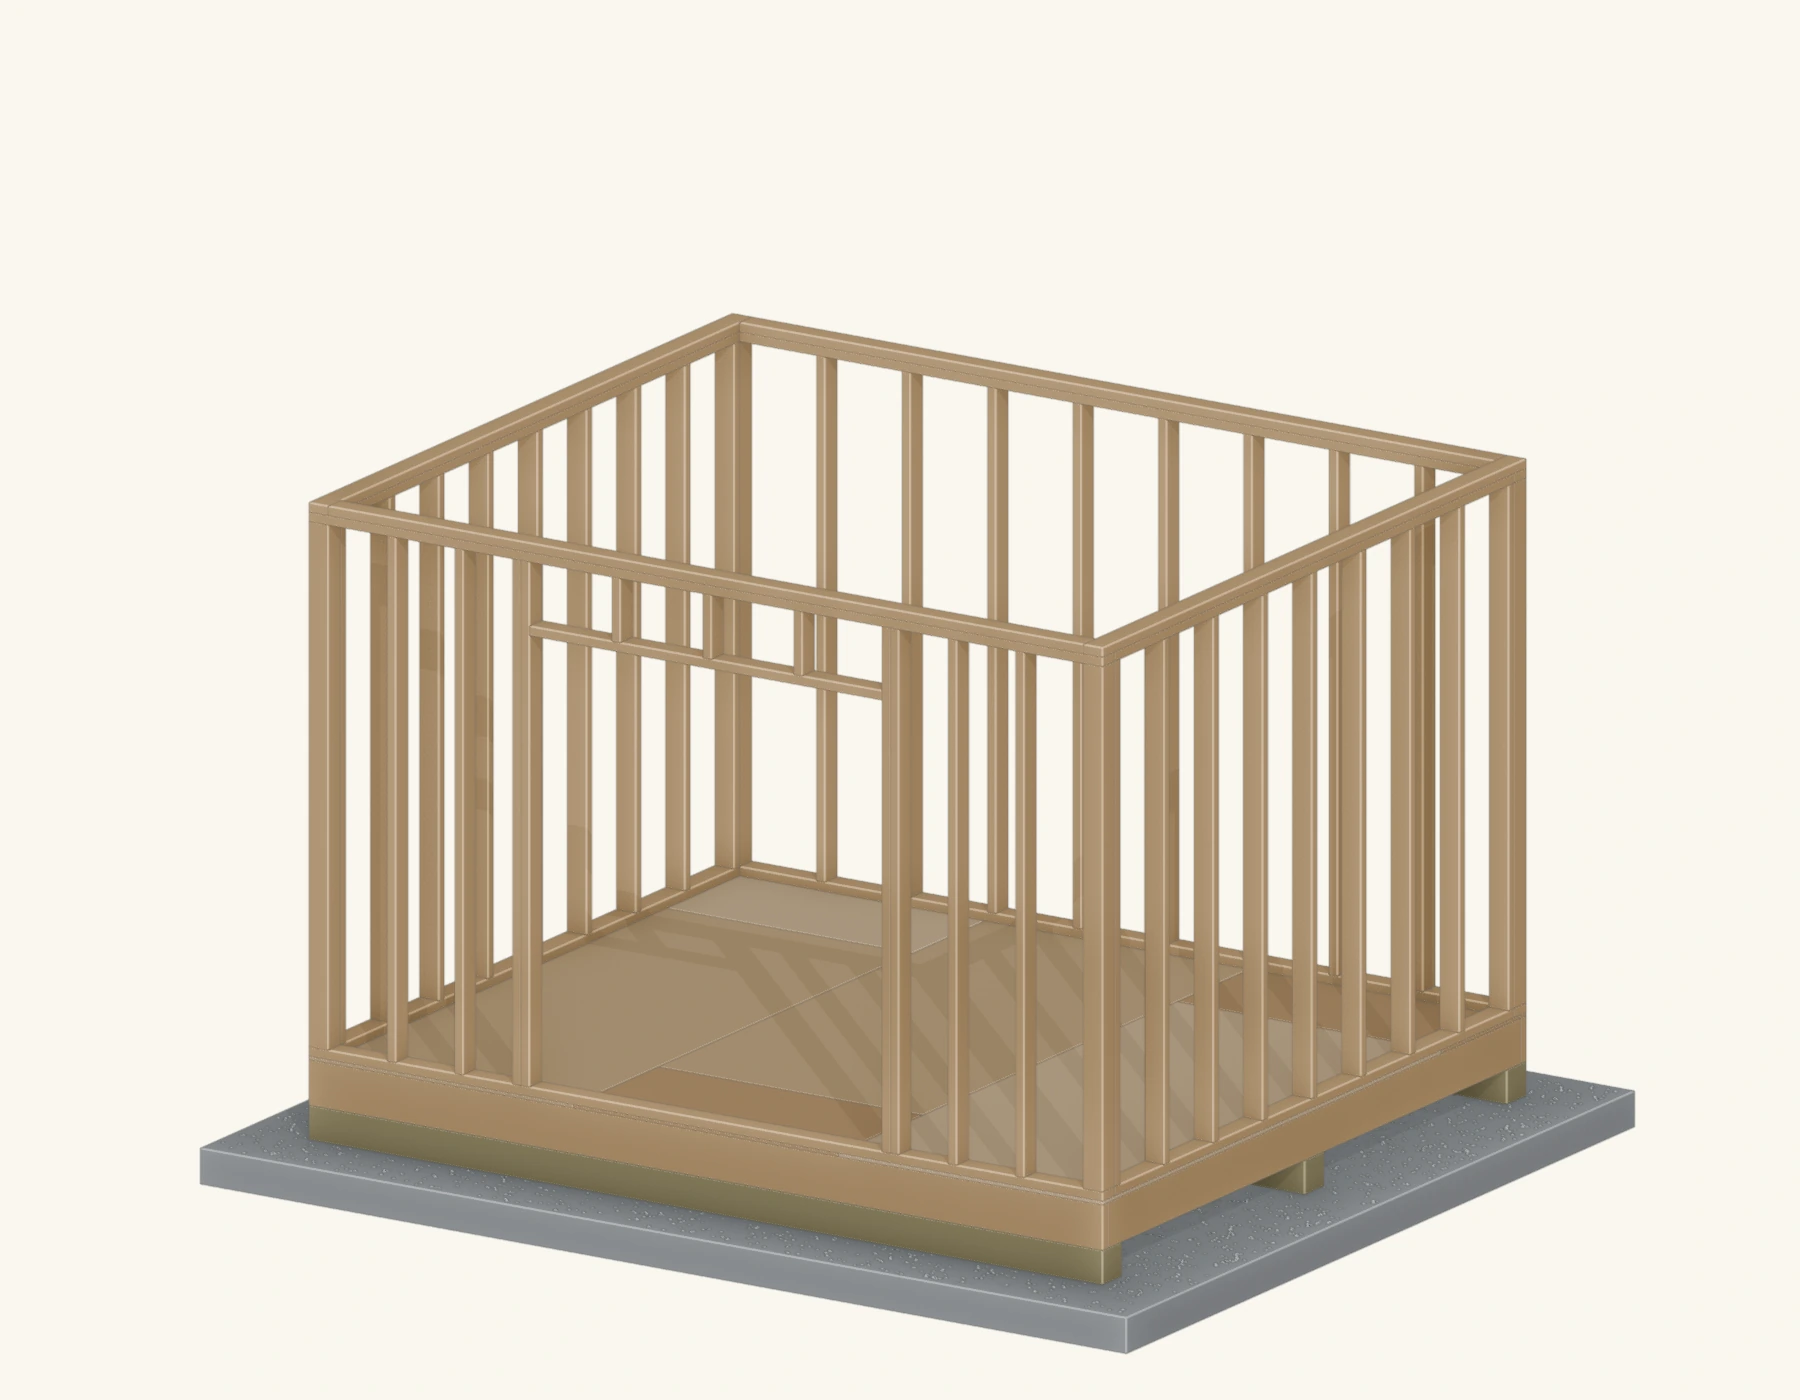
A stud wall is a simple frame. Learn these parts once and every wall reads the same:
Studs stand on the bottom, or sole, plate, which fastens to the floor. A top plate joins their upper ends. After the walls are raised, a second top plate laps the corners and joins the walls together.
The vertical studs follow the spacing in your plan. At each corner, two or three studs, or studs with blocking, tie adjoining walls and provide a place to fasten interior finishes.
Stud spacing: 16" vs 24" on center. "On center" means from the center of one stud to the center of the next, so the gaps stay even and standard 4x8 sheets of sheathing break on a stud at their edges. 16 inches on center is the stiffer, more common layout and the safe default for a small shed. 24 inches on center is allowed for many single-story walls, saves lumber, and still lands 4x8 panels on studs — use it on a light wall where your plan and local code allow. Keep the same layout on every wall so sheathing seams and roof framing line up.
Mark the layout on both plates at once. Set the top and bottom plates side by side, hook your tape on one end, and mark every 16 (or 24) inches across both together so each stud has a matching mark top and bottom. Pulling the first mark to 15¼" (then 16" thereafter) lands the edge of a 4x8 sheet on a stud center. Mark the extra studs for corners and openings on the same plates as you go.
The double top plate matters. Build each wall with a single top plate. Once the walls are raised and nailed at the corners, add a second top plate that laps the corners and laps the joints in the plate below. This ties the separate walls into one continuous ring so they carry the roof load together and resist spreading — don't skip it.
Rough openings for doors & windows
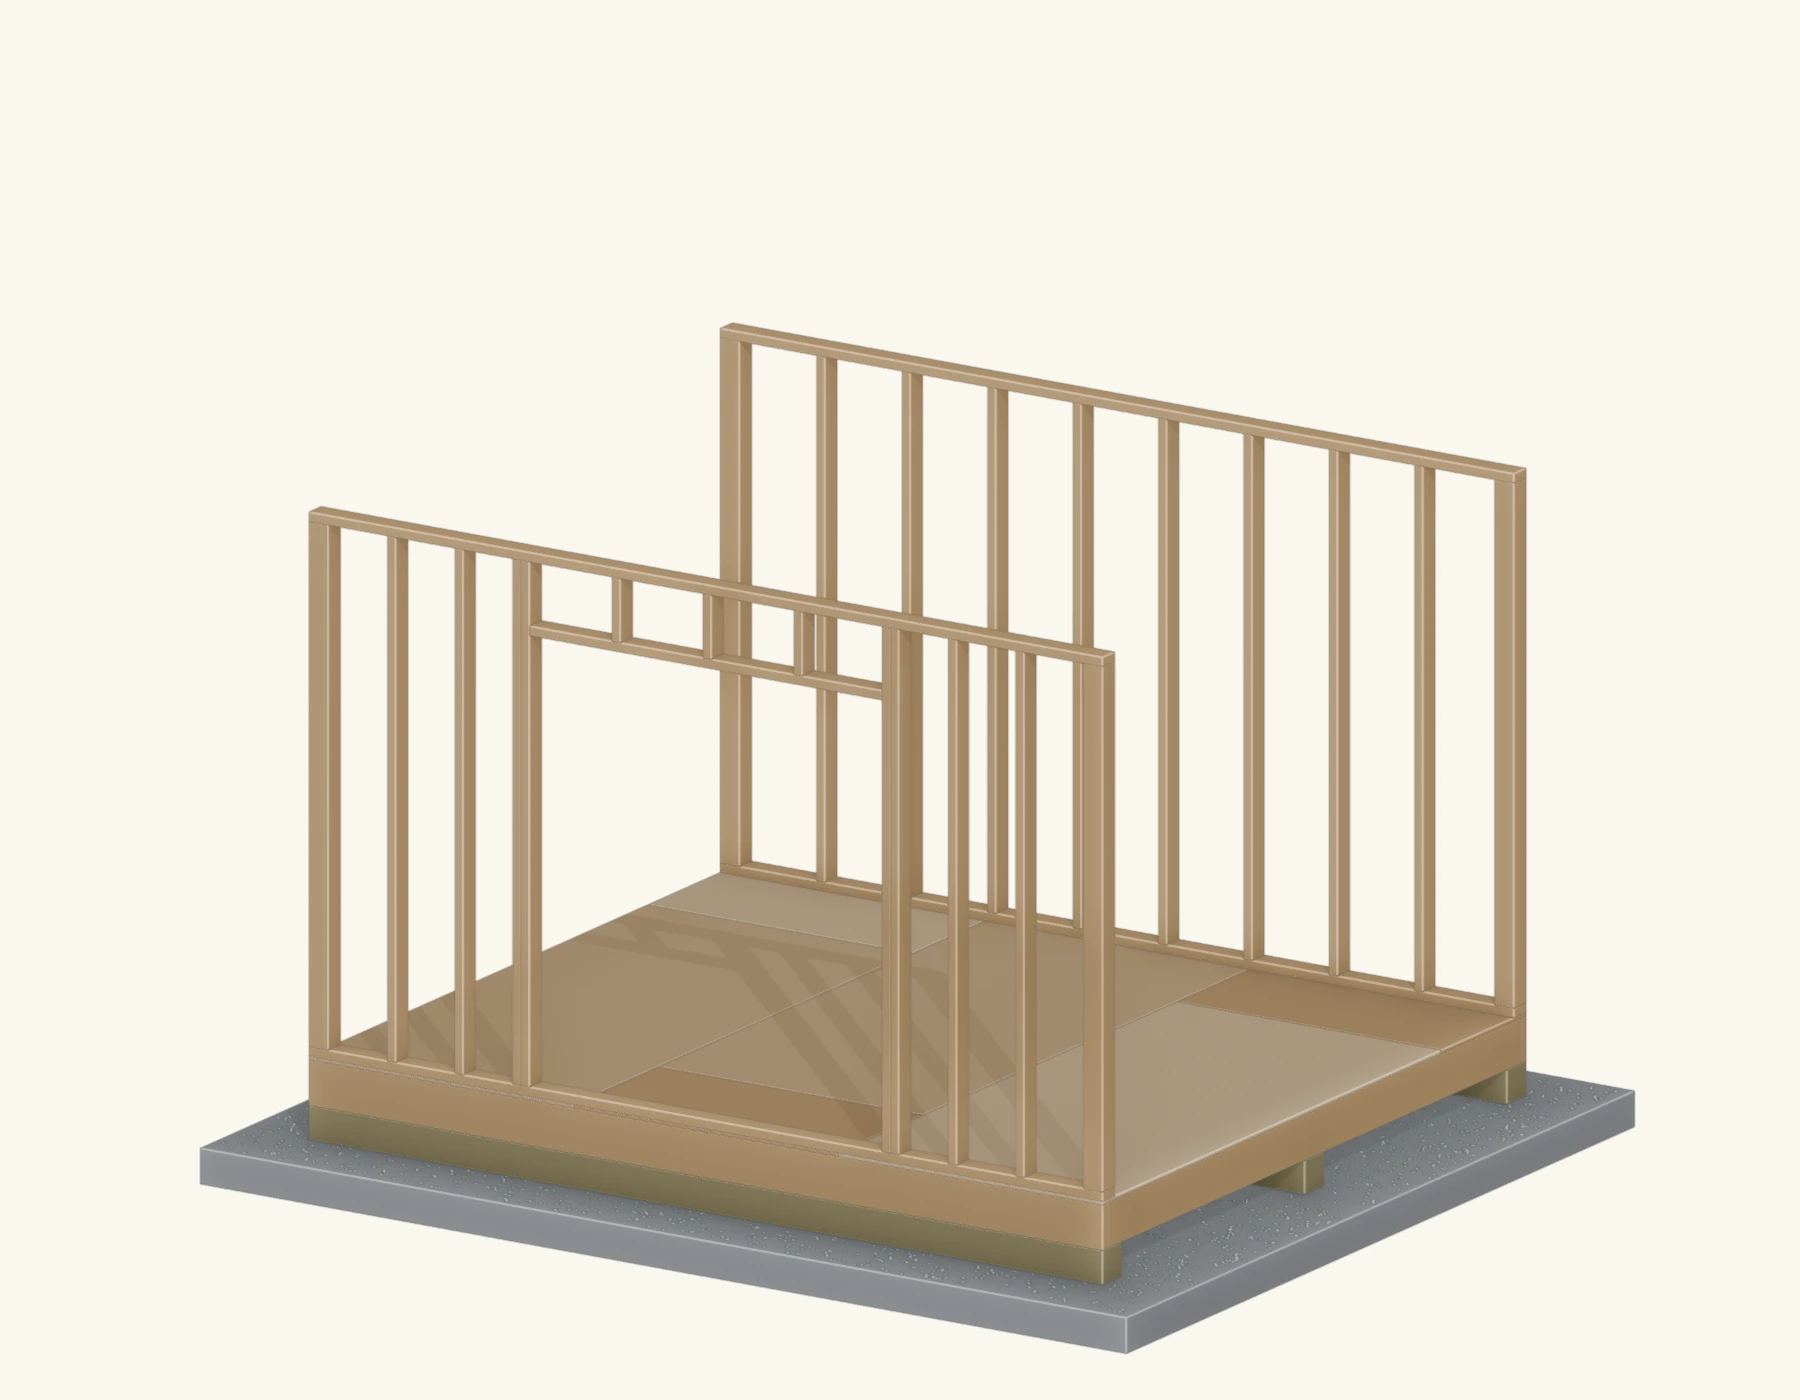
A rough opening is the framed hole a door or window drops into. It is framed a little larger than the unit so you can shim it plumb and level, and it is built from a specific set of studs:
Set a full-height king stud on each side of the opening. Beside each king, a shorter jack stud carries the header. The header spans the opening and passes the load down to those jacks.
Short cripple studs continue the layout above the header. Below a window, they support the rough sill, the horizontal member at the bottom of the opening.
Sizing the rough opening. Frame the opening slightly bigger than the door or window so there is room to shim it square — a common rule of thumb is to add roughly 2 to 3 inches to the unit's width and height. Always use the manufacturer's rough-opening spec for your specific door or window rather than a guessed number, because that figure includes the clearance the unit is designed for.
The header carries the roof and wall load that would have gone through the studs you removed for the opening. A wider opening (a double door or a garage door) needs a deeper header and, sometimes, doubled jack studs. Follow your plan's header size for the span — don't under-build the header on a wide opening.
Build the walls flat, then tilt them up
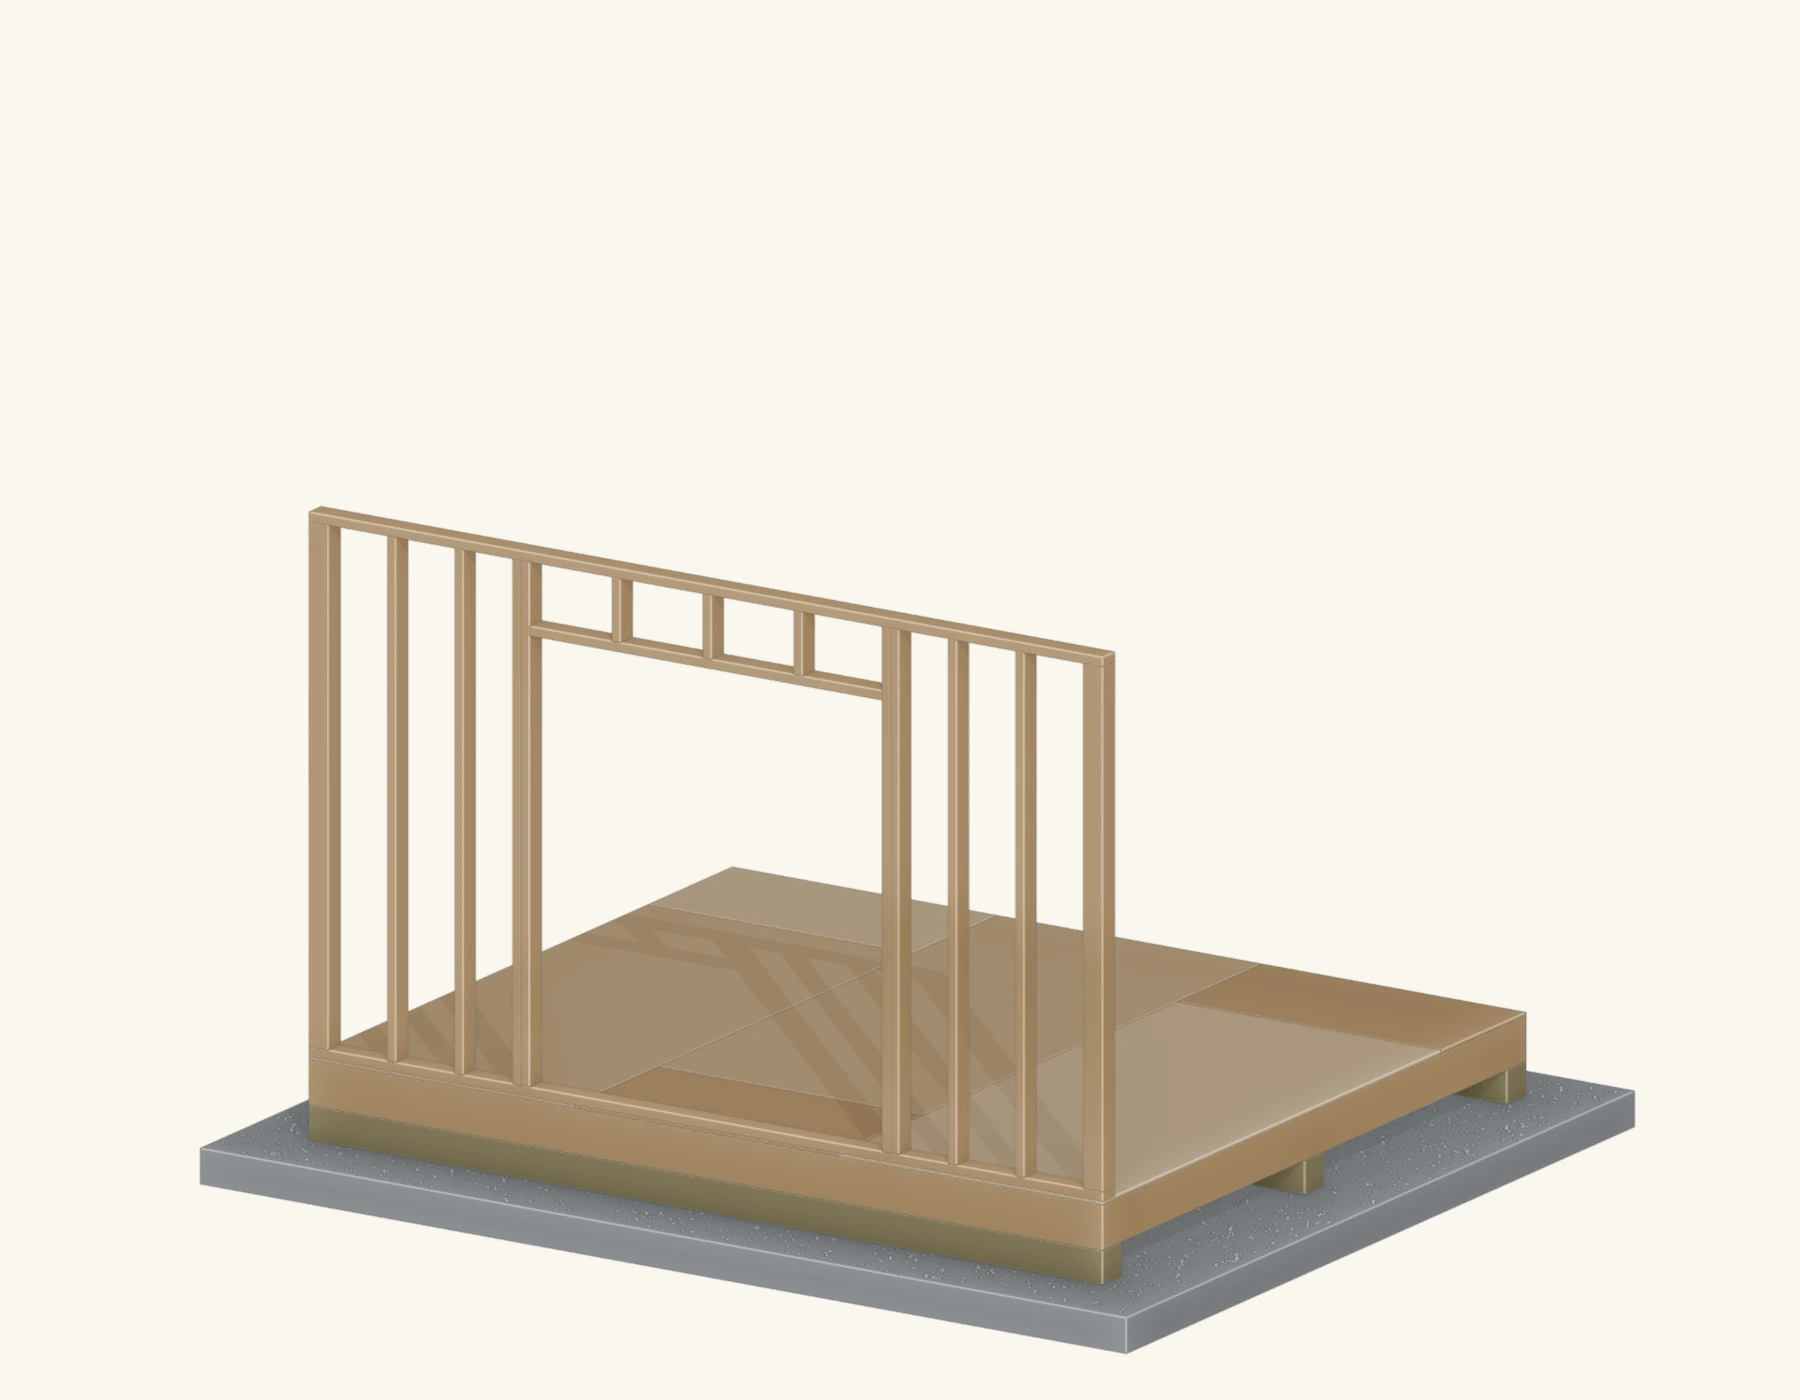
The reason platform framing is so DIY-friendly is that you build each wall flat on the floor deck, where everything is at waist height and easy to nail, then stand the finished wall up. The sequence for each wall:
Cut the plates to length and mark the stud layout on both together. Lay the studs, headers, kings, jacks and cripples out flat between the plates on the deck. Nail the frame together through the plates into the ends of the studs.
Square the wall by measuring the diagonals — nudge until they are equal. Nail on sheathing (or at least a diagonal brace) while it is flat to lock in square. Tilt the wall up, slide the bottom plate to the edge of the deck, and stand it.
Square each wall before it goes up. Just like the floor, equal diagonals means square. A wall that is square on the deck stays square when you raise it; one you raise out of square fights the sheathing and the roof. Sheathing the flat wall (or tacking a diagonal board across it) holds that square while you lift.
A fully sheathed wall is heavy — get a helper for anything but the smallest wall, and never try to walk a big wall up alone. Raising walls is the one stage where a second pair of hands is about safety, not just speed.
Bracing, plumb & tie-down to the floor
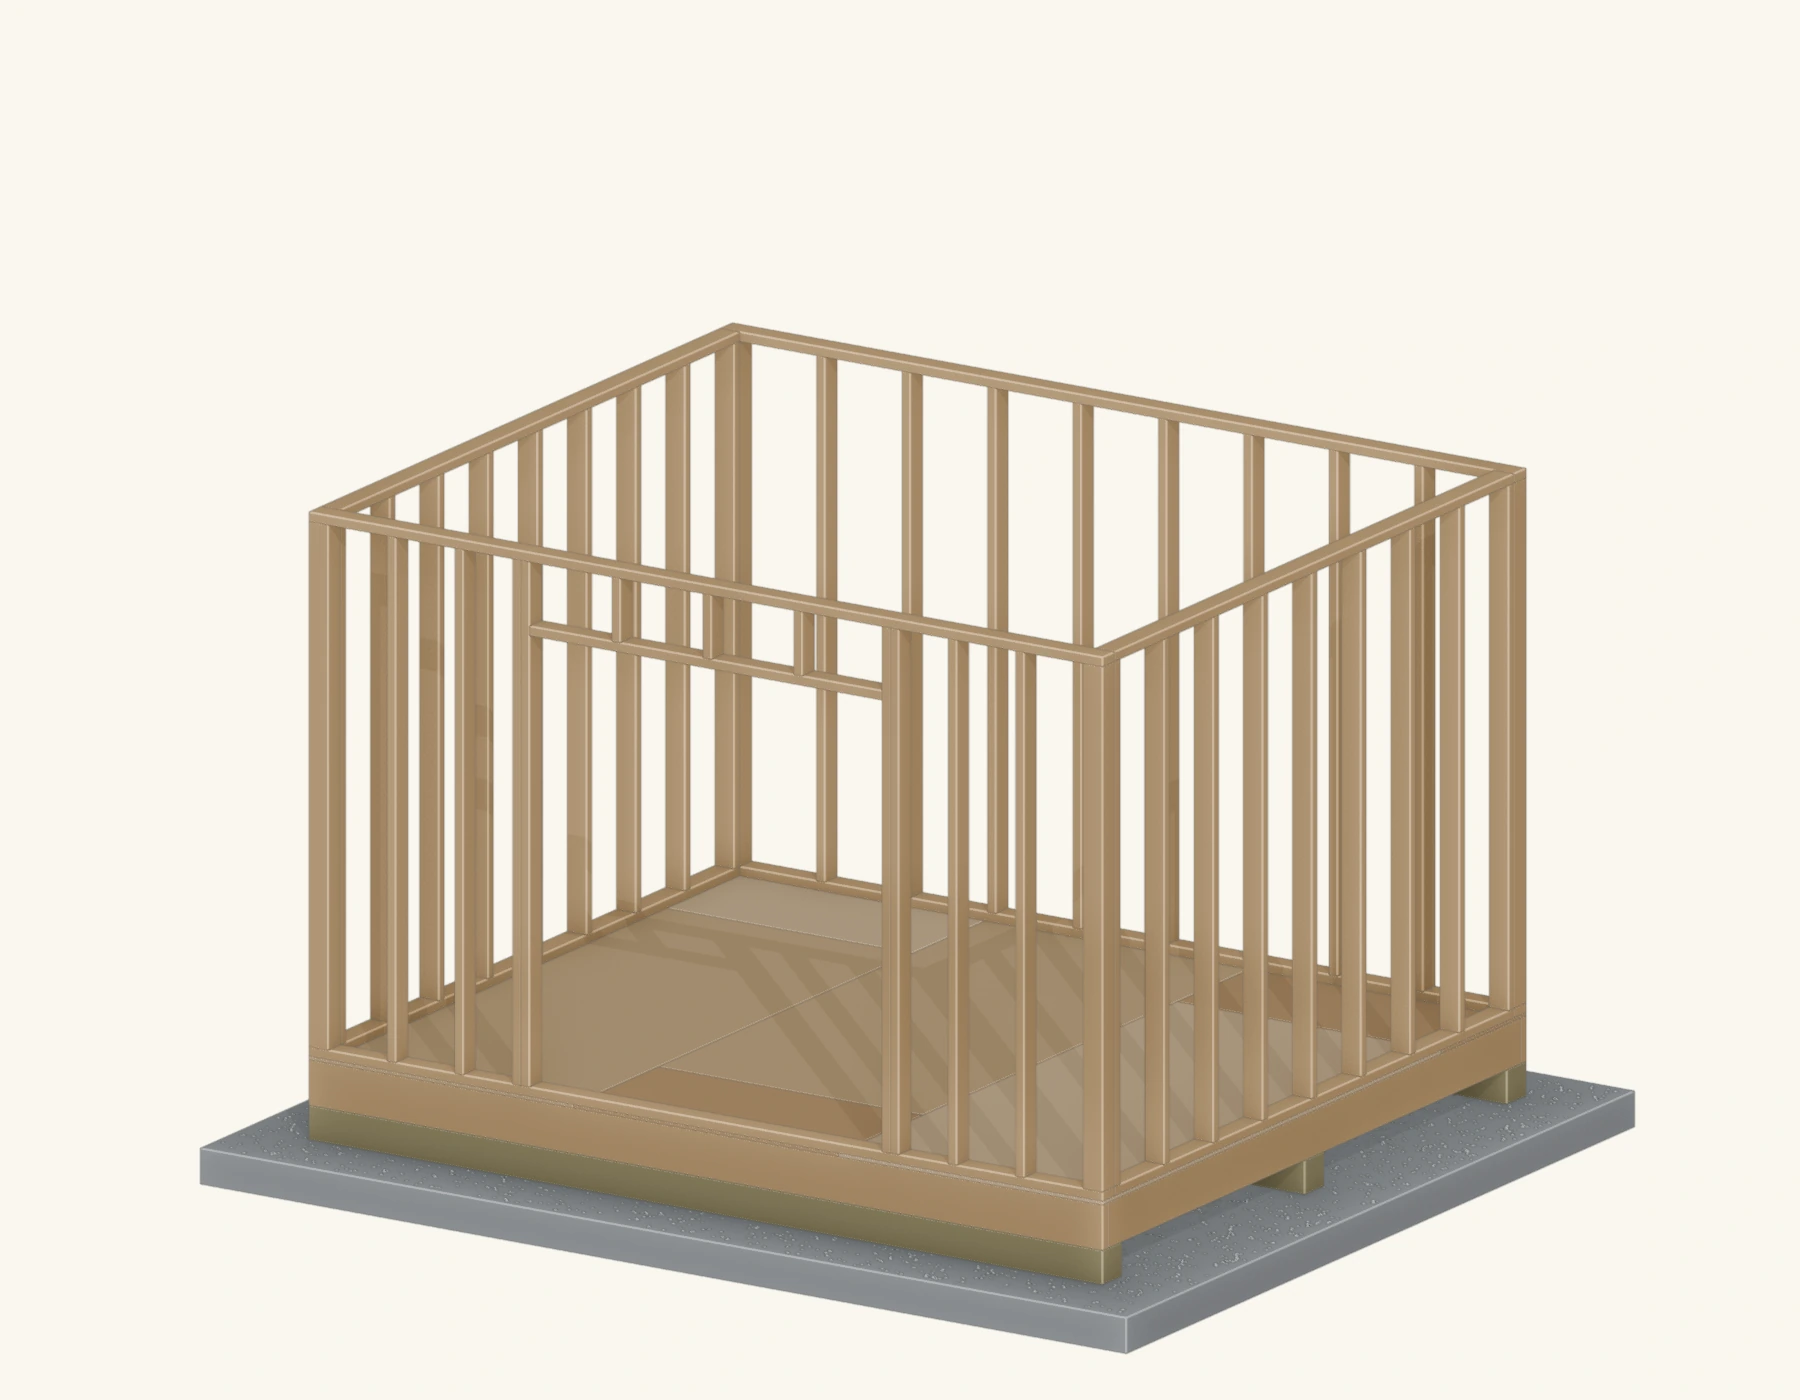
Once a wall is standing, it has to be pinned down, plumbed, and held until the other walls lock it in place:
Fasten the bottom plate into the floor frame along its full length, reaching the rim and joists below. Check both ends with a level, then run a temporary diagonal brace to the deck or a stake to hold the wall plumb.
Raise the next wall, plumb it and fasten the corners together. Once all walls are up, lap the second top plate over corners and plate joints.
Tie-down is what keeps the shed on its floor. The bottom-plate nailing resists the wall sliding or lifting. In windy areas it is worth adding metal framing anchors or hurricane ties between the wall and the floor frame, and between the wall top and the roof — and following any tie-down requirement in your local code. A wall is only as secure as its connection to the floor beneath it.
Racking bracing. A bare stud wall can lean like a parallelogram ("rack") until it is braced. Structural sheathing nailed across the studs is what stops racking in a finished shed; until the sheathing is on, keep temporary diagonal braces in place so nothing shifts out of plumb.
Sheathing & house wrap
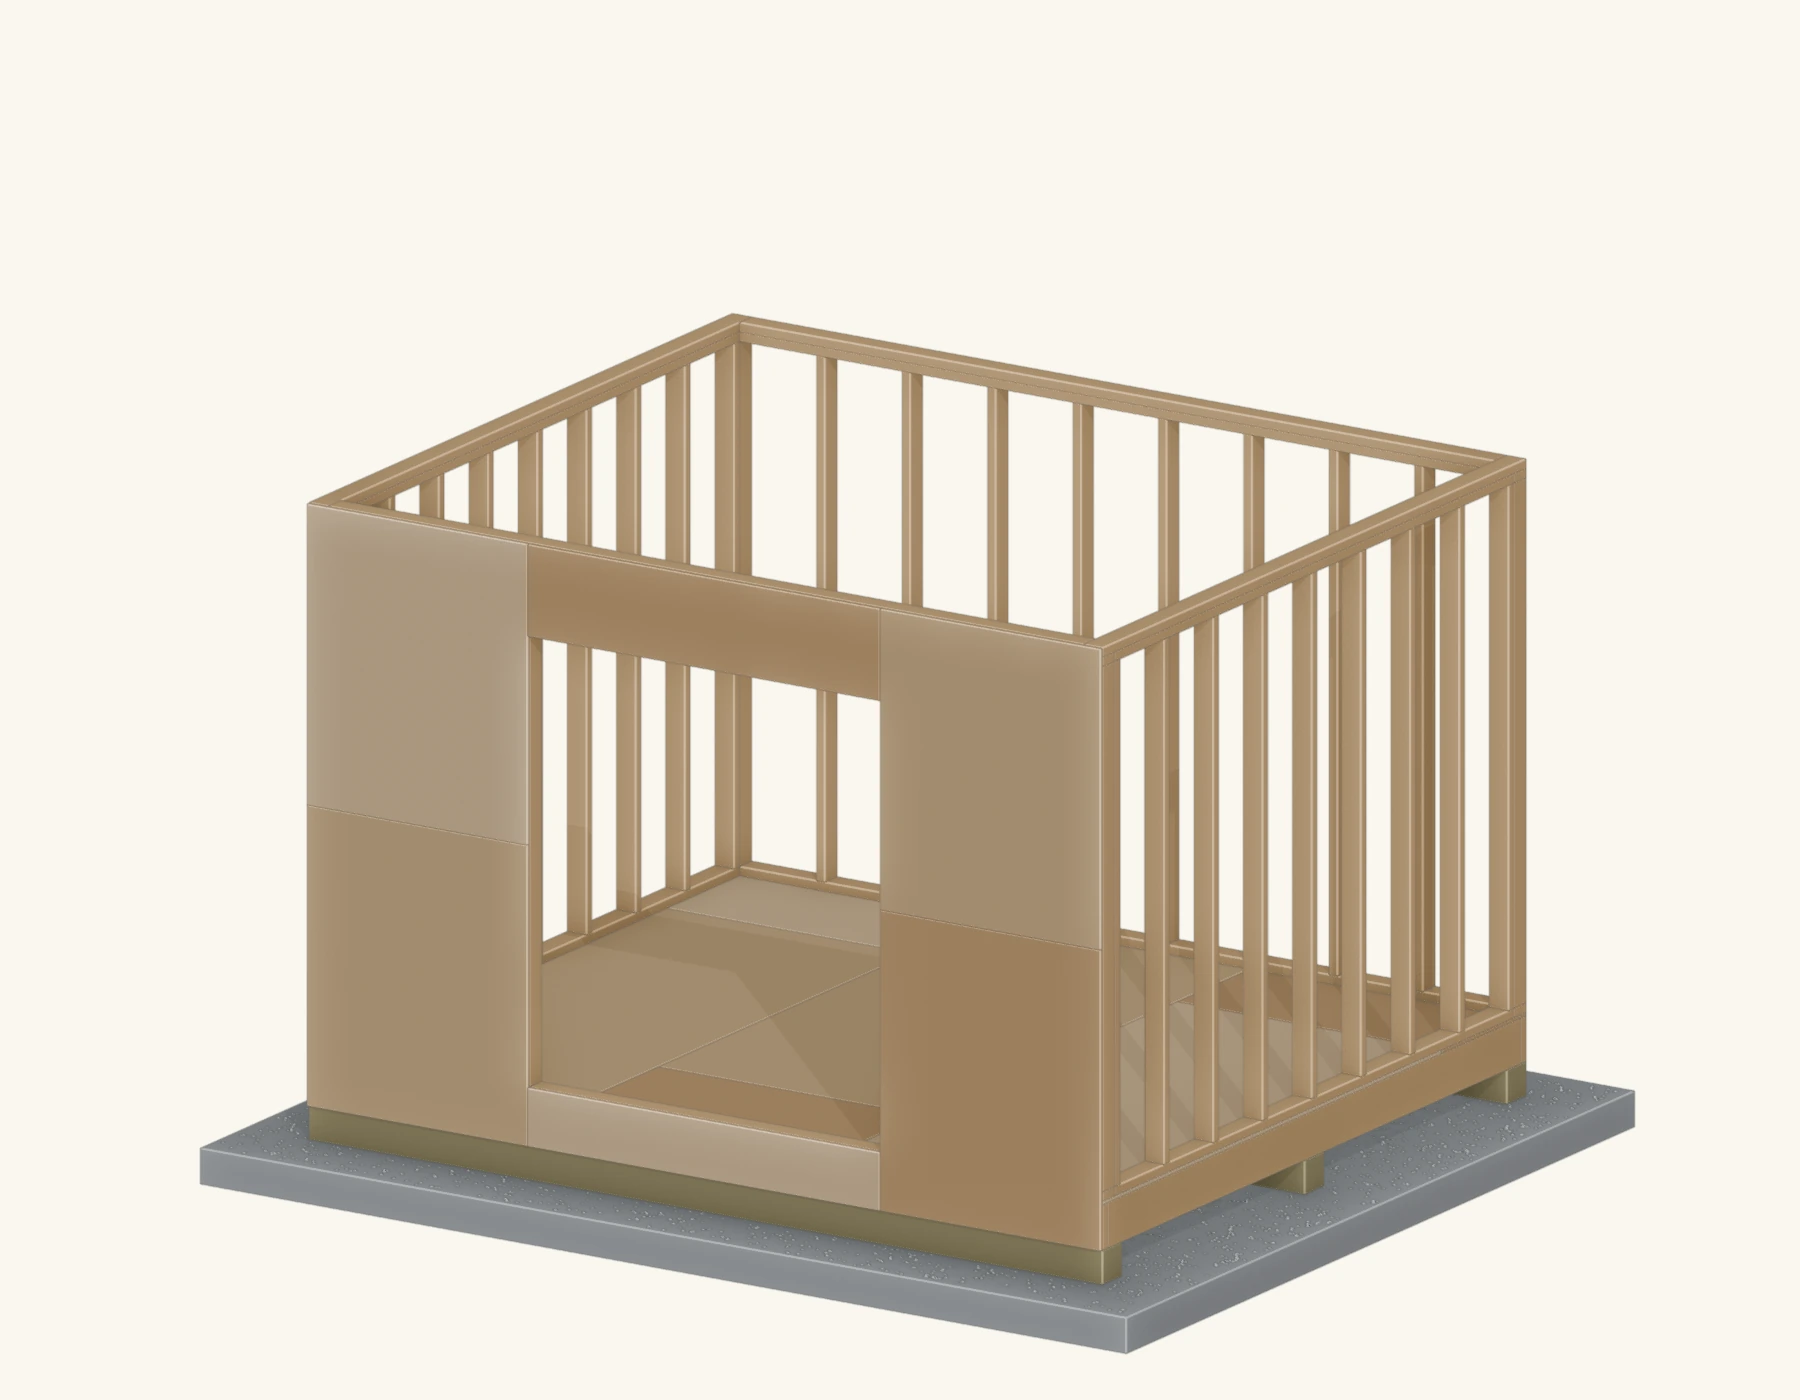
Sheathing is the panel skin nailed over the studs. It does two jobs: it stiffens the wall against racking, and it gives the siding a solid backing. Nail 4x8 sheets so they break on a stud at their edges (which is why the stud layout matters), stagger the seams row to row, and nail the perimeter and field on the schedule your plan or code calls for. Let the sheathing run long over the plates and trim it flush for a clean edge.
Over the sheathing goes house wrap (a weather-resistive barrier): it sheds the water that gets past the siding while still letting the wall dry, and it cuts drafts. Run it in horizontal courses from the bottom up so each upper course laps over the one below (like shingles), tape the seams, and wrap it into the door and window openings before the units go in. Then the siding goes on over the wrap.
Siding goes on over the sheathing and house wrap. Our shed siding options guide compares vinyl, lap, T1-11, tongue-and-groove, metal, board-and-batten, LP SmartSide and cedar shingles, and the full how to build a shed guide walks through siding, roofing and finishing once the walls are sheathed and wrapped.
Shed plans with dimensioned wall frames
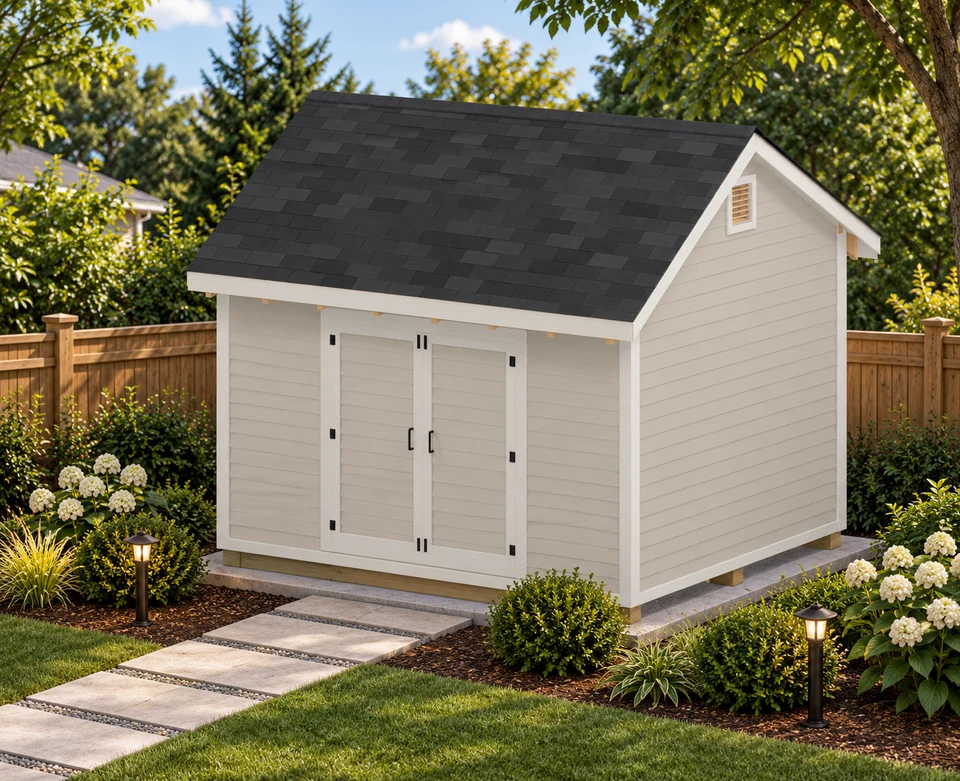
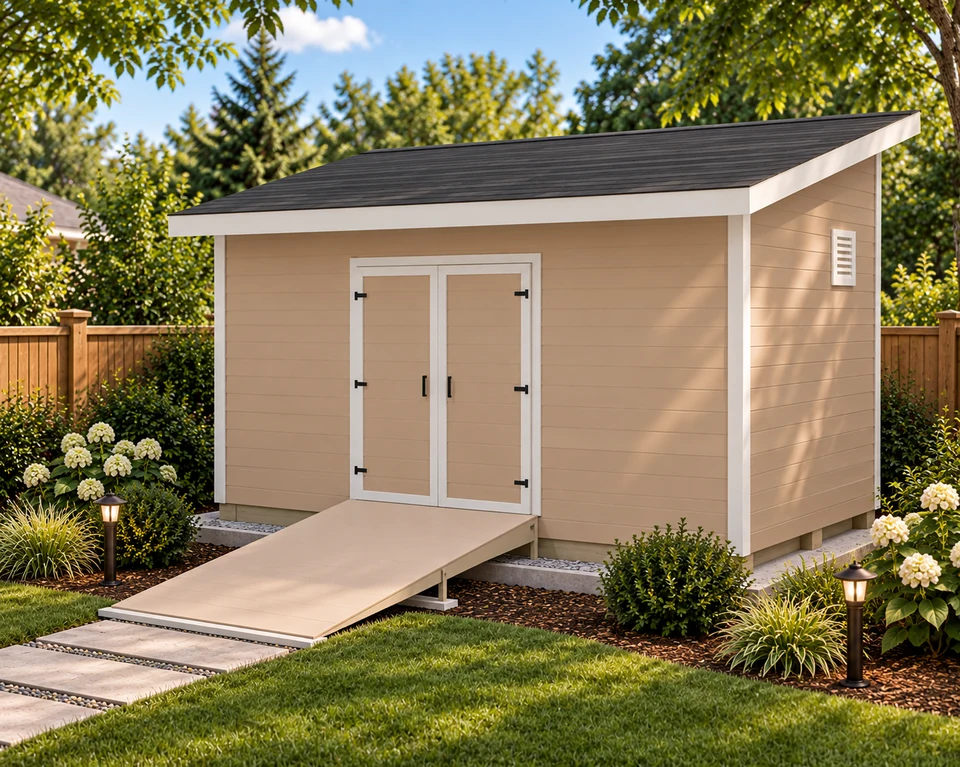
Every DIYCraft plan is drawn around real, dimensioned walls — plate lengths, stud layout at 16" or 24" on center, and framed headers over every door and window — so you know exactly what to cut and where the openings go. Each plan includes 3D-rendered views, elevations, a full material list and a cut list. Here are good ones to start with:
Frequently asked questions
Should shed wall studs be 16 or 24 inches on center?
16 inches on center is the stiffer, more common choice for shed walls, and it lands 4x8 sheets of sheathing on a stud at their edges. 24 inches on center is allowed for many single-story walls and saves lumber, and it works well when you sheathe with 4x8 panels that break on the wider layout. For a small shed, 16 inches on center is the safe default; step to 24 inches only on a light wall where your plan and local code allow it. Whichever you pick, keep the stud layout the same on every wall so sheathing and roof framing line up.
What is a double top plate and why do walls need one?
A double top plate is a second flat 2x4 laid on top of the wall's top plate. It laps the corners and laps the joints in the plate below, tying all the walls together into one continuous ring so they act as a unit and carry the roof load across the studs. Build each wall with a single top plate, raise and fasten the walls, then add the second (lapping) plate to lock the corners and stiffen the whole box. Skipping it leaves the corners weak and the wall tops free to move.
How big should the rough opening be for a shed door or window?
The rough opening is the framed hole — between the king/jack studs and under the header — sized slightly larger than the door or window unit so you can shim it plumb and level. A common rule of thumb is to add about 2 to 3 inches to the unit's width and height, but the exact figure comes from the manufacturer's rough-opening spec for that specific door or window. Frame the opening to the spec, not to the bare unit size, so there is room to square and shim it.
What are king, jack, and cripple studs?
They are the extra studs that frame a door or window opening. King studs run full height on each side of the opening and are nailed to the plates like a normal stud. Jack (or trimmer) studs sit inside the kings, run from the bottom plate up to the underside of the header, and carry the header's load. Cripple studs are the short studs that fill the gaps — above the header up to the top plate, and (for a window) below the rough sill down to the bottom plate — keeping the regular stud spacing running through the opening so sheathing still has backing.
Do you sheathe a shed wall before or after raising it?
Either works, and both have trade-offs. Sheathing the wall while it is flat on the deck is easier to nail and it squares and stiffens the wall before you lift it — but a fully sheathed wall is heavy, so you need help or a smaller wall to raise it. Raising the frame bare and sheathing after is lighter to lift and lets you tune plumb first, but you sheathe off a ladder. For most sheds, at least tack a sheet or a diagonal brace on the flat wall to hold it square, then finish sheathing once the walls are up, plumb and tied together.
How do you tie shed walls down to the floor?
Nail or screw the wall's bottom plate down into the floor frame — through the deck into the rim and floor joists below — all along the wall, not just at the ends. That fastening is what keeps the wall from sliding or lifting. In high-wind areas, add metal framing anchors or hurricane ties between the wall and the floor for a stronger connection, and follow any tie-down requirement in your local code. A wall is only as secure as its connection to the floor beneath it.