The best shed location is level, well-drained ground that sits inside your property-line setbacks, gets enough sun to dry out after rain, and is easy to reach. Start by confirming your setbacks and easements so the shed is legally placed, then choose the flattest, highest, best-draining spot you have. Favor a location with some sun over deep shade, leave walking and door clearance on the sides you use, keep a sensible distance from the house, trees and fences, and think about wind, snow and how you'll run power or water if you need it.
Where you put a shed matters as much as how you build it. The right spot keeps the structure dry, level and long-lived, keeps you legal with local zoning, and saves you hauling tools across a muddy yard for the next twenty years. The wrong spot means standing water, a settling foundation, a rotting floor — or, worst case, a finished shed that sits over a setback line and has to be moved. Walk your yard with this guide before you settle on a location.
Quick answer
If you only remember one thing: choose the flattest, highest, best-draining spot that sits safely inside your setbacks and is easy to reach. Those three factors — drainage, legality and access — outrank everything else. Sun, wind and utilities then help you pick between two otherwise-good candidates. Avoid the low corner where water pools, avoid the deep shade under a big tree, and avoid crowding a lot line or the house.
Check setbacks & property lines
Before anything else, confirm where you're legally allowed to build. Local zoning sets setbacks — the minimum distance a structure must sit from your side, rear and front property lines — and often easements you can't build on at all. Getting this wrong is the single most expensive mistake in shed placement, because a shed that violates a setback may have to be moved or torn down after it's finished.
Pull your survey or plat and mark the true property lines; the fence may not sit on the line. Ask your zoning office for the side, rear and front setbacks, then mark any utility or drainage easements you must keep clear.
Check the lot-coverage and accessory-structure limits, and get HOA approval if your property requires it. Leave a margin beyond the minimum setback for placement error.
Setbacks are part of the wider permit and zoning picture. Our Do You Need a Shed Permit? guide explains size thresholds, zoning setbacks, HOA rules and the electrical/plumbing triggers in detail — read it alongside this one before you pick a spot.
Pick level, well-drained ground
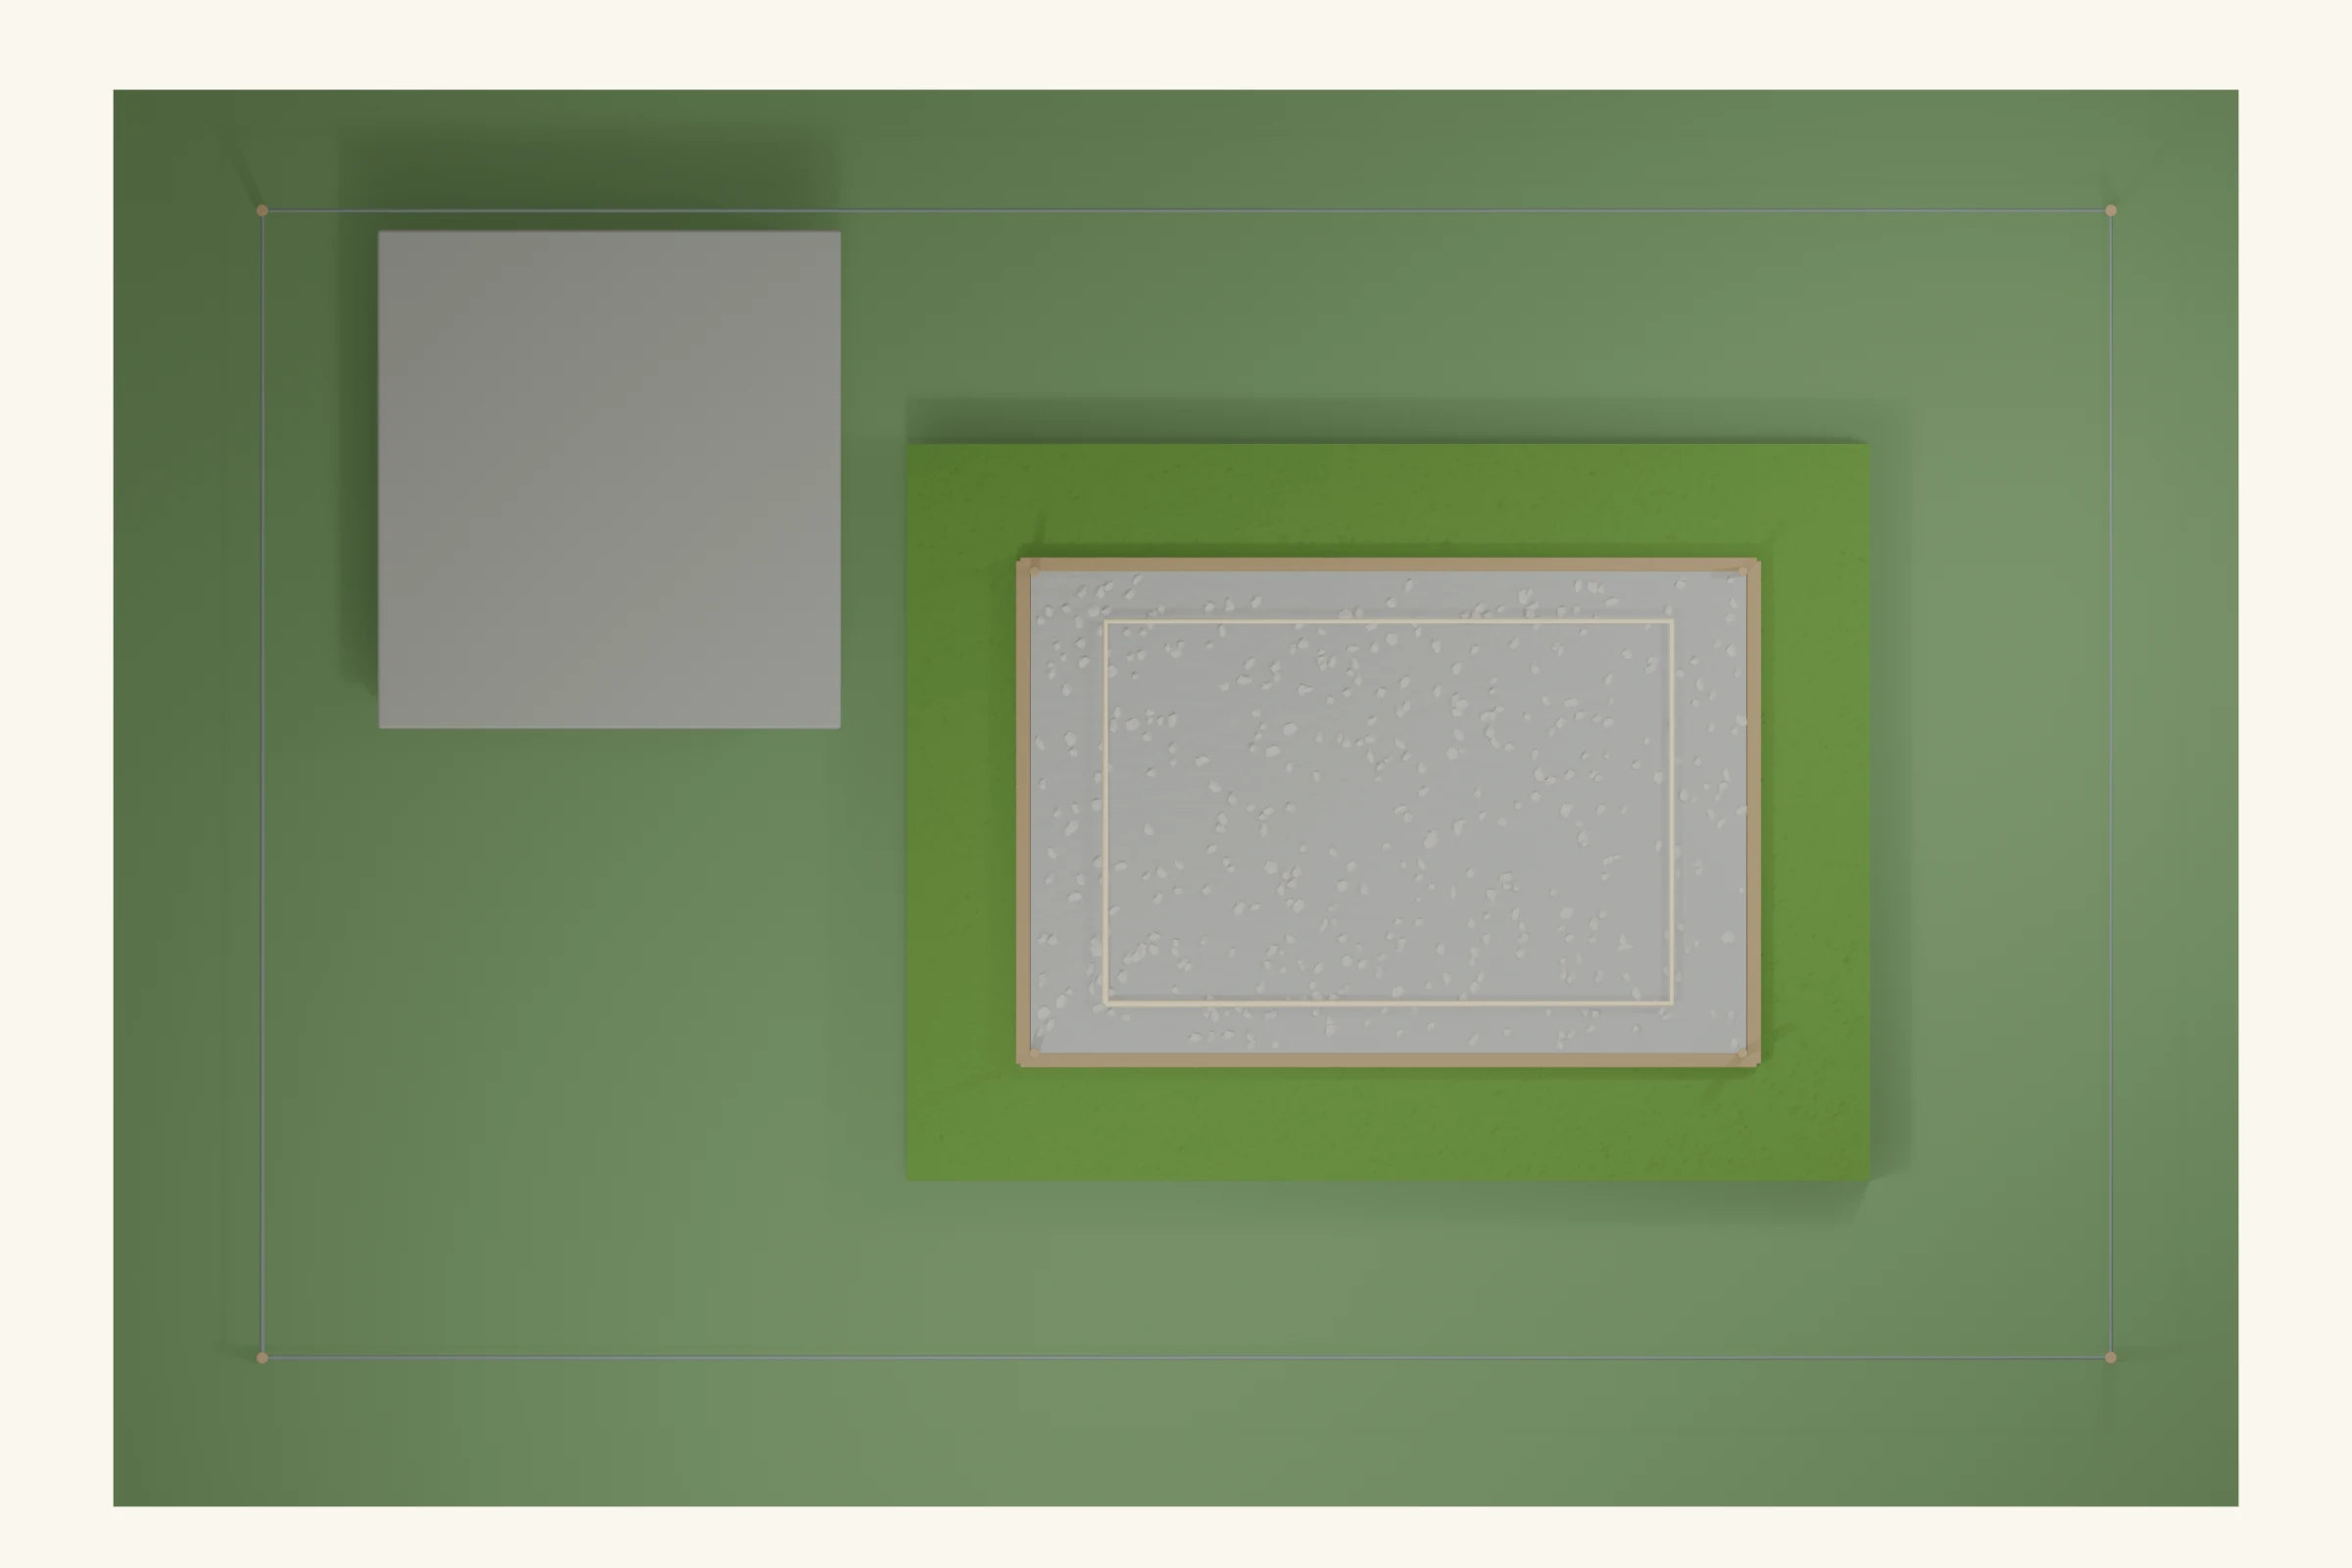
The ideal shed site is flat, firm and slightly elevated, so water drains away from it rather than pooling under it. Standing water is the enemy of a shed: it softens the ground so the foundation settles unevenly, and it wicks moisture up into the floor and framing.
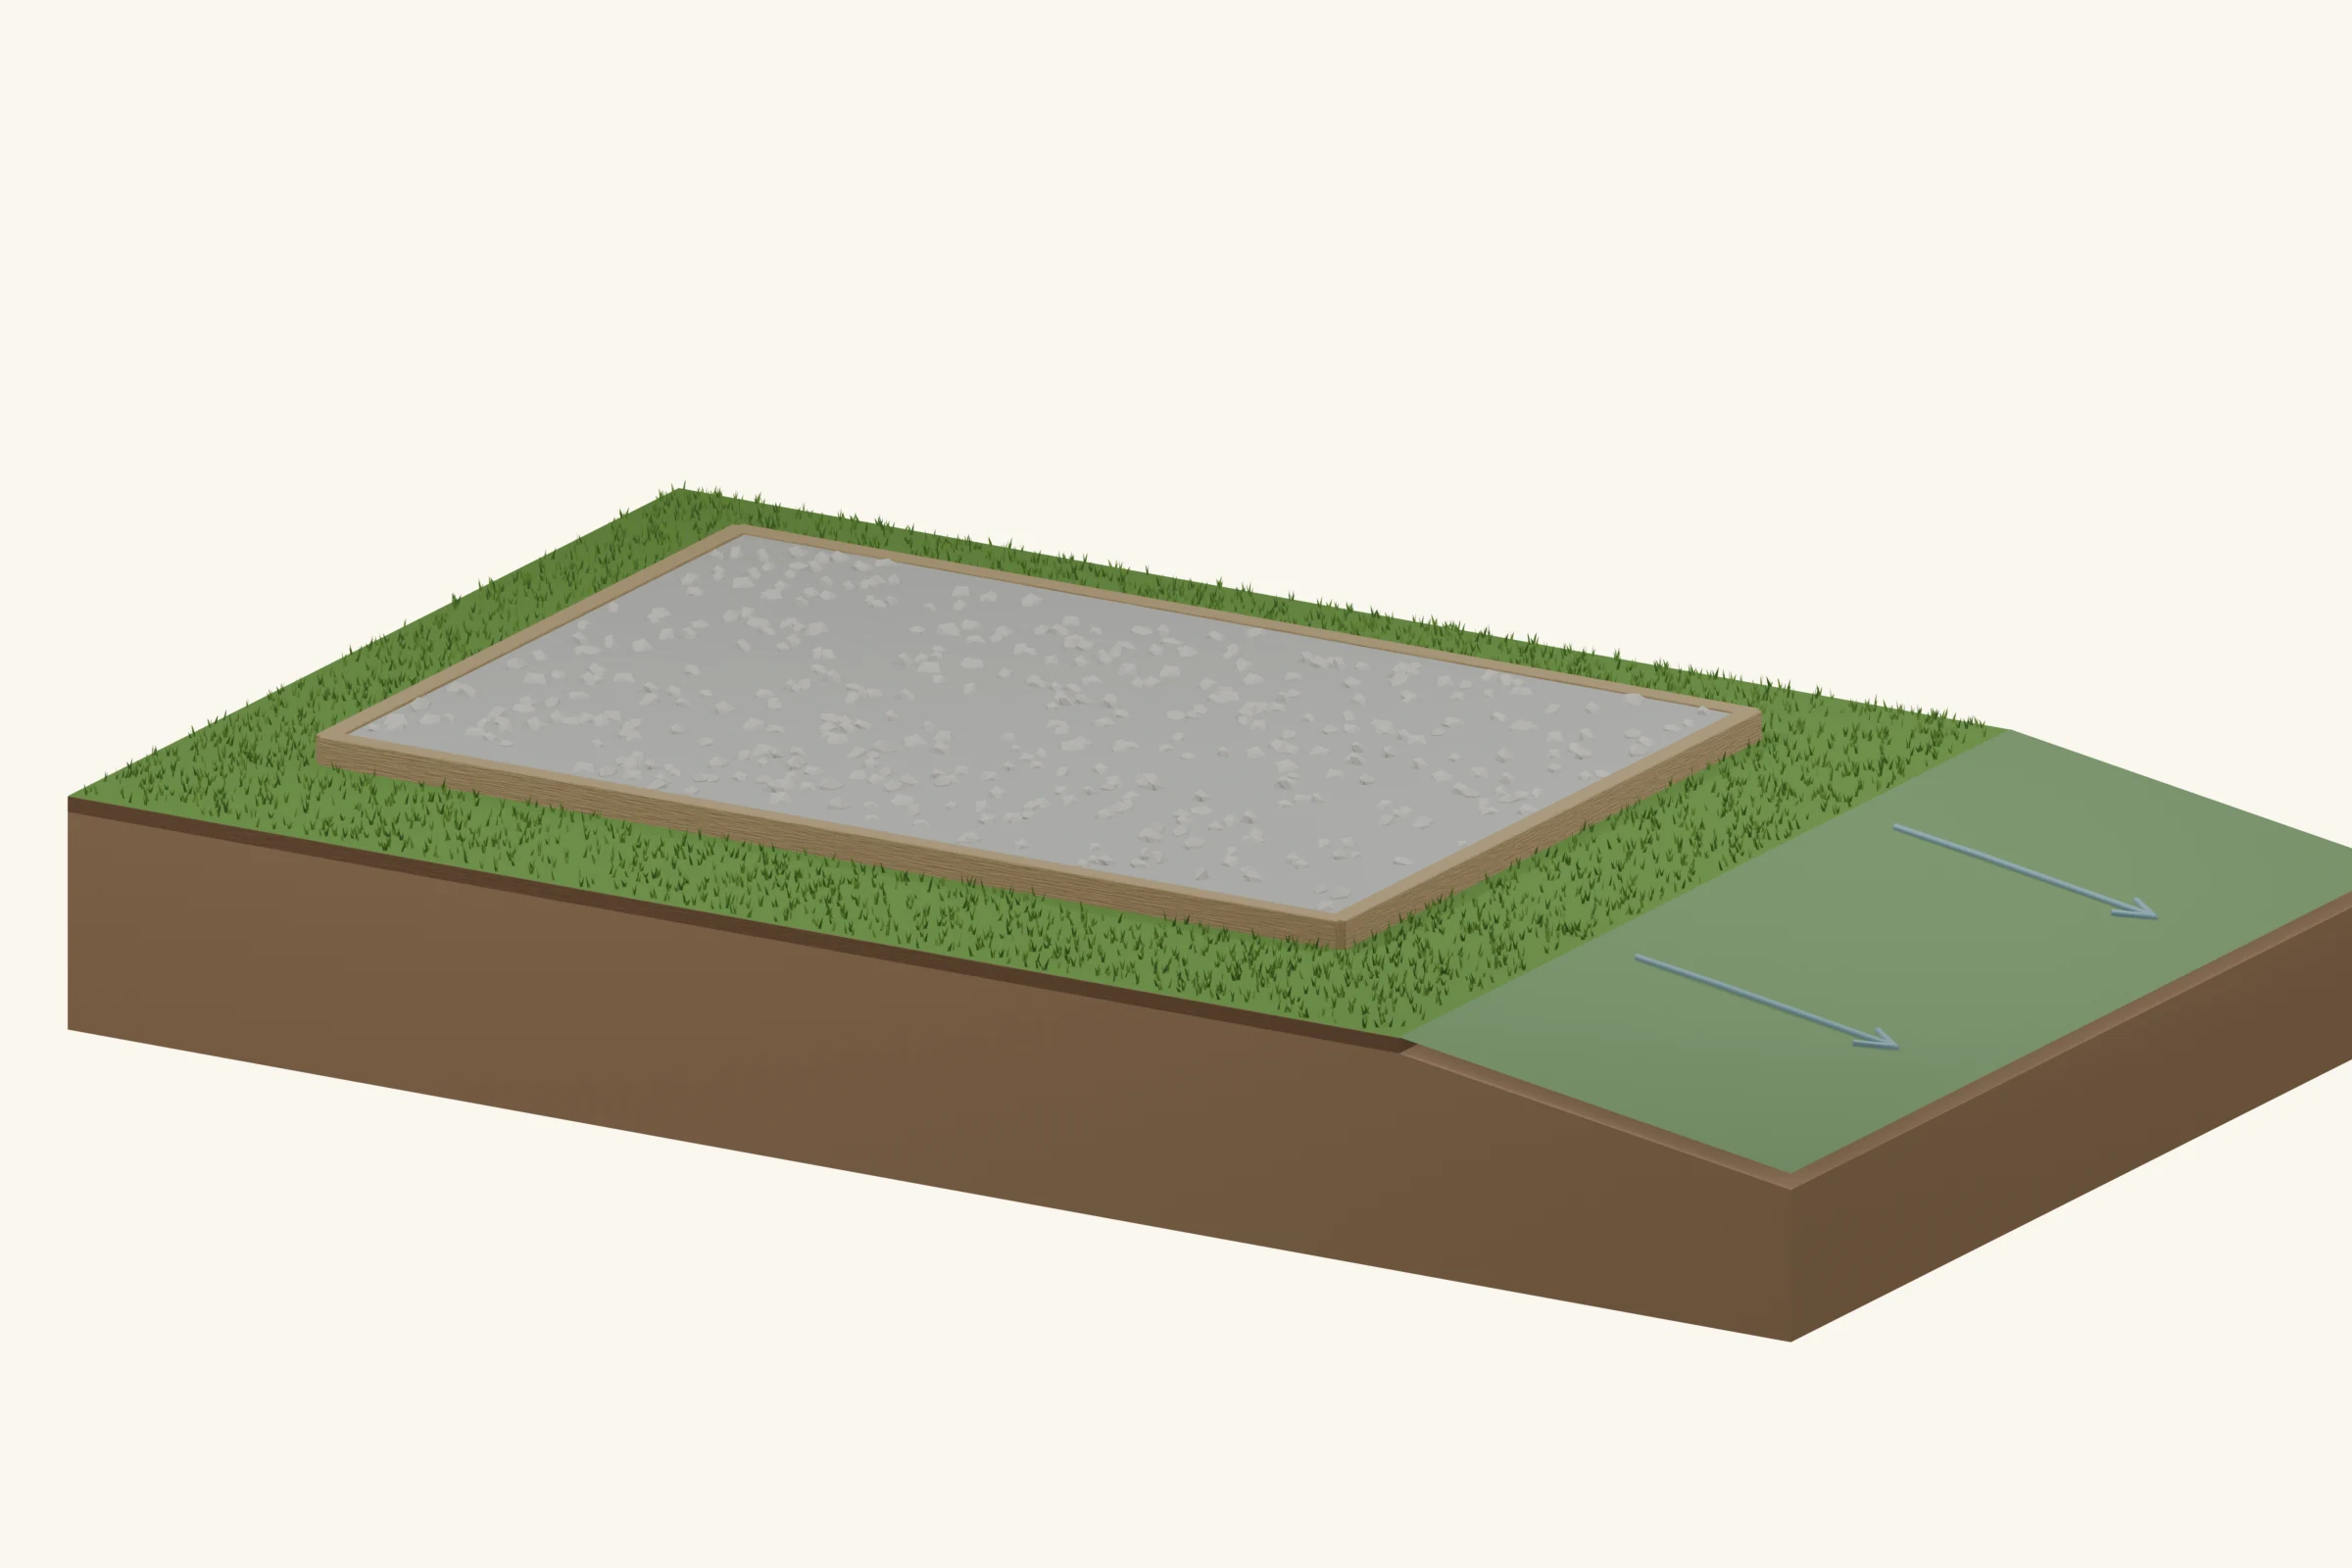
Walk the yard after a heavy rain and note where water sits or runs — avoid those low spots. Favor naturally high, flat ground; a spot that sheds water on its own needs far less foundation prep. On a slope, plan to cut-and-fill for a level pad or build up one side — the steeper the grade, the more work and cost.
Build on a compacted gravel base for drainage, whatever foundation you choose, so the shed doesn't sit in wet soil. Keep the finished floor above the surrounding grade so surface water flows around, not into, the shed.
Getting the pad flat, level and well-drained is the first stage of the build itself. Our shed foundation types guide explains how a gravel pad, skids, piers or slab each handle drainage and frost on the ground you've chosen, and our How to Build a Shed guide covers preparing the foundation once you've chosen the spot.
Sun, shade & moisture
A shed that gets some direct sun dries out fasterafter rain, which slows rot, mildew and moss on the roof and siding and keeps the interior less damp. Deep, all-day shade — especially right under a tree canopy — keeps everything wet and speeds decay.
Prefer a spot that gets at least a few hours of sun so the roof and walls can dry. Avoid dense shade directly under trees, where moisture, leaves and sap collect on the roof. If the shed is a workshop, office or she-shed you'll use, some afternoon shade adds comfort — just not a spot that never dries.
Point the door or windows toward the light if you'll be working inside during the day. Watch morning frost pockets and perpetually damp north-side corners — they stay wet longest.
Access & clearance
You'll be walking to the shed for years, so make it easy to reach and easy to work around. Think about the biggest thing that has to go through the door and the room you need to move around the outside.
Leave a clear, reasonably firm path wide enough for a wheelbarrow and a mower — muddy access defeats a well-built shed. Make sure the door faces where you approach from, and swings or slides open with room to spare. Keep clearance on the sides and back you need to reach for maintenance, painting and gutter cleaning.
Plan for the largest item you'll store — a ride-on mower, bikes, long lumber — fitting through the opening. If you'll ever move large equipment in and out, keep a route free of tight gates, steps and soft ground.
Distance from house, trees & fences
How close to put the shed to other things is a balance of convenience, safety and maintenance:
Keep the shed close enough to the house for convenient access and a manageable utility run, while meeting any required separation between buildings. Place it where runoff from the two roofs will not collide. Stay clear of large trees: growing roots can shift a foundation, and branches drop debris and can fall in storms.
Leave room between the shed and a fence to maintain the back wall. Consider what neighbors will see through the doors and windows. Keep clear of overhead power lines and buried utilities.
Wind, snow & site orientation
The weather your shed faces depends partly on where and how you place it. A little thought here pays off in storms and winters:
Note the prevailing wind direction and avoid facing large doors straight into it, where wind-driven rain and uplift are worst. A natural windbreak — a building, hedge or fence upwind — shelters the shed, but keep enough distance for drainage and access. In snow country, avoid spots where roof snow or drifts pile against the door, and make sure the roof and site can shed and drain meltwater.
Anchor the shed against uplift; a well-chosen but exposed site still needs the structure tied down in high-wind areas. Consider orientation for sun and use — for example, gable end and door placement relative to the path and the light.
Utilities (power & water)
If the shed will have electricity or water, factor that into placement now — it's much cheaper to plan the run than to retrofit it later.
A short, direct run from the house panel makes power simpler to add. For a tap or sink, locate the water supply and a way to drain waste. Plan a trench route that avoids trees, patios and other utilities.
Ask about permits and inspections for a new circuit or plumbing before work starts. Have buried utilities located before trenching or digging foundation holes.
Adding power or water changes the permit picture too — see the electrical & plumbing section of the permit guide before you plan the run.
Shed plans to build on your chosen site
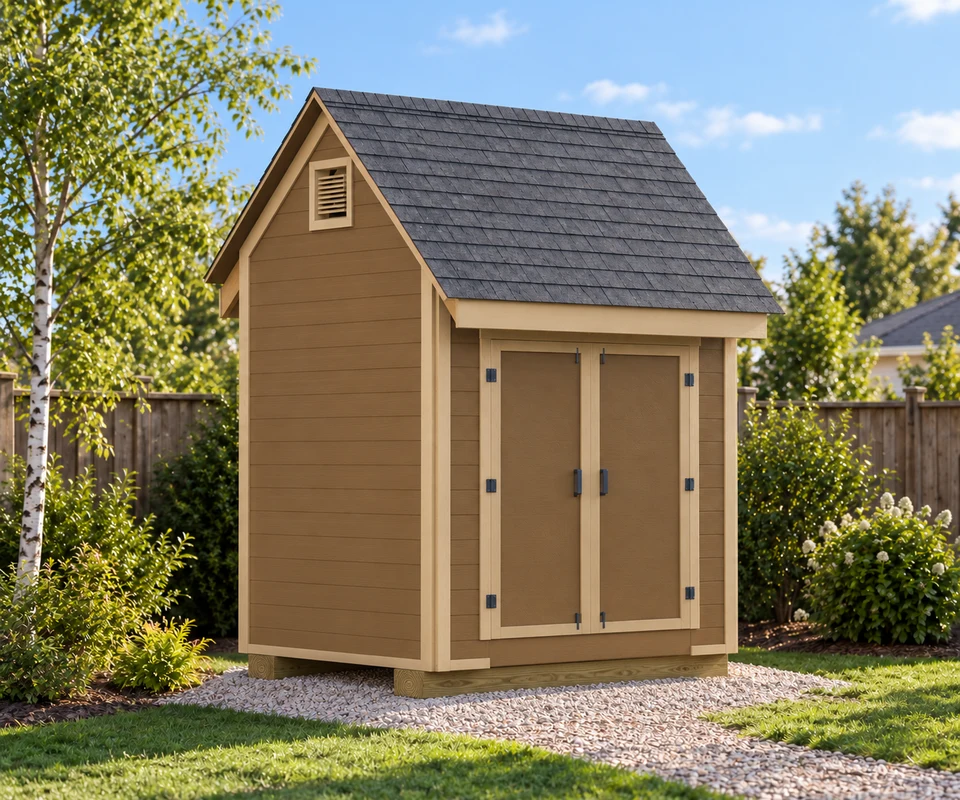
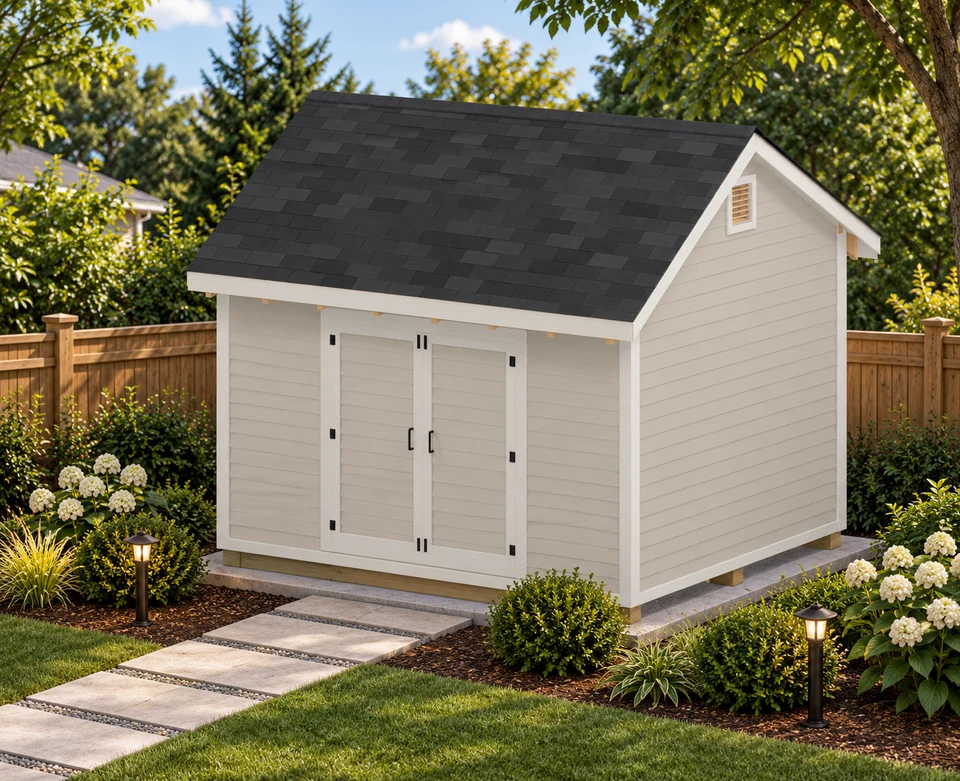
Once you've picked the spot, a complete, dimensioned plan makes the rest straightforward — you build to a real drawing instead of guessing. Every DIYCraft plan includes 3D-rendered views, a full material list and a cut list. Here are good ones to start with:
Frequently asked questions
Where is the best place to put a shed in a backyard?
The best spot is level, well-drained ground that sits inside your property-line setbacks, is easy to reach with a wheelbarrow or mower, and isn't shaded and damp all day. In practice that usually means a slightly elevated, sunny corner of the yard, a few feet clear of fences and lot lines, away from where rainwater collects and away from large trees. Every yard is different, so walk yours after a heavy rain and check the low spots before you commit.
How far does a shed need to be from the property line?
That distance is called a setback, and it's set by local zoning — not by us. Accessory-structure setbacks for a small shed are often a few feet from side and rear lot lines, with a larger front setback, but the exact number varies by town and lot. Measure from your true property line (from a survey, not the fence, which may not be on the line) and leave margin to spare. Confirm the figure with your local building or zoning department before you build.
How far should a shed be from the house?
There's no single number — it's a balance. Placing a shed a short walk from the house keeps tools and the mower convenient and can make running power easier, but many areas require a minimum separation between structures for fire safety, and building too close can complicate access and drainage. Check your local separation requirement, then choose the closest spot that still gives you clear walking access on all sides you need and doesn't funnel roof runoff toward either building.
Should a shed be in sun or shade?
For most sheds, some direct sun is better than deep, all-day shade. Sun helps the roof and siding dry out after rain, which slows rot, mildew and moss, and it keeps the interior less damp. Heavy shade under trees keeps everything wet, drops leaves and sap on the roof, and speeds decay. If the shed will be a workshop or office you'll spend time in, a little afternoon shade for comfort is fine — just avoid a spot that never dries out.
Can I put a shed at the lowest point of my yard?
It's the spot to avoid. Low points collect surface water, so the ground stays soggy, the foundation can settle unevenly, and moisture wicks up into the floor and framing. If your only available space is low, you'll need to build up a drained, compacted gravel pad and possibly add grading or a swale to divert water around the shed. A naturally higher, well-drained location saves you that work and lasts longer.
Do I need a level spot, or can I build on a slope?
You can build on a gentle slope, but the foundation has to end up level, so a slope means more work — either cutting and filling to create a flat pad, building up one side with a taller pier or block foundation, or a combination. The steeper the grade, the more foundation work and the higher the cost. A naturally flat, firm area is by far the easiest and cheapest place to build, so pick the flattest well-drained spot you have.