
A shed floor is a pressure-treated joist platform built on beams or skids. Set the skids or beams level on your foundation, build a square rim (band-joist) box from 2x6 or 2x8 pressure-treated lumber, then fill it with joists at 16 inches on center. Check square by measuring the diagonals, crown the joists up, hang them or toenail them to the rim, then deck the top with 3/4-inch tongue-and-groove plywood or OSB — glued and screwed, with staggered seams. Keep the frame off the ground and use pressure-treated wood everywhere near the earth so it never rots.
The floor is the flat, square, level platform the whole shed is built on. Get it right and the walls stand plumb, the door swings true and the roof lands square; get it out of level or out of square and every stage above it fights you. A shed floor isn't complicated — it is a box of pressure-treated joists on beams or skids, decked with plywood — but a handful of details (joist spacing, the right lumber, squaring the frame, keeping it dry) decide whether it lasts a few years or a few decades. This guide walks through the whole floor, in order.
The floor sits on the foundation, so settle that first. If you haven't chosen a base yet, our shed foundation types guide compares gravel pads, deck blocks, skids, piers and slabs. This floor guide is one stage of the full how to build a shed sequence — it picks up once your foundation is prepared and level.
Quick answer: how a shed floor goes together
The build order for a shed floor is short and always the same:
Set the skids or beams level and square on the prepared foundation. Build the pressure-treated rim, then adjust it until its two diagonal measurements match.
Mark joist spacing from the plan along the rim. Set the joists with their crowns up and fasten them as specified. Cover the frame with plywood or OSB whose floor span rating fits the joist layout; fasten the panels to the plan and manufacturer's schedule.
Stagger the sheet seams and let the deck run long, then trim flush.
Everything below is the detail behind those seven steps: which lumber, how the joists lay out, how to keep it square and dry, and a cut list of the common sizes.
Materials & lumber
A shed floor is built from four things: skids or beams that carry it, rim (band) joists and floor joists that make the frame, and decking on top. Almost all of it should be pressure-treated, because the floor lives low, near moisture, and is the hardest part to replace once the shed is up.
Use lumber rated for ground contact for skids and anything that touches the foundation, and standard pressure-treated framing for the joists and rim. For decking, use plywood or OSB with a floor span rating that covers your joist spacing and load. Exposure 1 panels tolerate temporary construction wetting; a deck left exposed to weather needs a panel rated for long-term exposure. Fasteners for treated lumber must be hot-dipped galvanized or stainless — plain steel corrodes fast against treated wood.
| Part | Typical size | Grade | Notes |
|---|---|---|---|
| Skids / beams | 4x4, 4x6 or 6x6 | Pressure-treated, ground-contact rated | Run the length of the shed; carry the whole floor. |
| Rim / band joists | 2x6 or 2x8 | Pressure-treated | Perimeter box the joists nail into. |
| Floor joists | 2x6 (2x8 for wider spans) | Pressure-treated | Size and spacing follow the plan's span and load. |
| Decking / sheathing | 3/4" (23/32) T&G plywood or OSB | Match panel exposure to site | Glue and screw down; stagger the seams. |
Sizes are common examples for small and medium sheds. Your plan's cut list and your local code decide the exact members — always confirm joist size against the span.
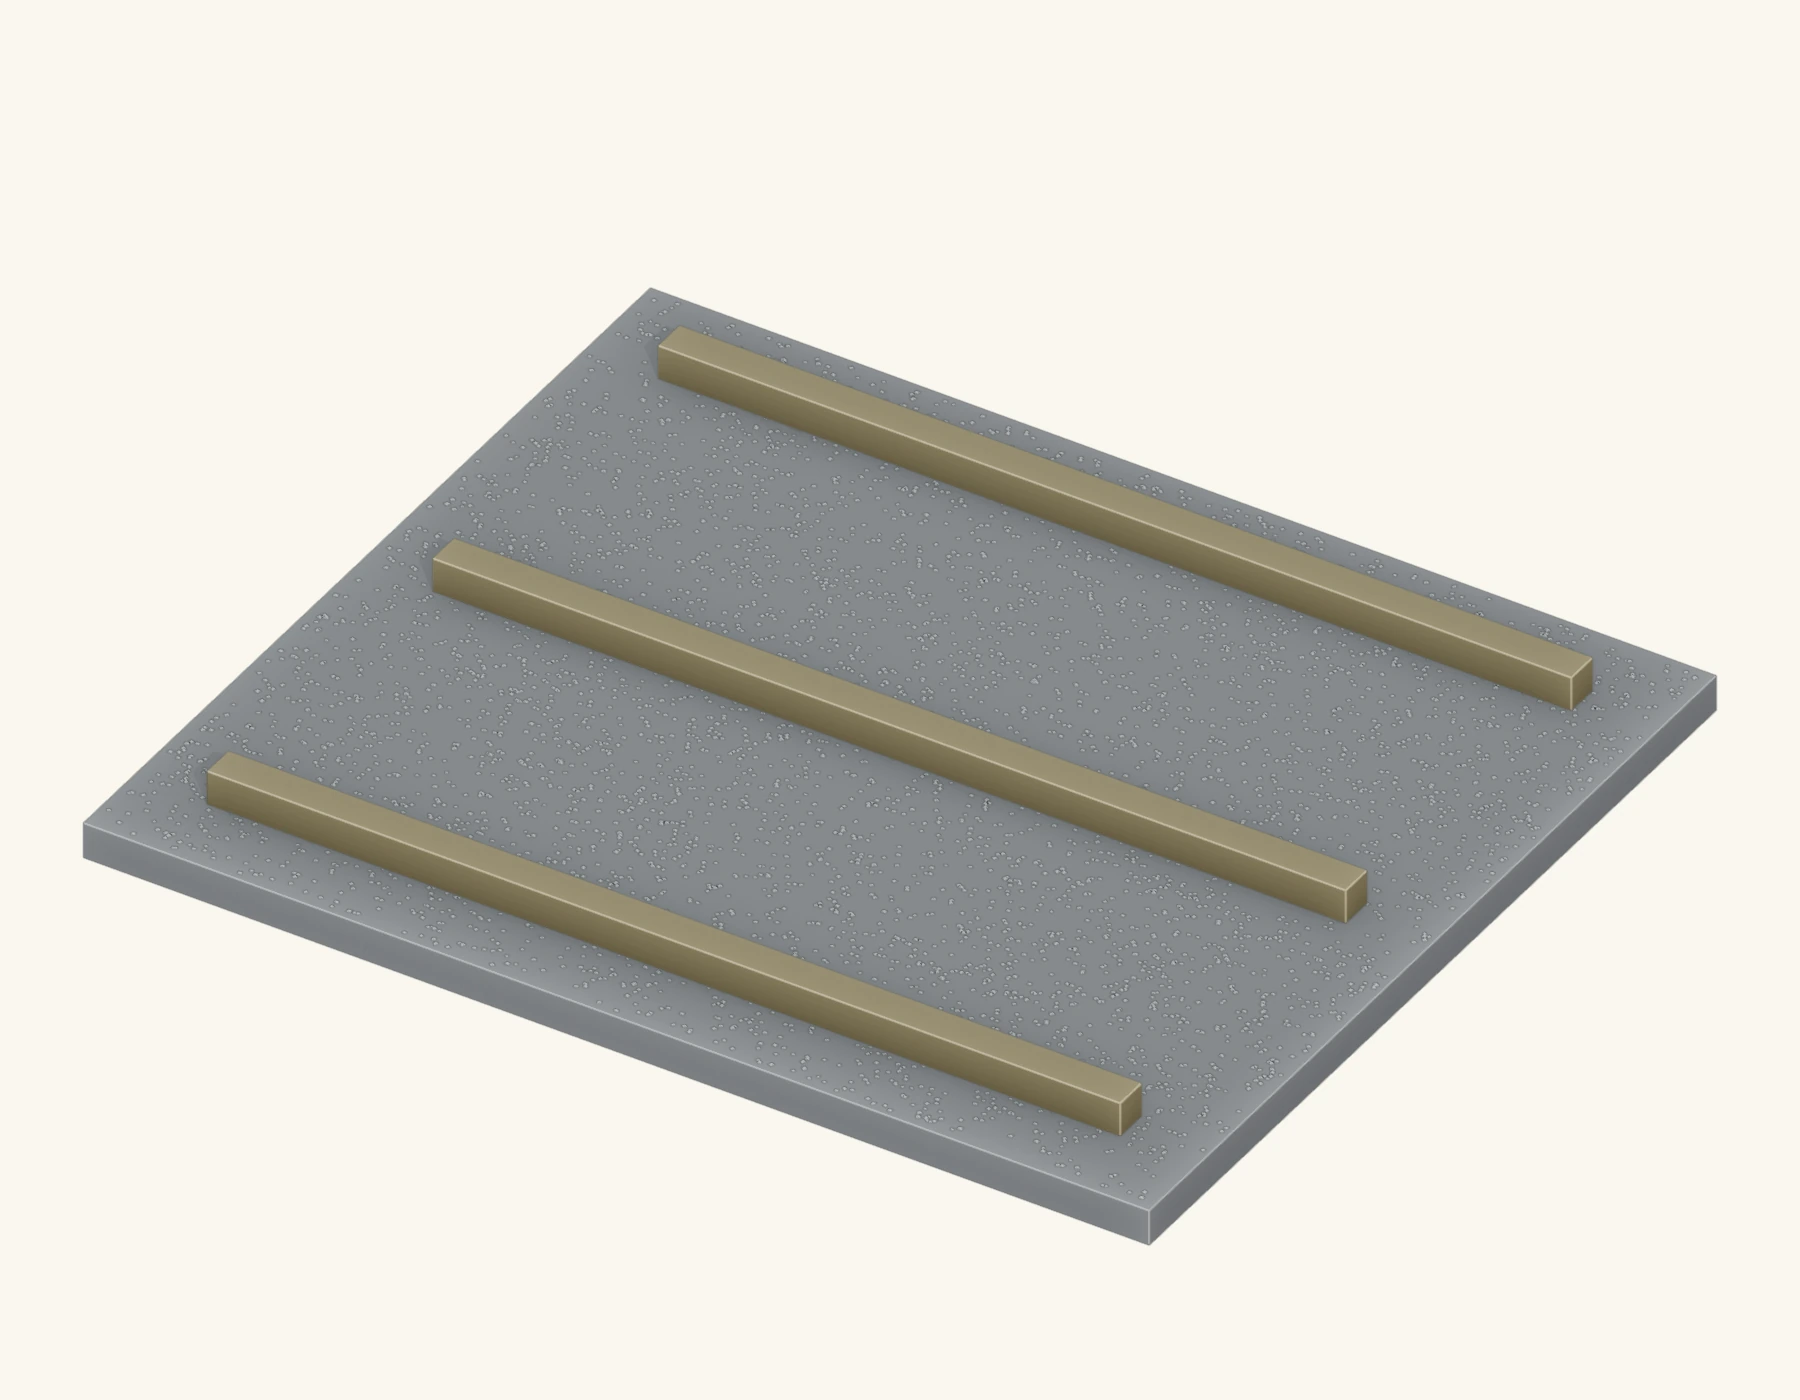
Set the beams / skids
The floor is carried by skids (long pressure-treated timbers — often 4x4, 4x6 or 6x6 — running the length of the shed on a gravel pad) or by beams resting on deck blocks or piers. Either way, the job is the same: get the tops of the carriers dead level with each other and square in plan before any joists go on. Shim under the low points, check level along each skid and across from one to the next with a long straightedge, and confirm the layout is square by measuring the diagonals between the skid ends.
How the skids or beams are supported — gravel pad, deck blocks, piers — is a foundation decision. Our shed foundation types guide covers each base, on-grade vs. frost-proof, and how to keep water away — read it before you set your skids if you haven't already.
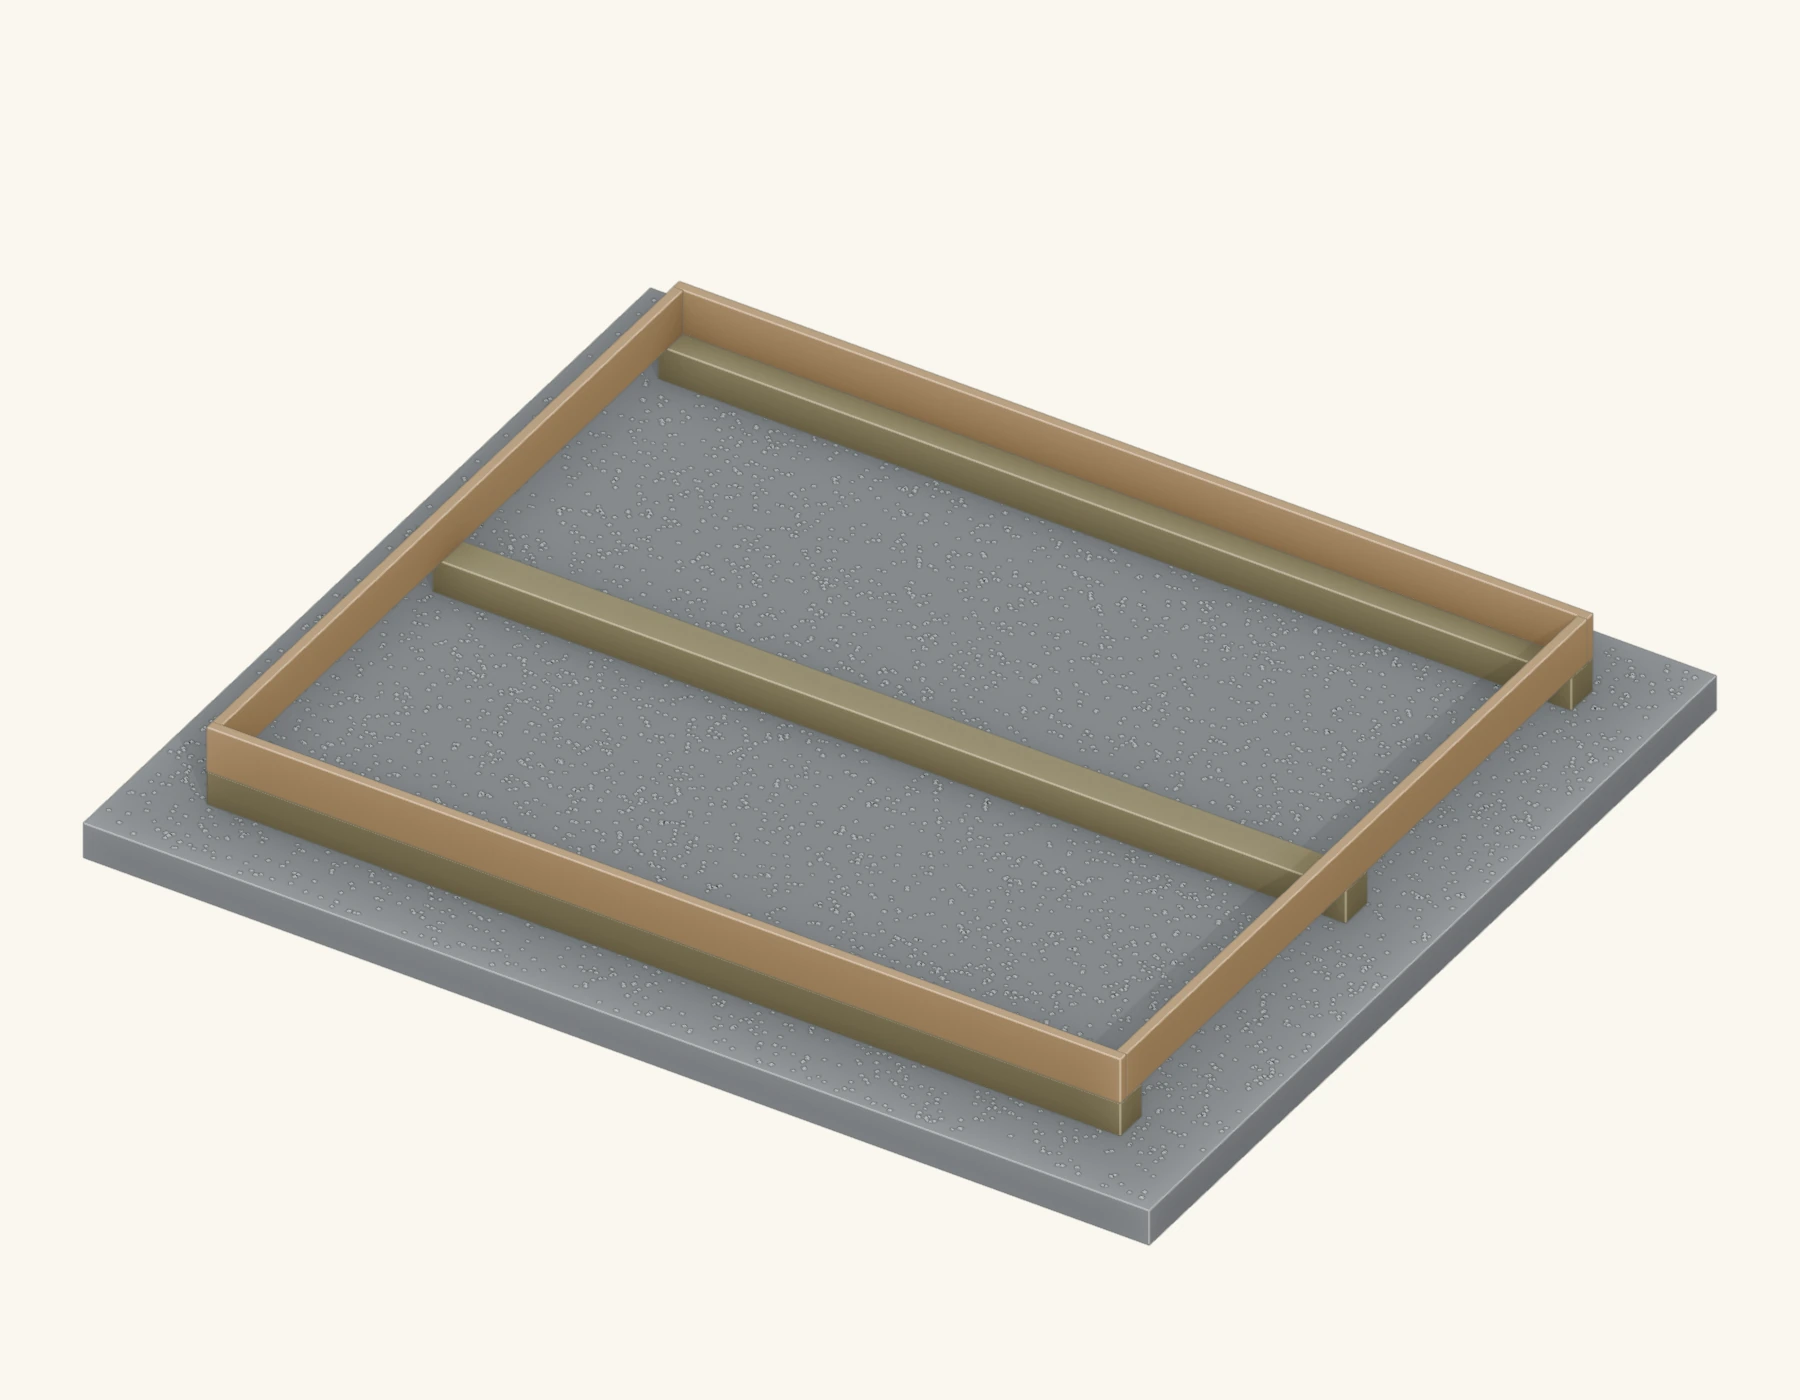
Build the perimeter and square the frame
With the skids level, build the rim — the perimeter box of the floor. The two long rim joists (also called band joists) run the length of the shed, and the two end joists close the box between them. Cut them to the floor dimensions from your plan, stand them on edge on the skids, and nail the corners so the box holds together.
Now square the box. Measure both diagonals, corner to corner:
Measure diagonal A (one corner to the opposite corner). Measure diagonal B (the other two corners). Push the frame until the two diagonals are exactly equal — that means square.
Fasten the box down to the skids, then measure the diagonals once more to confirm nothing shifted.
Equal diagonals is the single most important check in the whole build. The floor frame sets the shape for every wall, door and rafter above it, so square it now — it is far harder to fix once the walls are up.
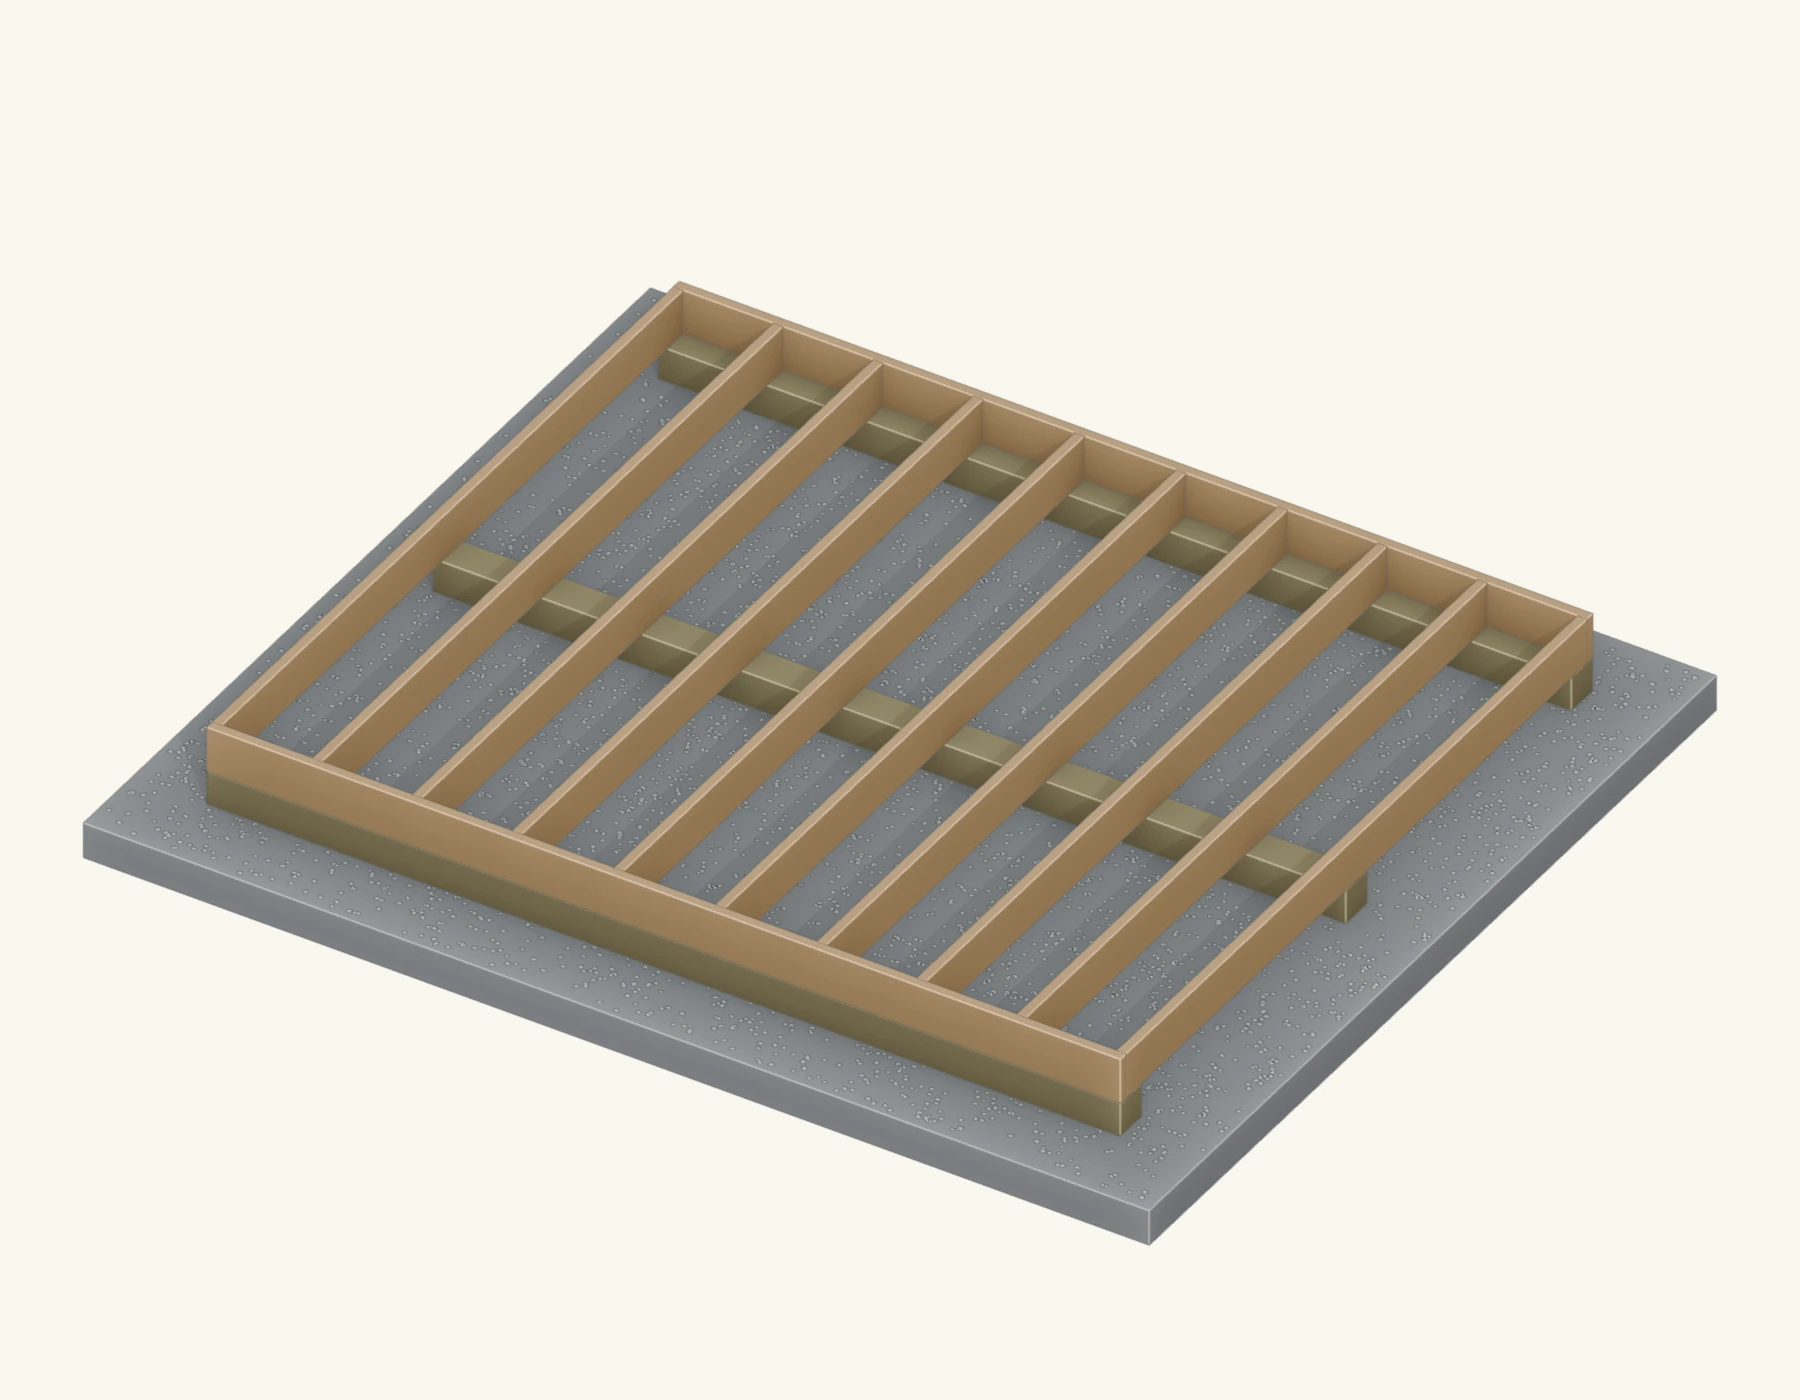
Lay out and install the joists
With a square rim, fill it with floor joists sized and spaced as shown in your plan for the span and load. Mark the layout along the top of both long rim joists so every joist lines up:
Hook your tape on one end and mark the spacing shown in your plan. "On center" means from the center of one joist to the next. For a 16-inch layout, marking the near edge at 15¼ inches, then every 16 inches, lands 4x8 sheet edges on joist centers. Sight along each joist and set its crown upward.
Set each joist on its layout mark and either drop it into a joist hanger or toenail it to the rim. Add solid blocking or bridging between joists mid-span on longer floors to stop them twisting.
At 16 inches on center, standard 4x8 sheets can break on joists at their edges. Wider spacing needs a panel rated for that span and a joist layout sized for the load; follow the plan rather than changing spacing to save lumber.
Joist size and span. The joist has to be deep enough for the distance it spans between supports and the load it carries. Follow the plan's member sizes and check them against a span table for the lumber grade, support spacing and load. Heavier equipment may call for deeper joists or another support.
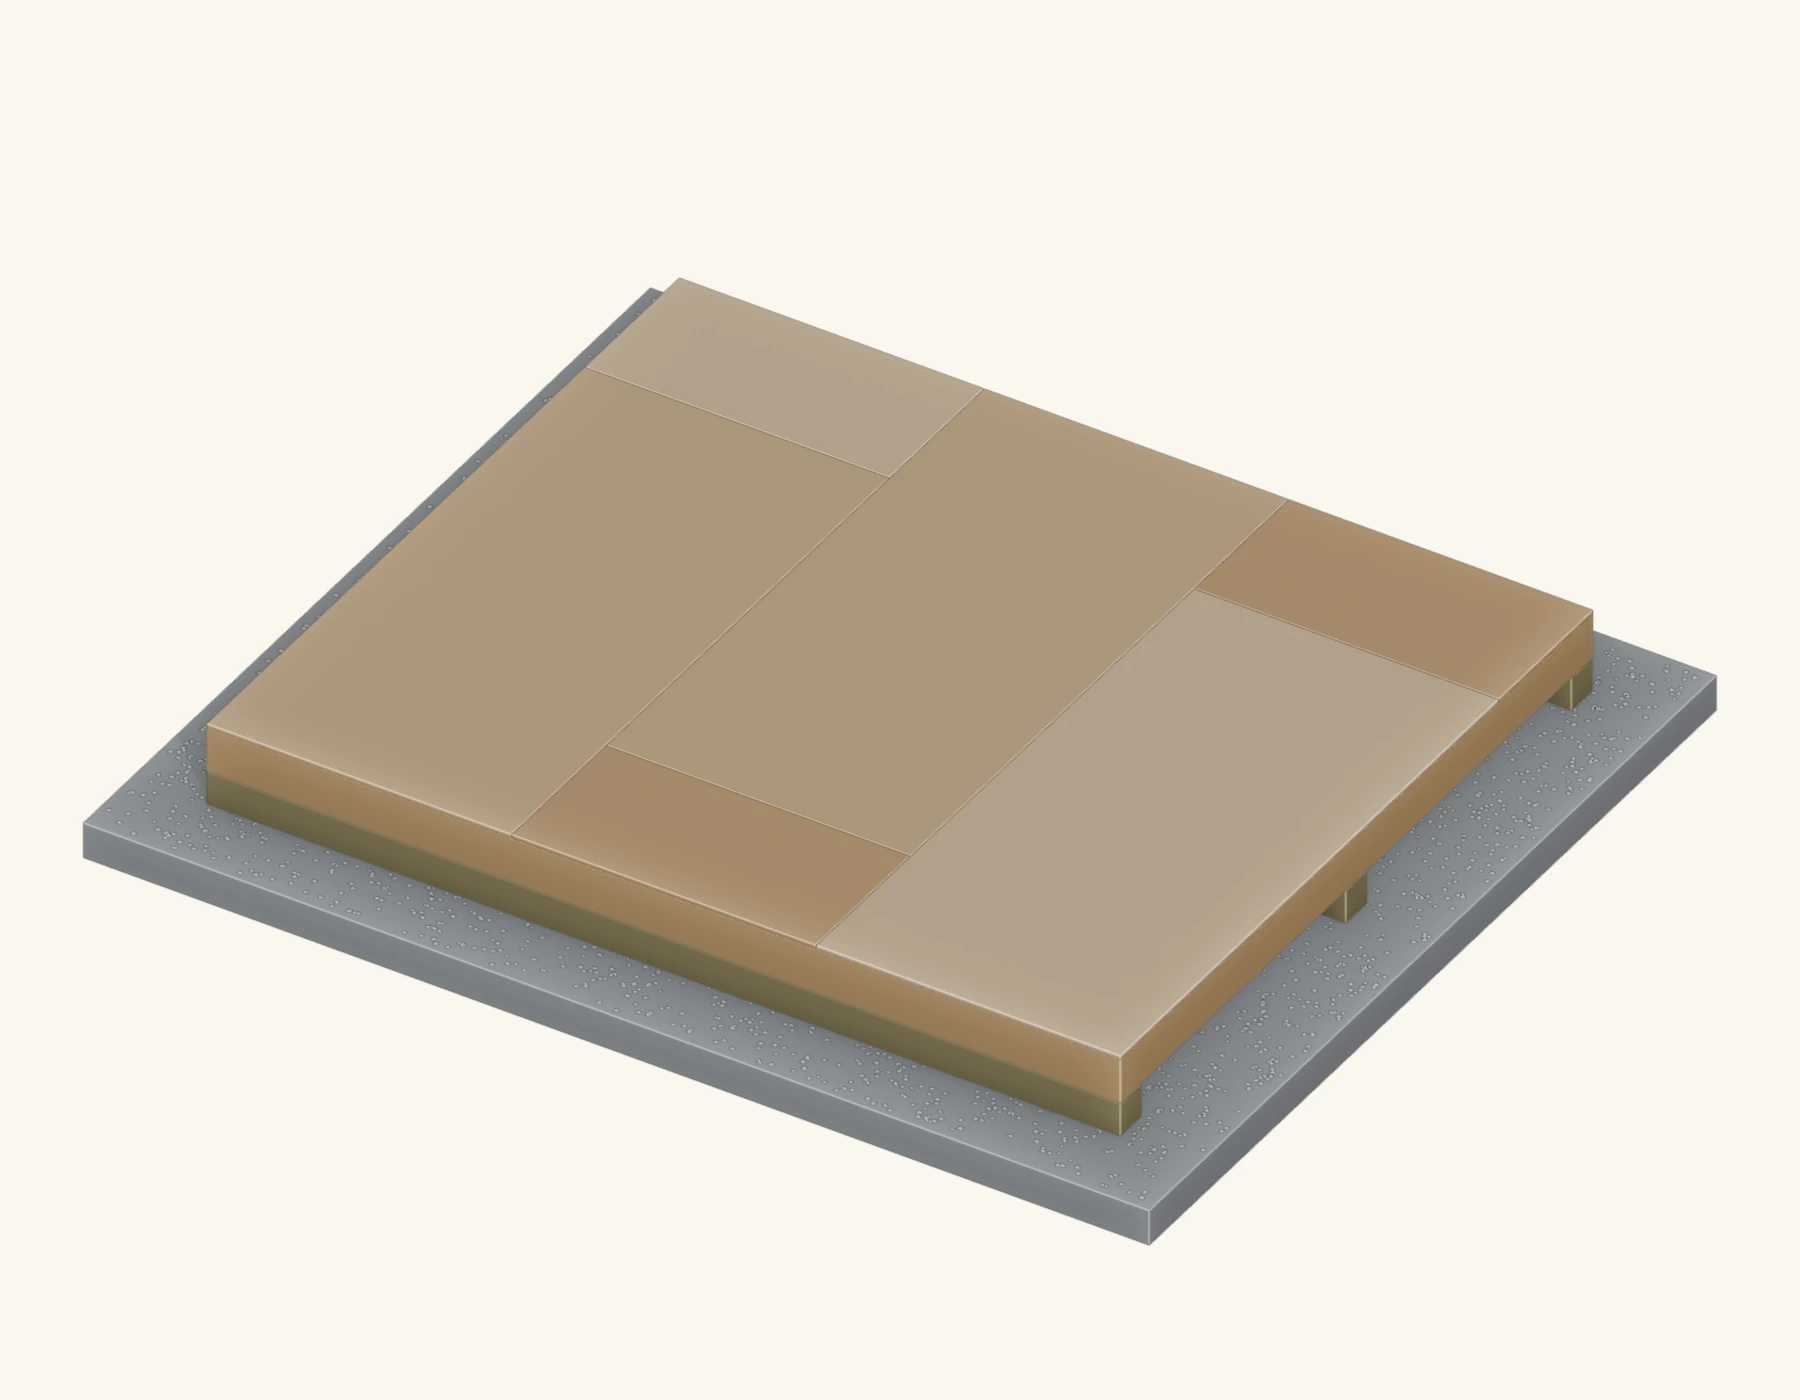
Sheathing / decking: plywood vs. OSB
Once the joists are in, deck the top to make a solid floor. Both plywood and OSB work; plywood handles repeated wetting and drying a little better and holds screws slightly better, while OSB is cheaper and comes flat. For either, choose the panel thickness and floor span rating for your joist spacing and load. Tongue-and-groove edges support adjacent sheets. Exposure 1 panels tolerate temporary construction wetting but need protection from long-term weather.
Fasten the deck so it never squeaks or lifts:
Run a bead of construction adhesive along each joist before you lay the sheet. Screw (or ring-shank nail) the sheet down into every joist, roughly every 6 inches on the edges and 12 inches in the field. Stagger the sheet seams row to row (like brickwork) so no four corners meet — this stiffens the deck.
Leave a small expansion gap (about 1/8") between sheets so they don't buckle when they swell. Let the decking run long past the rim, then snap a line and trim it flush for a clean edge.
Before raising walls, check the finished platform for level in both directions and confirm that it is flat and still square.
Insulation & moisture (optional)
The most important thing you can do for a shed floor is keep it dry. That means using pressure-treated lumber near the ground, keeping the frame up off the soil on skids, blocks or piers so air can move under it, and building on a drained gravel base so water never pools beneath the shed. A floor that can breathe and stay above the wet lasts for decades; one sitting in damp soil rots from the bottom up no matter what you put on top.
Insulation is optional and only worth it for a heated or year-round space — a plain storage shed doesn't need it. If you do want it, fit rigid foam or batts between the joists before you deck, keep the underside ventilated, and consider stapling insect mesh under the joists to close the cavity without trapping moisture. Whatever you do, don't seal a damp floor shut — give it a way to dry.
Cut list & common sizes
Exact quantities depend on your shed's footprint, but here is how a typical small-shed floor breaks down, using the common sizes above. Treat these as examples — your plan's cut list has the real numbers for your build.
Count the skids or beams, four rim members, and joists from the floor plan. To estimate a 16-inch joist layout, divide the framed length in inches by 16 and add the required end joist; check the exact count against the drawing and openings. Use the member sizes in the plan.
A 4x8 sheet covers 32 square feet before cuts, so divide floor area by 32 and round up for a starting panel count. Add joist hangers if specified, adhesive, and fasteners compatible with treated lumber.
Every DIYCraft plan comes with an exact material list and cut list for its floor, so you order the right skids, joists and sheets without guessing. See the shed plans for real, dimensioned floor frames.
Shed plans with dimensioned floor frames
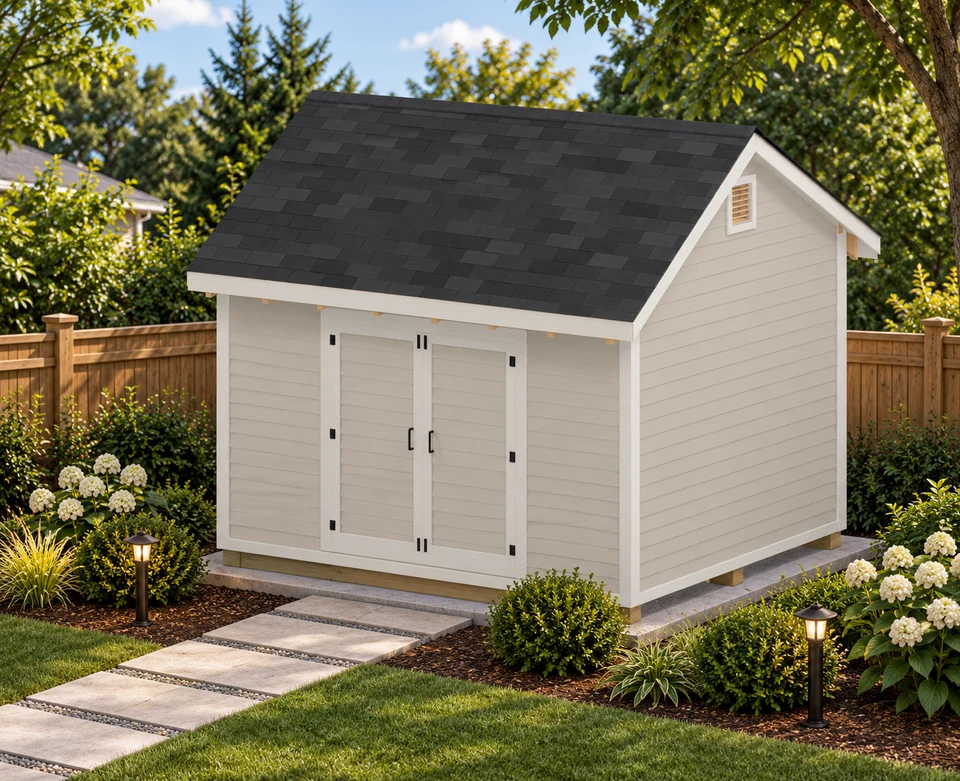
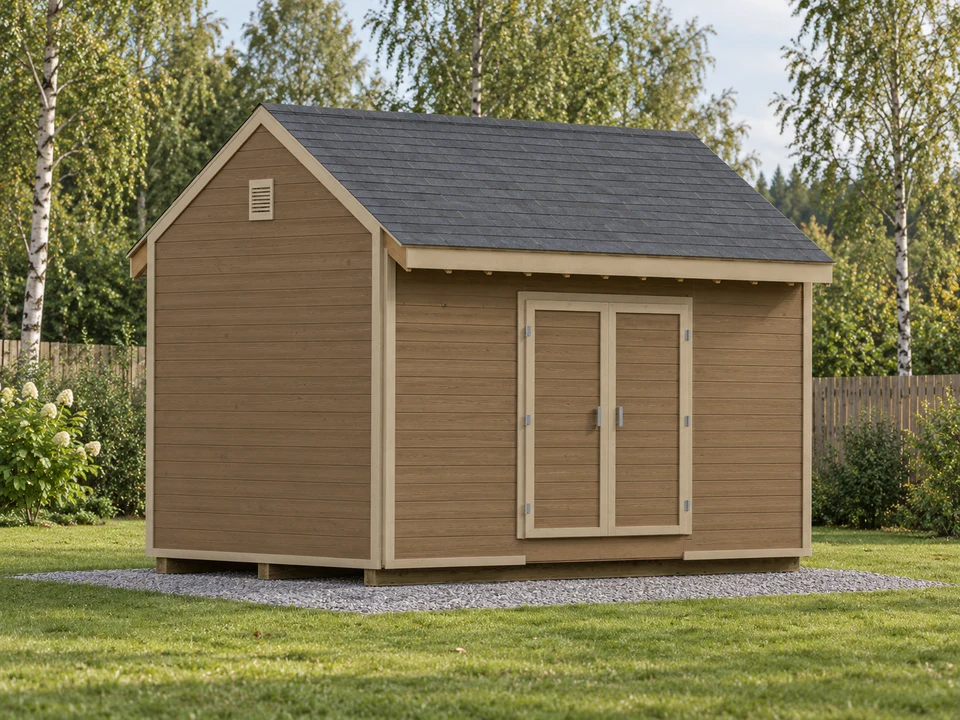
Compare the floor layouts in these storage shed PDFs. Check the dimensions, supports and included schedules for your selected design; this guide does not establish its load capacity or site requirements.
Frequently asked questions
What size joists do I use for a shed floor?
Choose joist size from your plan and a span table for the distance between skids or beams, the lumber grade, spacing and the load you will store. Use the specified pressure-treated joists near the ground; a larger shed or heavier equipment may need deeper members or another support.
How far apart should shed floor joists be?
Use the joist spacing in your floor plan and make sure the decking panel's floor span rating covers it. "On center" means from the center of one joist to the center of the next. Keep the layout consistent so panel edges land on joists.
What thickness plywood should I use for a shed floor?
Use the thickness and floor span rating specified by your plan for the joist spacing and stored load. Tongue-and-groove plywood or OSB gives supported panel edges. Exposure 1 panels tolerate temporary wetting during construction but need protection from long-term weather; where the deck remains exposed, choose a panel rated for that exposure. Follow the panel's fastening instructions.
Does a shed floor need to be pressure-treated?
Use ground-contact-rated treated lumber for skids and members that touch the foundation. Use the treated framing specified by your plan for joists and rim near the ground. Choose the deck panel for its floor span rating and expected moisture exposure; Exposure 1 is for temporary construction wetting, not permanent weather exposure.
How do I make sure a shed floor is square?
Build the rim (the perimeter box of the floor frame), then measure the two diagonals corner to corner. When the two measurements are equal, the frame is square. Nudge the frame until they match, then fasten it and check again. Squaring the floor first matters more than anything above it: every wall, door, and rafter sits on this frame, so a square, level floor makes the whole build go together cleanly.
Do you insulate a shed floor?
Only if you want a heated or year-round space — a plain storage shed doesn't need it. If you do insulate, fit rigid foam or batts between the joists before decking, and always keep moisture in mind: leave the underside ventilated, keep the frame up off the ground on skids or piers, and use pressure-treated lumber so the cavity can dry. For a bare storage shed, good airflow underneath and pressure-treated framing matter more than insulation.