The short version: build a shed in eight stages, from the ground up. Prepare a flat, level, well-drained foundation; build and square the floor frame; frame and raise the walls; frame the roof; then sheathe, side, and roof it before hanging doors and windows and adding trim and finish. Each stage rests on the one below it, so a dead-level, square floor makes every step after it go smoothly. This guide walks through each stage, with a framing diagram to show what you are building.
Build from the ground up. Check each stage is level and square before adding the next. Use a complete shed plan for the sizes, joints and fasteners, then follow the build order below.
Before you cut anything, check with your local building department. Many areas let you build a small shed without a permit, but setbacks from property lines, maximum height, and HOA rules can still apply — our shed permit guide walks through the size thresholds, zoning and paperwork, and our best shed location guide helps you pick a level, well-drained, legal spot in the yard. Then settle on a size and a complete plan with a material list and cut list so you are working from real dimensions rather than guessing as you go.
Stage 1 — Prepare the foundation
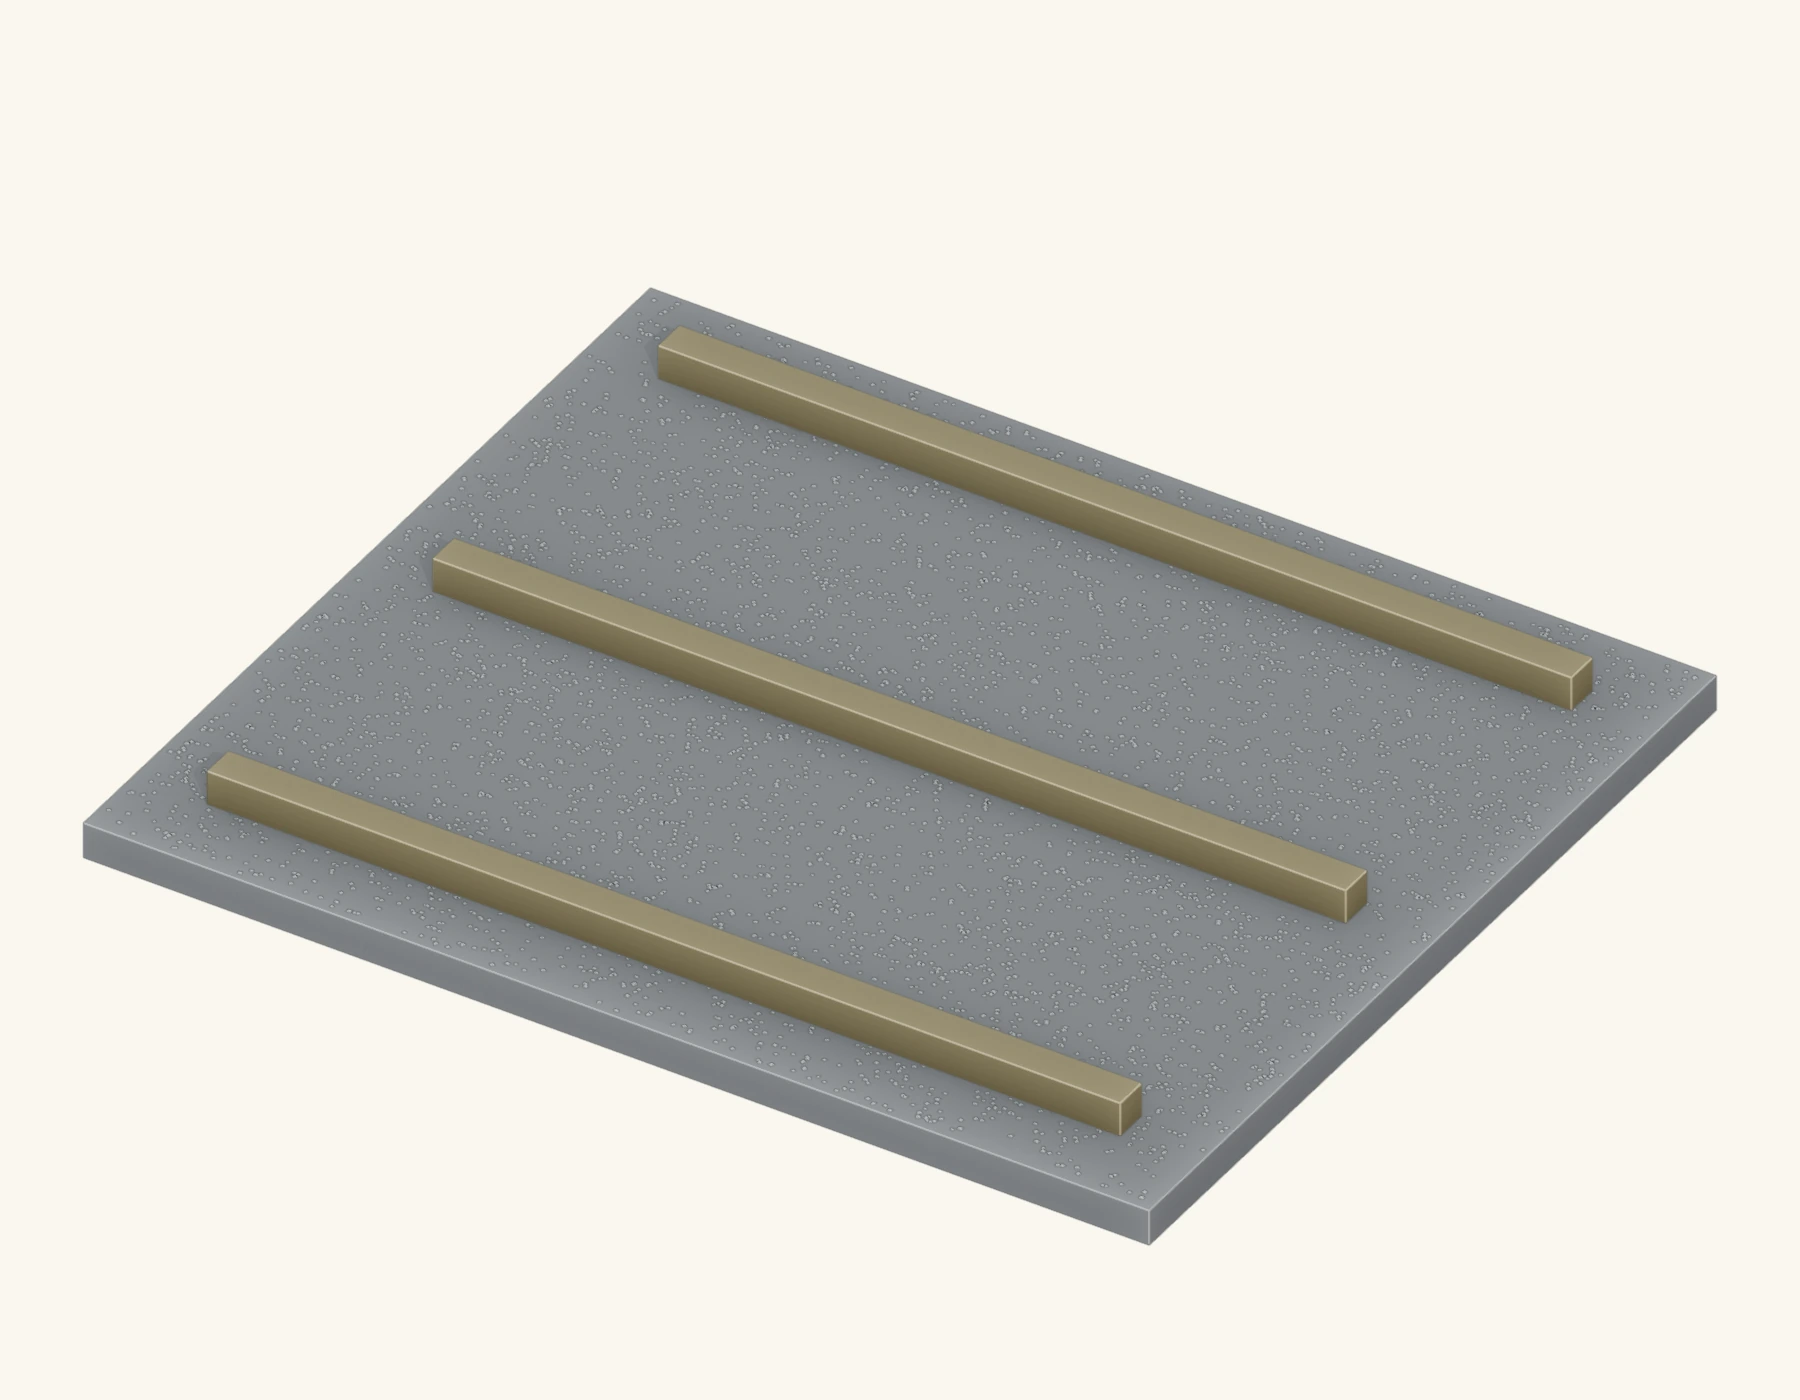
Everything above rests on the foundation, so this is the stage to get right. The goal is a flat, level, well-drained base that keeps the wood off the wet ground and stops the shed from settling unevenly. Clear the site, remove sod and topsoil, and level the ground. For most small and medium sheds the simplest, best-draining option is a compacted gravel pad with pressure-treated skids laid across it, or a grid of concrete deck blocks. For large sheds, heavy equipment, or frost-prone ground, step up to concrete piers or a poured slab.
Compact the base in layers to the depth shown in the foundation plan. Check it both ways with a straightedge and level. Set the treated skids in position, measure the diagonals and correct uneven support before building the floor.
Not sure which base to build? Our shed foundation types guide compares gravel pads, deck blocks, skids, piers, slabs and pole-barn bases — with pros, cons, rough cost, and on-grade vs. frost-proof and frost-depth guidance — so you can pick the right one before you start.
Stage 2 — Build the floor frame
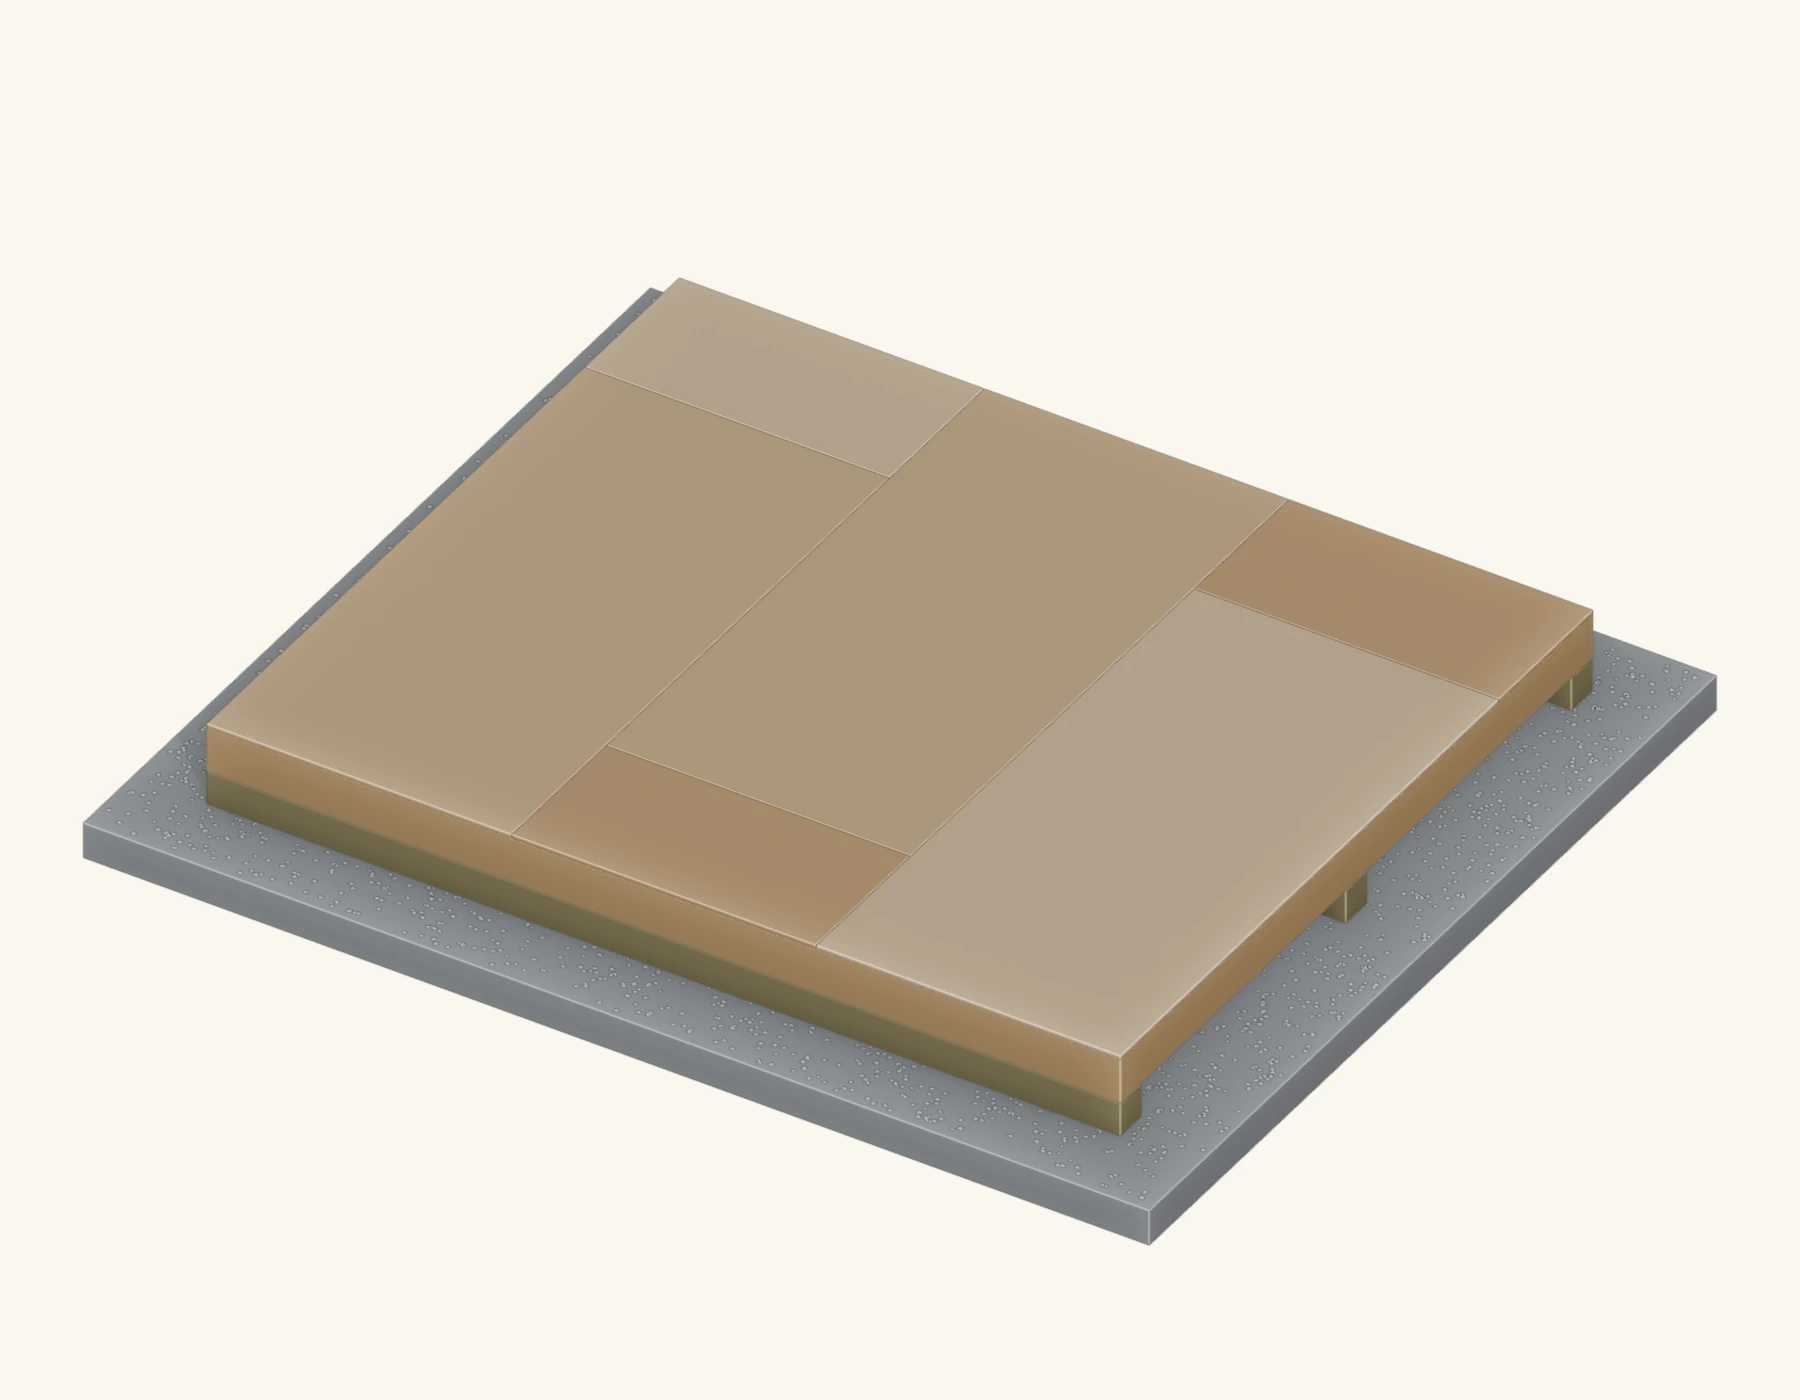
Build the floor perimeter from treated lumber, then fit the joists and blocking. Use the sizes and spacing in your floor plan. Measure both diagonals and adjust the frame until they match. Lay the floor sheets across the joists, support the edges and fasten them as the plan and panel maker direct.
Check level in both directions. Fix uneven support below the skids or blocks before adding the walls.
The floor has enough detail to warrant its own guide. For joist layout and 16" on-center spacing, rim/band joists, joist sizing and span, plywood vs. OSB decking, and squaring the frame, read How to Build a Shed Floor.
Stage 3 — Frame and raise the walls
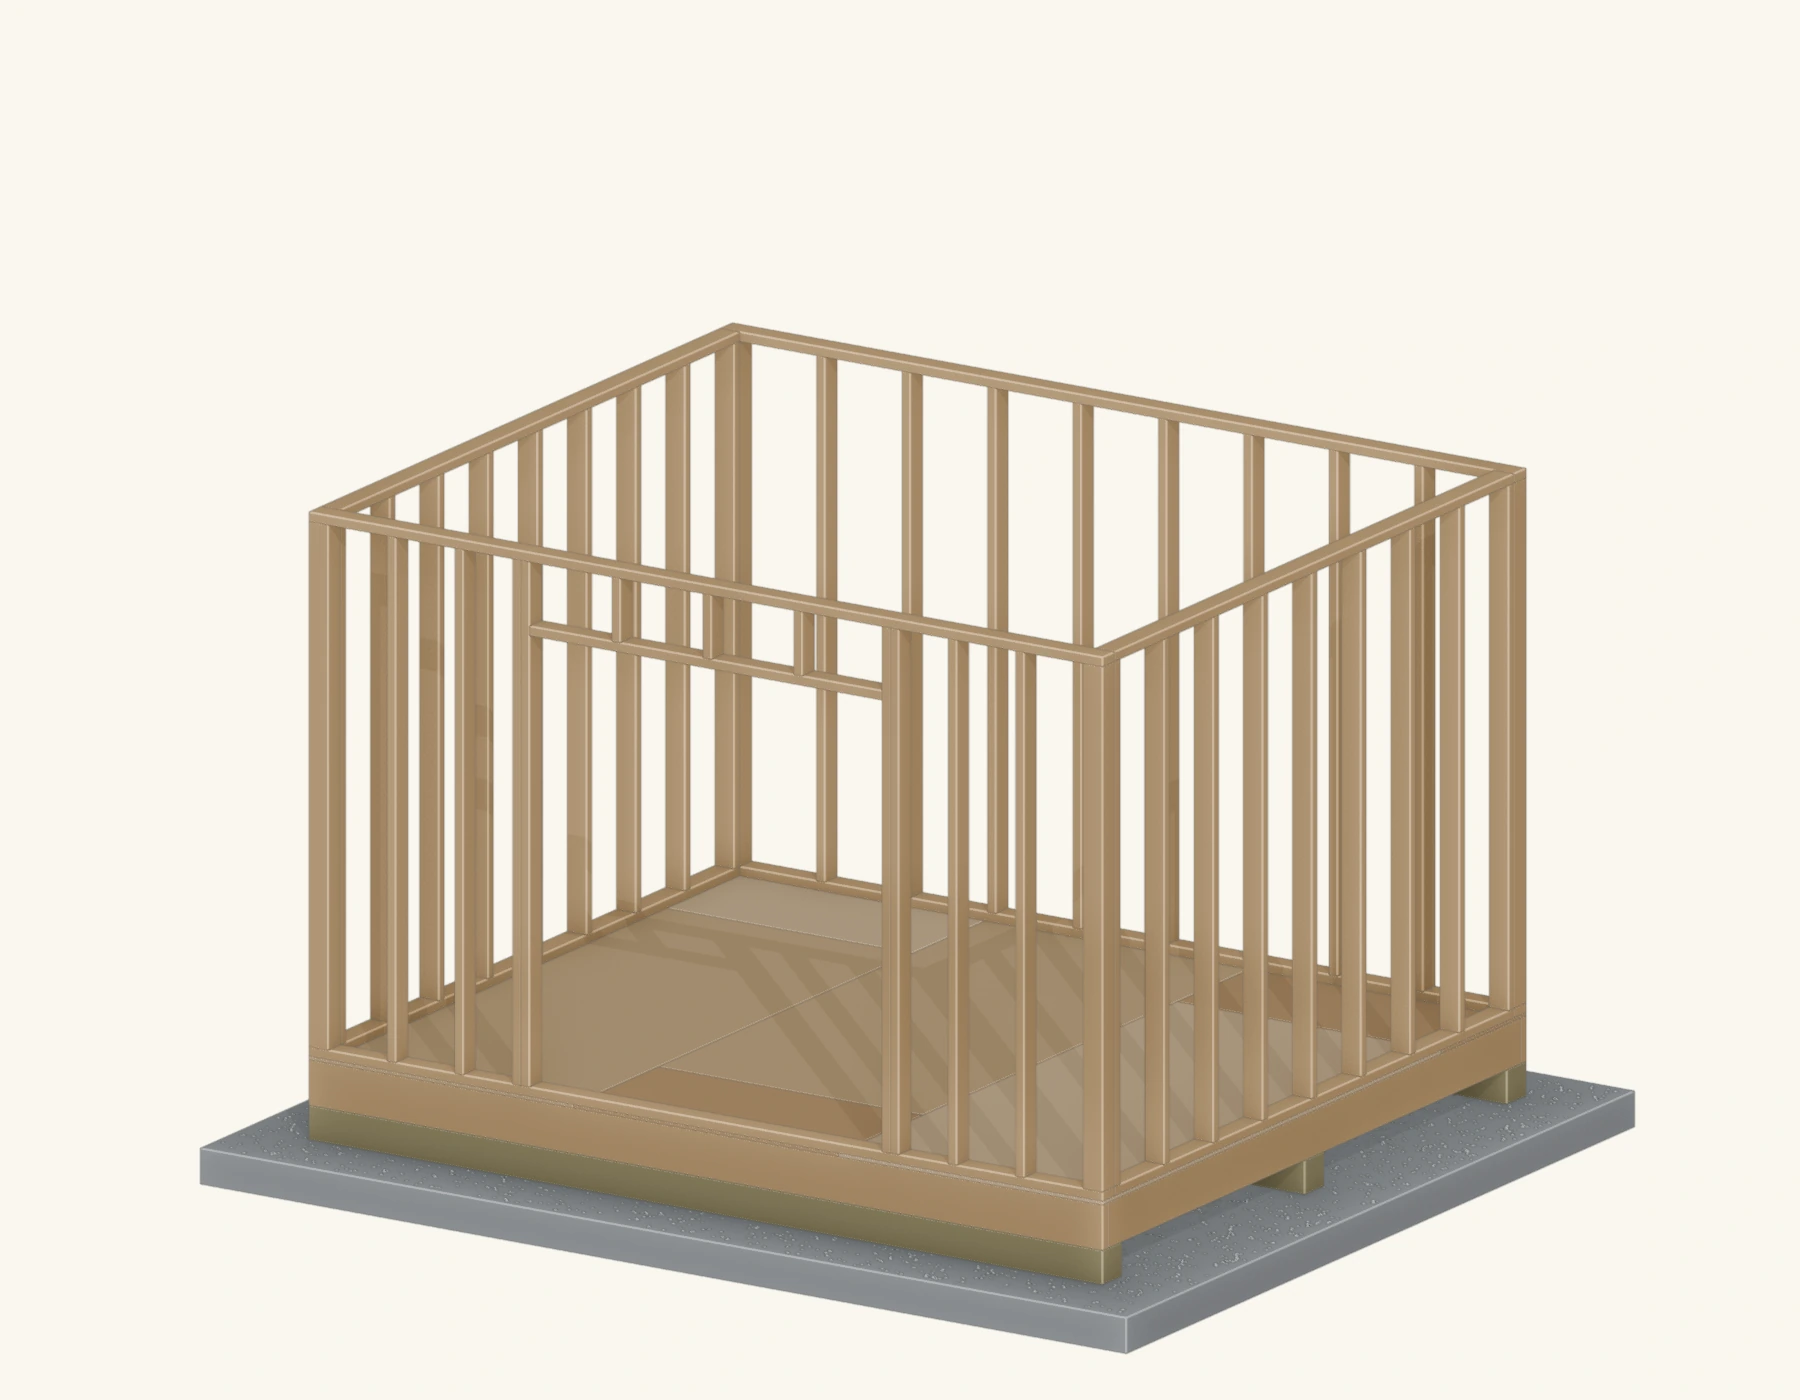
Walls are framed flat on the floor deck, then tilted up into place — this is the satisfying stage where the shed suddenly takes shape. Each wall is a bottom plate, a top plate, and 2x4 studs at 16 or 24 inches on center, with extra framing (king studs, jack studs, headers and cripples) around every door and window opening. Build the wall on the deck, square it, sheathe it if you like while it is still flat, then stand it up, nail the bottom plate to the floor, and brace it plumb.
Mark stud positions on both plates using the spacing in the plan. Measure both diagonals before raising each wall. Get help to lift it, fasten the bottom plate and brace the wall plumb. Lap the second top plates across the corners and wall joints.
Walls are a stage worth its own guide. For the framing methods (stick-built, post-and-beam and pole-barn), stud spacing, plates and the double top plate, rough openings, tilt-up, bracing and tie-down in detail, read Shed Wall Framing.
Stage 4 — Frame the roof
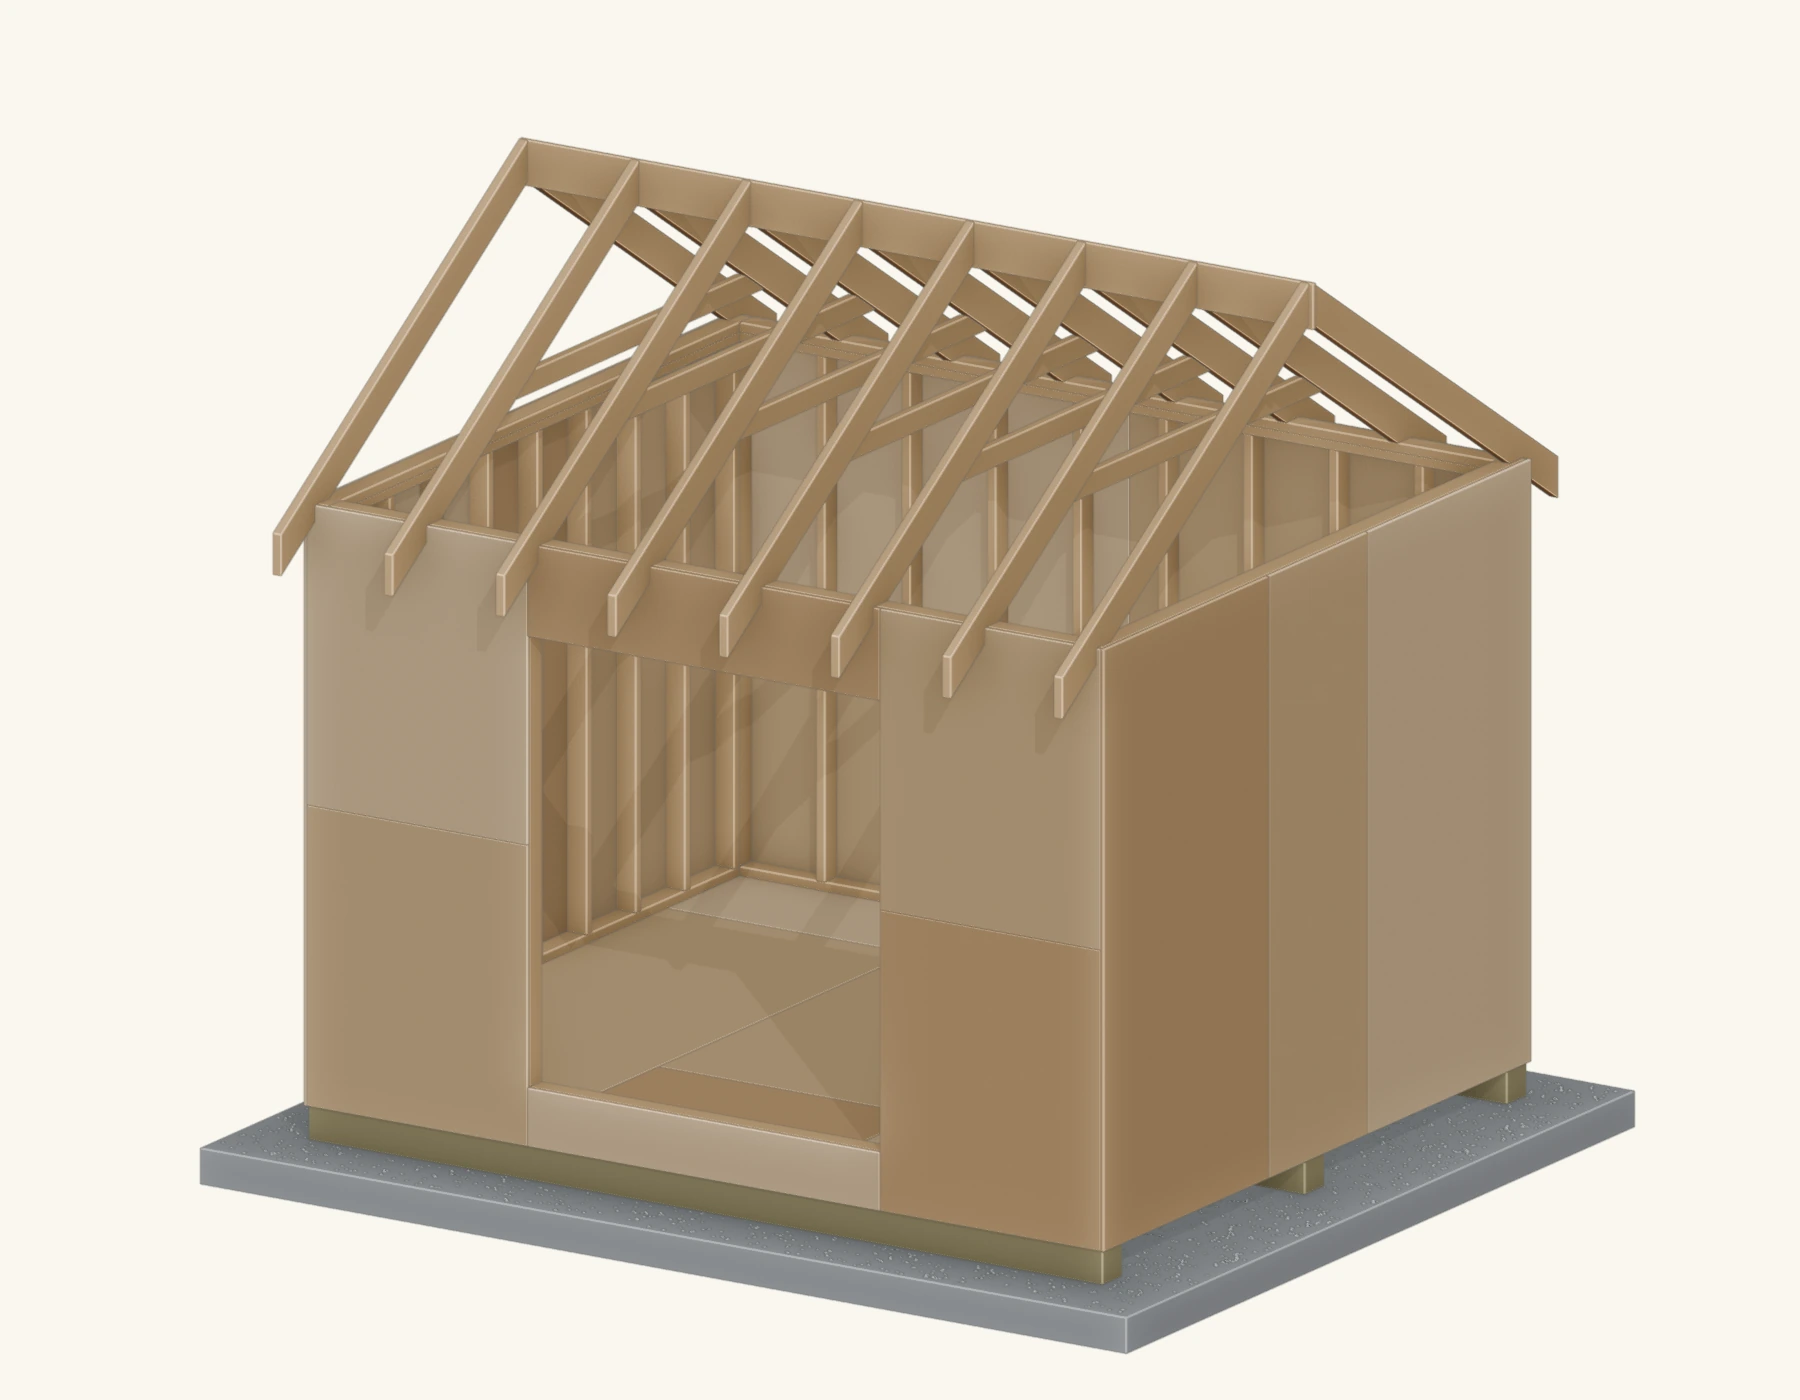
With the walls up, plumb and tied together by a double top plate, you can frame the roof. This is the fussiest stage because it involves angled cuts, but every shed roof comes down to a roof shape and a pitch. Set a ridge board and hang matching rafter pairs for a gable roof, build trusses on the ground and lift them up for a gambrel barn roof, or run single-slope rafters from a tall wall to a short one for a lean-to. Most shed roofs use a pitch between 3/12 and 6/12 and rafters spaced 16 or 24 inches on center, tied at the feet so the walls can't spread.
The roof is the one stage worth its own guide. For plumb cuts, birdsmouths, pitch, rafter sizing and the three roof shapes in detail, read How to Frame a Shed Roof.
Get help to lift the roof members. Keep the walls braced while fitting the rafters, ties and connections shown in the roof plan.
Stage 5 — Sheathe and side the walls
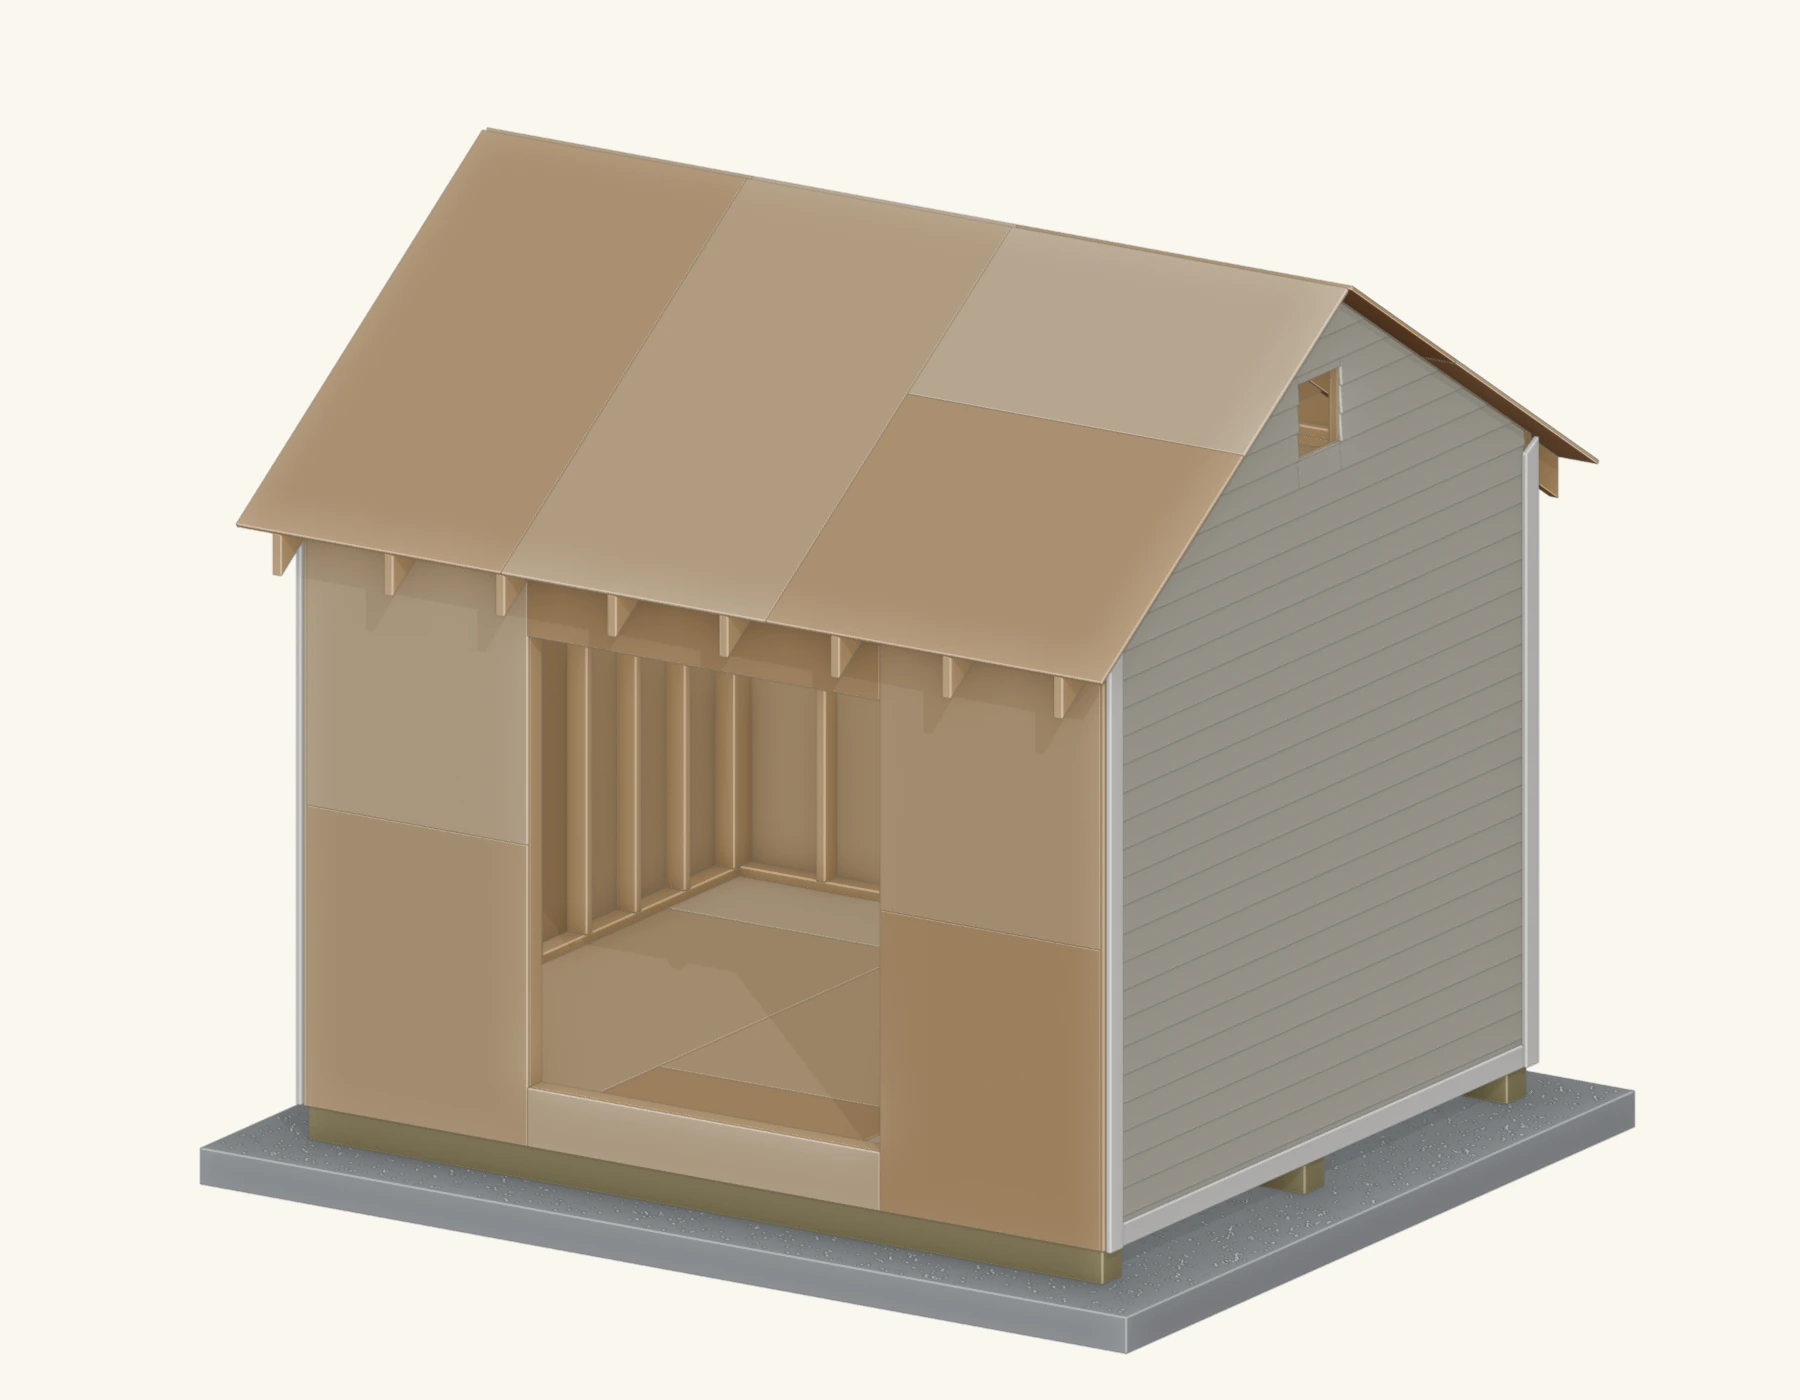
Sheathing is the structural skin — usually 7/16-inch OSB or 1/2-inch plywood — nailed across the studs to stiffen the walls against racking. Over the sheathing goes a weather-resistive barrier (house wrap), then the siding: lap siding, T1-11 panels, board-and-batten or metal. Some sheds combine the two by using a rated panel siding like T1-11 as both sheathing and finished surface. Start siding from a level line at the bottom and work up, keeping courses straight and leaving the door and window openings clear.
Siding is what the finished shed looks like, and there are more choices than most people realize. Our shed siding options guide compares vinyl, lap, T1-11, tongue-and-groove, metal, board-and-batten, LP SmartSide and cedar shingles — with cost, durability, maintenance and how to choose for your budget, climate and house.
Stage 6 — Roof it in
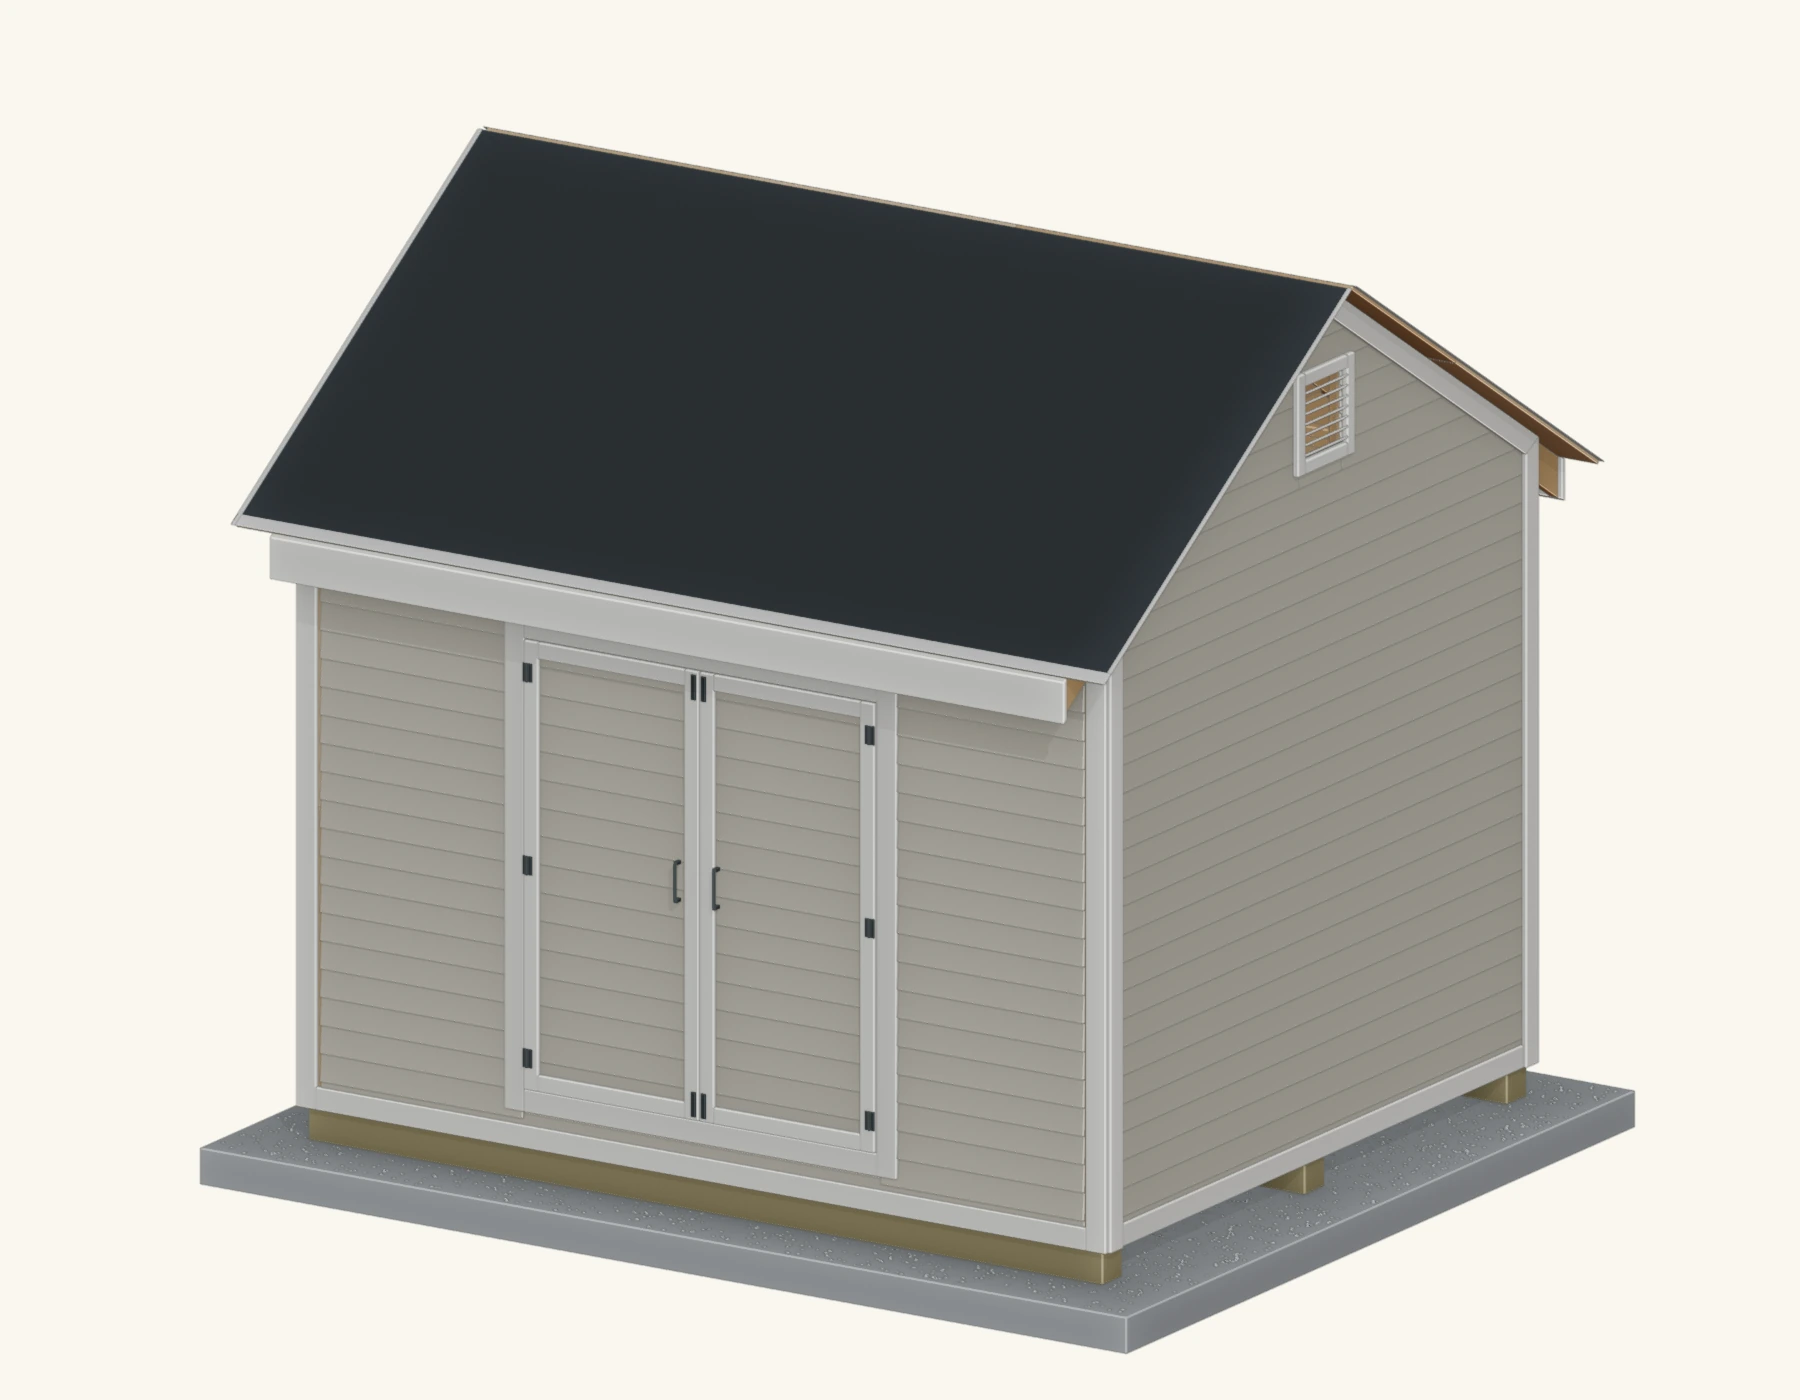
Once the rafters or trusses are set, fit the roof sheets specified in the plan, then cover them against the weather. Add drip edge at the eaves, roll out underlayment (felt or synthetic), and cover it with your roofing — asphalt shingles are the most common and forgiving choice, while metal panels go on fast and last. Work from the bottom edge up so each course overlaps the one below and sheds water, and finish the peak with ridge caps. Getting the shed weather-tight is the milestone that protects everything you have built so far.
Stage 7 — Hang the doors and set the windows
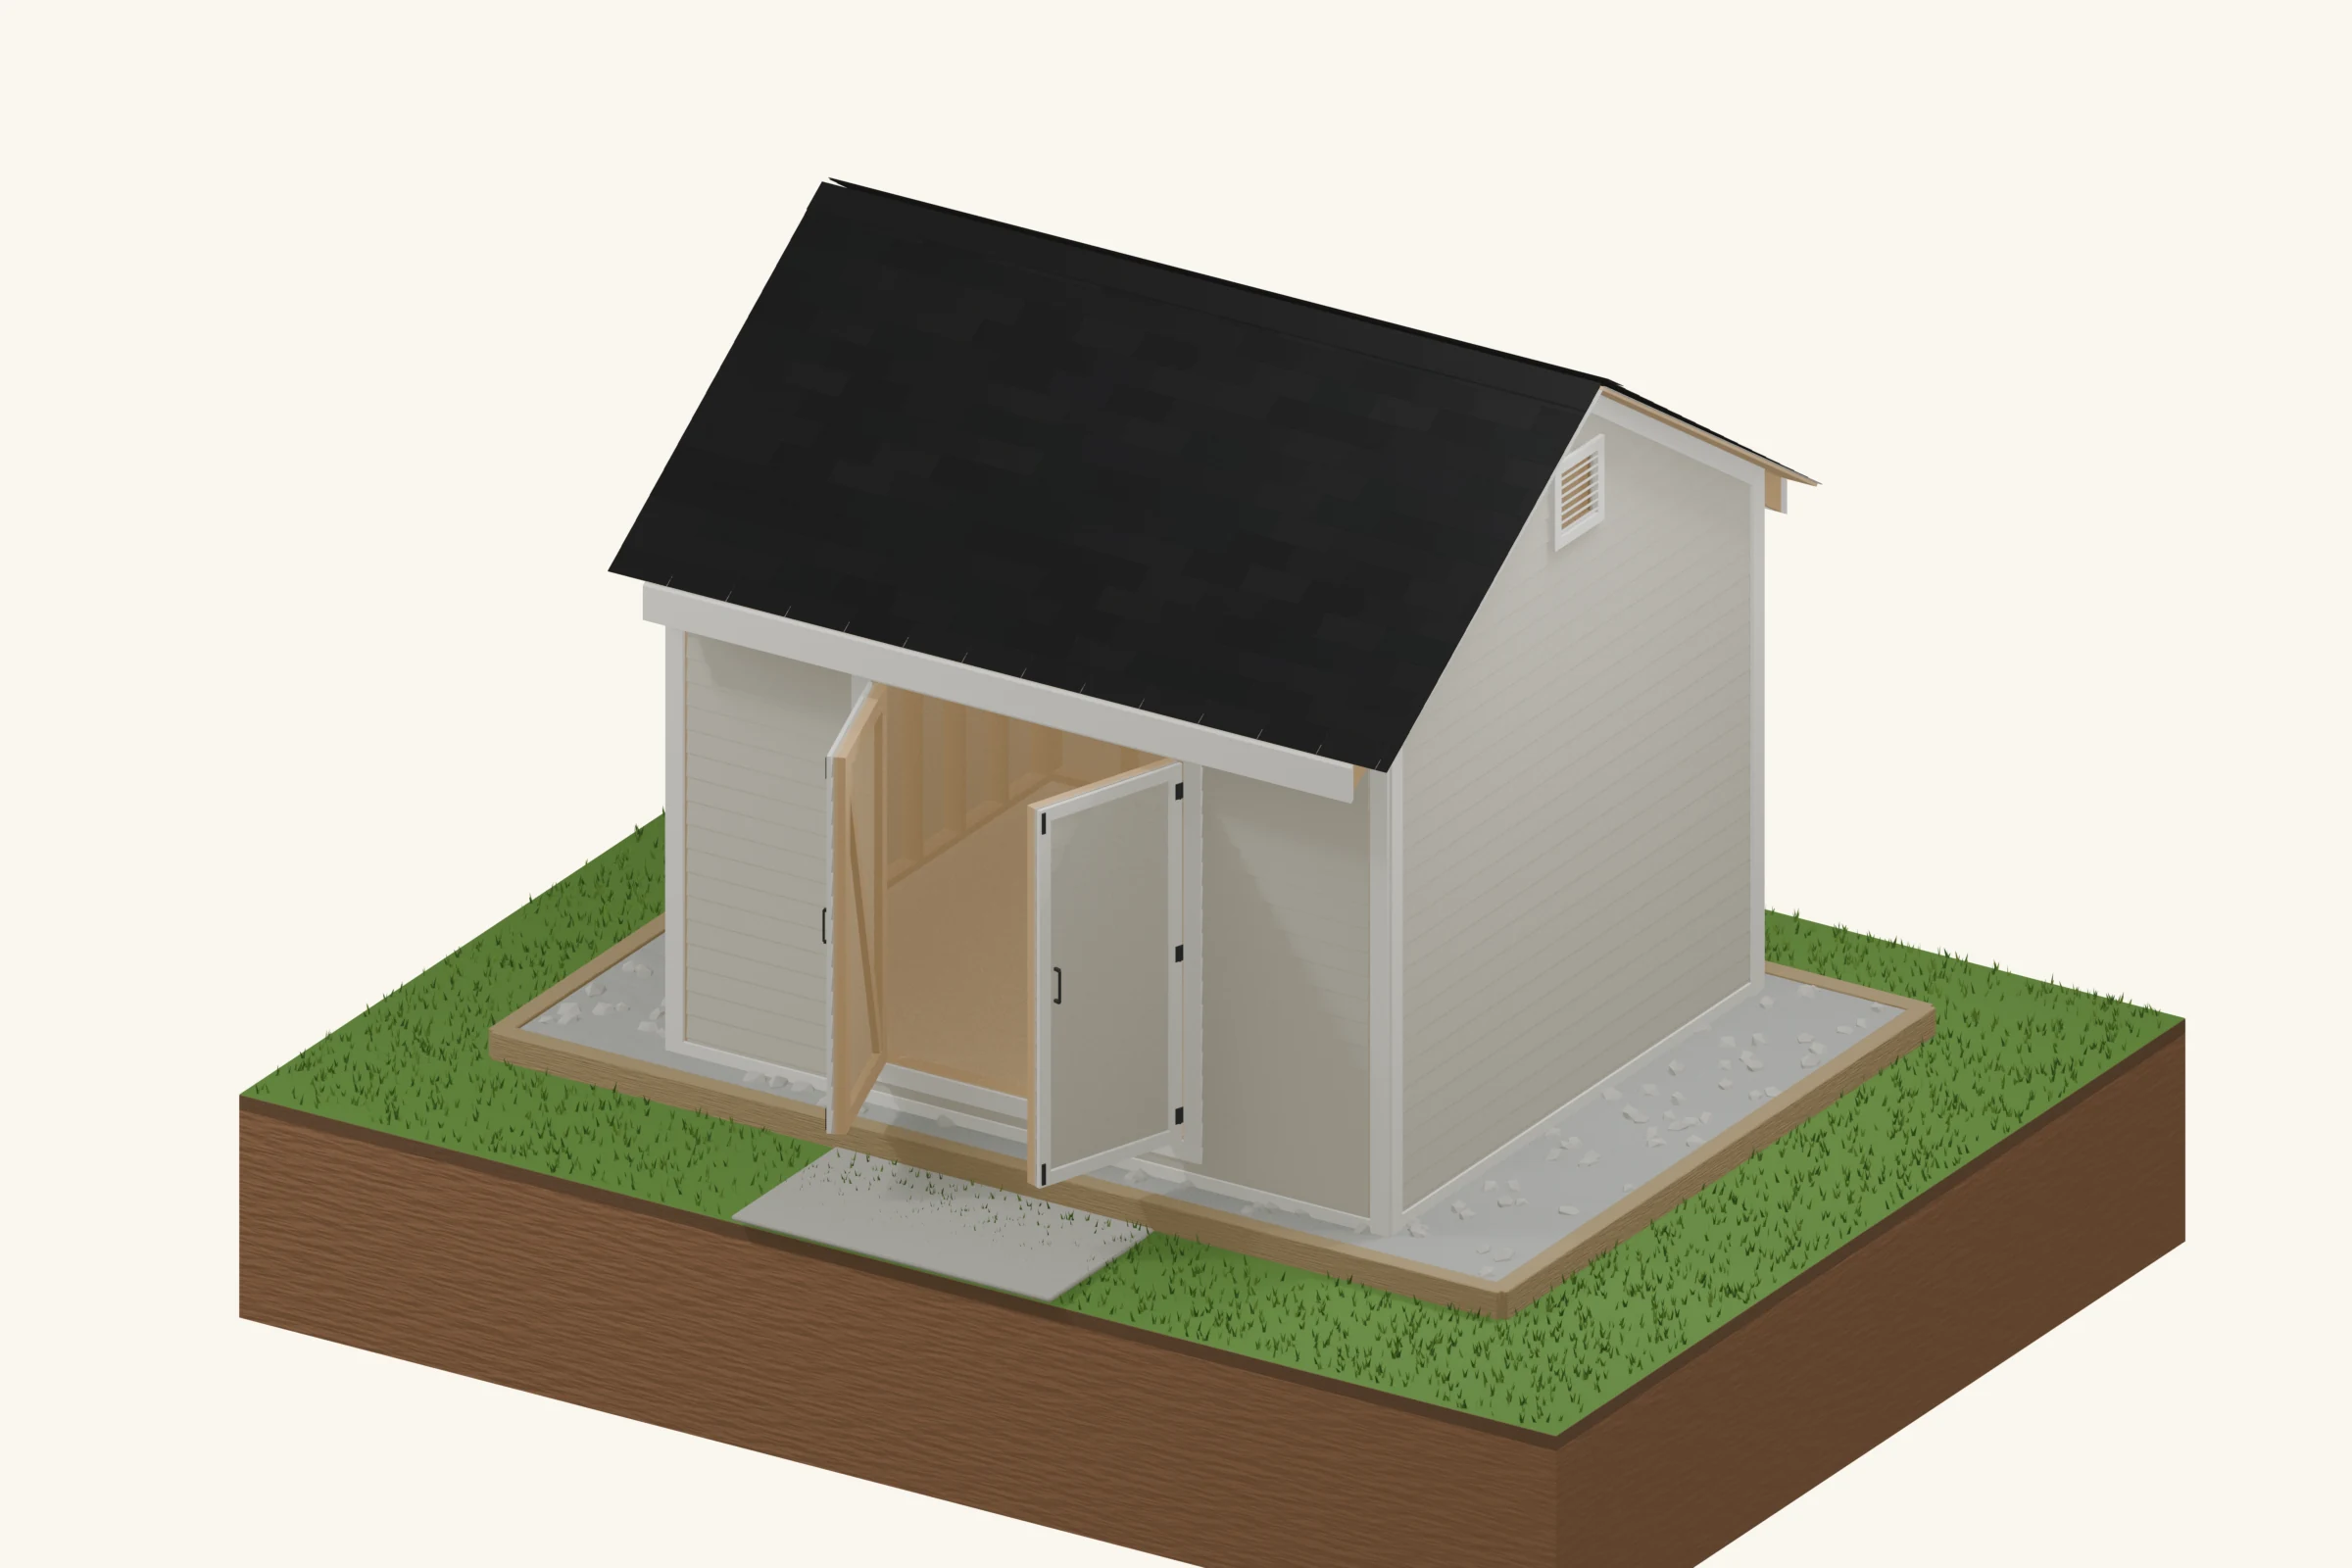
With the shell weather-tight, fit the openings you framed earlier. Set windows into their rough openings, shim them plumb, level and square, fasten through the flanges, and flash the head and sides so water drains out and away. Hang the door on a square, plumb frame — a shed door that binds or drops is almost always a sign the opening or the floor wasn't square. Add the hardware (hinges, a hasp or lockset, a barrel bolt on double doors) and check that everything opens and closes freely before trimming.
Stage 8 — Trim, finish and protect
Add corner boards, fascia and trim around the doors, windows and edges to cover the joints and shed water. Then seal the joints and apply the finish required by the siding maker. Leave drainage openings clear. Fit gutters and a downspout to carry roof water away from the foundation, and, if you want a dry, comfortable space, add insulation and interior sheathing.
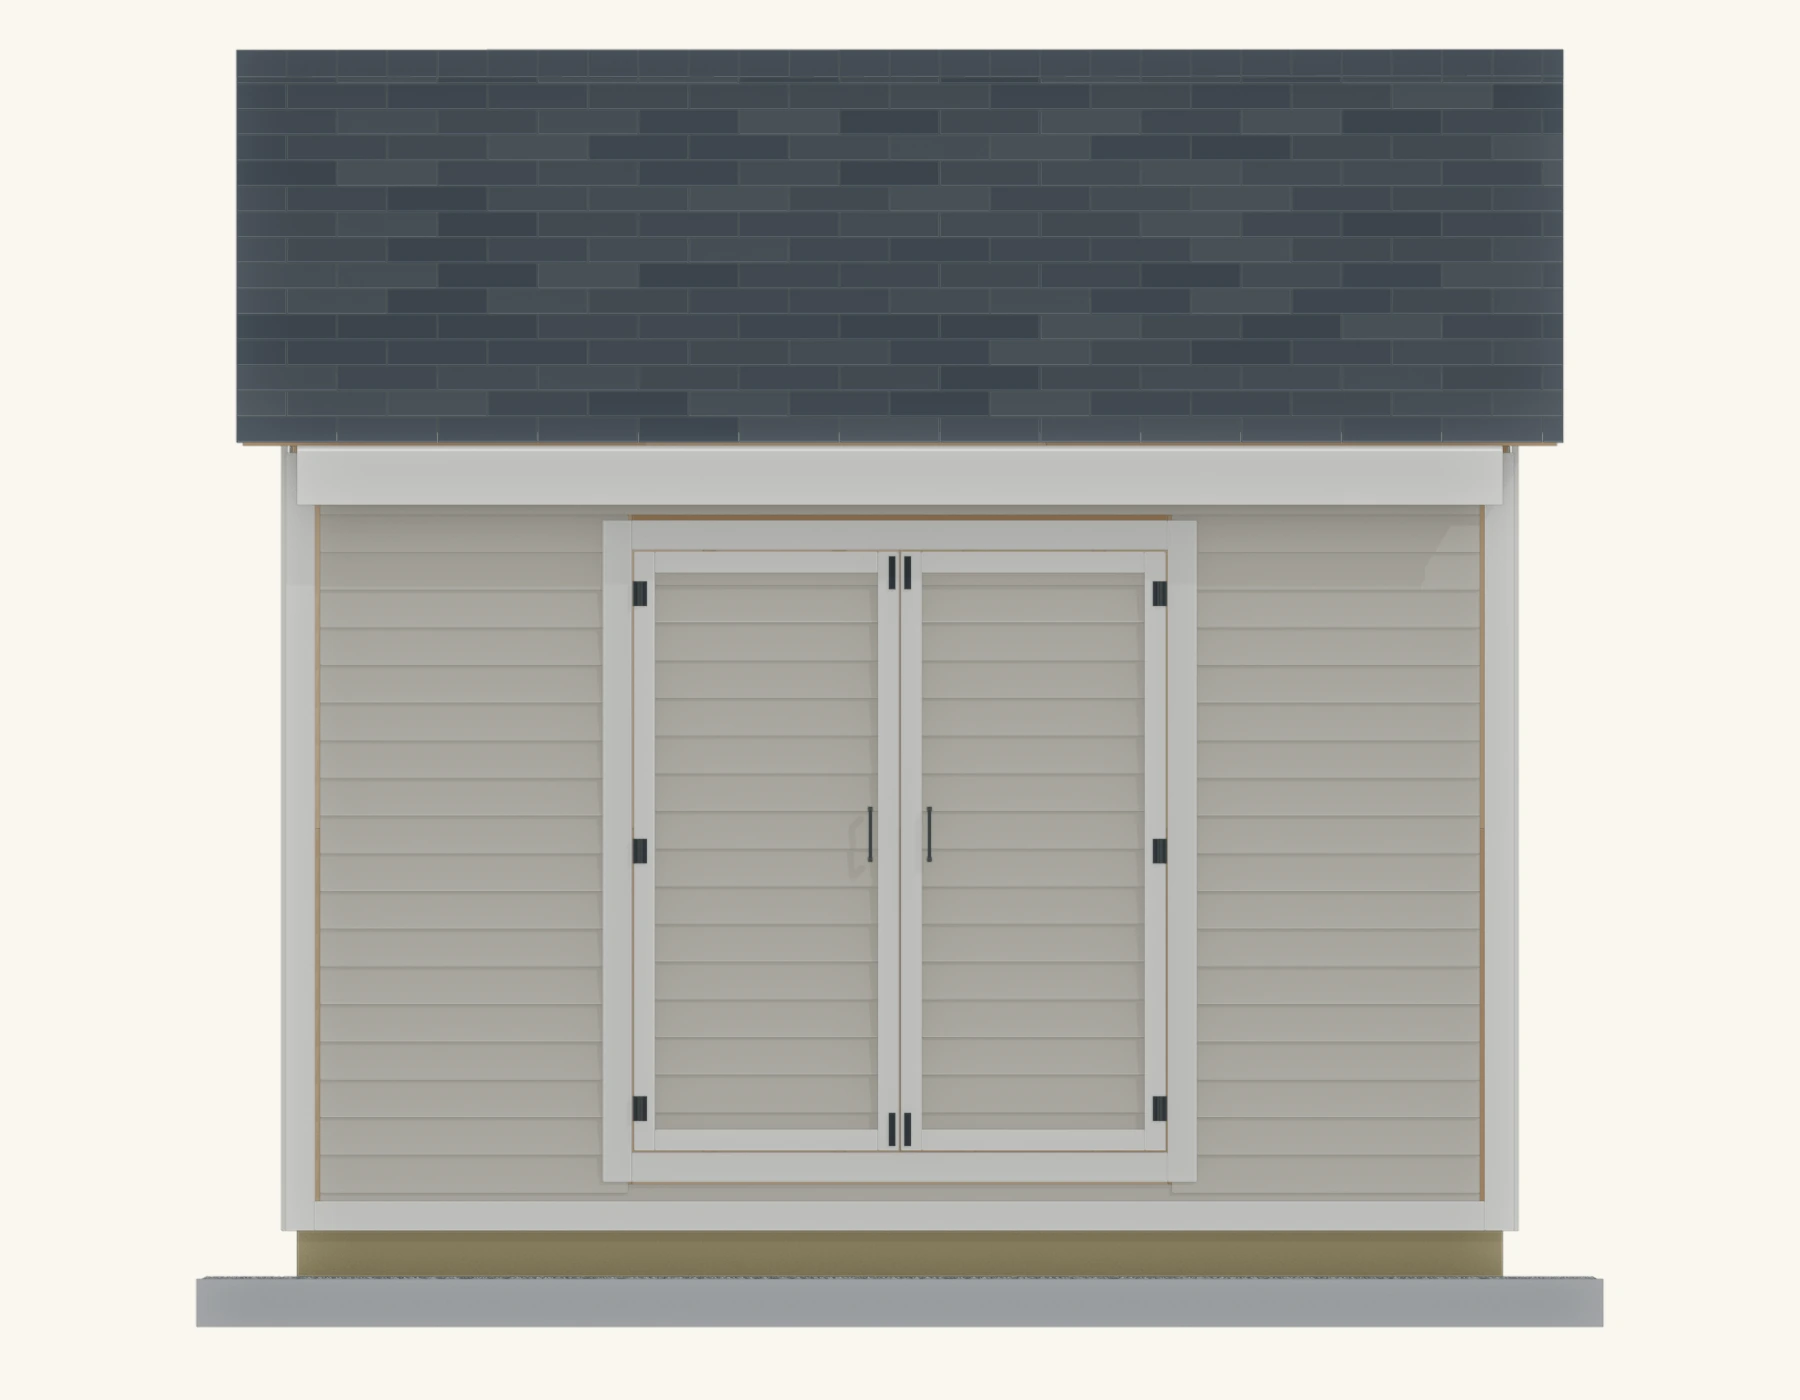
Shed plans that walk you through every stage
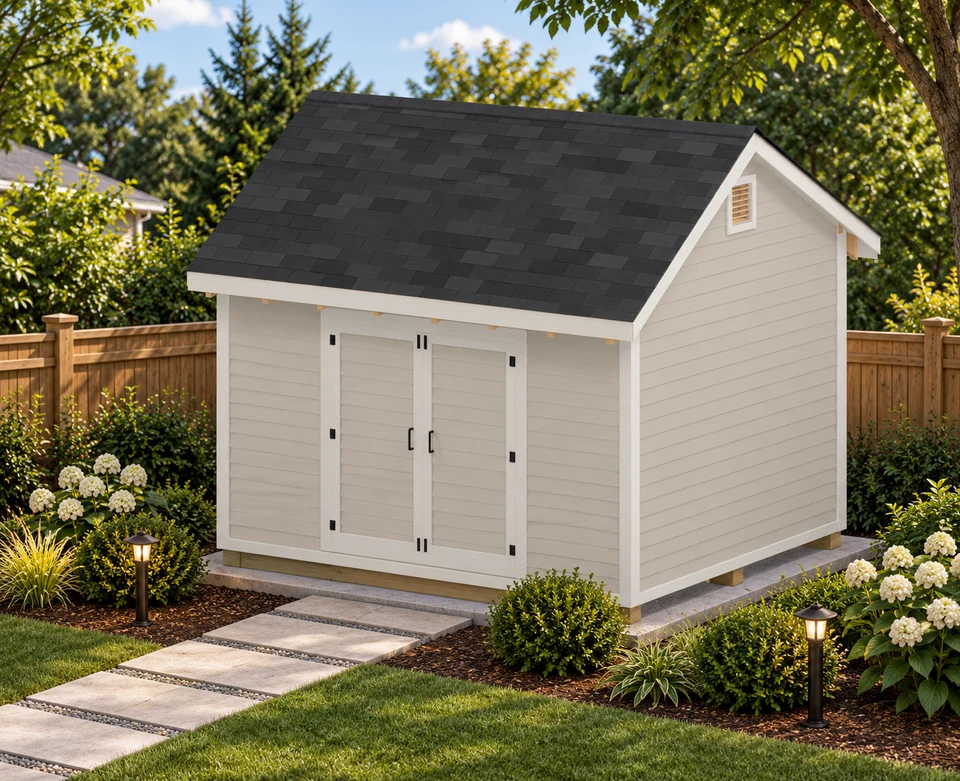
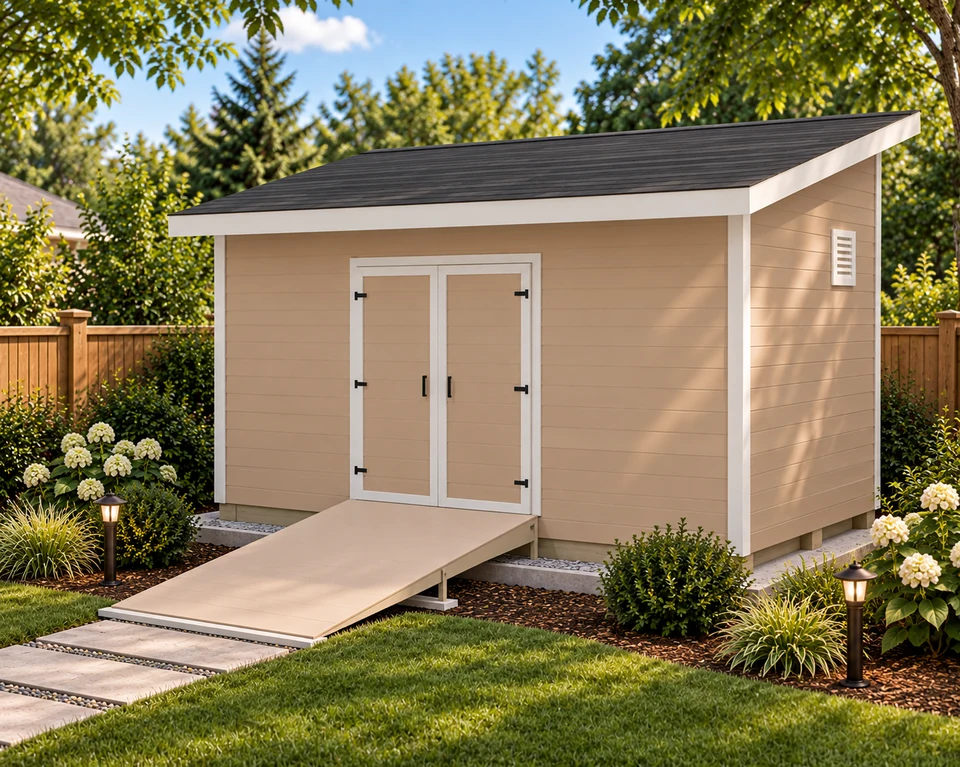
The fastest way to build well is to start from a plan that has already worked out the dimensions, the cut list and the framing for each stage above. Every DIYCraft plan includes 3D-rendered views, a full material list and a cut list. Here are good ones to start with:
Frequently asked questions
How long does it take to build a shed?
A small 8x10 shed is a solid two-to-three-day project for a competent DIYer with a helper; a larger 12x16 shed with a proper foundation, windows and finishing usually runs a week or more of weekend work. Prepping a level foundation is the slowest single step, and the roof is the fussiest — budget your time there.
In what order do you build a shed?
Build from the ground up: prepare a level foundation, build and square the floor frame, frame and raise the walls, frame the roof, sheathe the walls and roof, add siding and roofing, hang the doors and set the windows, then finish with trim, paint or stain and gutters. Each stage sits on the one below it, so getting the foundation and floor dead level and square makes everything after it easier.
Do I need a permit to build a shed?
It depends on your location and the shed's size. Many areas allow small sheds (often under 100 to 200 sq ft) without a permit, but setbacks from property lines, height limits and HOA rules still apply. Always check with your local building department before you start — it's a quick call that can save an expensive rebuild.
What is the best foundation for a shed?
For most sheds, a gravel pad with pressure-treated skids or a set of concrete deck blocks is the simplest, best-draining, and most forgiving option. Poured concrete piers or a slab are stronger and more permanent — worth it for large sheds, heavy equipment, or where frost heave is a concern. The key in every case is a flat, level, well-drained base.
What size lumber do I use for a shed?
Typical small-shed framing uses 2x6 pressure-treated floor joists at 16 inches on center, 2x4 wall studs at 16 or 24 inches on center, and 2x4 or 2x6 rafters depending on span and snow load. Larger sheds and heavier roofs step up to deeper lumber. Follow the cut list in your plan and confirm sizes against your local code.
Can a beginner build a shed?
Yes. A small gable or lean-to shed is one of the best first carpentry projects — the cuts are repetitive and the structure is forgiving. Start with a complete plan that includes a material list and cut list, take your time squaring the floor, and get a helper for raising walls and setting the roof.