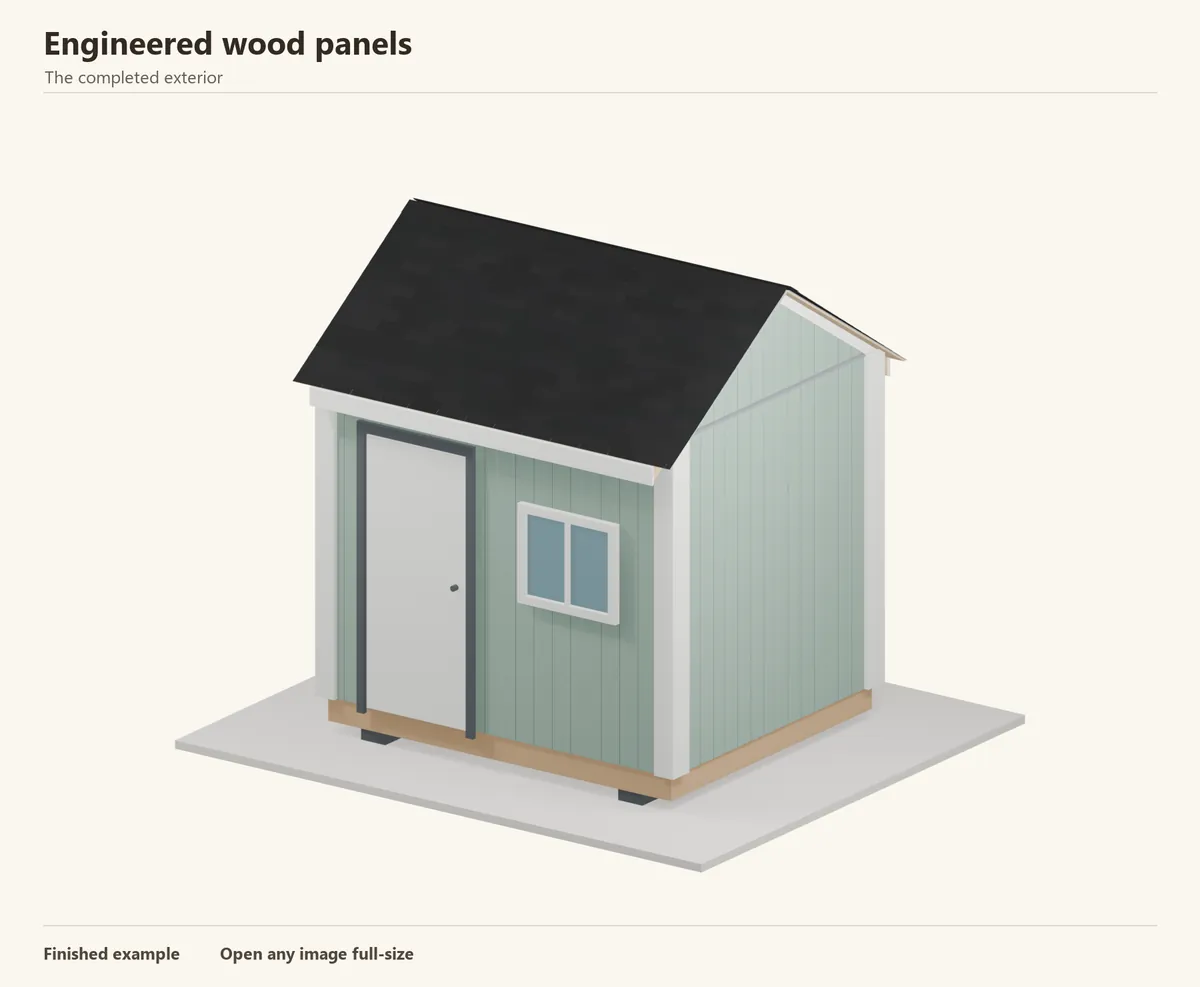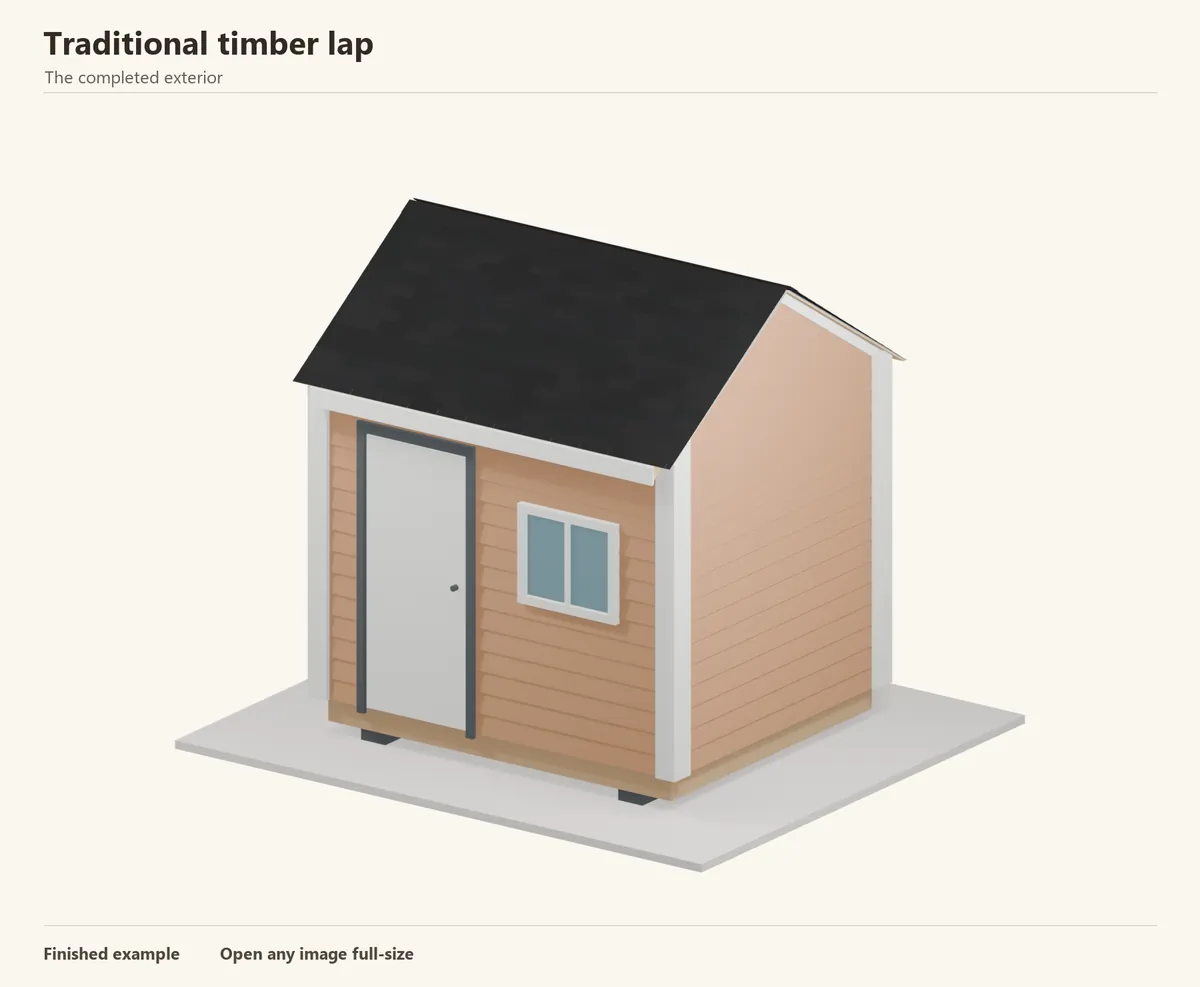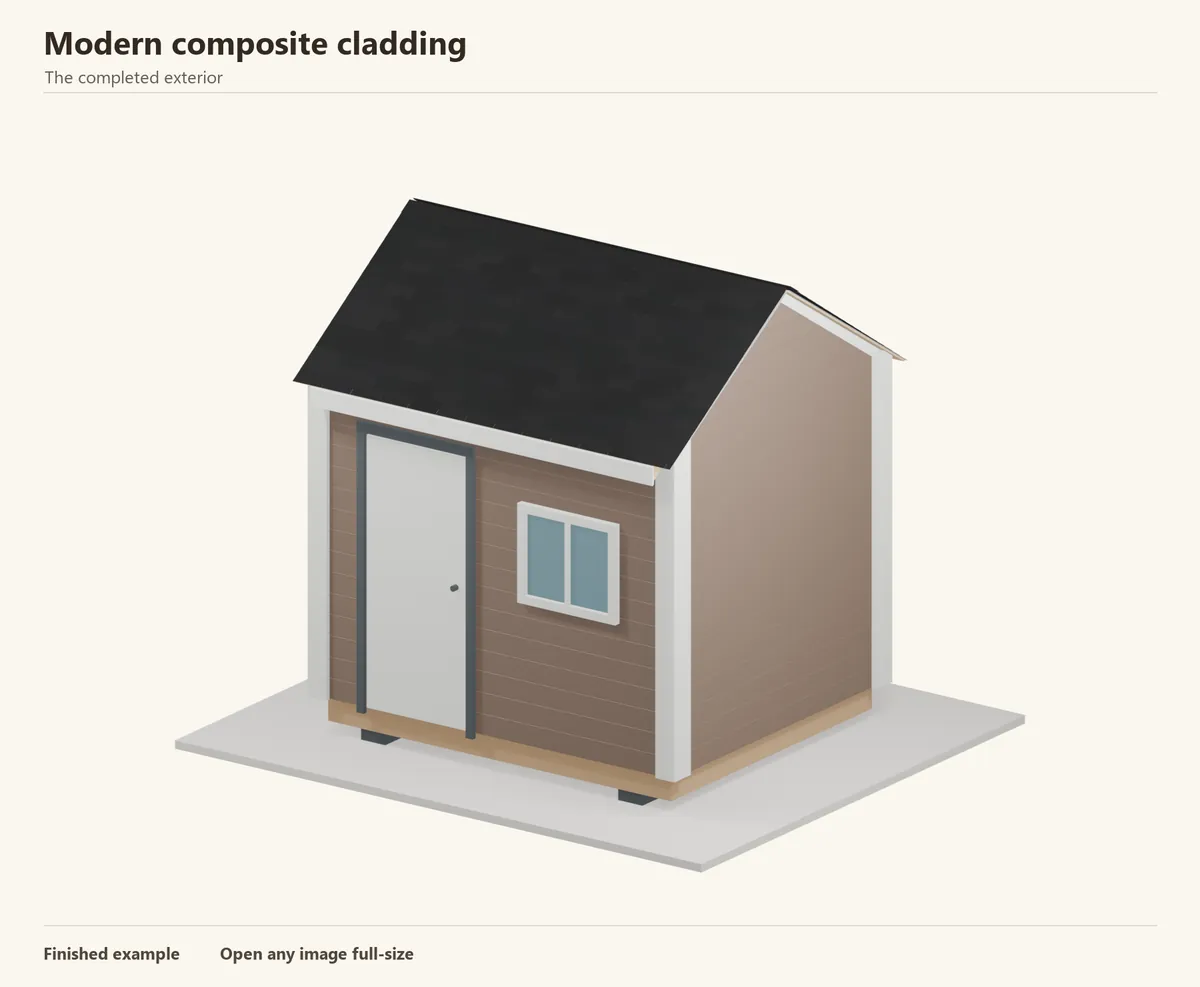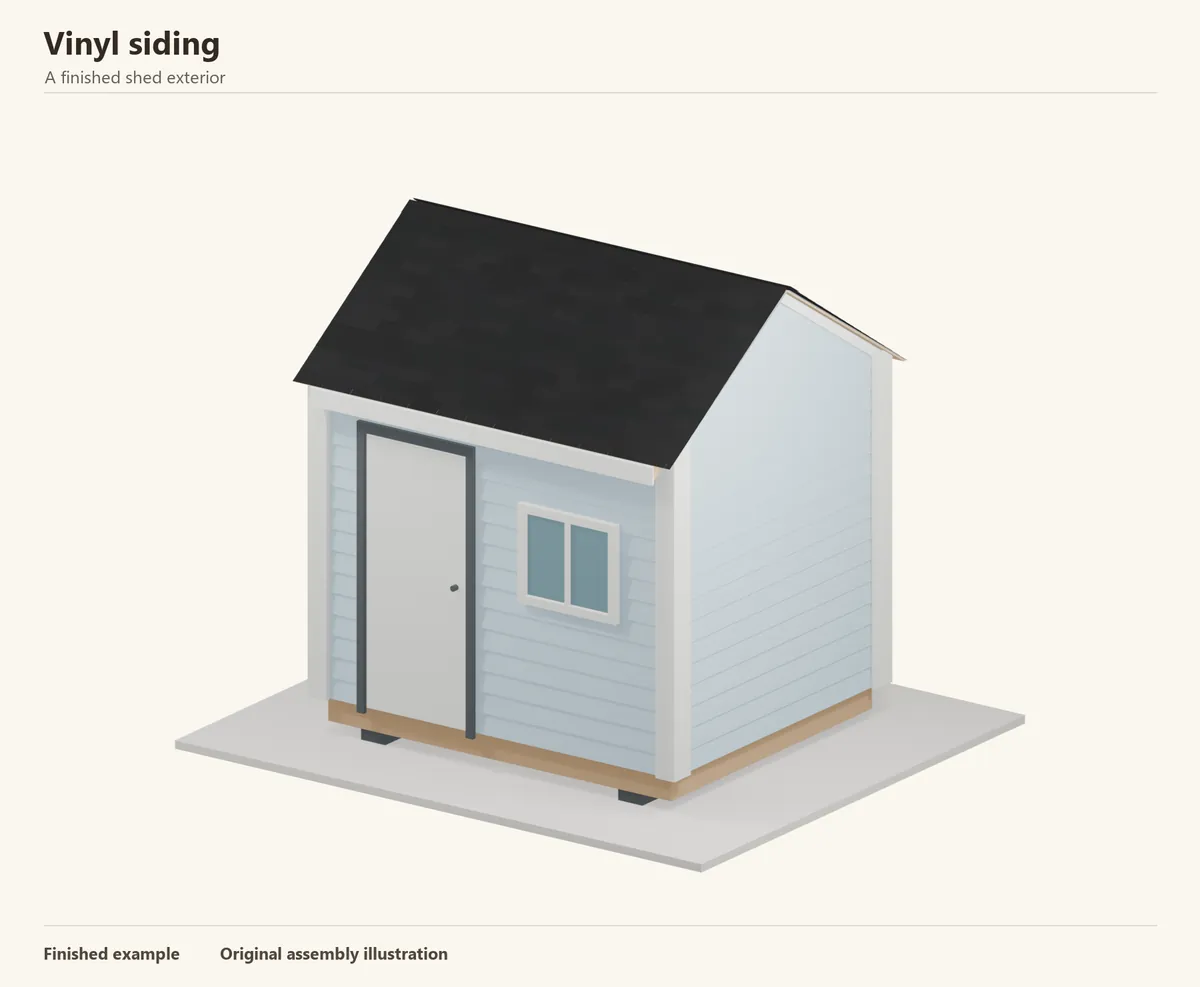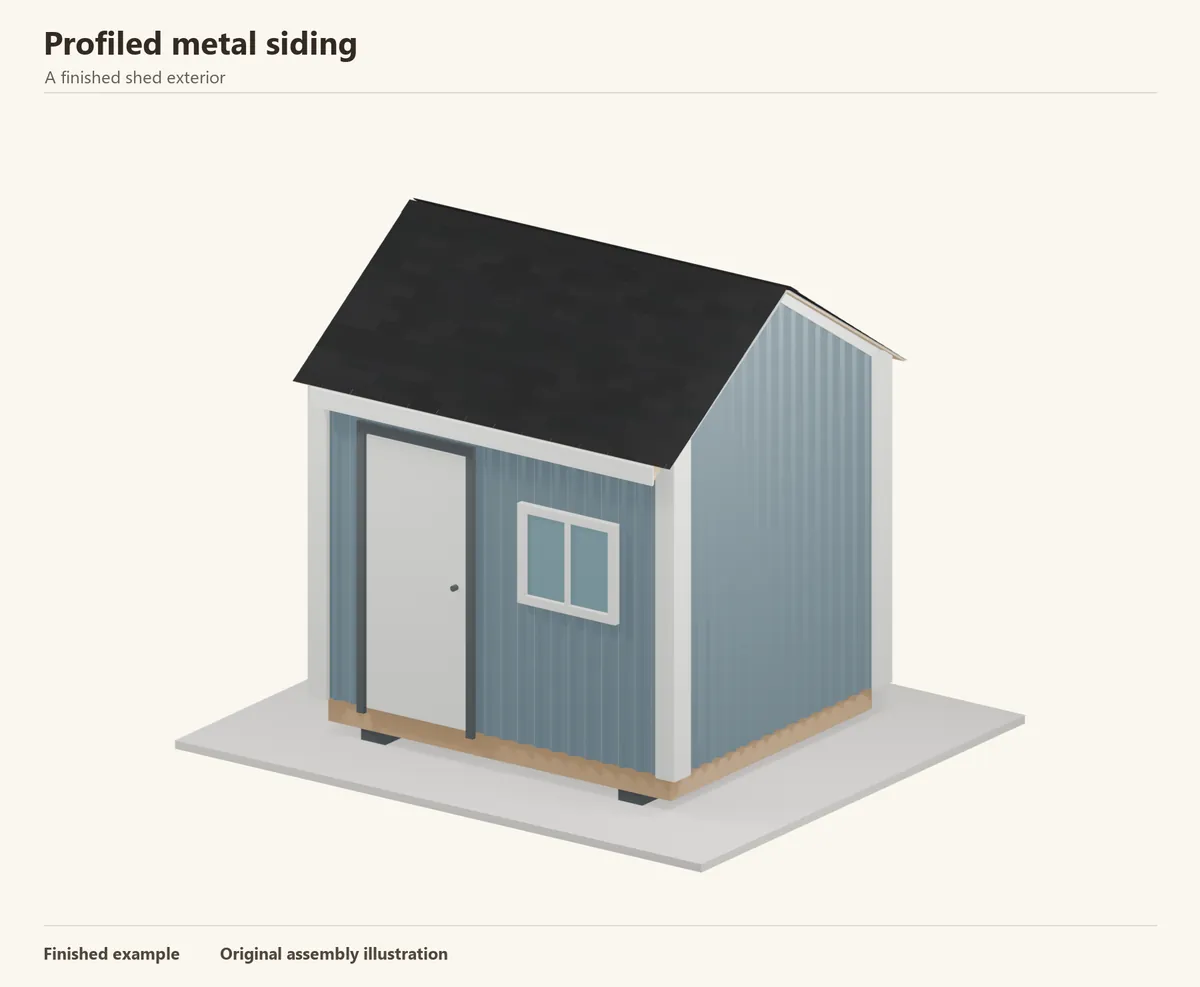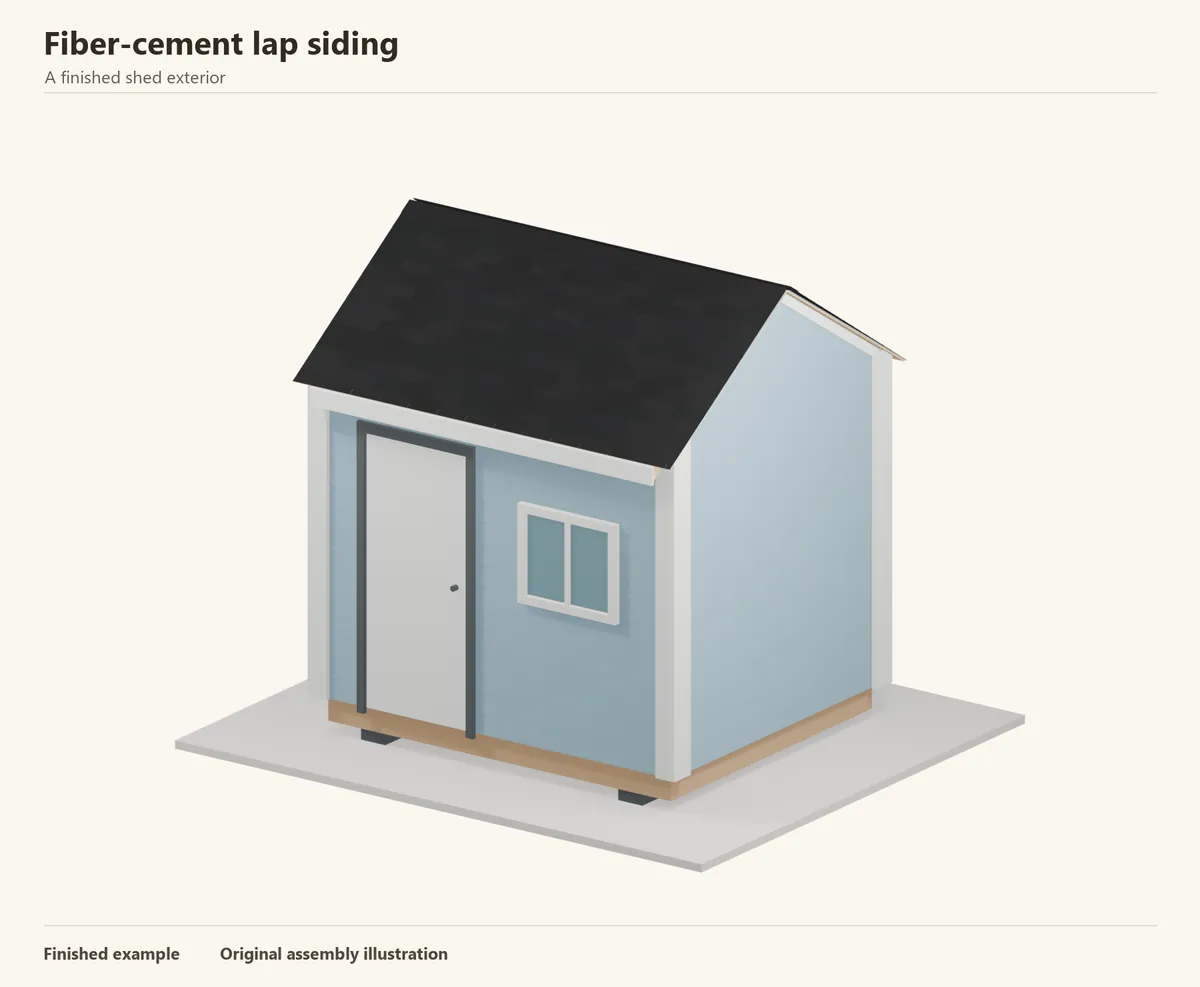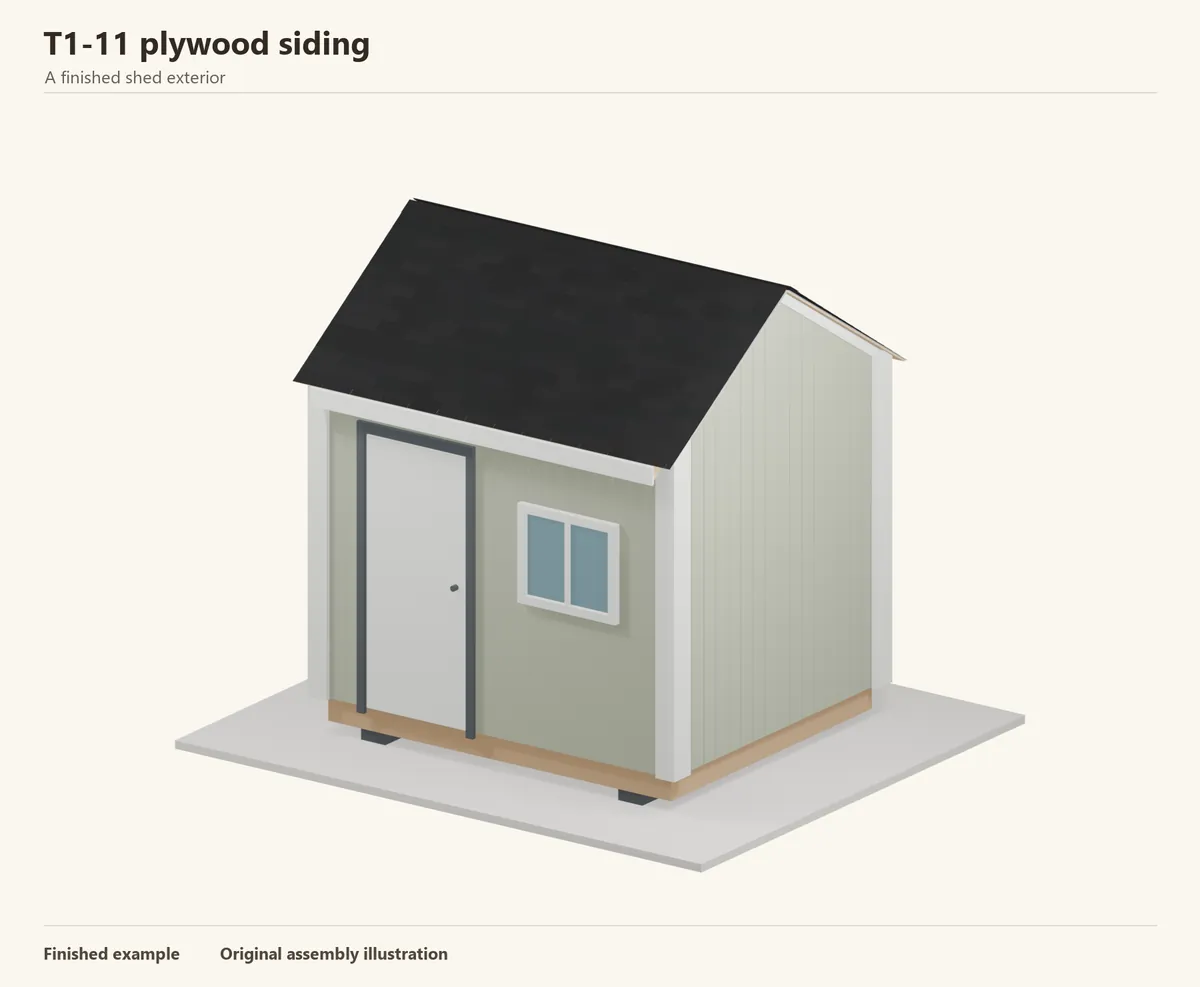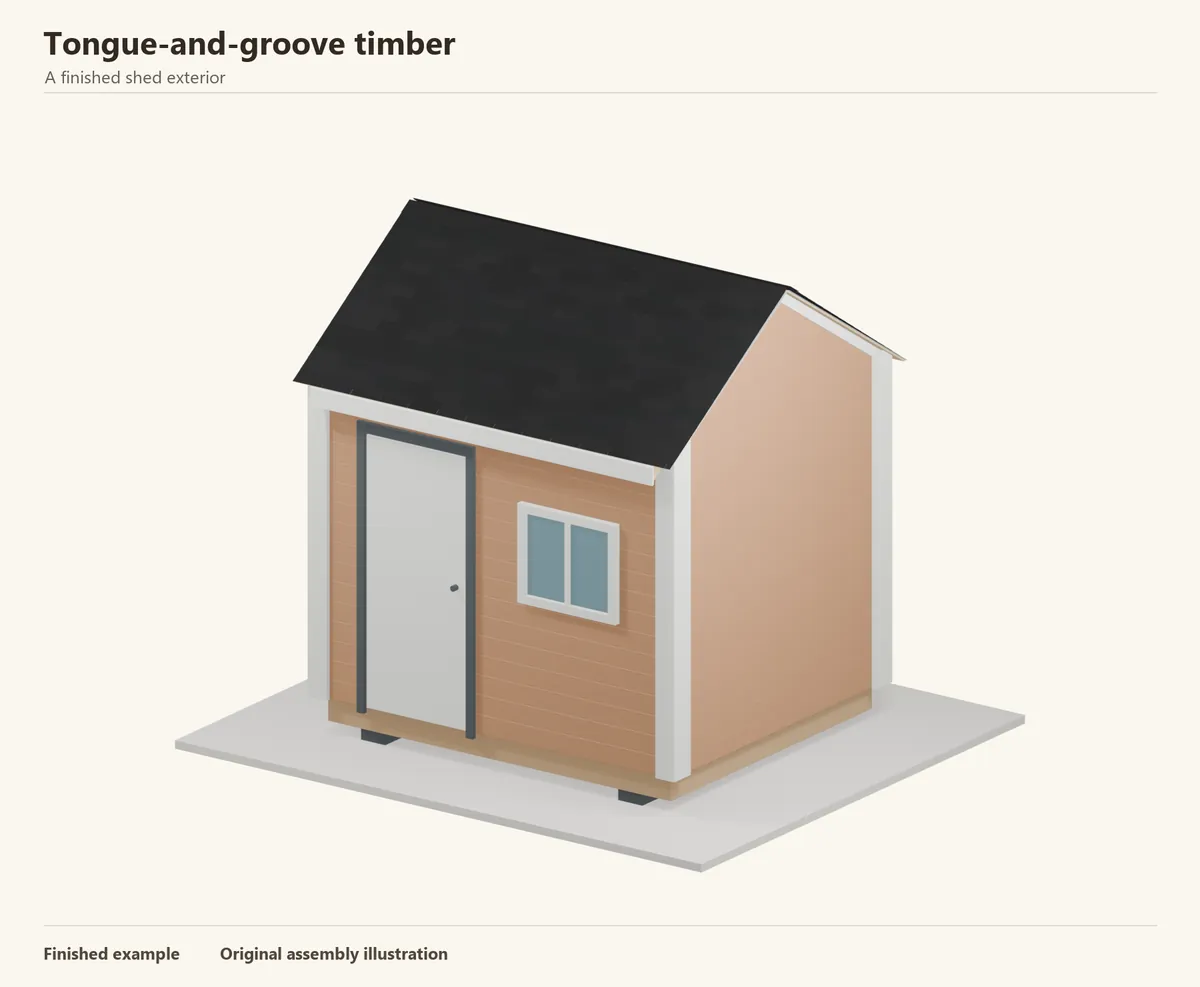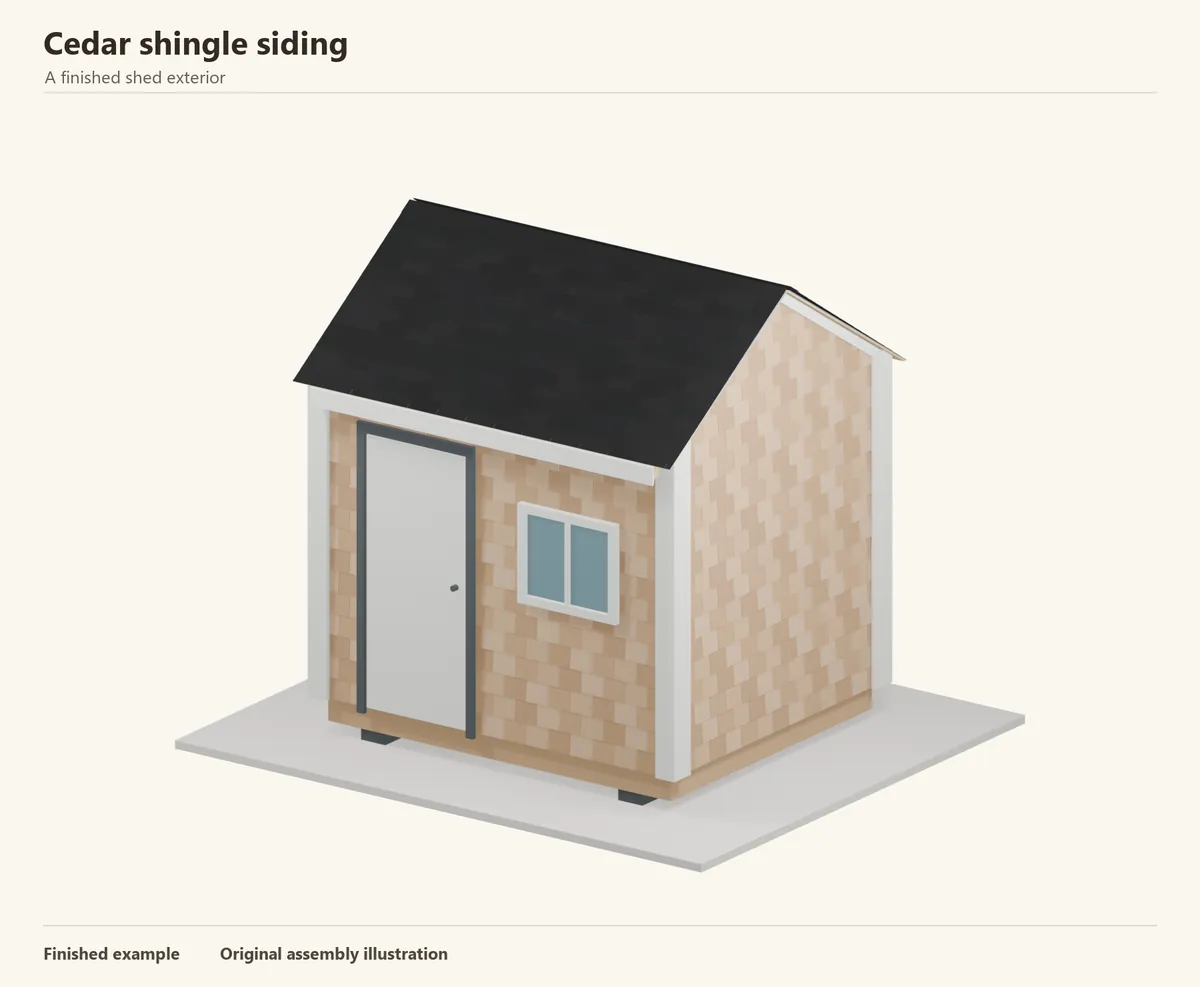
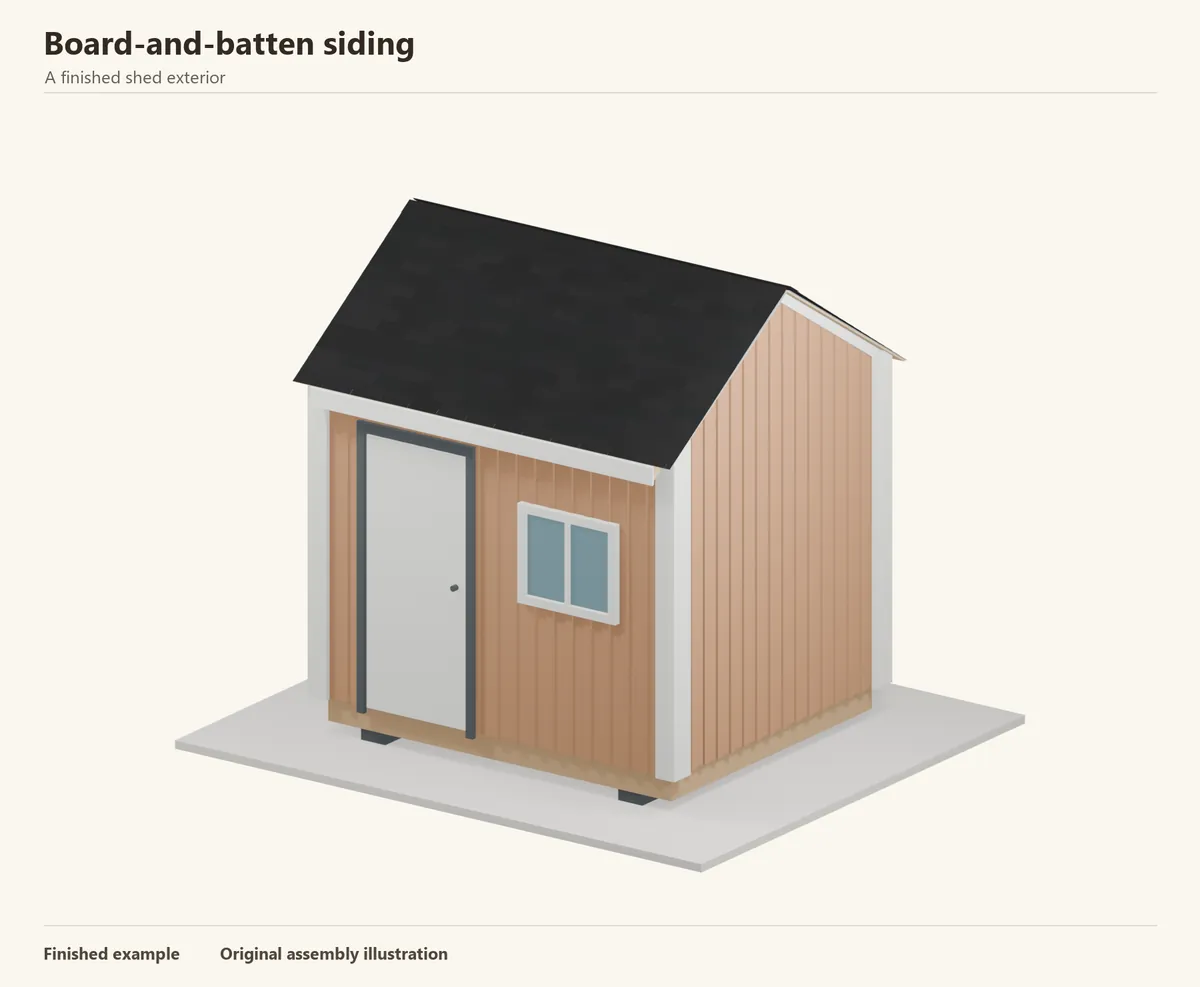
- A good fit for
- A barn-style or garden shed where deep vertical shadows and visible timber are part of the design.
- Plan for
- The two layers need careful joint planning. Incorrect batten nails can pin the boards and cause splitting.
Jump to an installation step
- 1. Lay out the vertical rhythm
- 2. Store and acclimatize the timber
- 3. Cut the lengths and protect the ends
- 4. Build backing that also allows drainage
- 5. Install the first boards plumb
- 6. Fix boards and battens independently
- 7. Check the gap and batten overlap
- 8. Cover the joints with straight battens
- 9. Fit the pattern around the flashed openings
- 10. Use corner trim deep enough for the battens
- 11. Finish the top and gable ends
- 12. Complete the finish and check movement
Before you begin
Buy the cladding and its required accessories together. Measure the wall area and openings, then calculate coverage using the actual product profile and allow for cuts.
- Exterior siding boards and separate matching cover battens
- Prepared wall sheathing, weather barrier and opening flashings
- Designed horizontal nailing rails, vertical drainage spacers and structural fixings
- Compatible corrosion-resistant siding nails in the required lengths
- Corner and head trim deep enough for the two-layer face
- Exterior coating, cut-end treatment, tape, level, square, saw and drill
- Eye, hearing and dust protection and a safe working platform
Understand the boards, gaps and cover battens
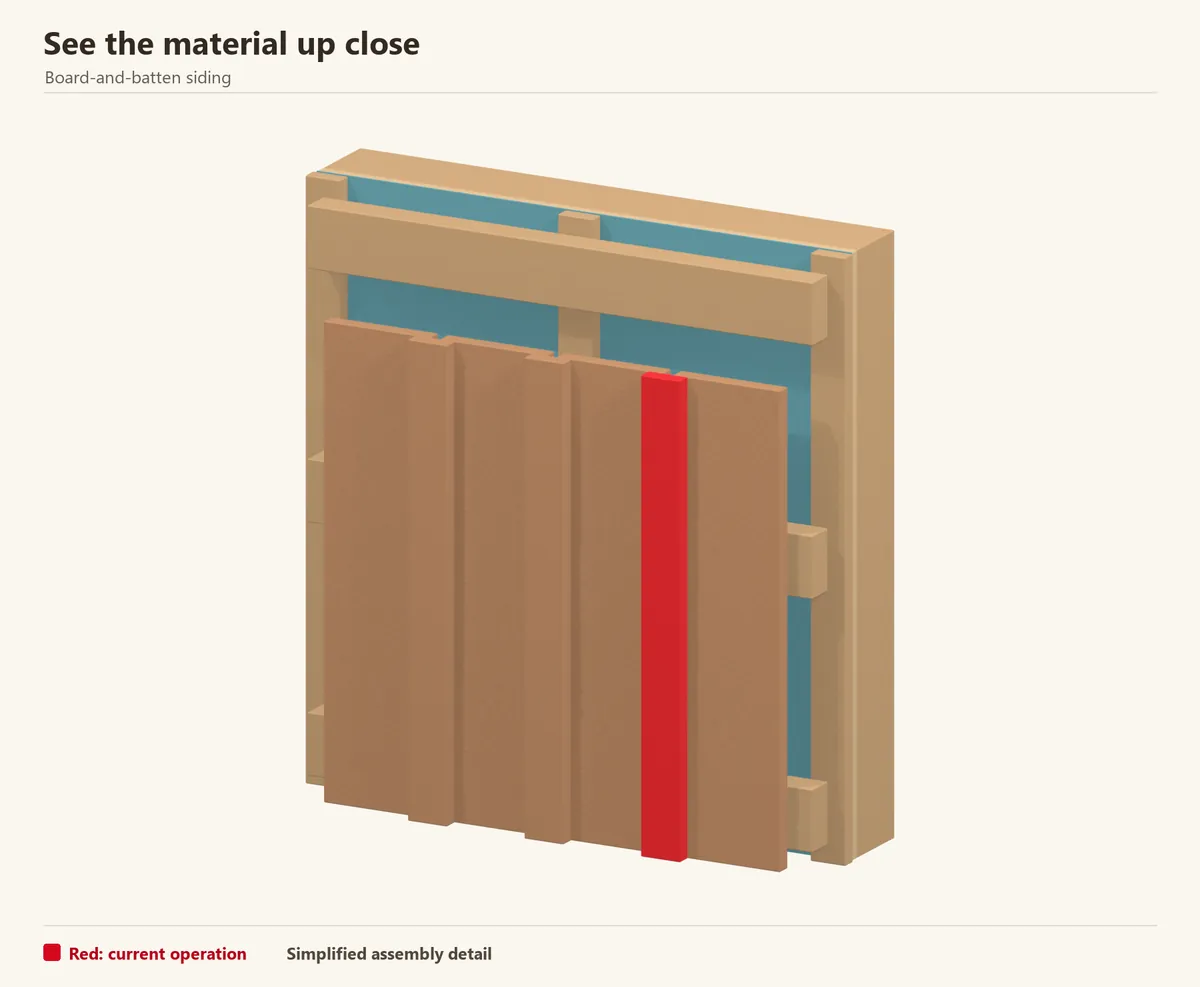
Board-and-batten uses separate vertical timber boards with narrower strips covering their joints. It can be built with narrow boards for a fine rhythm or wider boards for a stronger barn appearance. Choose the wood species, grade and moisture condition before deciding the gaps.
The worked example uses narrow cedar boards. Panel products with moulded grooves and composite boards can imitate this look, but their fastening systems are different. Modern factory coatings and a drained cavity can be combined with this traditional solid-timber pattern.
Reference: Real Cedar — board-and-batten gaps, overlaps and fastening · Real Cedar — finishing and moisture protection (PDF)
Step 1 of 12
Lay out the vertical rhythm
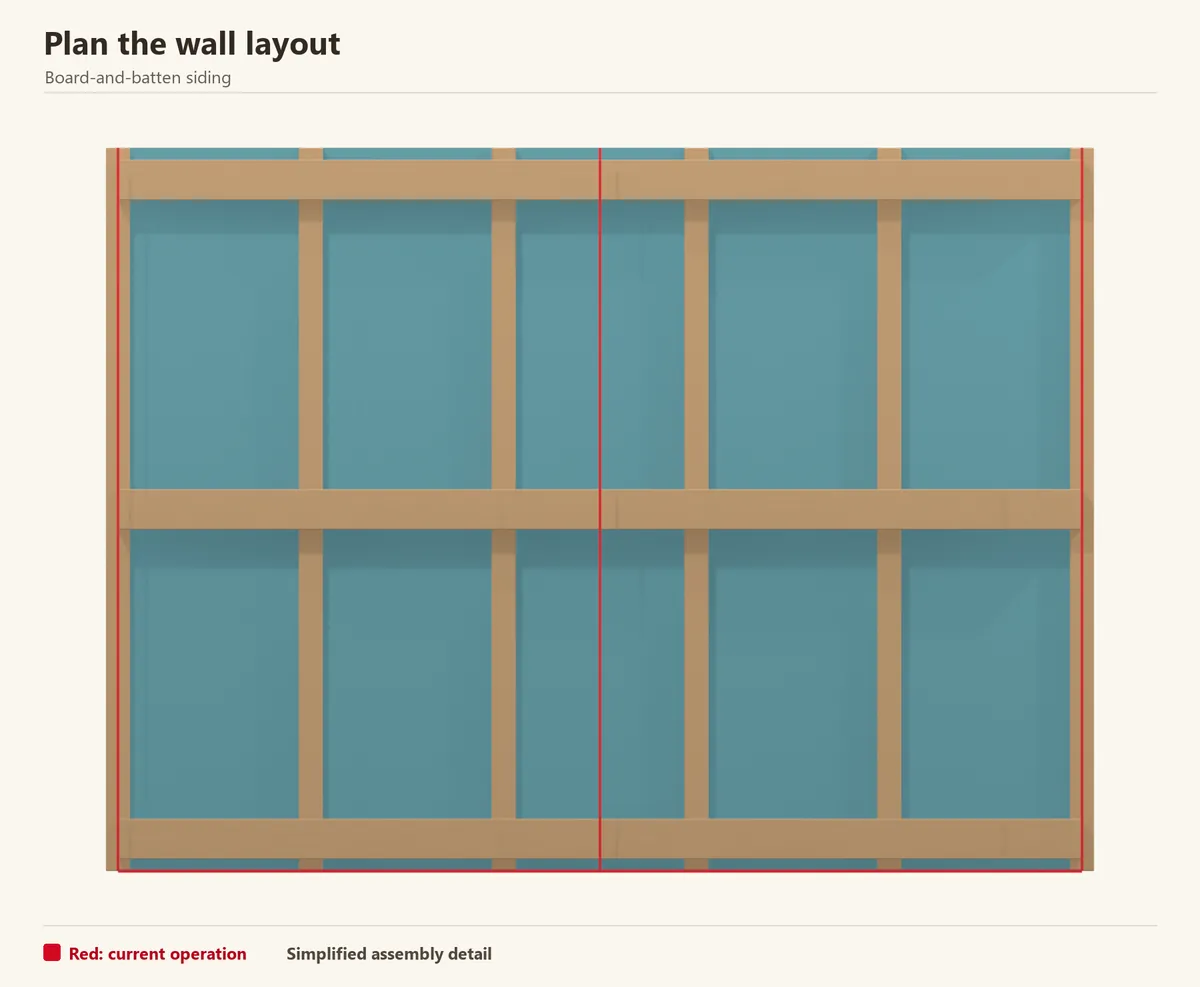
Draw each wall with its corners, openings and board centres. Work from the actual board width plus the selected joint gap. Adjust the starting position to avoid tiny strips beside a door or at the last corner.
Mark a few full-height reference lines on the prepared wall. Decide where battens will land around the window before cutting the first board; equal-looking edge pieces usually produce a calmer result.
Check before continuing: The layout fits the openings without narrow, difficult-to-fix strips.
Step 2 of 12
Store and acclimatize the timber
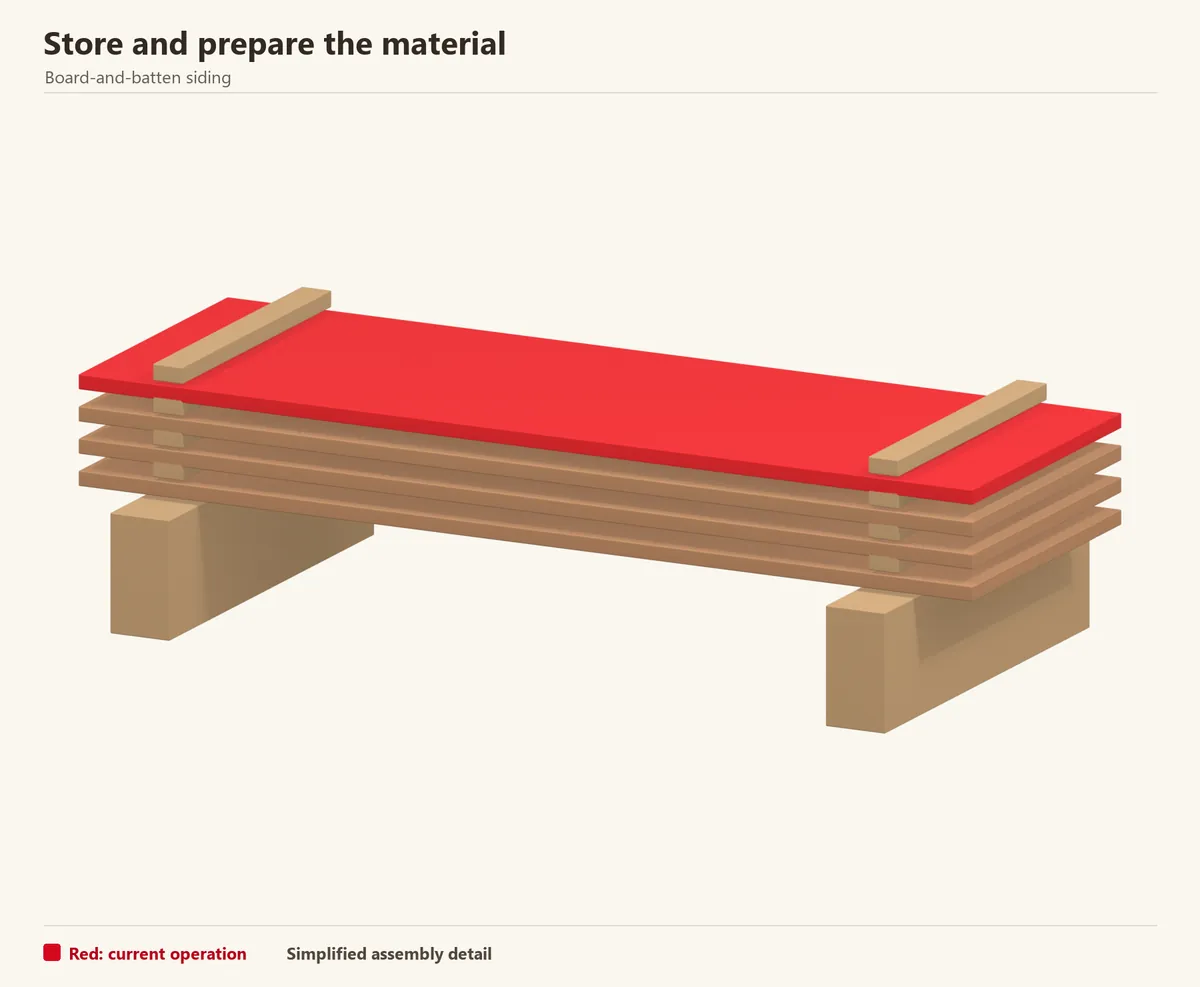
Stack boards and battens flat on aligned stickers, protected from rain with air circulating around them. Follow the supplier’s moisture and acclimatization guidance for the delivered timber.
Sort bowed, split or badly damaged pieces before cutting. Choose compatible board and batten stock so one component does not move very differently from the other after installation.
Reference: Real Cedar — storage and acclimatization
Step 3 of 12
Cut the lengths and protect the ends
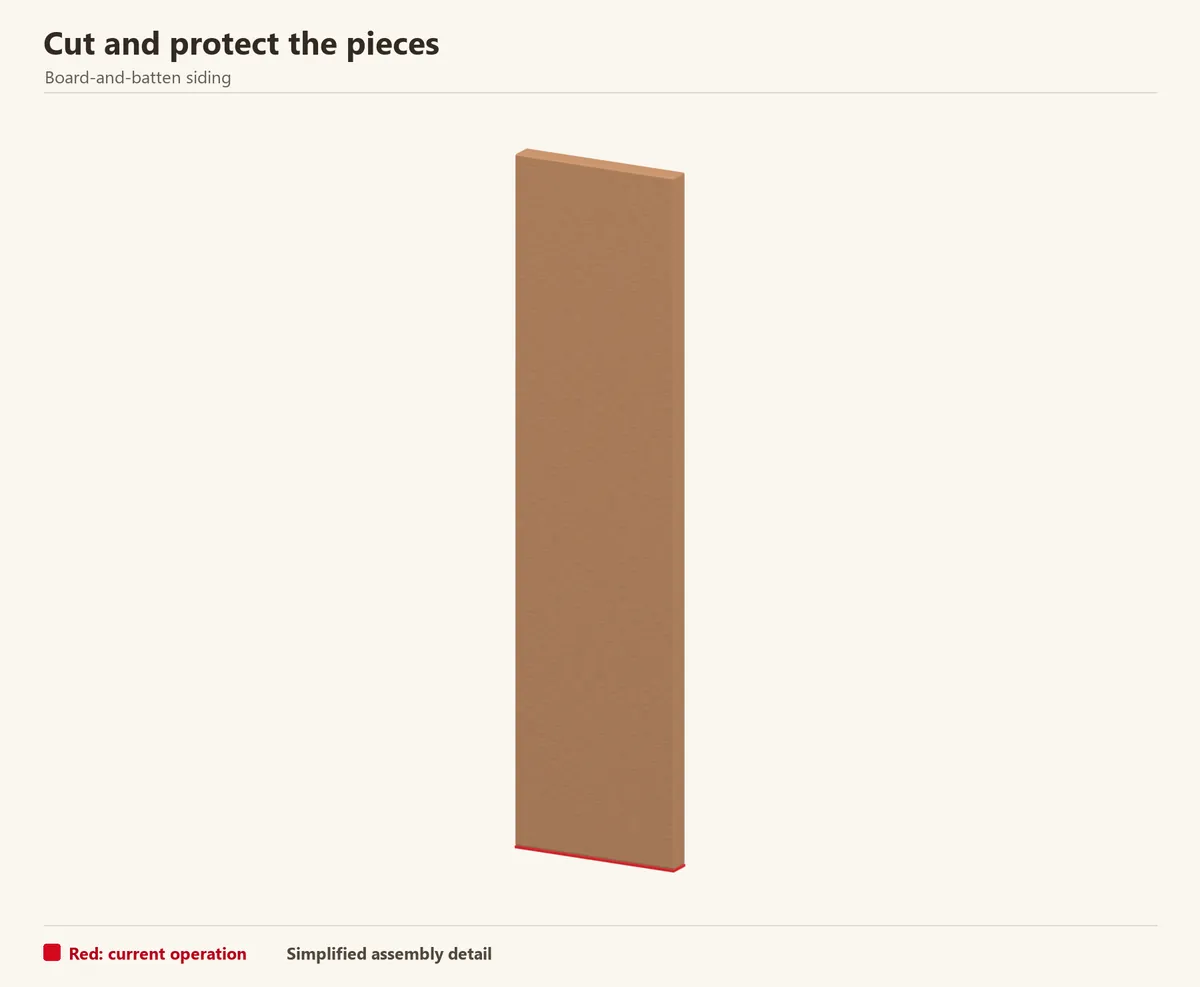
Measure the actual distance between the base clearance and upper termination. Label pieces by wall and position, allowing for gable slopes and the trim arrangement.
Cut on stable supports and coat the end grain before installation. Finish the required faces and backs while they are accessible. Keep finished pieces clean rather than leaning their fresh ends in soil.
Check before continuing: Each piece has the correct length and protected end grain.
Reference: Real Cedar — finishing and moisture protection (PDF)
Step 4 of 12
Build backing that also allows drainage
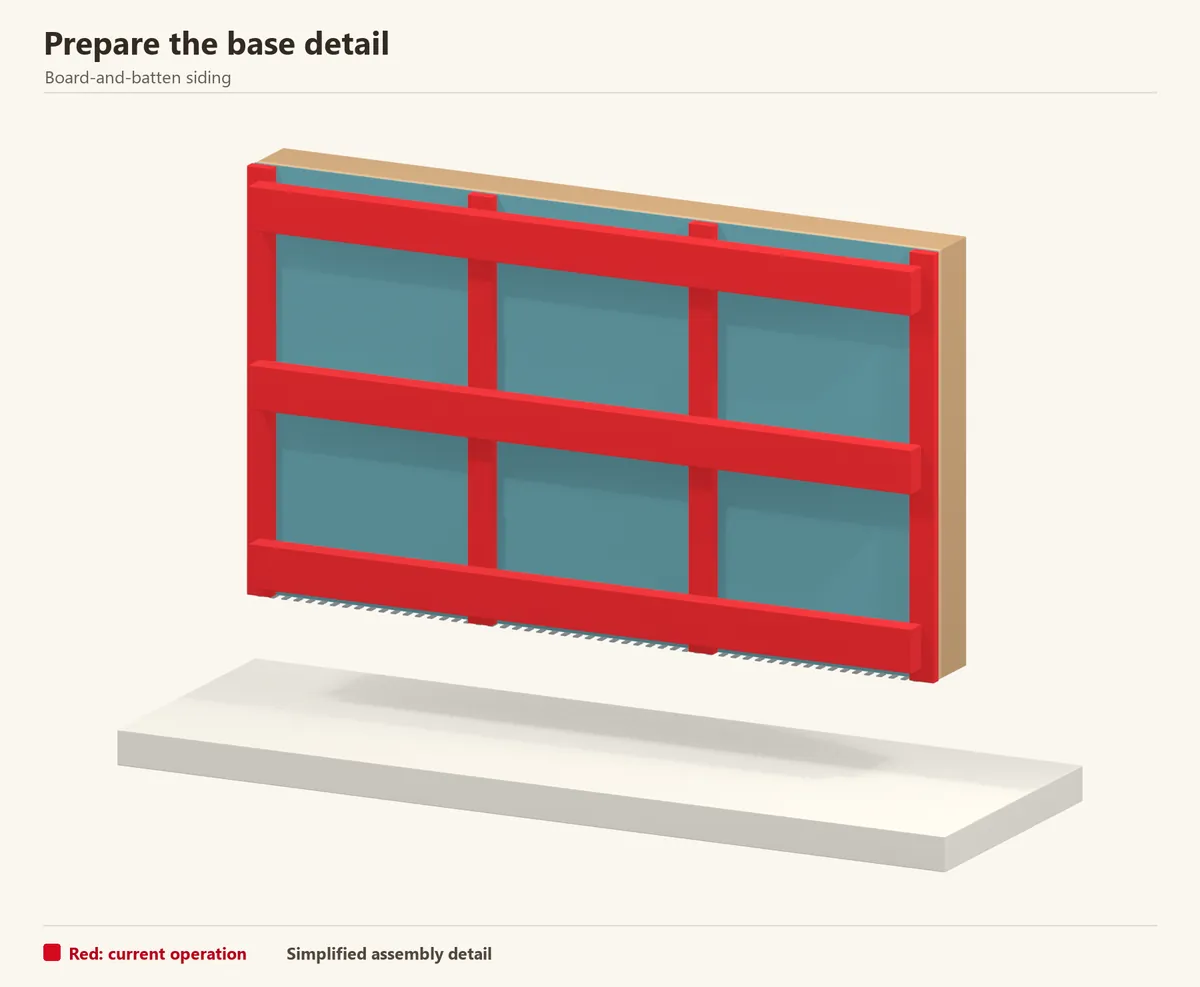
Vertical boards need horizontal nailing support. In this example, horizontal structural rails sit on vertical drainage spacers, leaving a continuous route for water behind the rails. Size the rails and their attachments for the wall loads and nail penetration.
Integrate the weather barrier, flashings and cavity closures first. Check the base above the highest final ground level. A horizontal strip pressed directly against the weather barrier can interrupt drainage, so use the selected wall system’s complete detail.
Check before continuing: The support system carries the boards and drains behind the horizontal rails.
Reference: Real Cedar — fastening and wall preparation · DuPont — wall weather barrier and opening flashing
Step 5 of 12
Install the first boards plumb
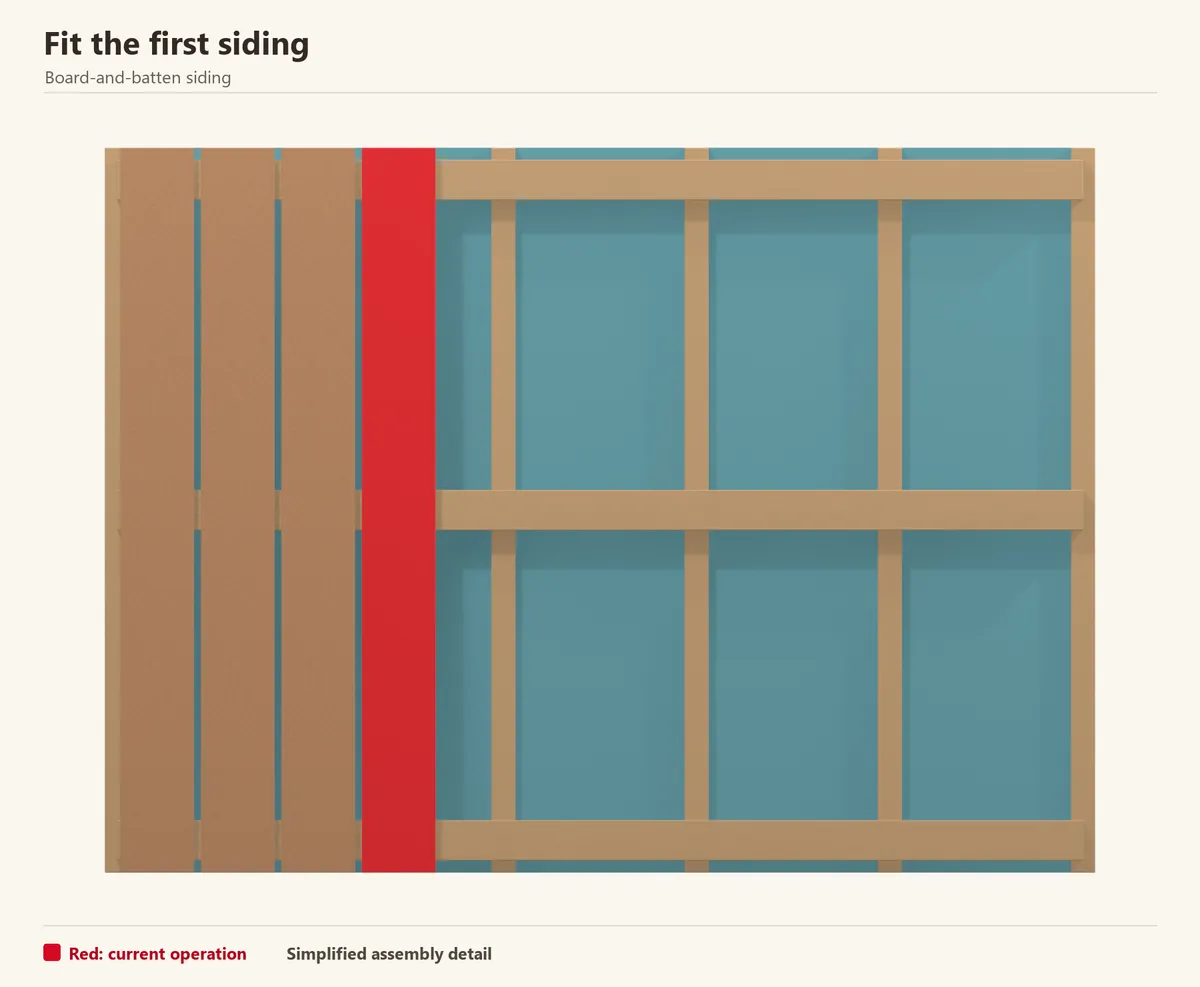
Set the first board to the marked line and check it with a long level. Use a spacer for the joint only after confirming the required gap for the timber and width.
Continue with a few boards, checking the accumulated width against your layout. Leave the gaps open until the boards are properly fixed; cover battens come afterwards.
Check before continuing: The boards are plumb and the gaps match the planned pattern.
Step 6 of 12
Fix boards and battens independently
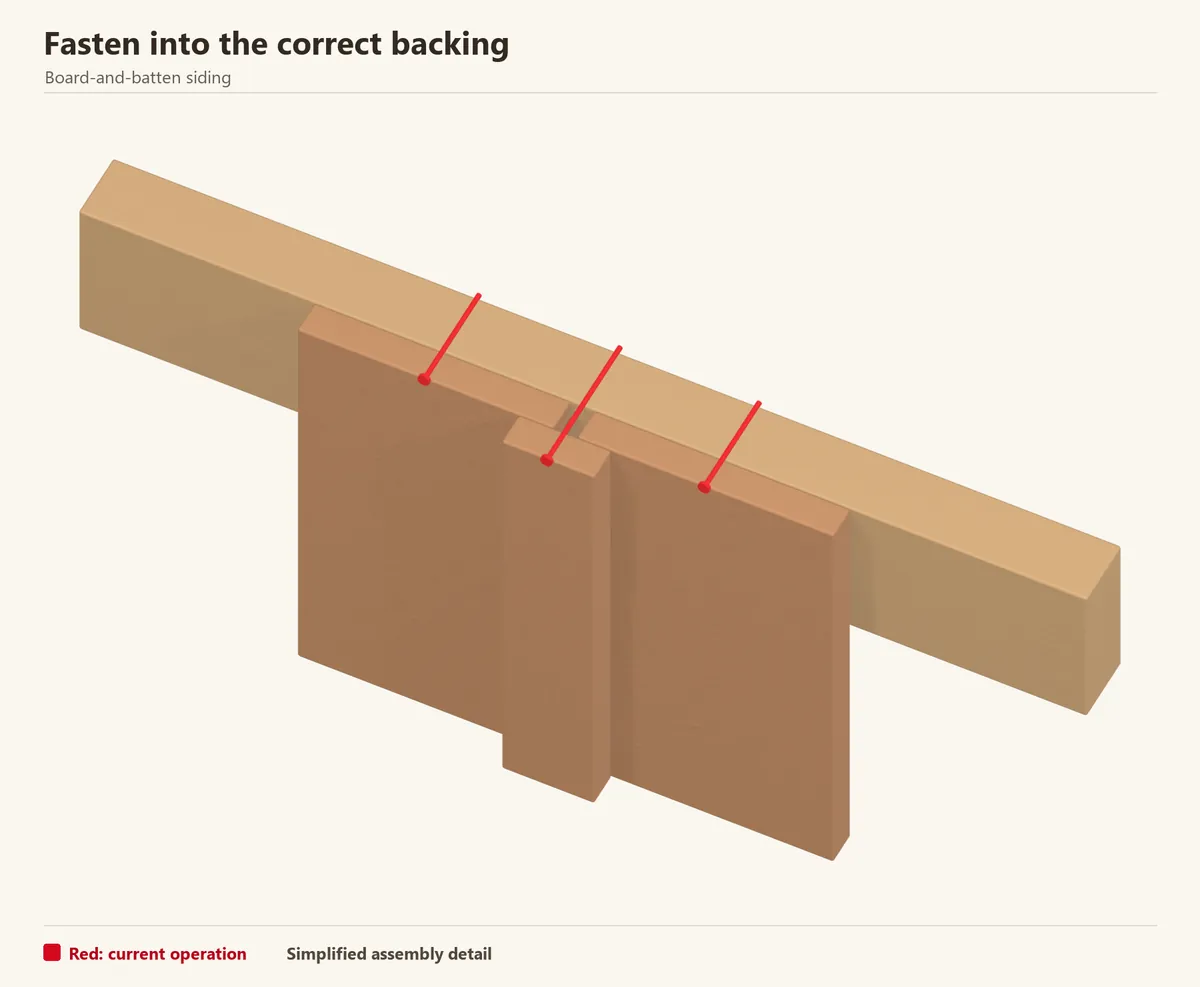
For cedar boards up to nominal 6 inches, Real Cedar shows one nail through the board centre at each bearing. A separate batten nail passes through the open gap into the support. The close-up shows why its shank must miss both board edges.
Wider boards need a different pattern: Real Cedar specifies two nails per bearing for boards 8 inches and wider, spaced 2½–3 inches apart. Choose the correct nail length for each layer and the required backing penetration.
Check before continuing: A batten fixing will not pin either underlying board edge.
Reference: Real Cedar — board-and-batten gaps, overlaps and fastening · Real Cedar — fastening and wall preparation
Step 7 of 12
Check the gap and batten overlap
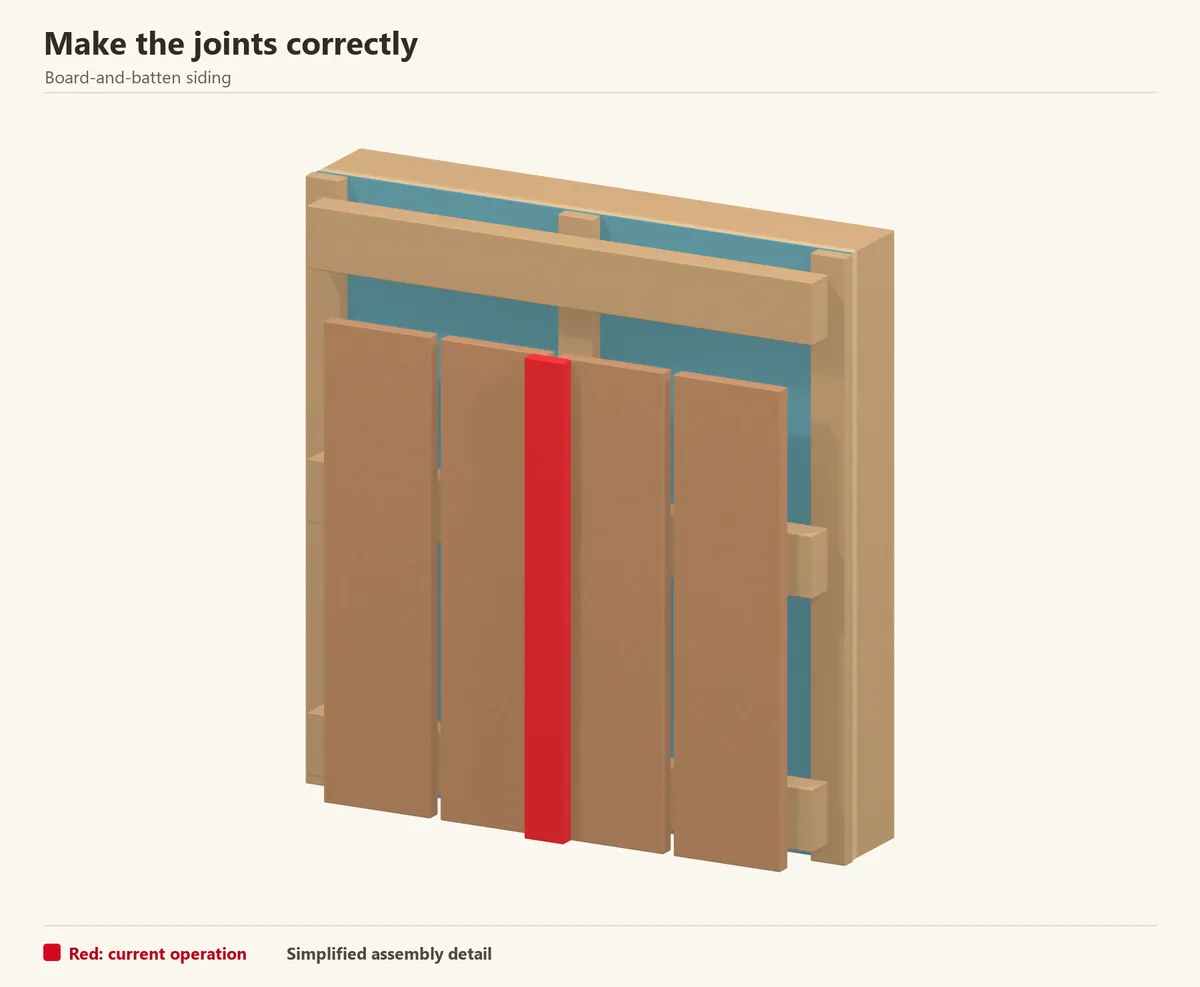
Test a short batten across an actual joint before fitting the full set. For nominal 6-inch cedar boards with a ½-inch gap, Real Cedar calls for at least ½ inch of overlap on each side. Wider boards need proportionally more overlap.
Check the narrowest overlap where boards bow or the wall layout changes. A batten that barely hides the gap today may expose it after the timber moves.
Check before continuing: The cover remains wide enough on both sides of the joint.
Reference: Real Cedar — board-and-batten gaps, overlaps and fastening
Step 8 of 12
Cover the joints with straight battens
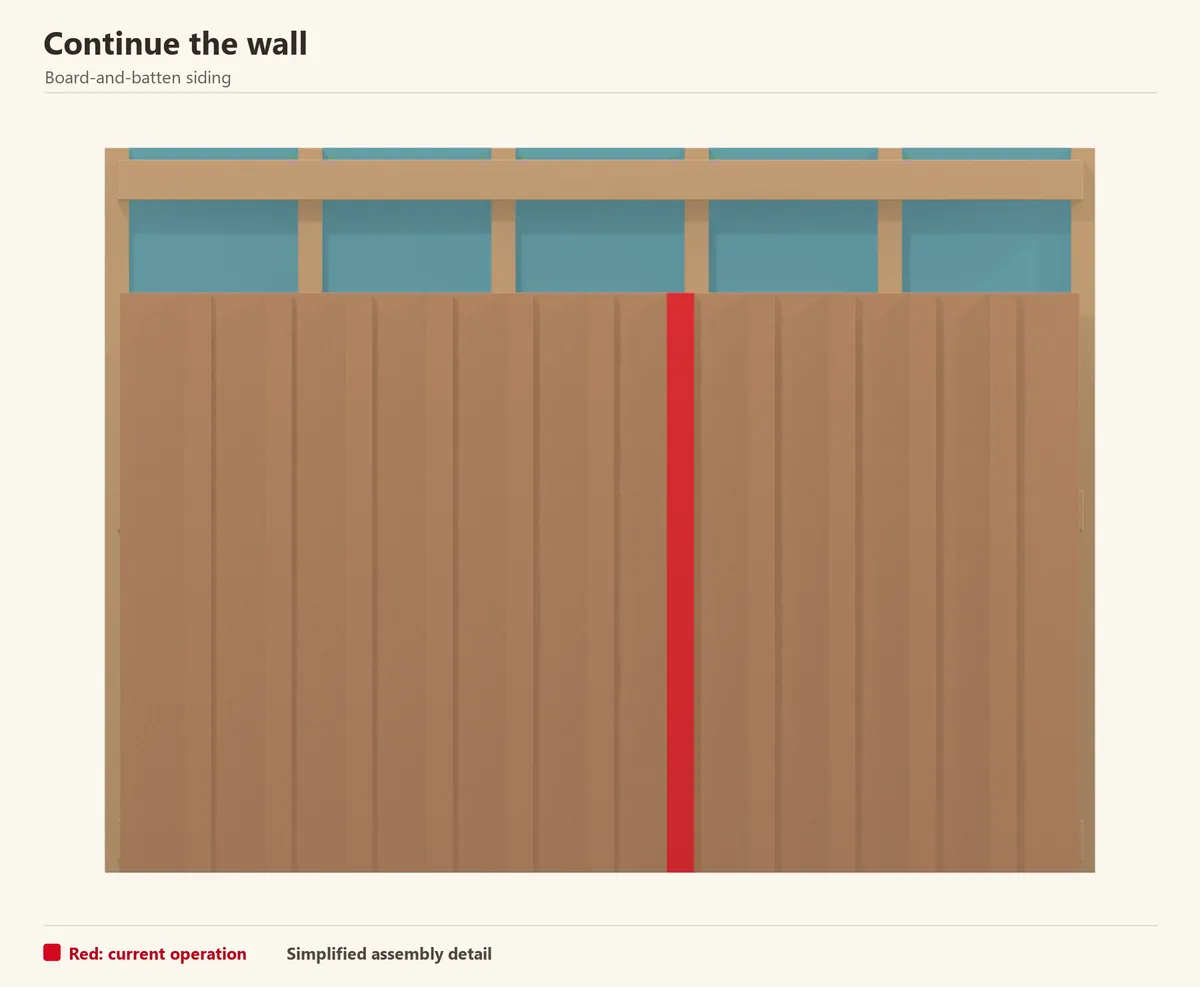
Fit the full-length battens over the checked gaps and align their lower ends. Fasten at the planned bearing lines, keeping the nail on the gap centre.
Sight along each batten before completing the fixings. Do not pull a twisted strip hard against the wall and assume the nails will hold it straight forever; select a sound piece or prepare a replacement.
Step 9 of 12
Fit the pattern around the flashed openings
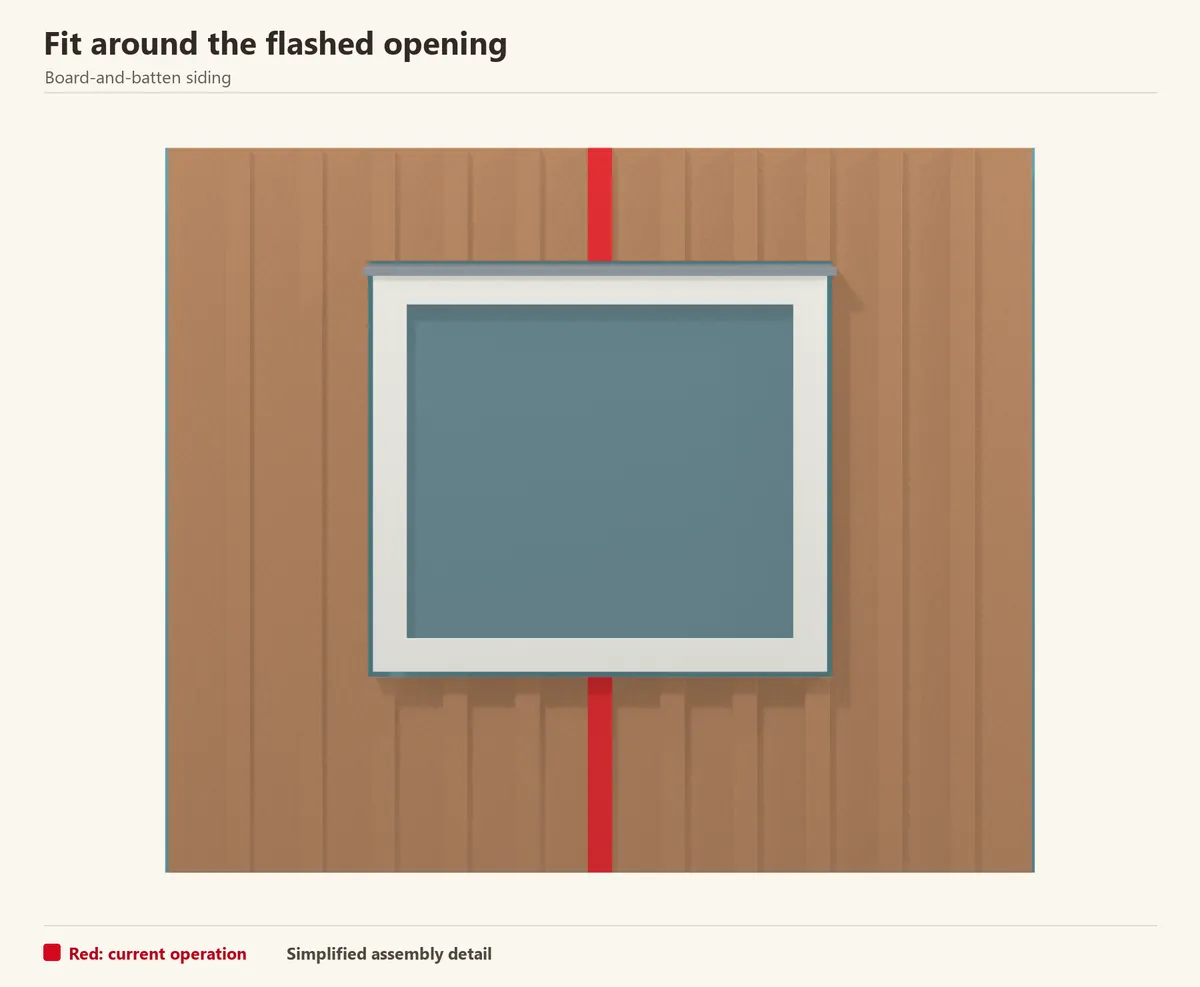
Measure each board and batten against the casing. Keep the vertical pattern on the same line above and below the opening, and provide backing for short pieces.
Protect every notch and end cut. Let the head flashing project beyond the finished cladding and preserve its drainage space. Avoid stacking an extra board layer over the casing to make the layout work.
Check before continuing: The pattern continues cleanly and the head flashing clears the full cladding depth.
Reference: DuPont — wall weather barrier and opening flashing
Step 10 of 12
Use corner trim deep enough for the battens
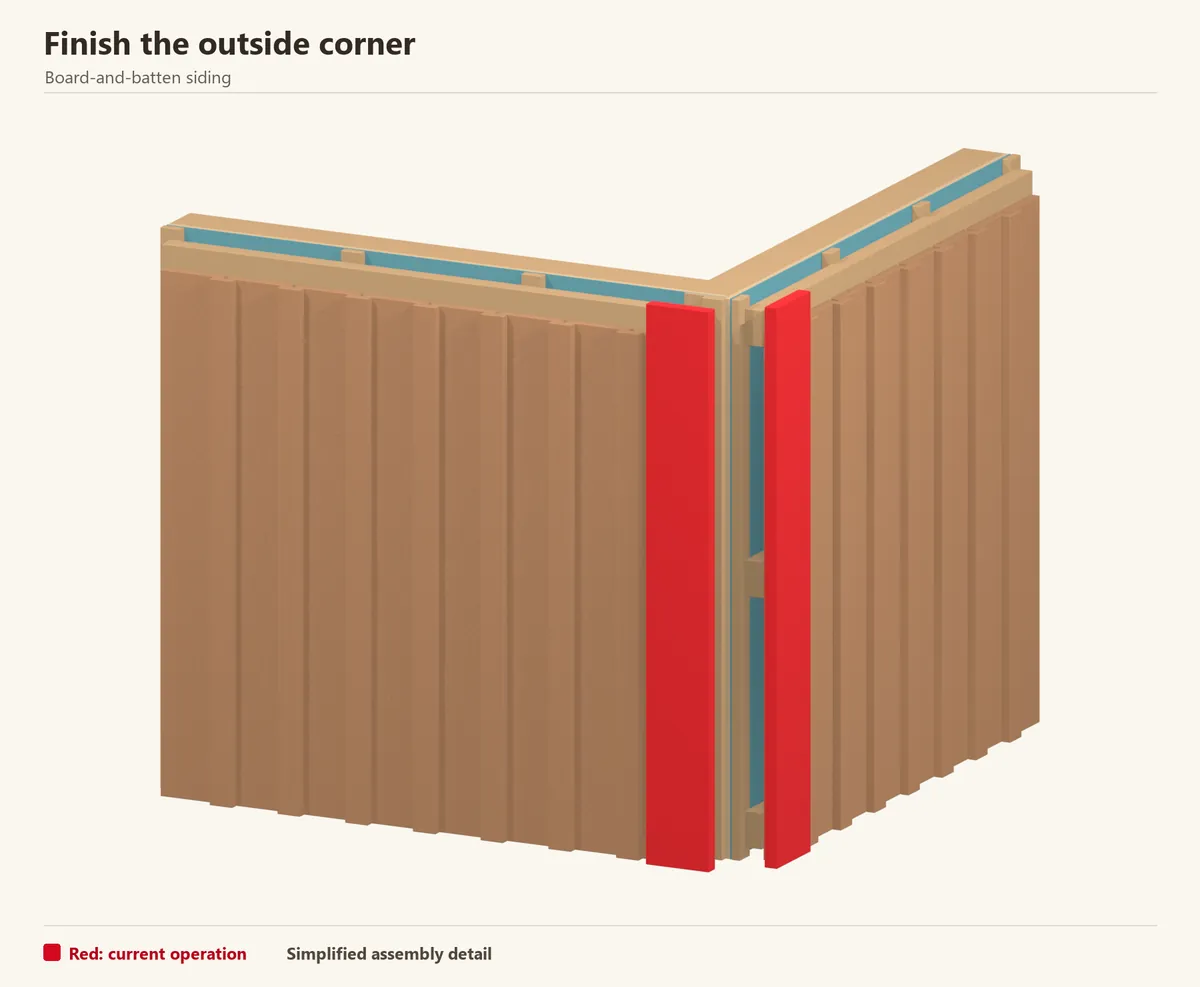
Dry-fit both corner boards together. Their finished faces must work with the thickness of the boards, battens and support assembly, so thin trim intended for flat panels may be unsuitable.
Fix into backing and treat hidden cuts before closing the corner. Maintain a consistent reveal from both viewing directions.
Check before continuing: The corner covers the cut edges without forcing the cladding out of line.
Step 11 of 12
Finish the top and gable ends
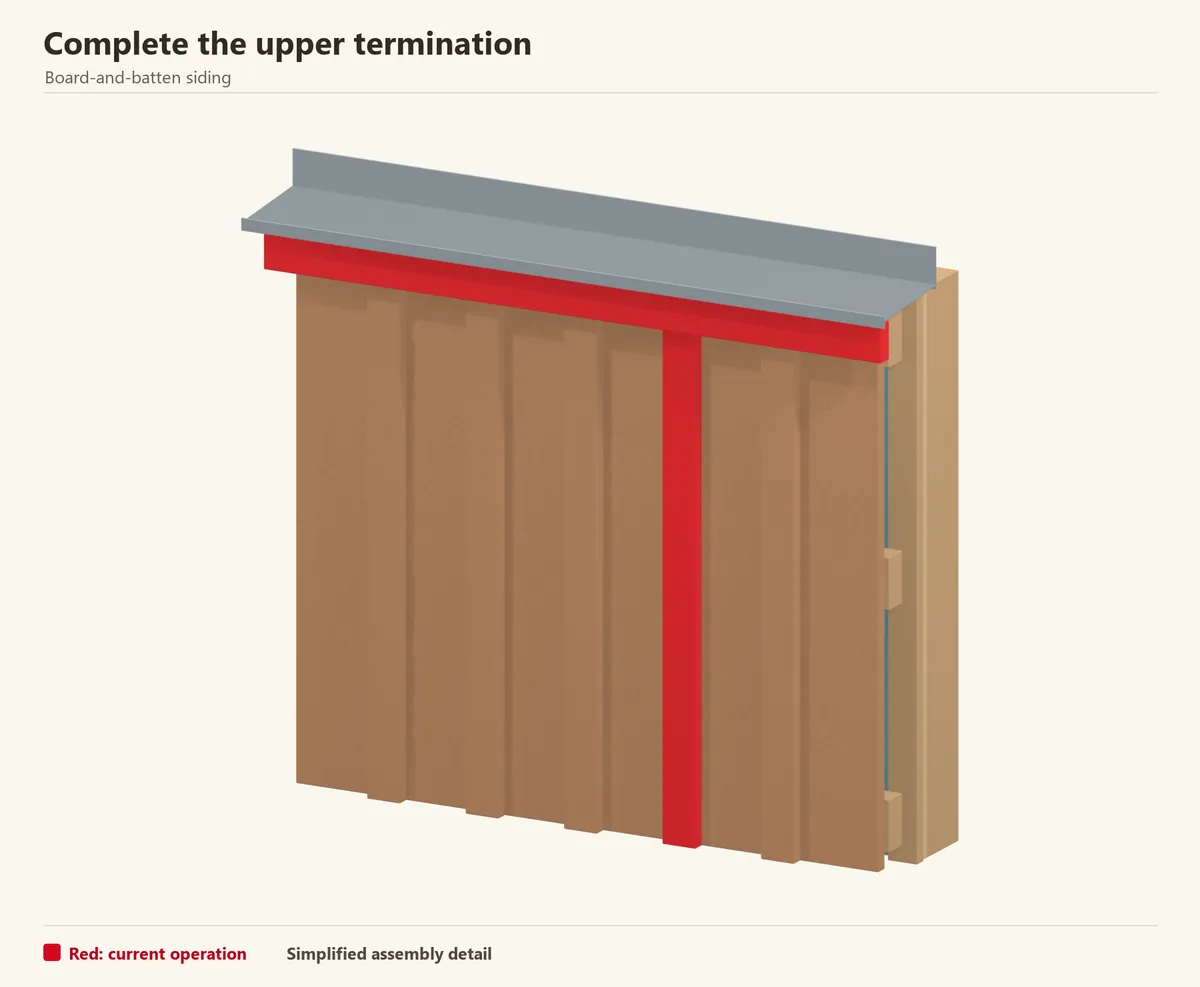
Template the sloping cuts at a gable and transfer them to the labelled pieces. Coat the cuts, then secure the board and batten ends at the designed support line.
Fit the upper cover and flashing while retaining the required clearance and ventilation. Short battens still need proper fixings; do not rely on sealant to hold them under the roof edge.
Check before continuing: Every upper end is supported and the cavity termination stays open.
Step 12 of 12
Complete the finish and check movement
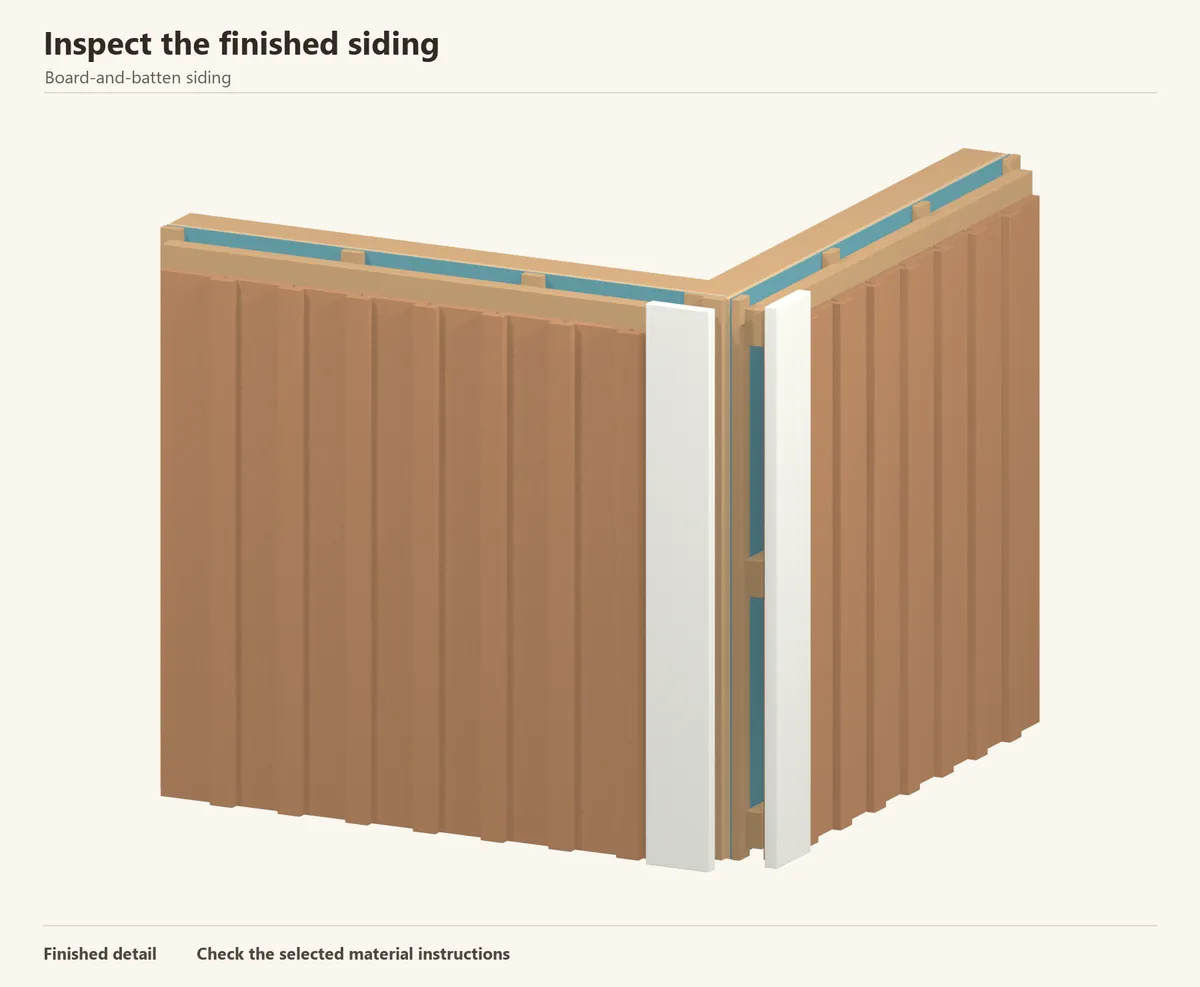
Apply the remaining coating and inspect the joints in daylight. Look for missed end grain, split edges and battens with fixings too close to an underlying board.
Check the wall after its first seasonal change. Maintain the coating and clear the base of debris, especially where vertical boards direct rain toward the bottom ends. Keep the timber and finish details for future repairs.
Check before continuing: Battens cover the joints while each board can move independently.
Common questions
Should batten nails pass through the boards?
In the narrow solid-cedar detail shown here, the nail passes through the gap between boards into the backing. Pinning both boards with a cover batten restricts their movement. Follow the specific pattern required for your chosen board width and material.
Can I nail the vertical boards straight to wall studs?
A typical stud layout will not support every board and batten in the right place. Provide the designed horizontal nailing support or an explicitly approved alternative, while retaining the weather barrier and drainage path.
Is board-and-batten always solid wood?
No. Engineered-wood panels, fiber cement and composite systems can create a similar appearance. Those products need their own joint allowances and fixing schedules; this guide is for separate solid-timber boards and battens.
Installation references
Sources checked 24 October 2026. Use the current instructions for your product and region when purchasing and installing.