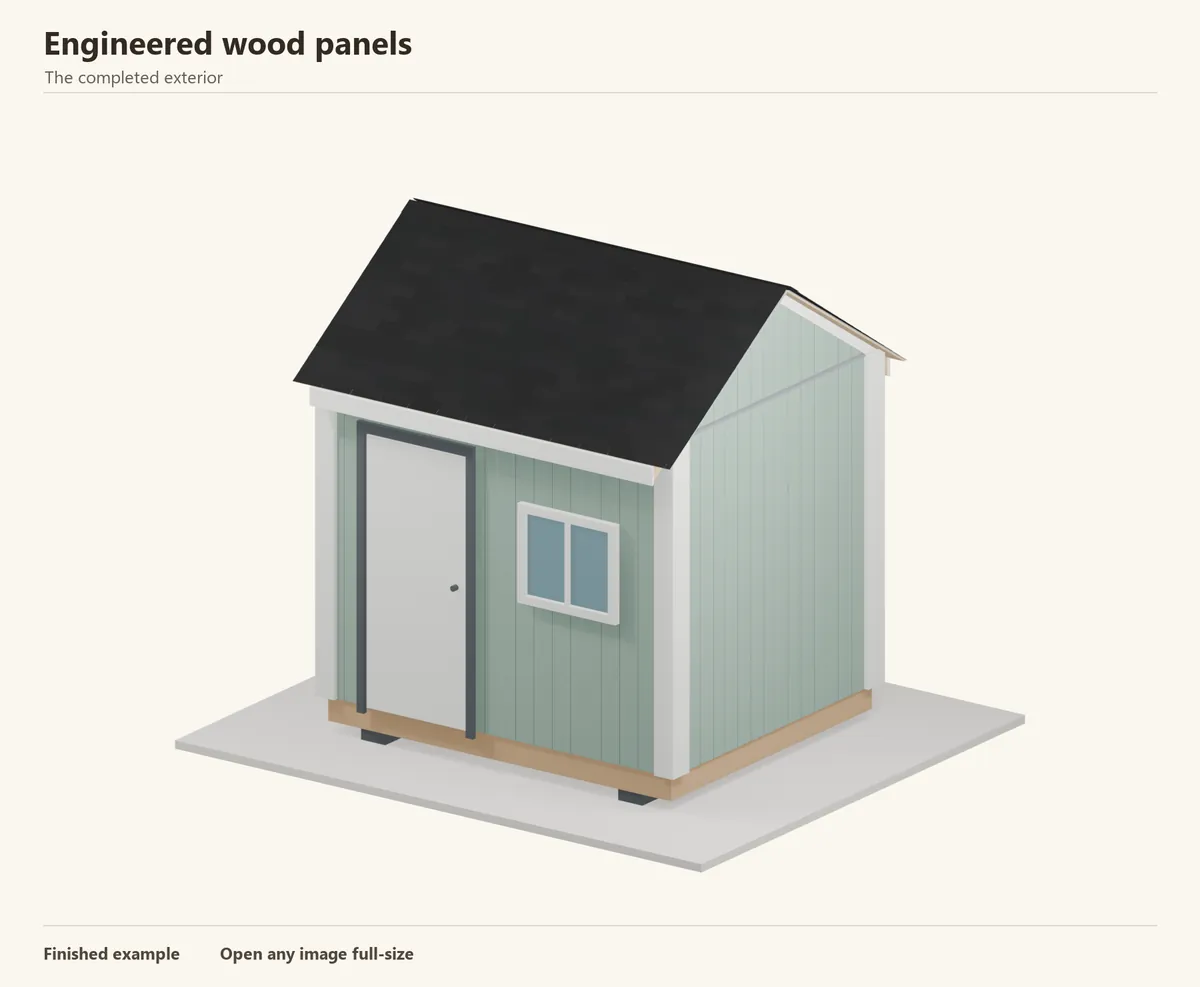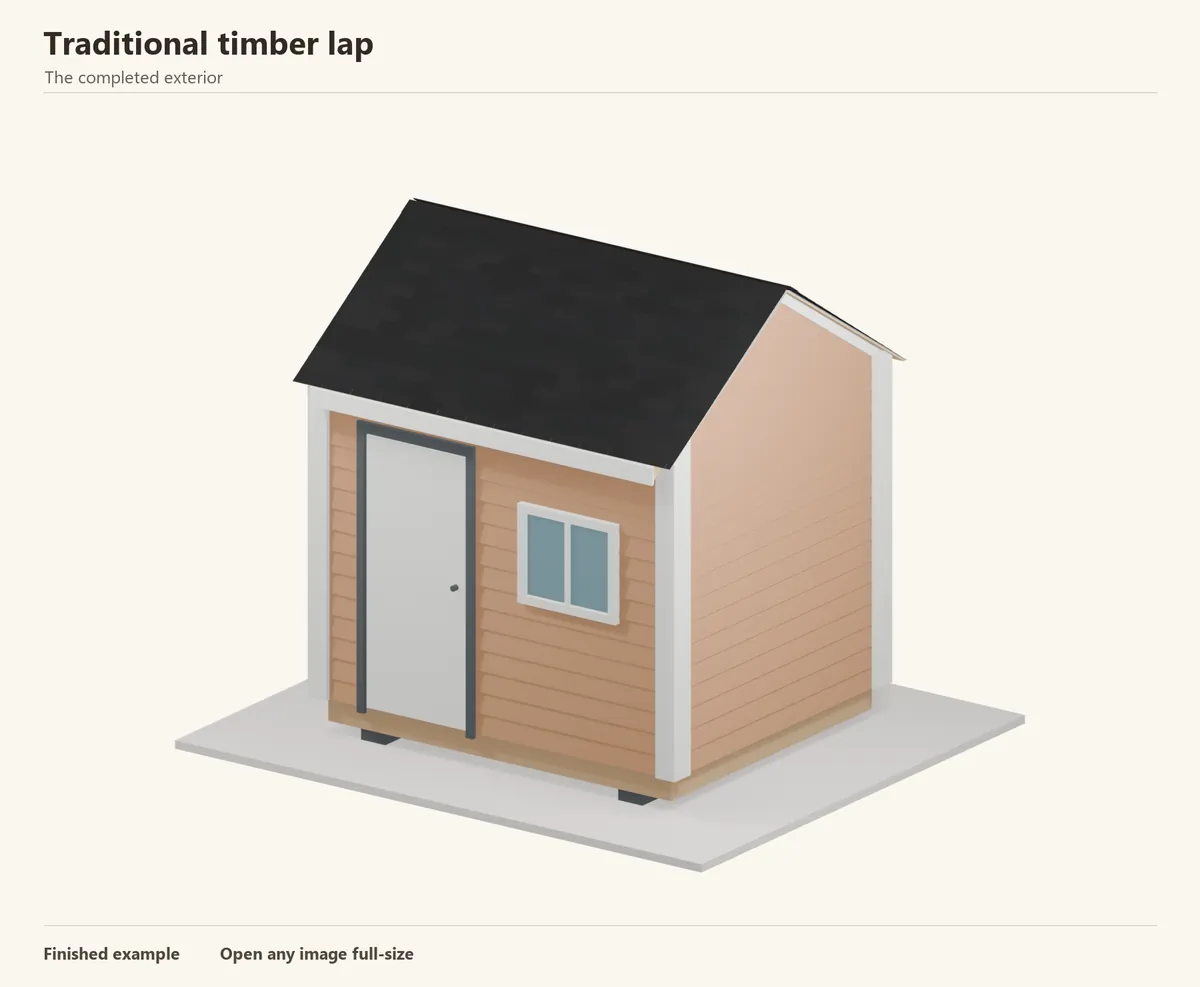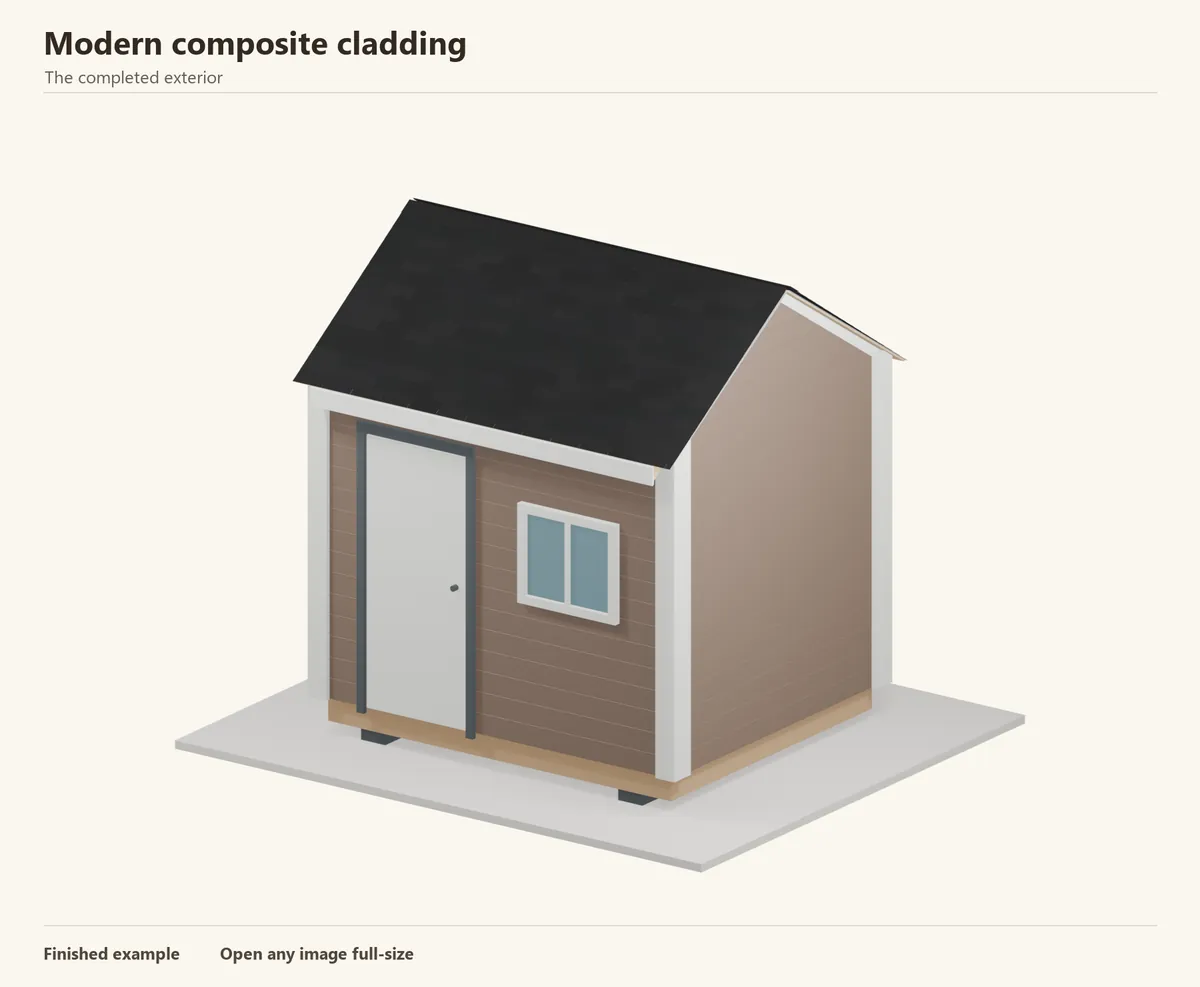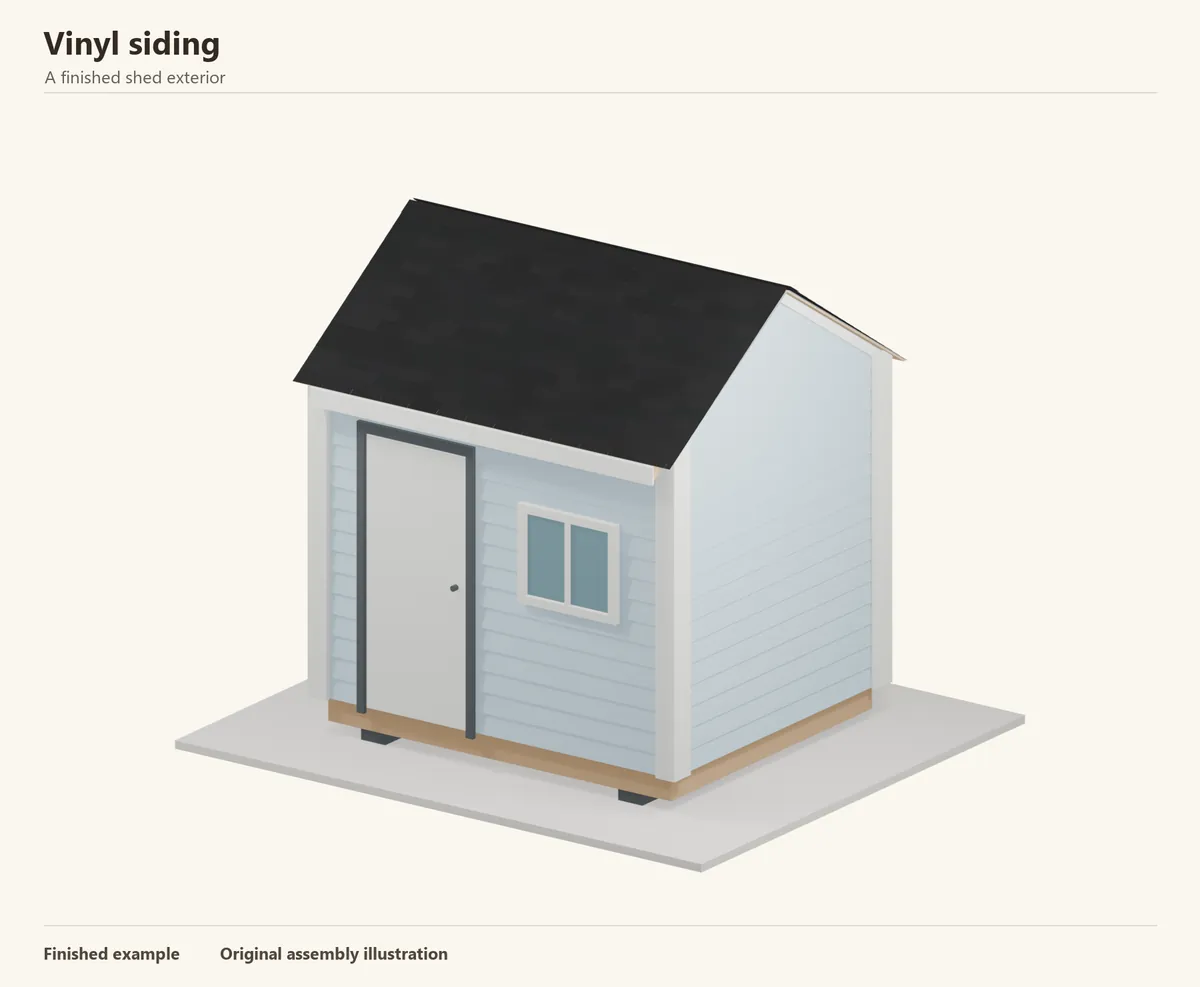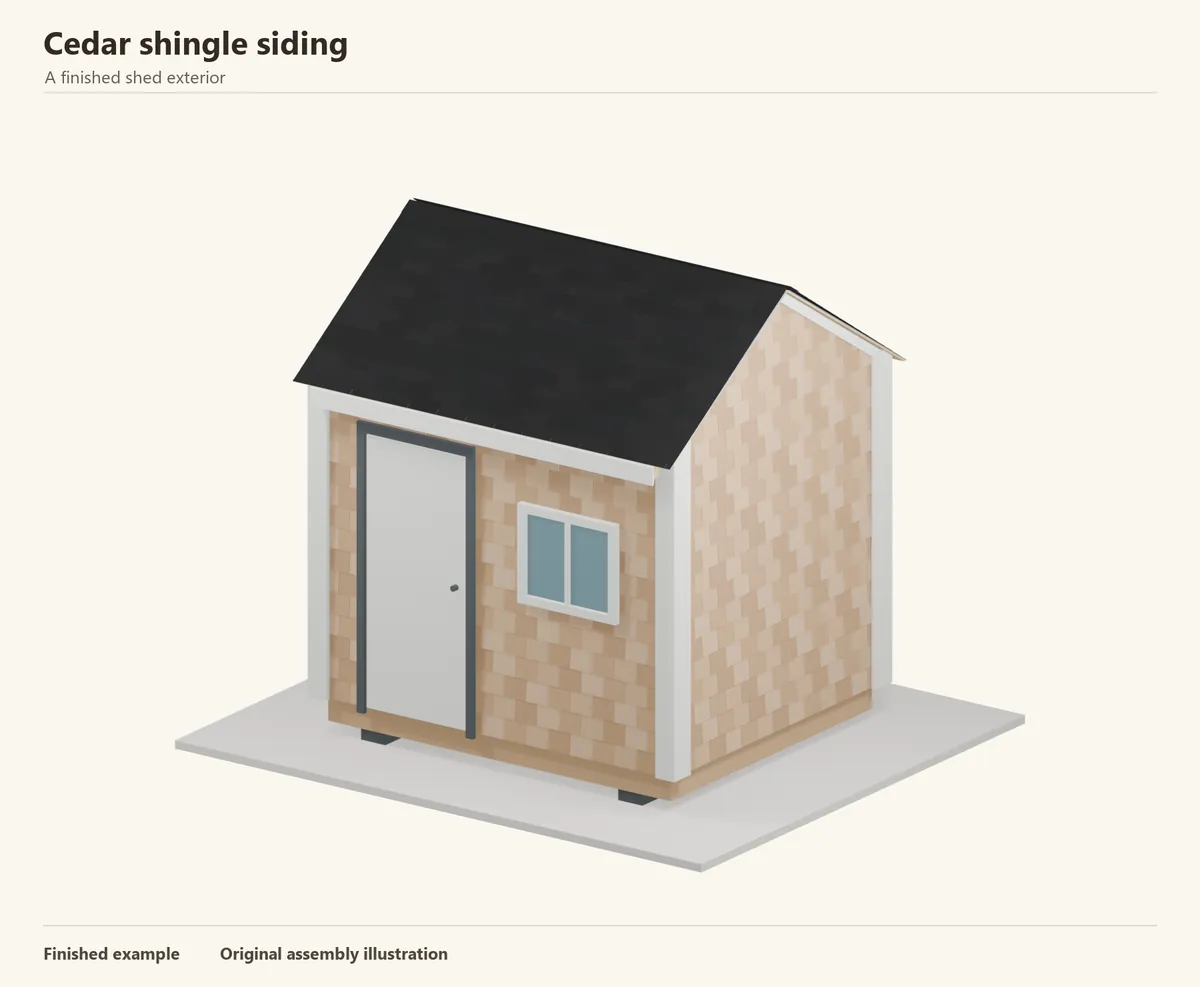
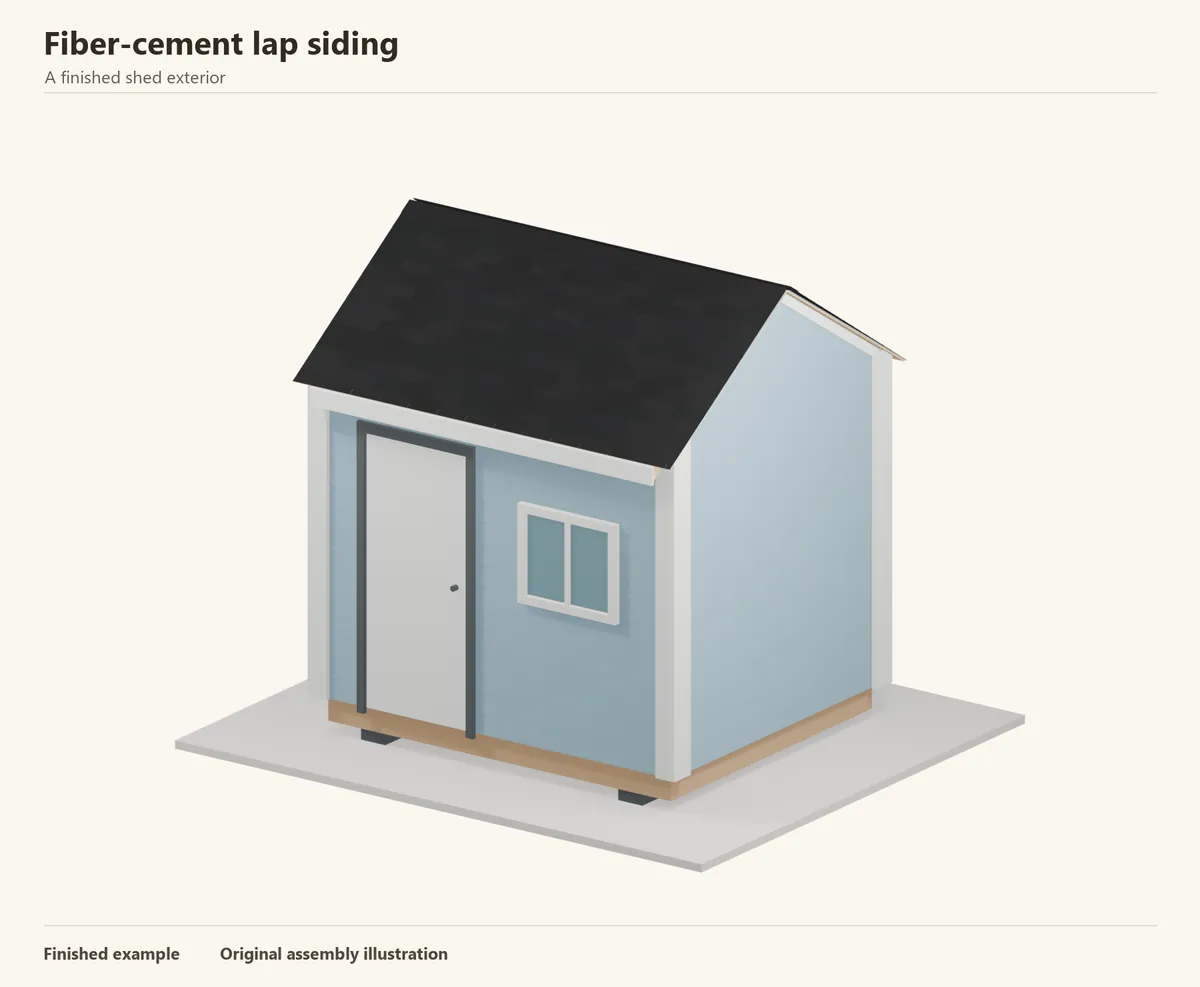
- A good fit for
- A house-like shed finish with smooth or wood-textured horizontal planks.
- Plan for
- Planks are heavier and more brittle than vinyl. Cutting, edge treatment and the exact fastening schedule need care.
Jump to an installation step
- 1. Prepare the wall and plan the exposure
- 2. Store dry and carry the planks on edge
- 3. Cut with dust control and finish the edges
- 4. Set the starter spacer and base clearance
- 5. Fit and level the first course
- 6. Use the approved blind-nailing schedule
- 7. Flash and support the butt joints
- 8. Keep the exposure consistent
- 9. Cut around the flashed openings
- 10. Finish neatly against the corner trim
- 11. Cut and support the last course
- 12. Complete the coating and final inspection
Before you begin
Buy the cladding and its required accessories together. Measure the wall area and openings, then calculate coverage using the actual product profile and allow for cuts.
- Exterior fiber-cement lap planks suitable for the local climate
- Compatible trim, starter spacers and joint flashings
- Sheathing, weather barrier, opening flashings and specified sealants
- Approved siding nails or other scheduled fasteners; specified cut-edge finish
- Tape, square, chalk line, long level, lap gauges and supported cutting bench
- Approved low-dust cutting equipment, dust collection and the required respiratory, eye and hearing protection
- A helper for long planks and a stable working platform
Companies offering this type of siding include James Hardie and Allura. Check local availability and follow the installation instructions for the product you choose.
Choose the plank, finish and wall assembly
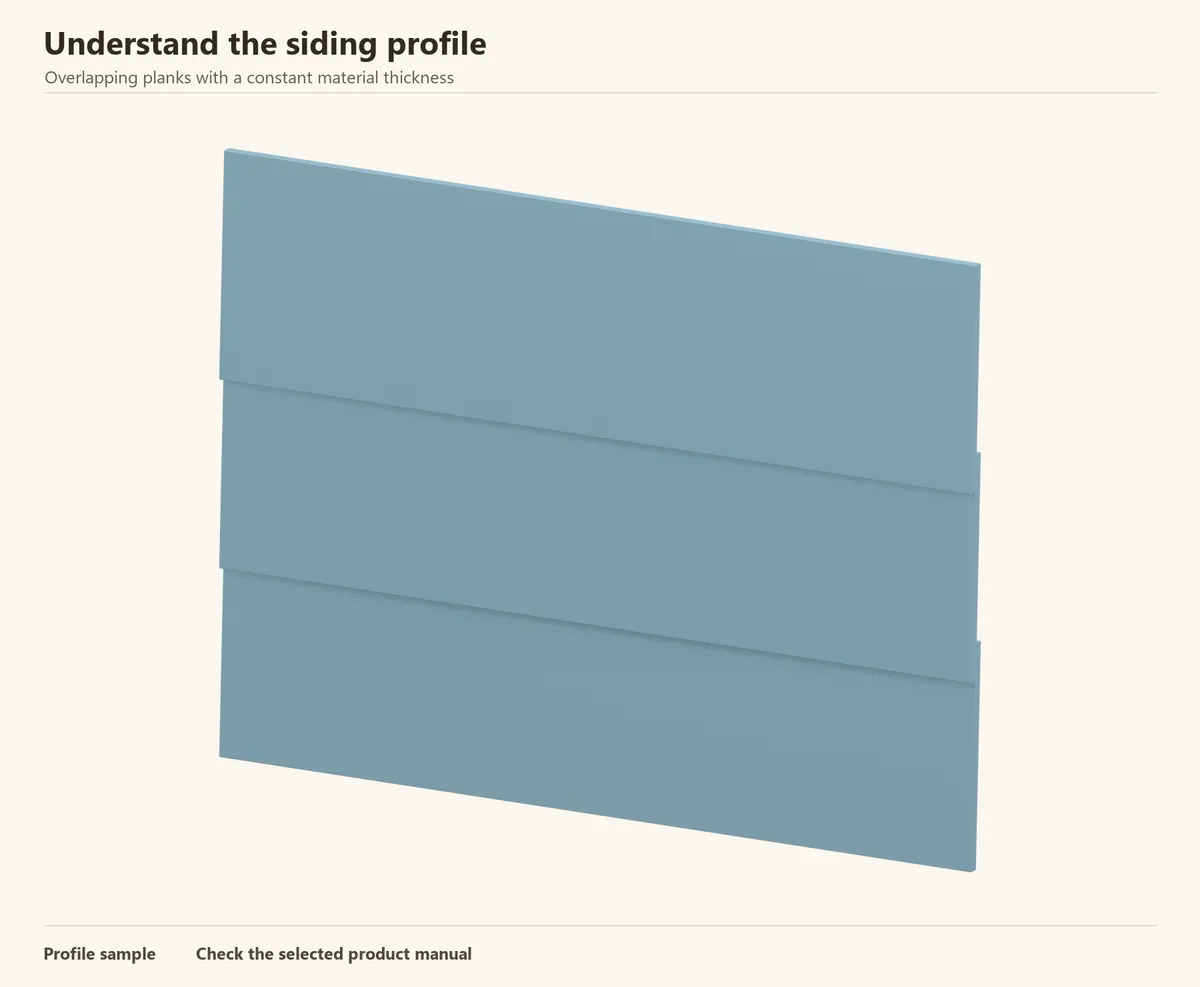
Fiber-cement lap siding is a manufactured plank, available with a smooth face or an embossed timber texture. Prefinished boards reduce on-site painting; primed boards let you select the final coating separately.
The drawings show overlapping planks over a sheathed wall. A ventilated batten system or an interlocking fiber-cement profile requires a different support and fixing detail. Use the instructions for the product, region and wall construction you have selected.
Reference: Allura — lap-siding finishes and technical resources · James Hardie — HZ5 lap-siding quick-start guide; use the correct regional manual (PDF)
Step 1 of 12
Prepare the wall and plan the exposure
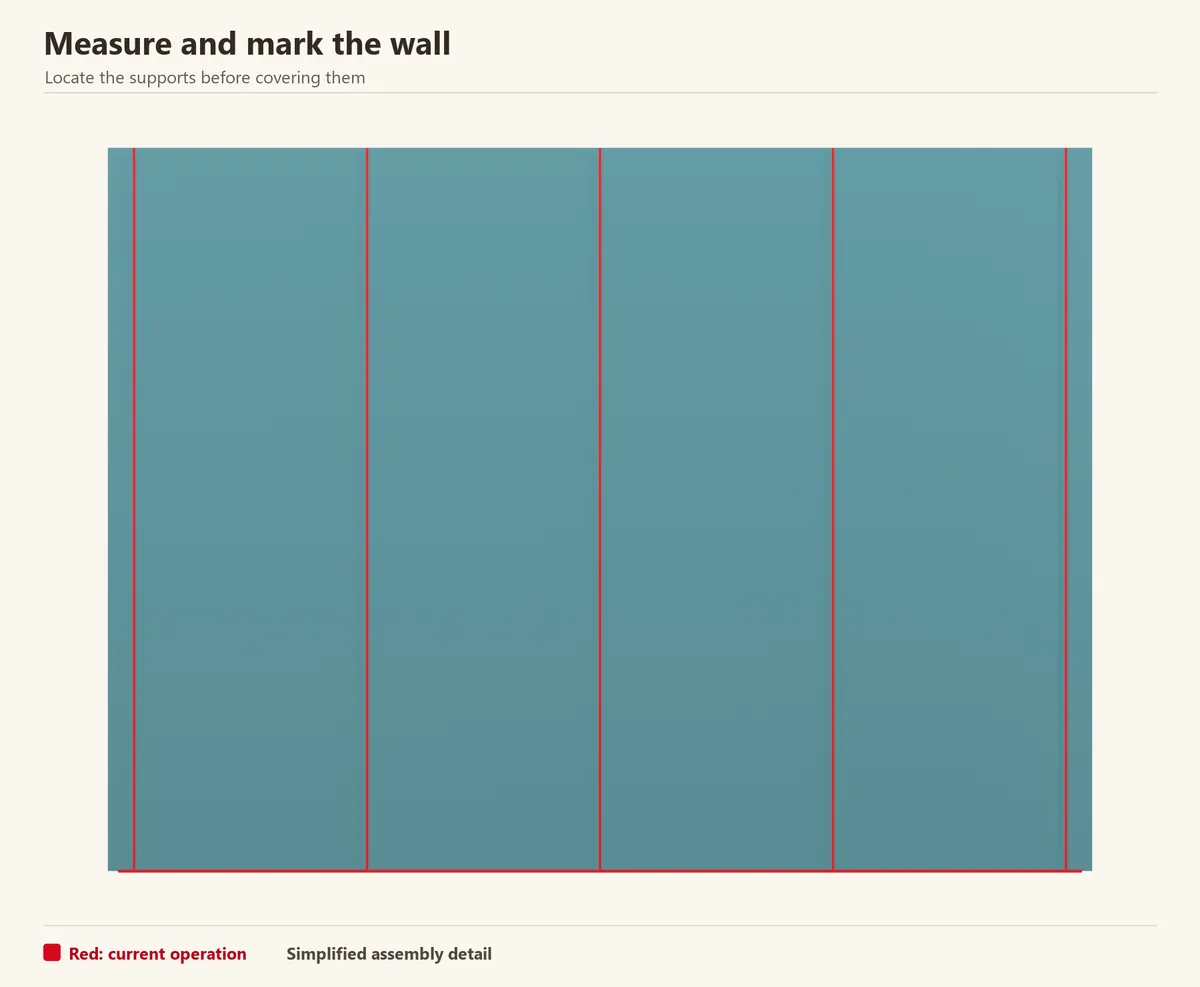
Measure each elevation and decide where joints will land. Divide the usable wall height by the permitted exposure to see how the top course and window cuts will finish. Adjust the layout before cutting a full pack.
Make the sheathing sound and flat. Complete the weather barrier and flashings, then mark the support locations so each fixing can find the intended backing. Plan corner and opening trim before covering its attachment points.
Check before continuing: The support lines, weatherproofing and course layout are ready.
Reference: James Hardie — lap-siding installation tips · DuPont — weather barrier and opening flashing instructions
Step 2 of 12
Store dry and carry the planks on edge
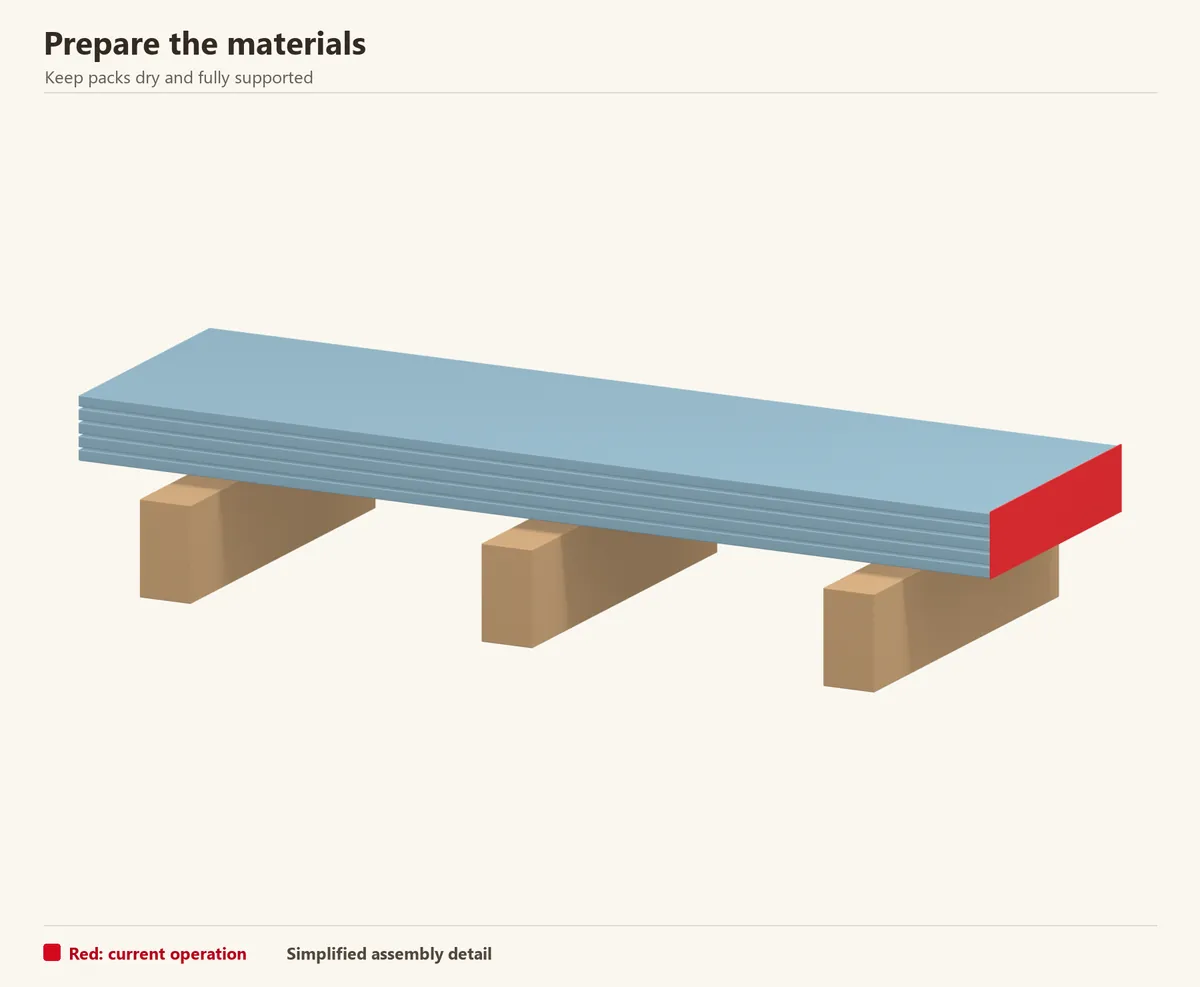
Keep the pack flat, covered and off the ground. Check for wet boards, broken corners and damaged finishes. Carry long planks on edge with enough support to prevent bending; do not lift one loosely by its ends.
Arrange the work area so a helper can move from the pack to the cutting bench and then to the wall. Keep the face protected from grit, and lift boards clear rather than dragging them across one another.
Check before continuing: Boards are dry and undamaged, with a clear handling route.
Reference: Allura — fiber-cement installation manual, October 2025 (PDF)
Step 3 of 12
Cut with dust control and finish the edges

Mark the cut and support the plank near both sides of it. Use approved shears where suitable. If using a power saw, follow the manufacturer’s outdoor cutting, blade, extraction and respiratory-protection requirements. Fiber-cement dust can contain respirable crystalline silica; a general woodworking setup is not automatically suitable.
Clean dust by the specified collection method, avoiding dry sweeping or compressed air. Seal or finish cut edges using the coating system required for that plank. Test a small offcut before working on visible pieces.
Check before continuing: The cut is sound, its edge is treated and dust is controlled.
Reference: James Hardie — silica safety and cutting resources · Allura — fiber-cement installation manual, October 2025 (PDF)
Step 4 of 12
Set the starter spacer and base clearance

Mark a level base line that clears the finished ground and adjacent hard surfaces by the required amount. Fit the starter spacer so the lowest plank sits at the same angle as later overlapping courses.
Check the starter with a short plank before fixing the first full length. Keep the water-control layer draining to the exterior; a neat painted board does not correct a base detail that holds water.
Check before continuing: The starter sets the intended angle and the base remains clear.
Reference: James Hardie — HZ5 lap-siding quick-start guide; use the correct regional manual (PDF)
Step 5 of 12
Fit and level the first course
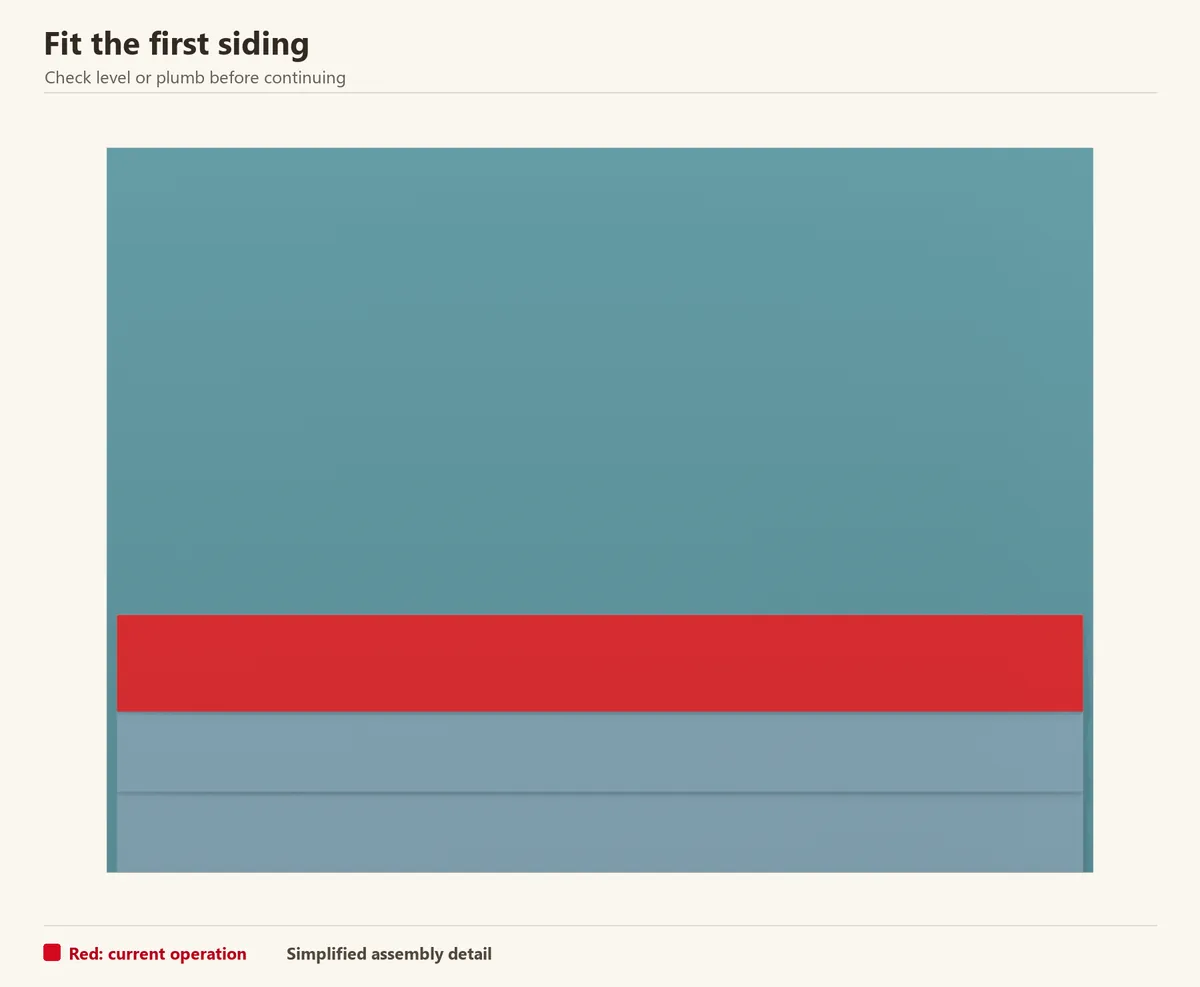
Set the plank over the starter with a helper or suitable gauges supporting its weight. Check level and the end allowances before fastening. Keep the face clean while positioning the piece.
Start the next course at the approved overlap. The small wall view shows the repeating lap; use the selected plank’s exposure, rather than measuring the proportions in the illustration.
Check before continuing: The bottom line is level and the overlap matches the product instructions.
Reference: James Hardie — HZ5 lap-siding quick-start guide; use the correct regional manual (PDF)
Step 6 of 12
Use the approved blind-nailing schedule
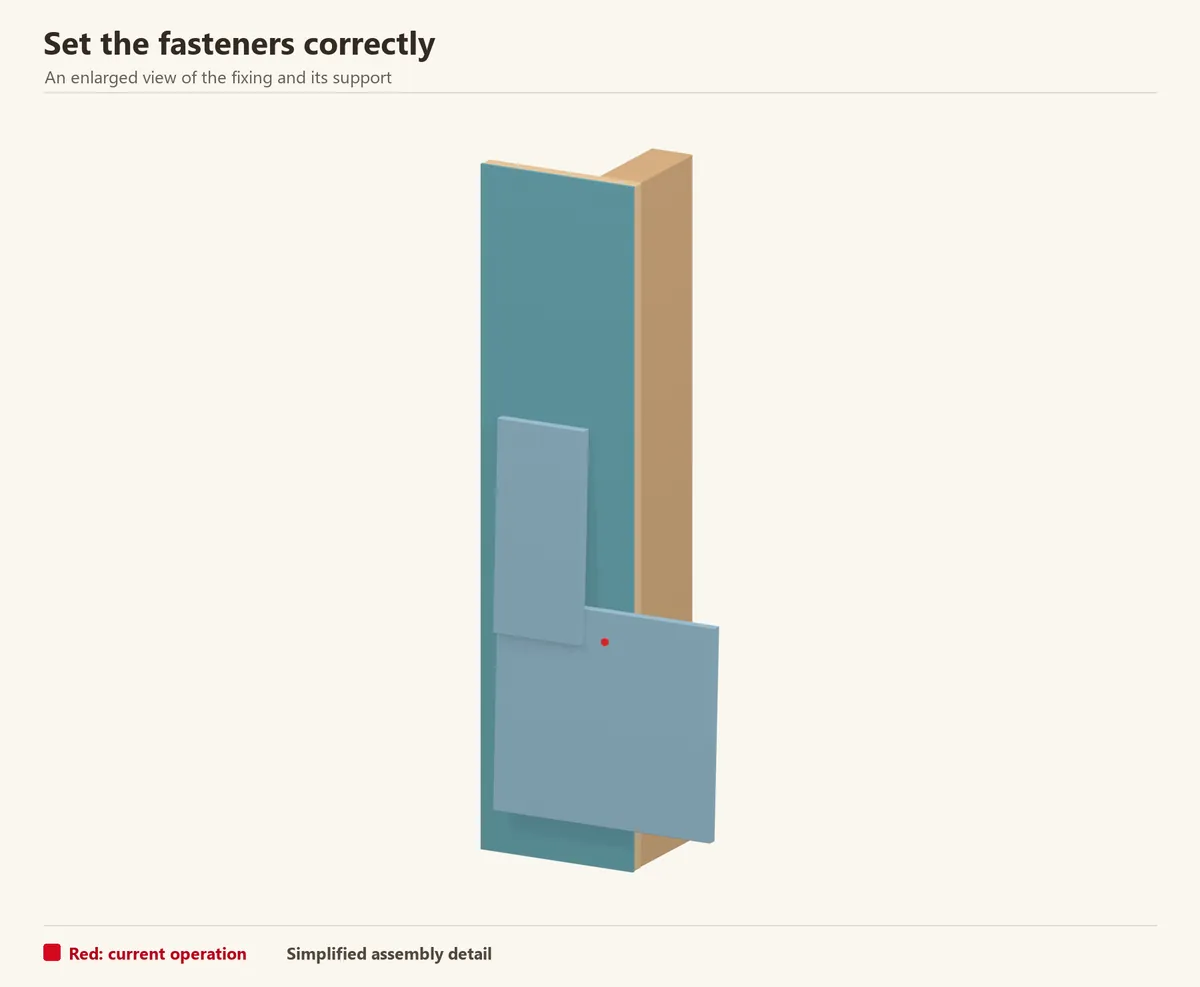
Where the product and wind schedule permit blind nailing, place the fasteners in the prescribed upper zone and keep the required edge distances. The next course conceals them. Drive heads flush without crushing the face.
The cutaway removes part of the upper plank to reveal the hidden nail. Some assemblies require face fixing or a different fastener schedule; do not add random extra nails through both overlapping boards.
Check before continuing: The fastener enters the specified backing without damaging the plank.
Reference: James Hardie — HZ5 lap-siding quick-start guide; use the correct regional manual (PDF) · Allura — fiber-cement installation manual, October 2025 (PDF)
Step 7 of 12
Flash and support the butt joints
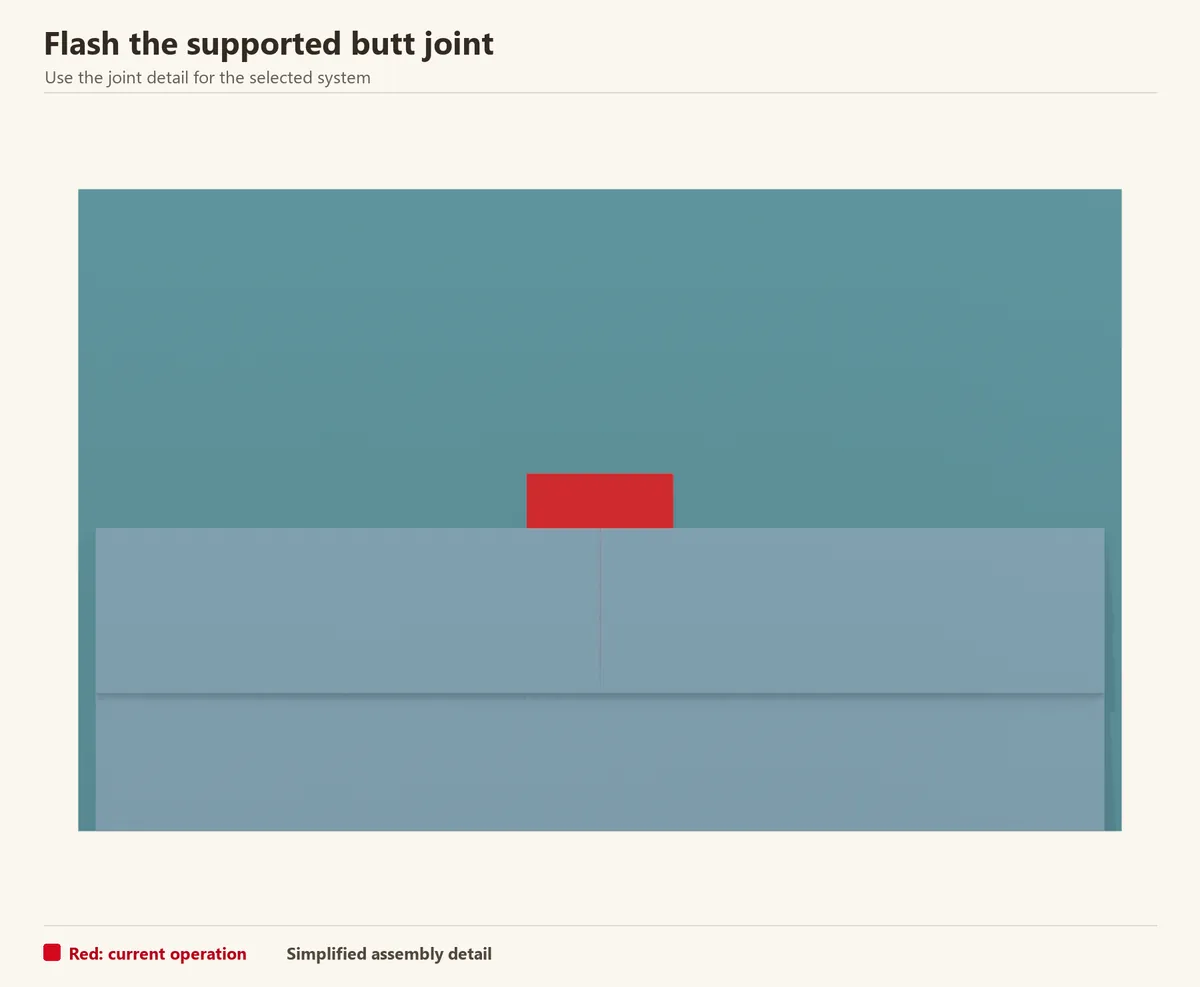
Locate the board ends over the backing required by the selected assembly. Place the approved joint flashing behind the butt joint so water can pass onto the course below.
Use the product’s joint rule. For example, James Hardie describes moderate contact at its plank butt joints; this is different from a composite expansion joint. Do not automatically caulk every visible seam. Stagger the joints as you continue.
Check before continuing: The ends have backing and the flashing leads water over the lower course.
Reference: James Hardie — lap-siding installation tips · James Hardie — HZ5 lap-siding quick-start guide; use the correct regional manual (PDF)
Step 8 of 12
Keep the exposure consistent

Use the same gauge setting along the full course and check it against your wall marks. Lift the next plank into place without scraping the finish below it. Check both ends before fixing the middle.
Step back regularly to inspect the course lines. Distribute the available lengths so adjacent joints do not form an unintended pattern, and keep useful offcuts for short supported pieces around openings.
Check before continuing: Courses are level, with consistent exposure and a deliberate joint layout.
Step 9 of 12
Cut around the flashed openings
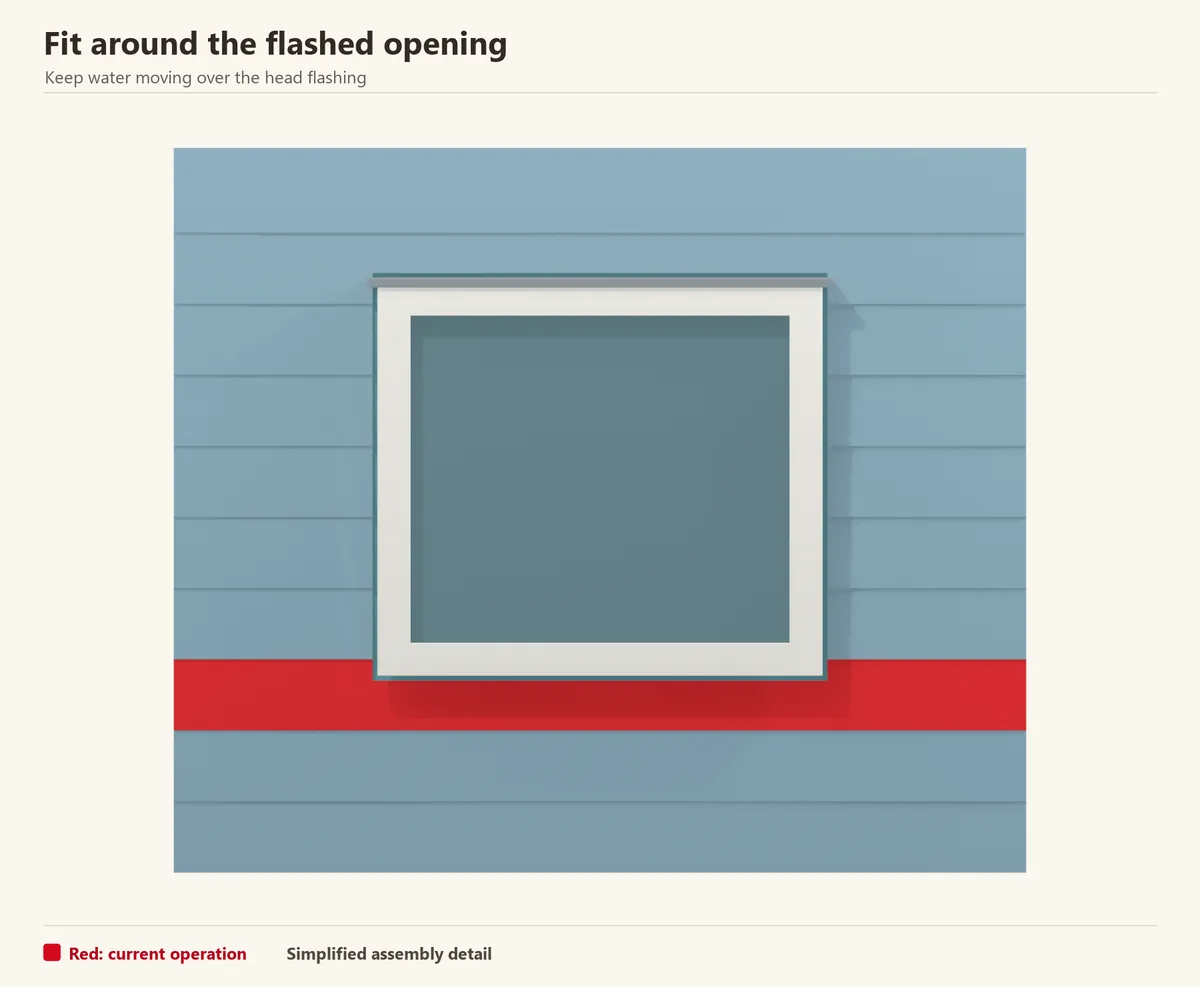
Transfer the casing position and required gaps to the plank. Support the piece while cutting the notch, finish the fresh edges and dry-fit it before fastening. A fragile narrow leg may need a different board layout.
Carry one course datum across the opening. Leave the specified gap above the head flashing uncaulked so water can escape; seal only the joints that the chosen trim and plank instructions identify.
Check before continuing: Cut pieces are sound and the head flashing has an open drainage gap.
Reference: Allura — fiber-cement installation manual, October 2025 (PDF) · DuPont — weather barrier and opening flashing instructions
Step 10 of 12
Finish neatly against the corner trim
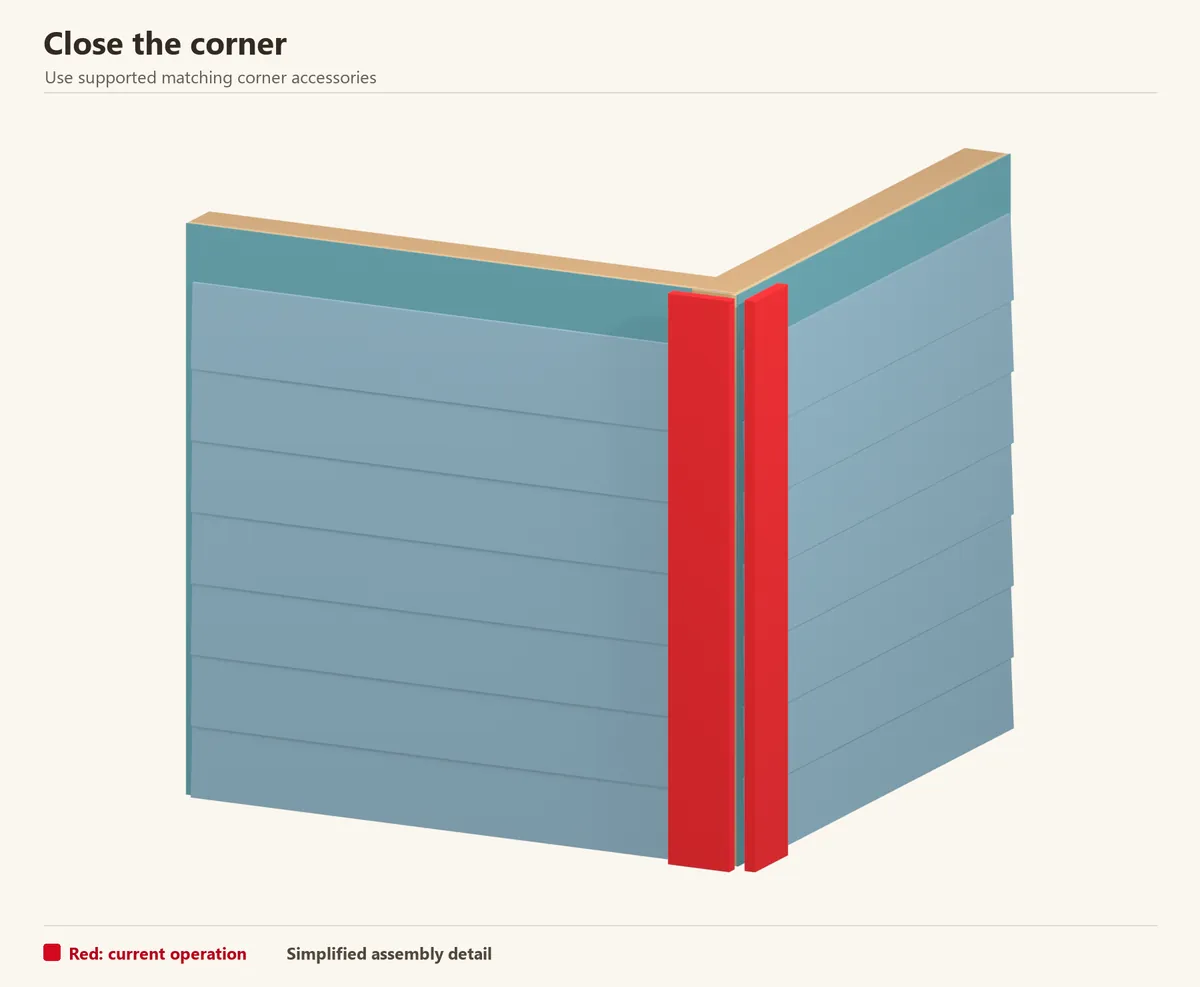
Check the corner trim’s installation order before starting the boards. Where trim goes on first, fit the planks to it with the prescribed end allowance; the drawing highlights the completed corner for inspection.
Keep both wall faces aligned and use the specified sealant at the joints that require it. Tool the bead neatly without smearing the factory finish. Do not extend that sealant into lap drainage paths.
Check before continuing: The corner is supported, aligned and sealed only where required.
Step 11 of 12
Cut and support the last course
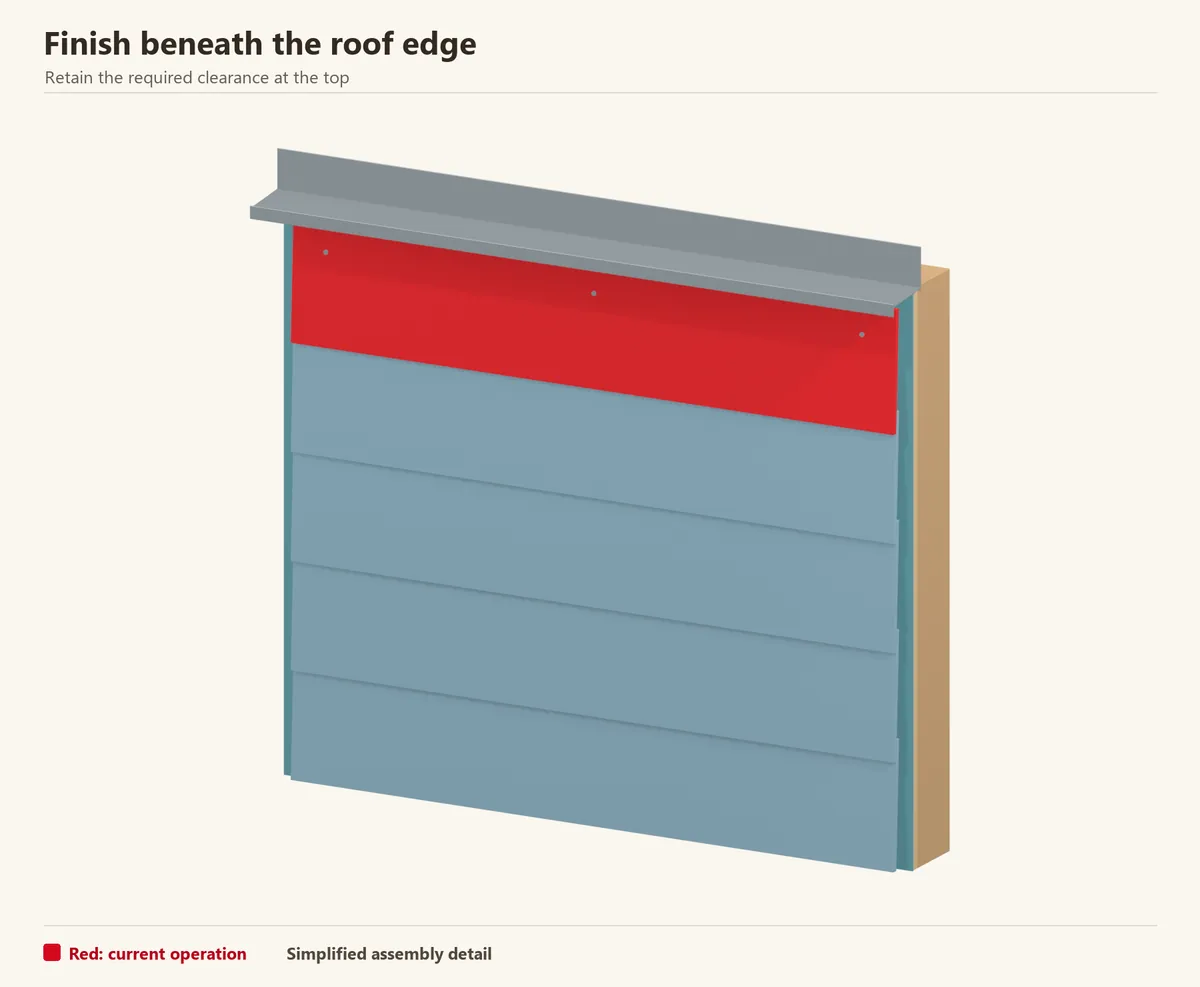
Measure the remaining height at several points and plan the final fixing before ripping the plank. Keep the required top clearance and provide backing wherever the selected termination needs it.
Template the gable angle with an offcut rather than transferring one measurement repeatedly up the slope. Treat each new cut and use the permitted top-course fixing, especially where the normal blind-nailing zone has been removed.
Check before continuing: The last pieces are supported, edge-treated and clear of the roof detail.
Step 12 of 12
Complete the coating and final inspection
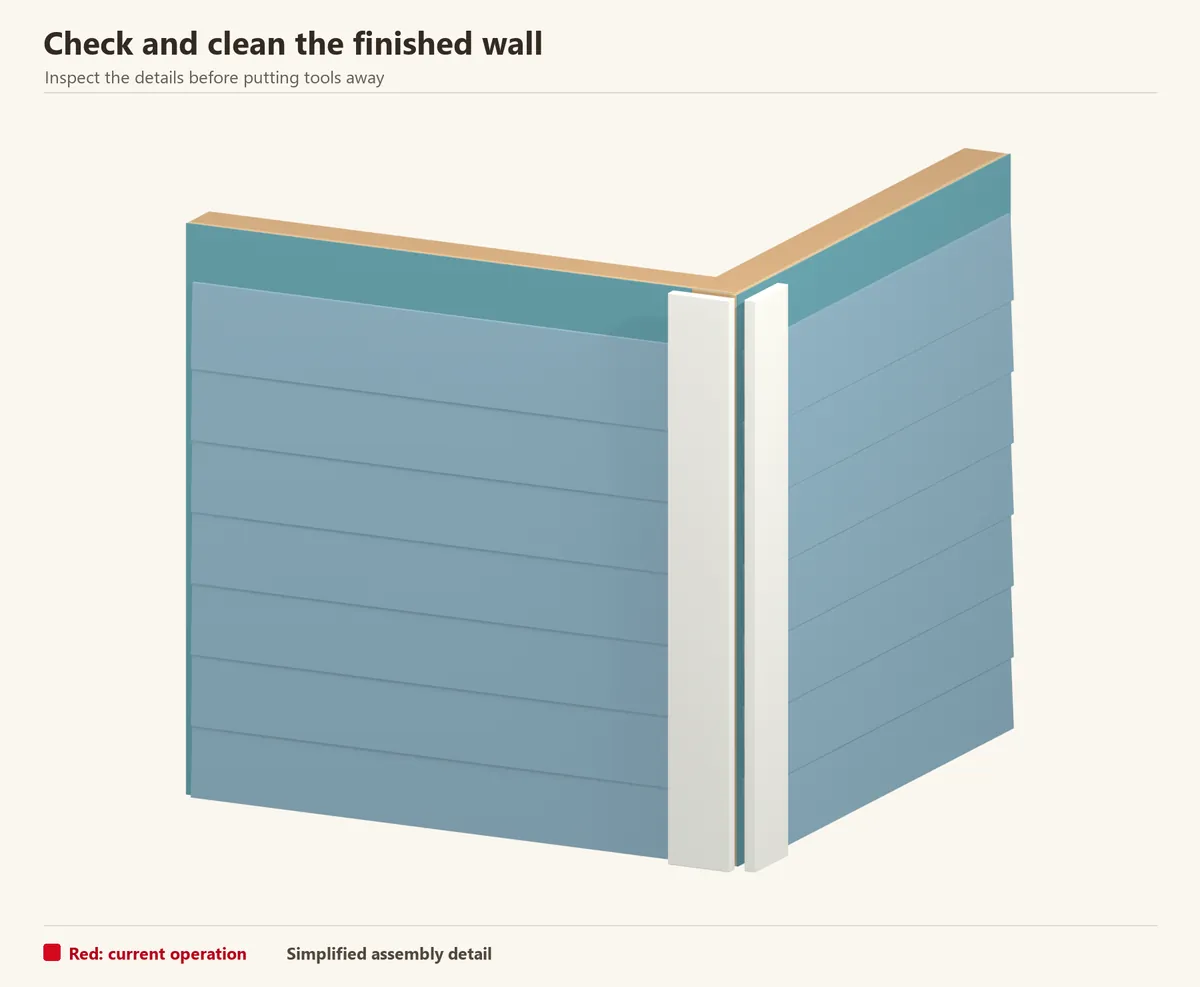
For primed siding, complete the specified exterior coating within the maker’s time limit. For factory-finished siding, use its approved edge and touch-up treatment. Remove protective films at the instructed stage.
Check the base clearance, joints, nail heads and opening flashings in daylight. Keep soil and plants back from the wall, clean gently and retain the finish details for later repairs.
Check before continuing: The finish is complete and the water exits remain open.
Reference: Allura — fiber-cement installation manual, October 2025 (PDF)
Common questions
Is fiber cement the same as engineered wood?
No. They are different materials with different handling, cutting, fastening and coating instructions. Do not use an engineered-wood nail schedule for a fiber-cement plank.
Does every fiber-cement installation need battens?
No. Approved assemblies vary by product and region. This sequence illustrates a sheathed wall; where a ventilated cavity is required, use the specified batten design and fastening detail.
Does fiber-cement siding make the whole shed fireproof?
No. A siding material’s classification does not establish the performance of the timber frame, insulation, openings or complete wall assembly. Check the exact product and the local building requirements.
Installation references
Sources checked 24 October 2026. Use the current instructions for your product and region when purchasing and installing.
- James Hardie — HZ5 lap-siding quick-start guide; use the correct regional manual (PDF)
- James Hardie — lap-siding installation tips
- James Hardie — silica safety and cutting resources
- Allura — fiber-cement installation manual, October 2025 (PDF)
- Allura — lap-siding finishes and technical resources
- DuPont — weather barrier and opening flashing instructions