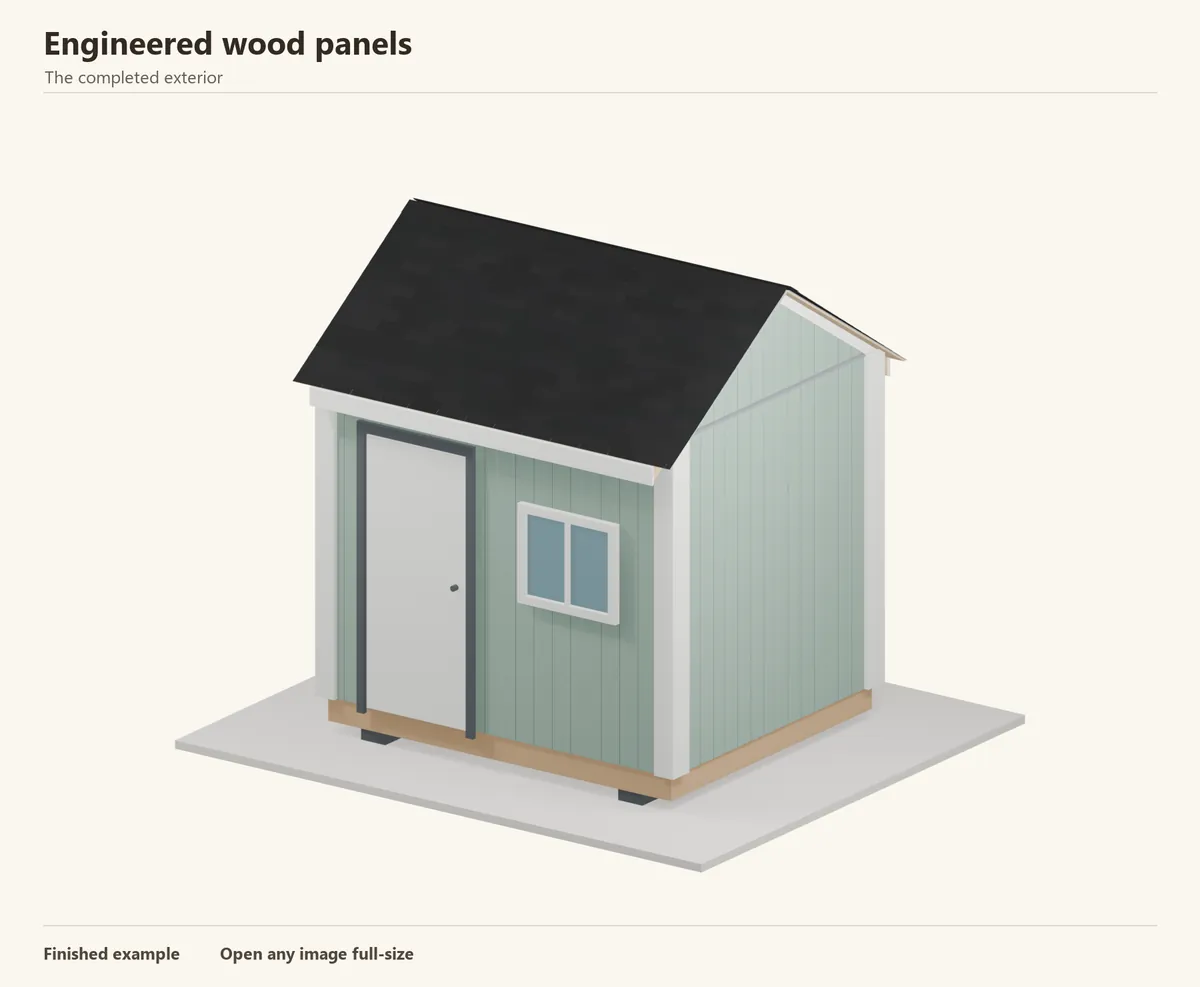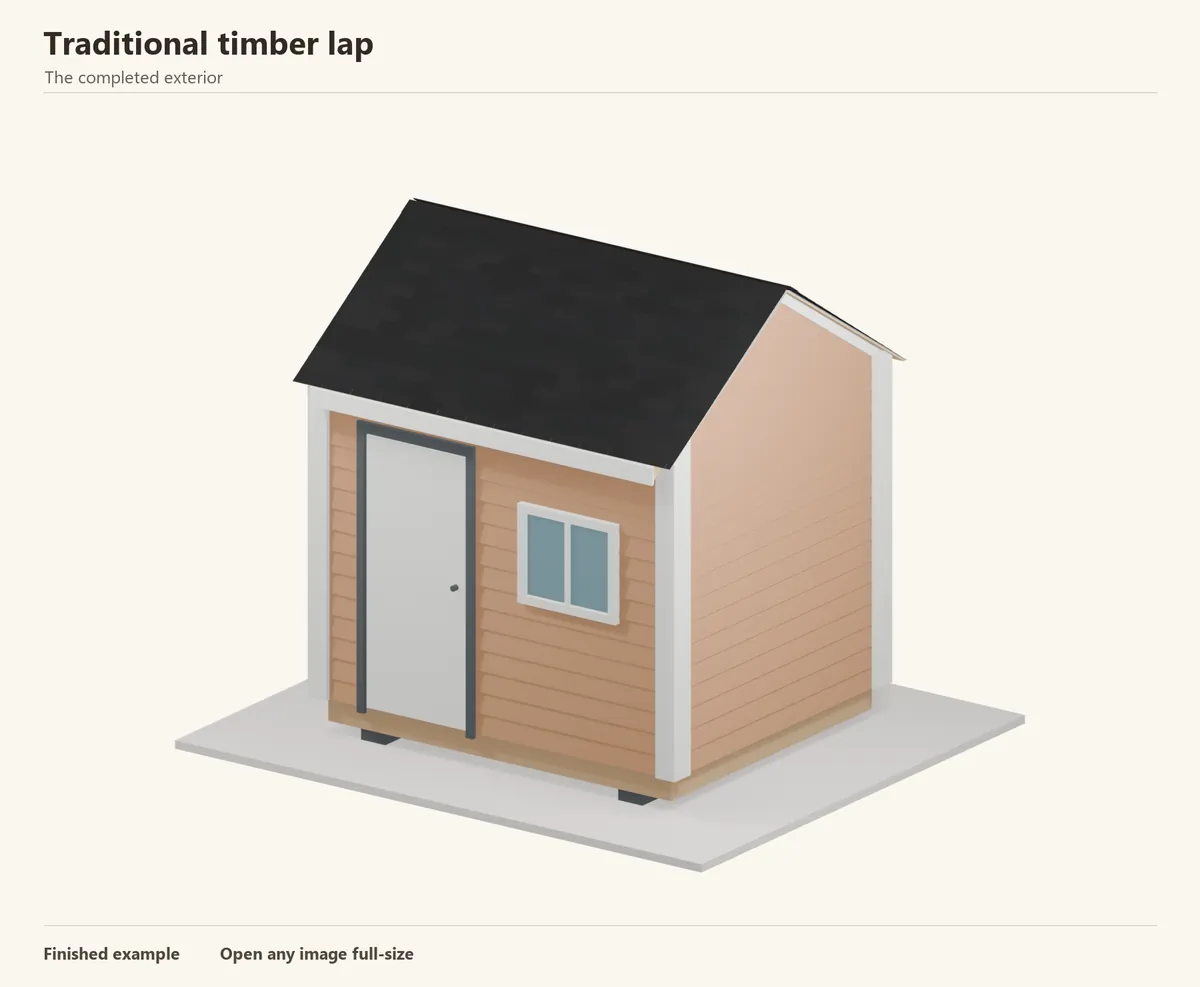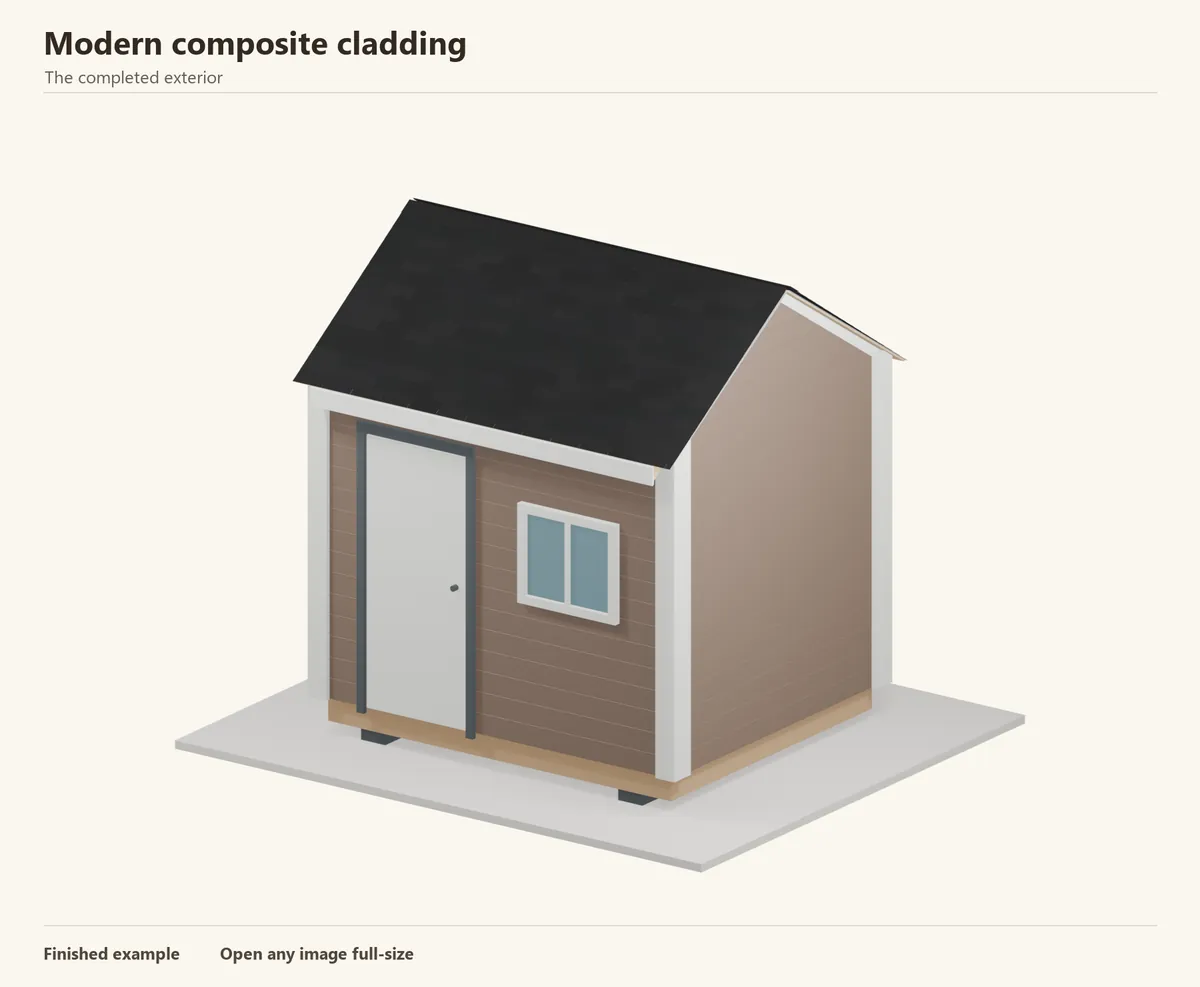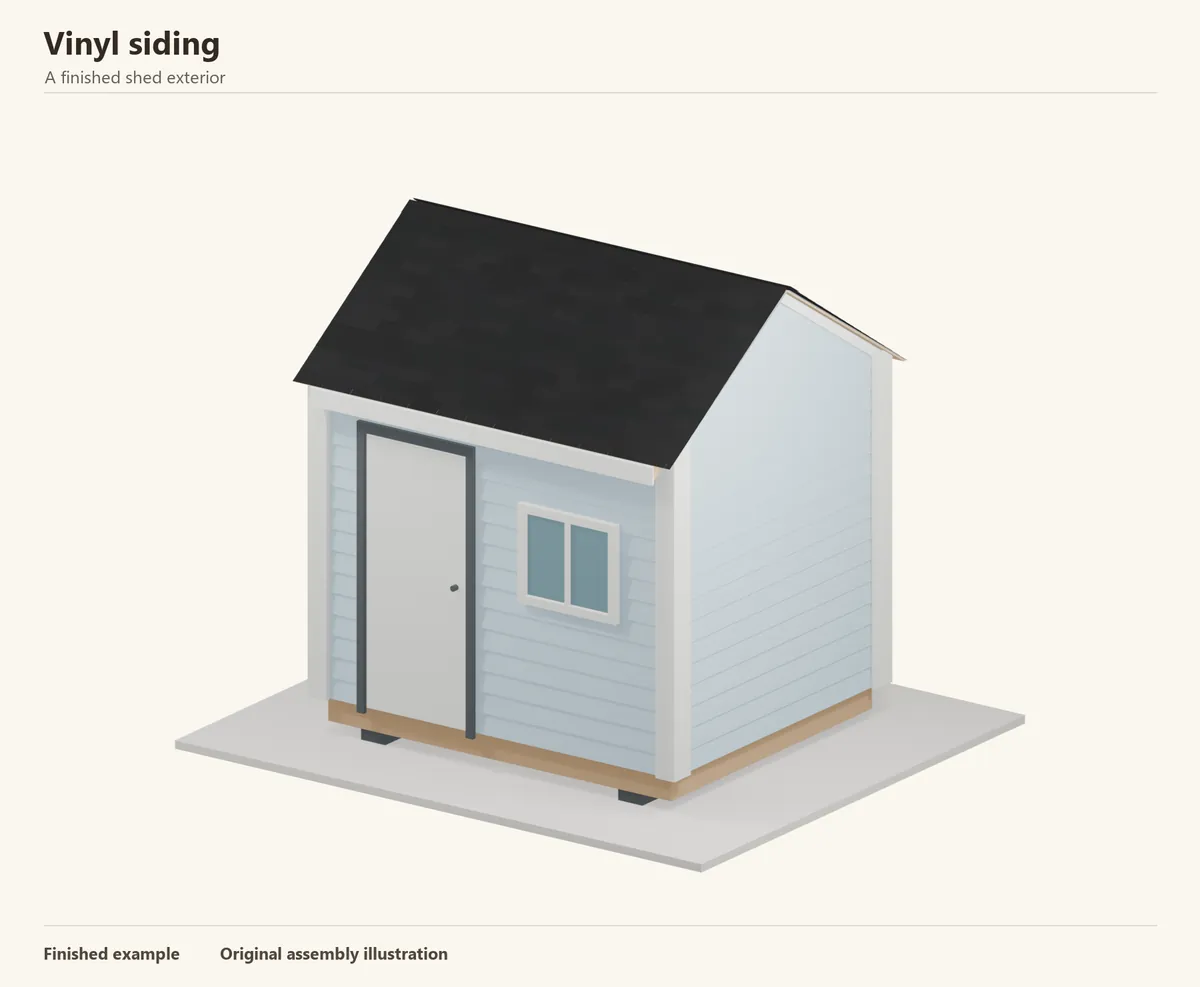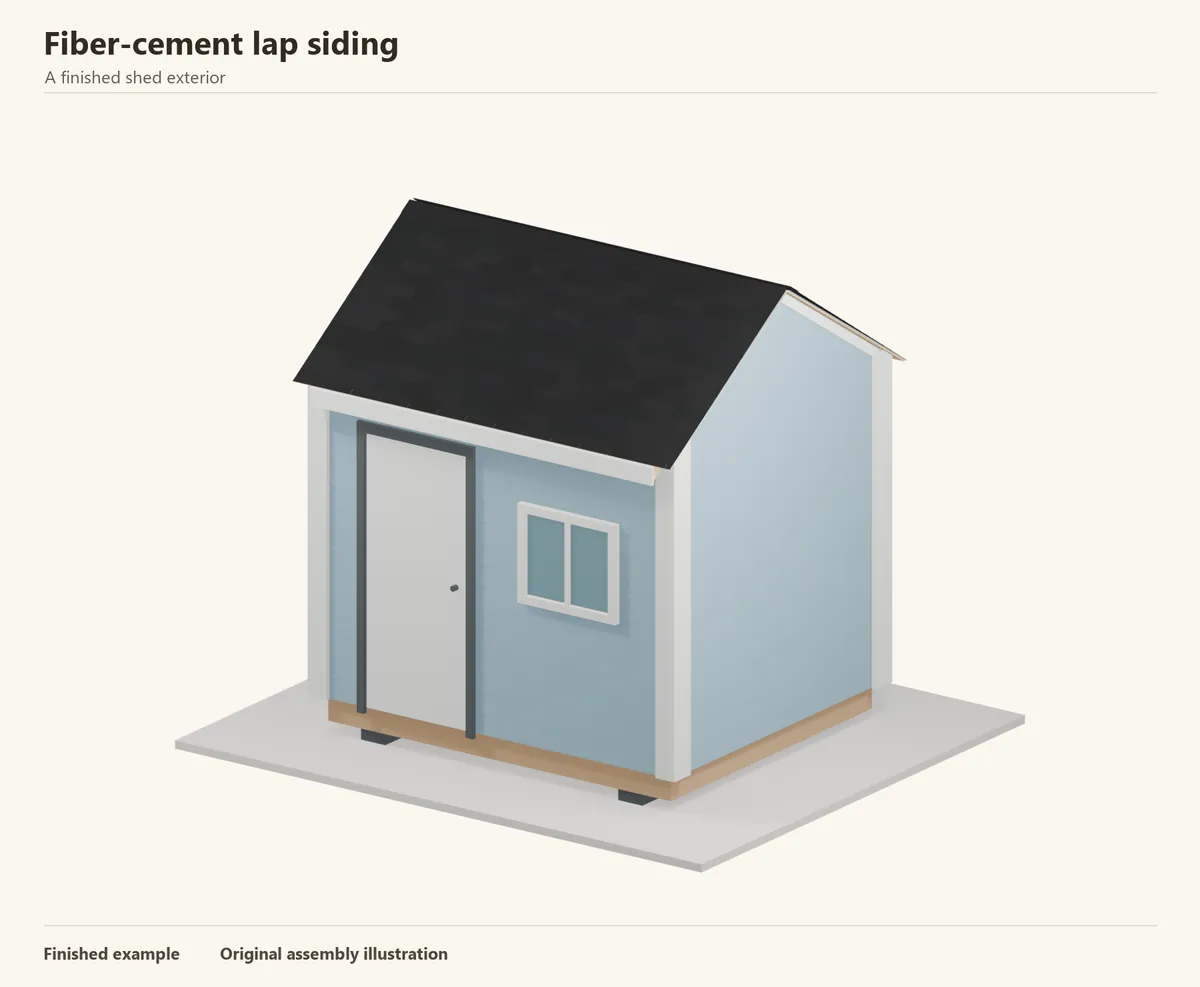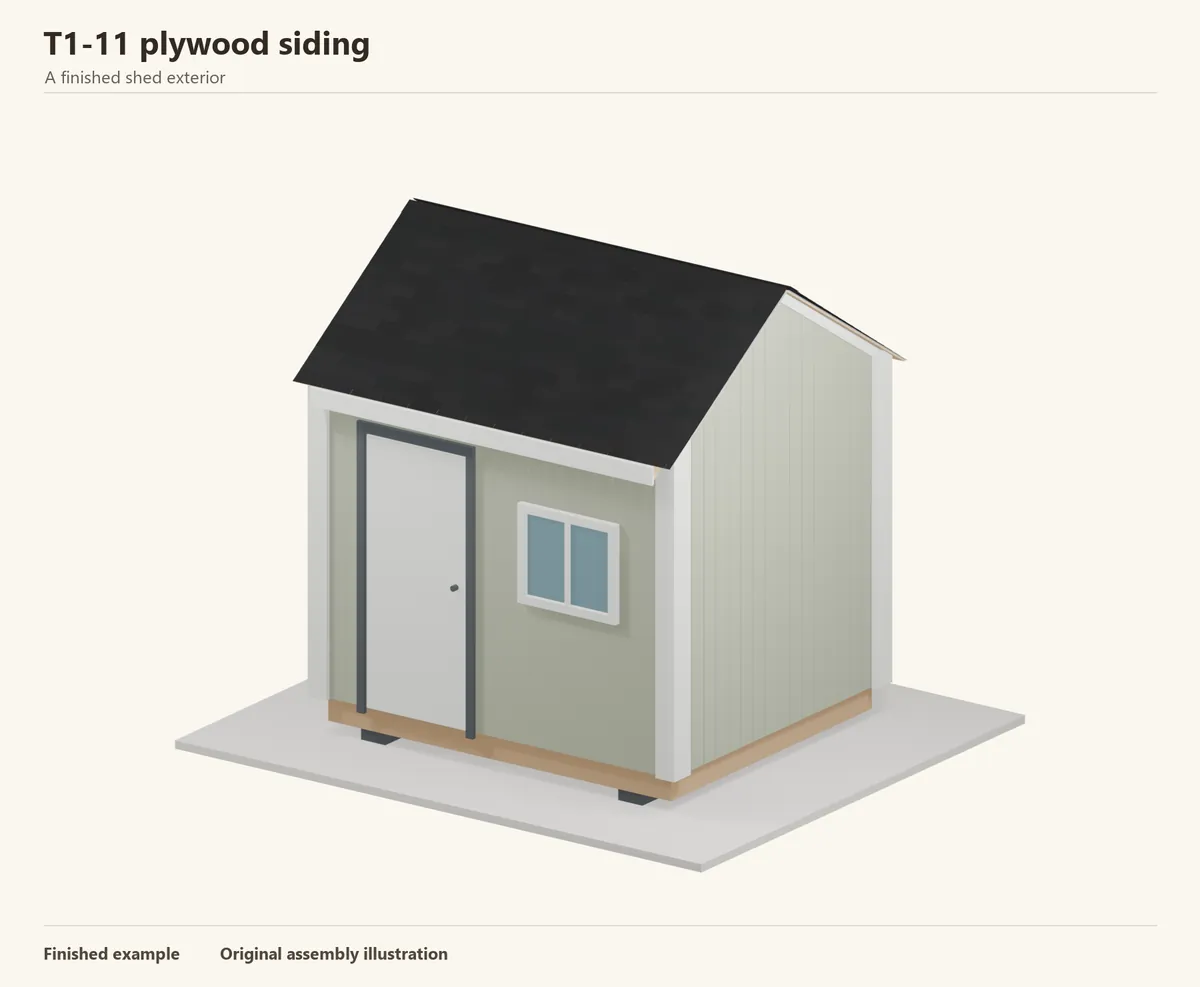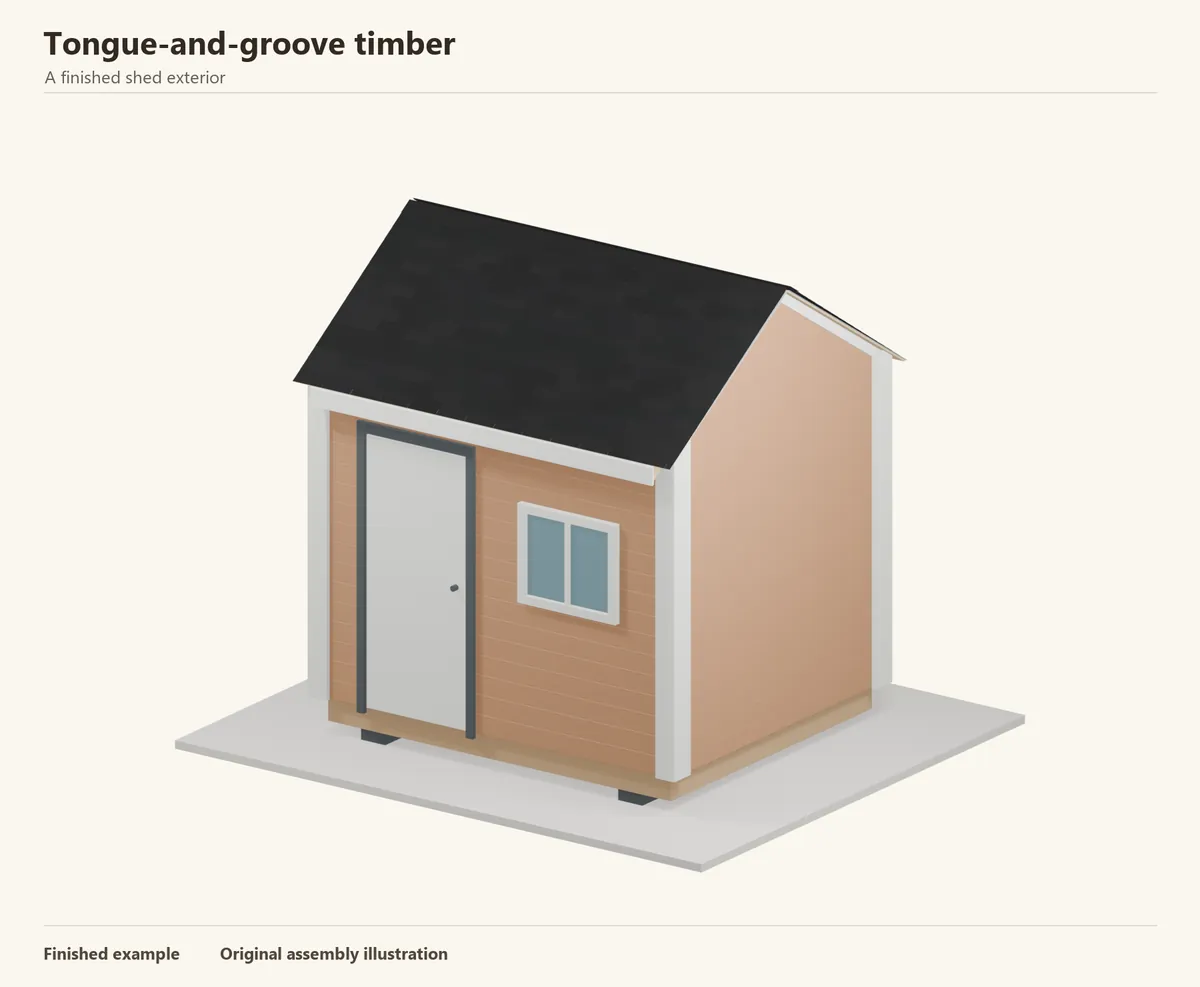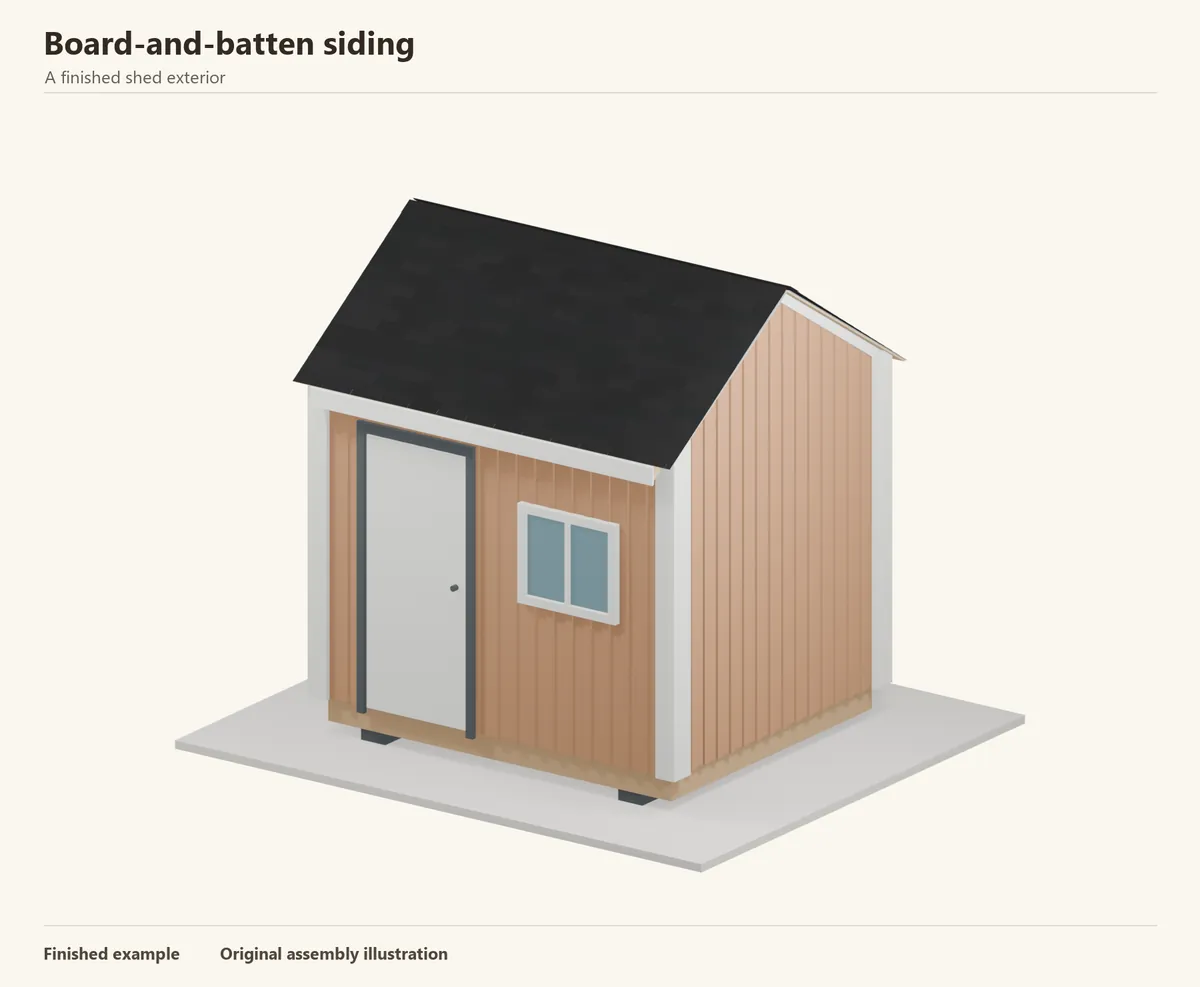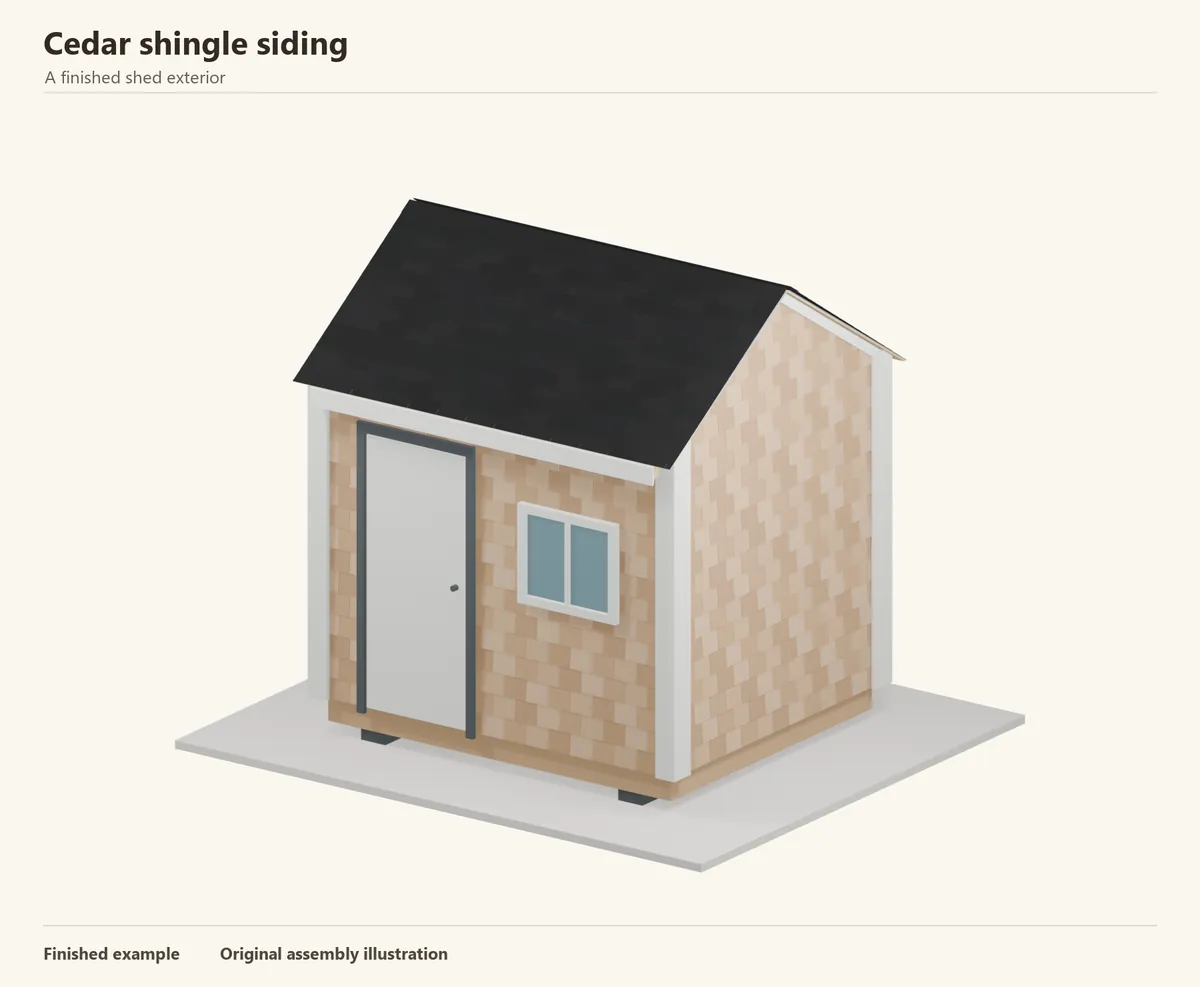
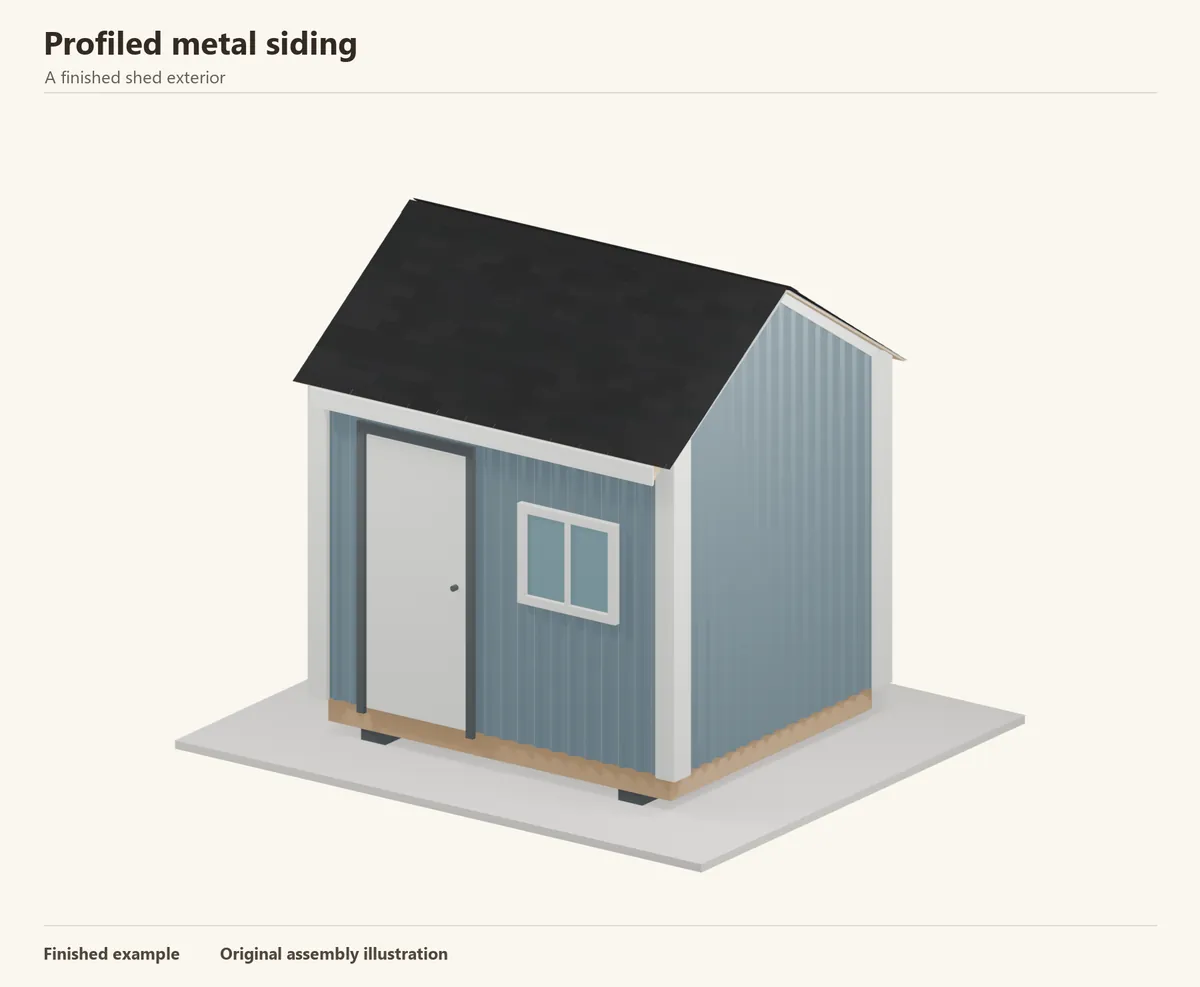
- A good fit for
- A workshop or storage shed with a practical vertical-rib appearance and a factory-coated finish.
- Plan for
- Sharp edges, coating damage and incorrect screws need attention. The support and fastening schedule must be chosen for the actual wall panel and wind exposure.
Jump to an installation step
- 1. Plan the sheets and their backing
- 2. Inspect and store the sheets
- 3. Make clean cuts without burning the coating
- 4. Fit the base flashing and preceding trims
- 5. Set the first sheet plumb
- 6. Drive the specified screws squarely
- 7. Nest and fasten the side lap
- 8. Continue across the wall
- 9. Fit the opening flashings and cut panels
- 10. Cover the outside corners
- 11. Finish the top and gable edges
- 12. Remove swarf and inspect the finish
Before you begin
Buy the cladding and its required accessories together. Measure the wall area and openings, then calculate coverage using the actual product profile and allow for cuts.
- Exterior wall-rated profiled sheets, ordered to the measured lengths where practical
- Matching base, head, jamb, corner and top flashings; specified closures and sealant tape
- Sheathing, weather barrier and the designed framing or screw backing
- Compatible panel screws with sealing washers, plus the separate lap and trim fasteners
- Tape, square, level, chalk line, approved snips or nibbler and a controllable driver
- Cut-resistant gloves, eye and hearing protection, stable access and a helper for sheets
Companies offering this type of siding include American Building Components and Western States Metal Roofing. Check local availability and follow the installation instructions for the product you choose.
Choose a wall profile and a complete trim package
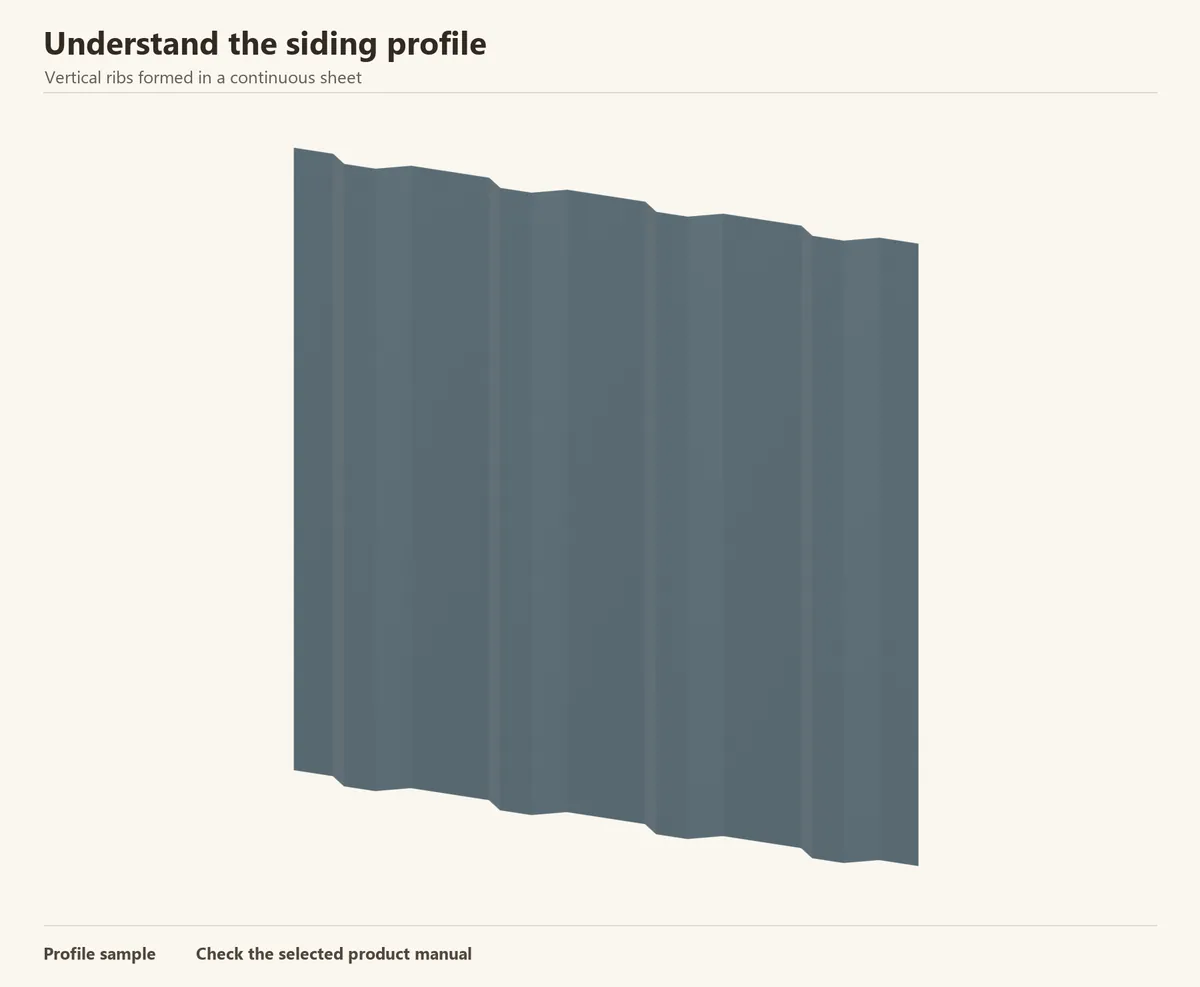
The drawings use a vertical, exposed-fastener sheet with trapezoidal ribs. Rounded corrugated panels have a similar overall workflow, but their lap, fastener and closure details differ. A concealed-fastener metal plank is another system again.
Match the finish to the shed’s setting: painted steel can give a restrained contemporary look, while metallic finishes suit utility buildings. Compare coatings, corrosion suitability and the actual wall approvals before choosing by colour.
Reference: Western States — R/PBR panel guide, including wall details (PDF) · Western States — profile-specific installation guides
Step 1 of 12
Plan the sheets and their backing

Measure the walls, openings and gables. Divide the wall width by the sheet’s effective cover, not its overall width. Adjust the start so the last sheet is a useful width and awkward slivers do not land beside a door.
Check the designed support and fixing lines. The illustrations use sheathing with structural backing; other approved systems use girts or a drained batten arrangement. Complete the weather barrier and opening flashings before the metal hides them.
Check before continuing: The sheet layout, support positions and water-control layer are ready.
Reference: Western States — R/PBR panel guide, including wall details (PDF) · DuPont — weather barrier and opening flashing instructions
Step 2 of 12
Inspect and store the sheets
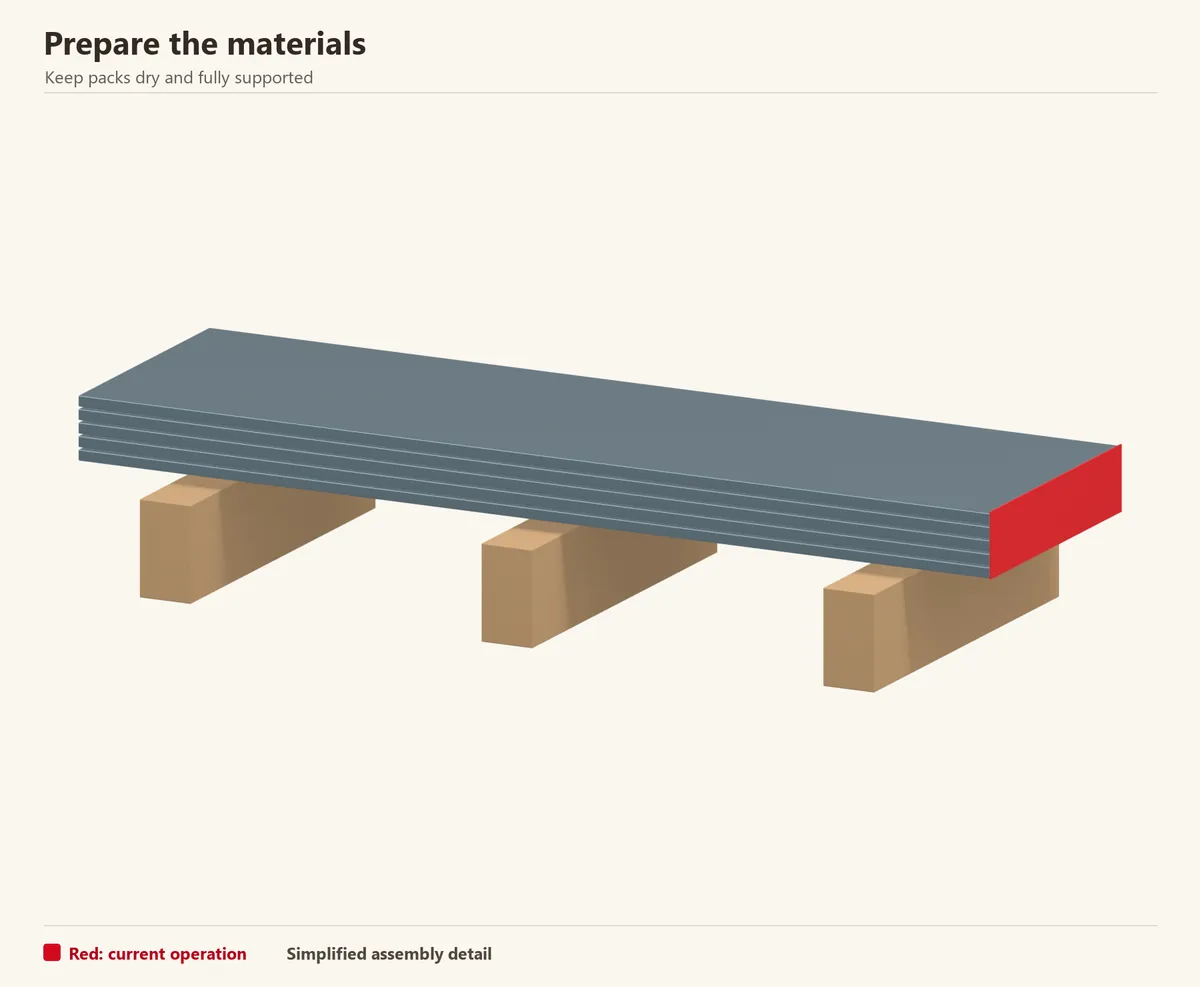
Check sheet lengths, handed laps, coating and trim quantities on delivery. Label the wall each length belongs to. Handle long sheets with a helper and protect their edges from dragging across the stack.
Keep the bundle dry, supported and ventilated. Arrange storage so water can run off rather than collect between sheets; do not leave wet metal tightly wrapped. Separate damaged pieces for inspection before installation.
Check before continuing: The coating and panel edges are sound.
Reference: Western States — R/PBR panel guide, including wall details (PDF)
Step 3 of 12
Make clean cuts without burning the coating
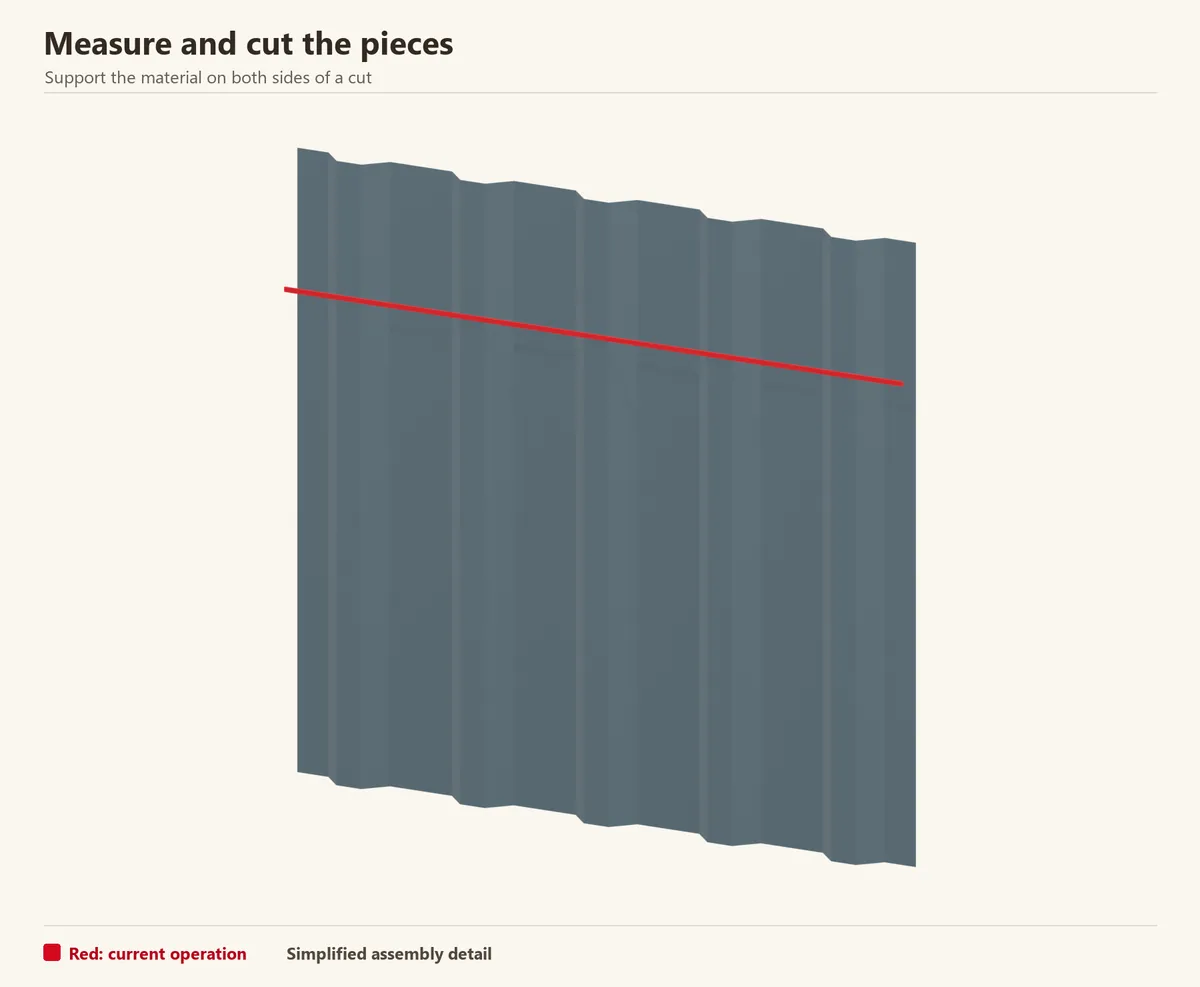
Transfer the cut to the sheet and support it near the line. Use the cutting method approved for its coating—often snips or a nibbler. Keep the cuttings away from finished sheets and remove swarf promptly.
Do not assume an abrasive wheel or an ordinary circular-saw blade is acceptable. Hot filings can mark the surface and damage its protection. Follow the coating supplier’s instructions for exposed cut edges and small repairs.
Check before continuing: Edges are clean and no metal filings remain on the coating.
Reference: Metal Roofing Supply — siding installation details, February 2024 (PDF)
Step 4 of 12
Fit the base flashing and preceding trims

Mark a level base line that preserves clearance above ground or paving. Install the base flashing and any trims that must sit behind the panels. Plan their laps so water exits to the outside.
Use the matching profile closures only where the selected detail calls for them. A closure that keeps wind-driven rain out at one location can obstruct drainage if copied to the wrong place.
Check before continuing: The base detail discharges water and leaves the panel clear of the finished surface.
Reference: Metal Roofing Supply — siding installation details, February 2024 (PDF)
Step 5 of 12
Set the first sheet plumb
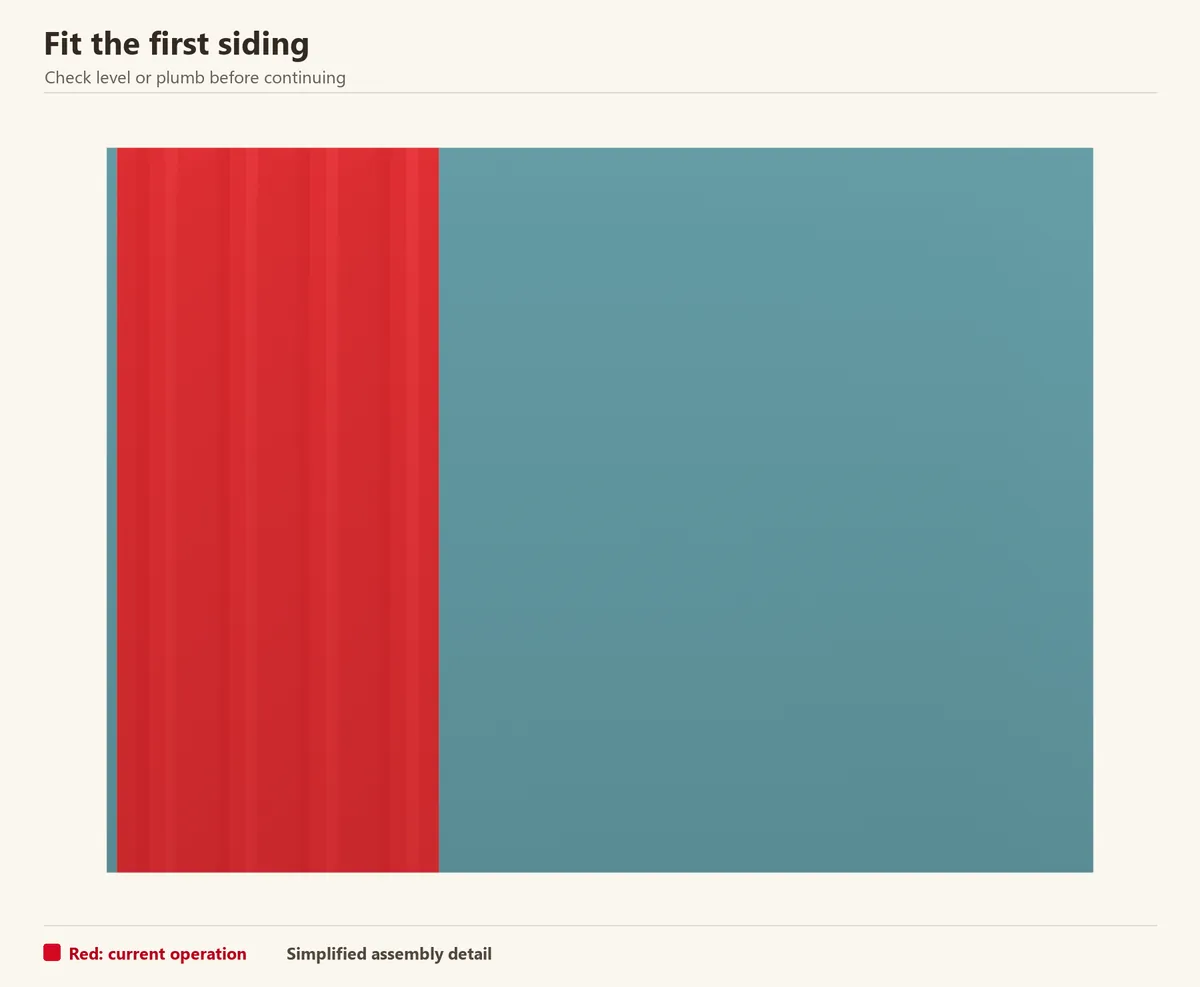
Offer the first panel to the wall with the correct overlap edge facing the next sheet. Check plumb along a rib and check the bottom against the base datum. Hold it securely while making the initial fixings.
Recheck before completing the fastener pattern. A small lean in the first sheet becomes a large misalignment across several sheets, especially where the top follows a roof slope.
Check before continuing: The first rib is plumb and the bottom follows the level datum.
Step 6 of 12
Drive the specified screws squarely
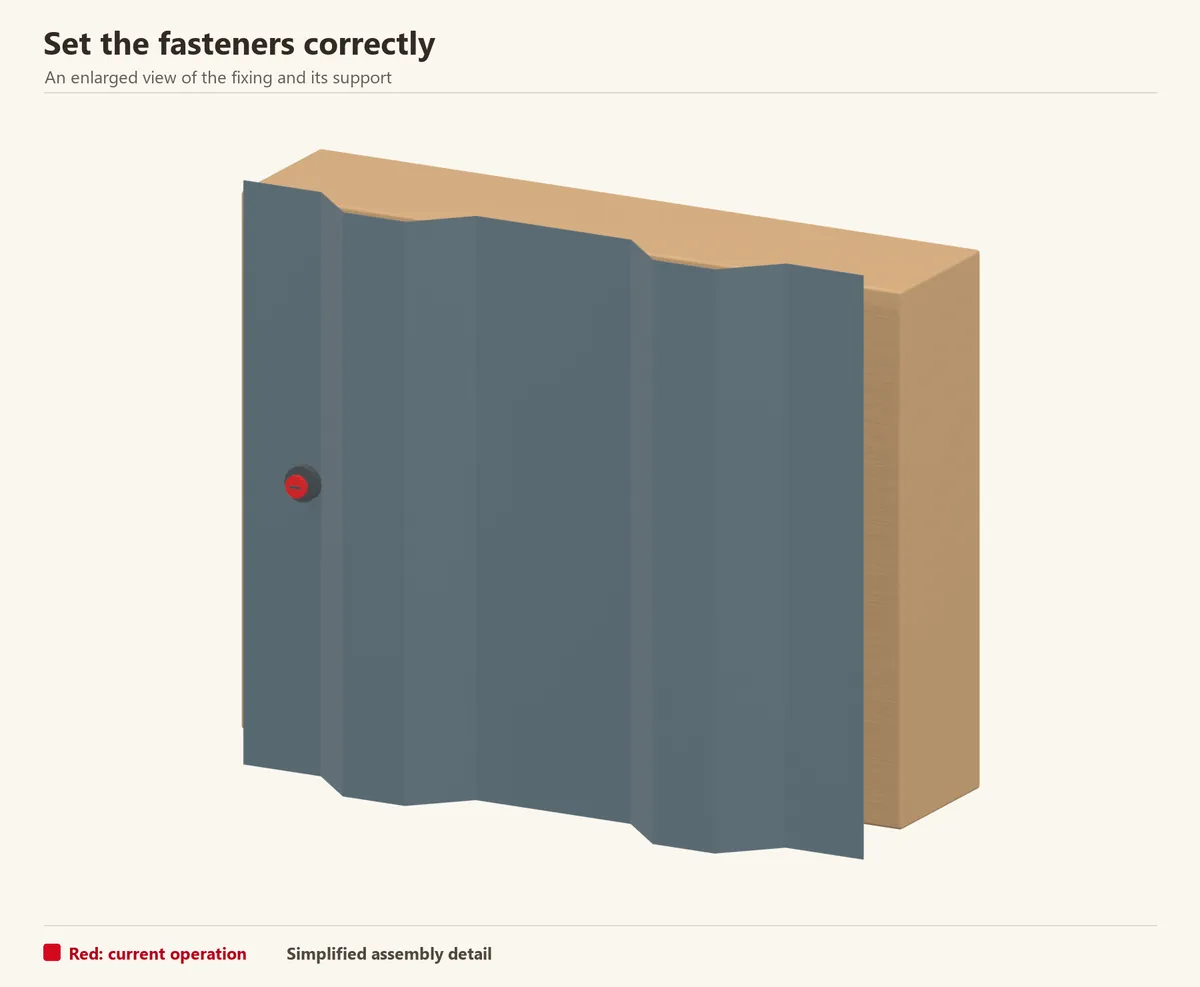
Use the panel’s wall fastening schedule, including the required substrate and screw type. The close-up shows a flat-part fixing; some other profiles place fasteners differently. Do not copy a roof fastener pattern onto a wall.
Drive square to the sheet and compress the sealing washer as specified. A loose washer can leak; excessive torque can crush it or dimple the metal. Test the driver setting on a spare piece with matching backing first.
Check before continuing: Each screw engages the required backing and seats its washer correctly.
Reference: Western States — R/PBR panel guide, including wall details (PDF)
Step 7 of 12
Nest and fasten the side lap

Fit the next sheet over the correct edge and check the rib engagement from top to bottom. The image highlights the incoming sheet where the matching ribs overlap.
Use the specified side-lap screws and sealing detail. A short stitch screw that joins two sheets does not replace a structural panel screw into the backing. Avoid horizontal sheet joints where a full-height panel is practical; any necessary end lap needs its own wall detail.
Check before continuing: The lap is fully nested and uses the right fasteners.
Reference: Metal Roofing Supply — siding installation details, February 2024 (PDF)
Step 8 of 12
Continue across the wall

Repeat the sheet sequence, checking plumb and the remaining cover width every few panels. Check the bottom line at the same time. Do not force a distorted sheet sideways to recover lost width.
Keep fastener rows aligned with the support marks. Brush loose filings off as you go so they are not trapped in laps or beneath trim. Plan the last cut before reaching the corner.
Check before continuing: Ribs are straight, panel cover is consistent and all fixings meet backing.
Step 9 of 12
Fit the opening flashings and cut panels
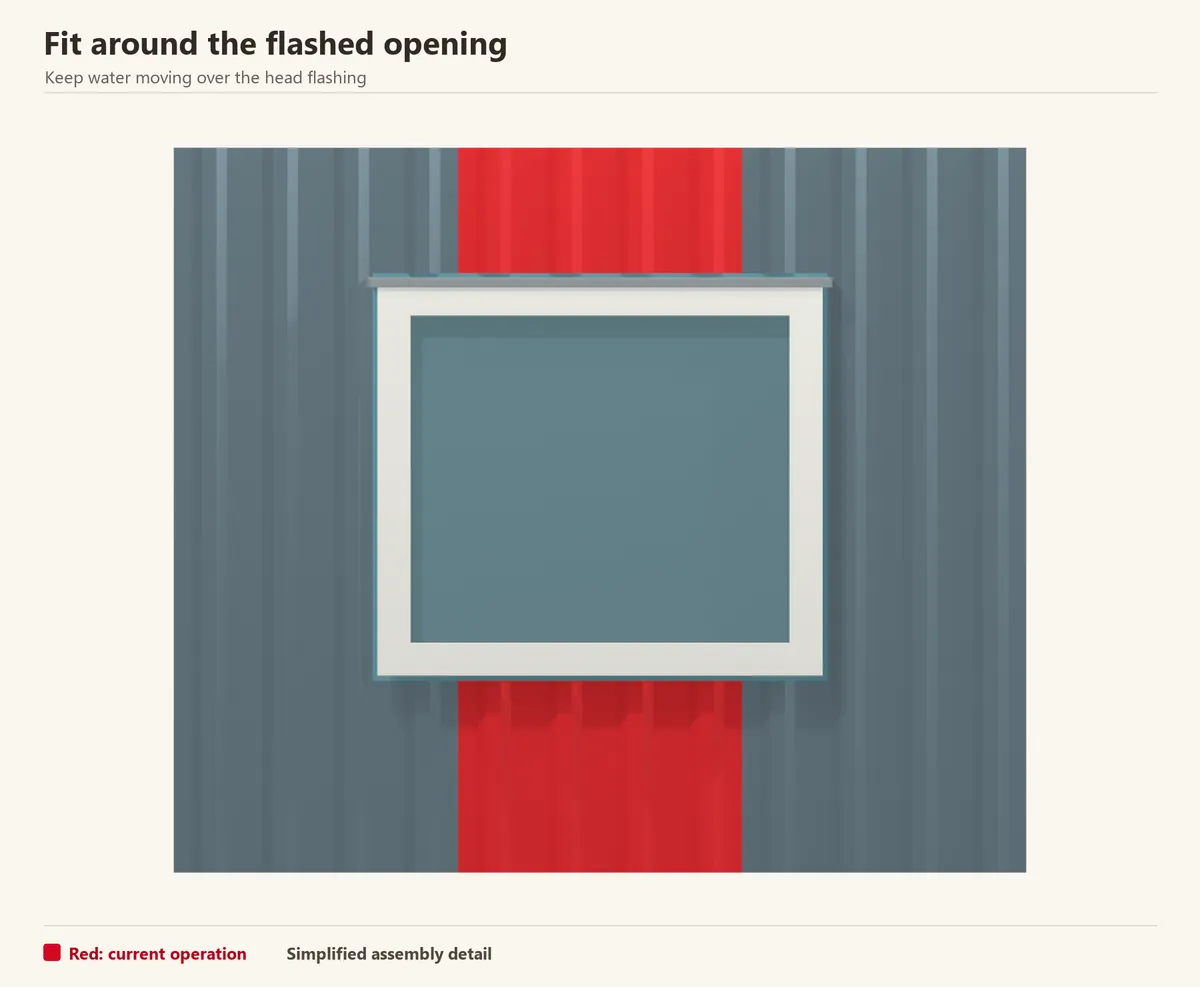
Measure the actual opening and mark the panel cuts, retaining the required allowance for its jamb and head trims. Support the narrow pieces at the sides instead of leaving their fixings in a free edge.
Install the matching sill, jamb and head arrangement in the required order. The outer metal trim works with the opening flashing behind it. Keep the head flashing draining over the face of the panels below.
Check before continuing: The opening has supported cut edges and a continuous drainage route.
Reference: Metal Roofing Supply — siding installation details, February 2024 (PDF) · DuPont — weather barrier and opening flashing instructions
Step 10 of 12
Cover the outside corners
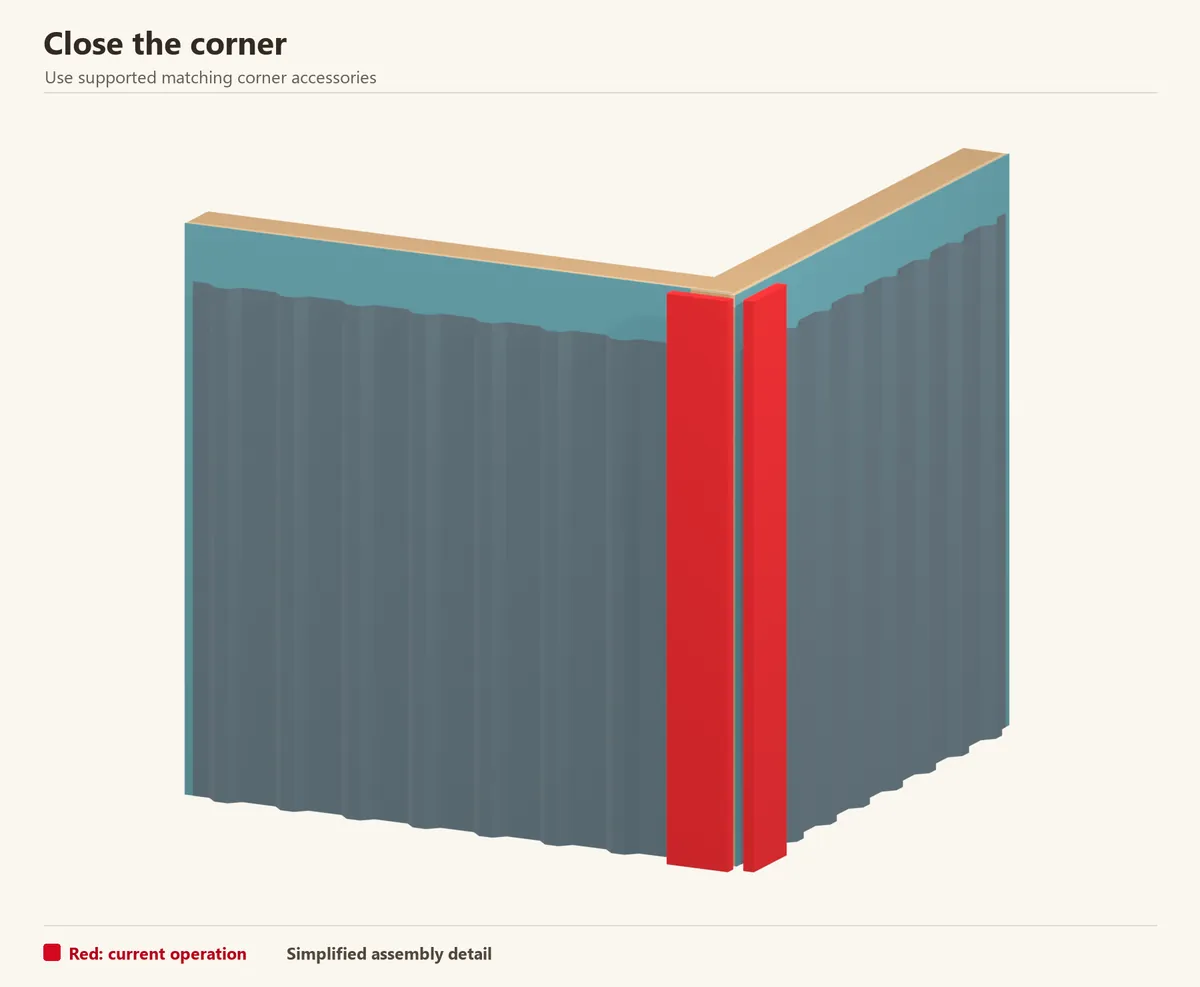
Cut and fit the corner flashing to cover both sheet edges. Check its line before fastening it; the fold will make any twist easy to see.
Fasten the trim according to its detail and use compatible materials at all contacts. Do not substitute a dissimilar-metal flashing or let the coating sit against an incompatible treated-timber surface.
Check before continuing: The cover is straight, secure and compatible with the panels.
Reference: Western States — R/PBR panel guide, including wall details (PDF) · Metal Roofing Supply — siding installation details, February 2024 (PDF)
Step 11 of 12
Finish the top and gable edges
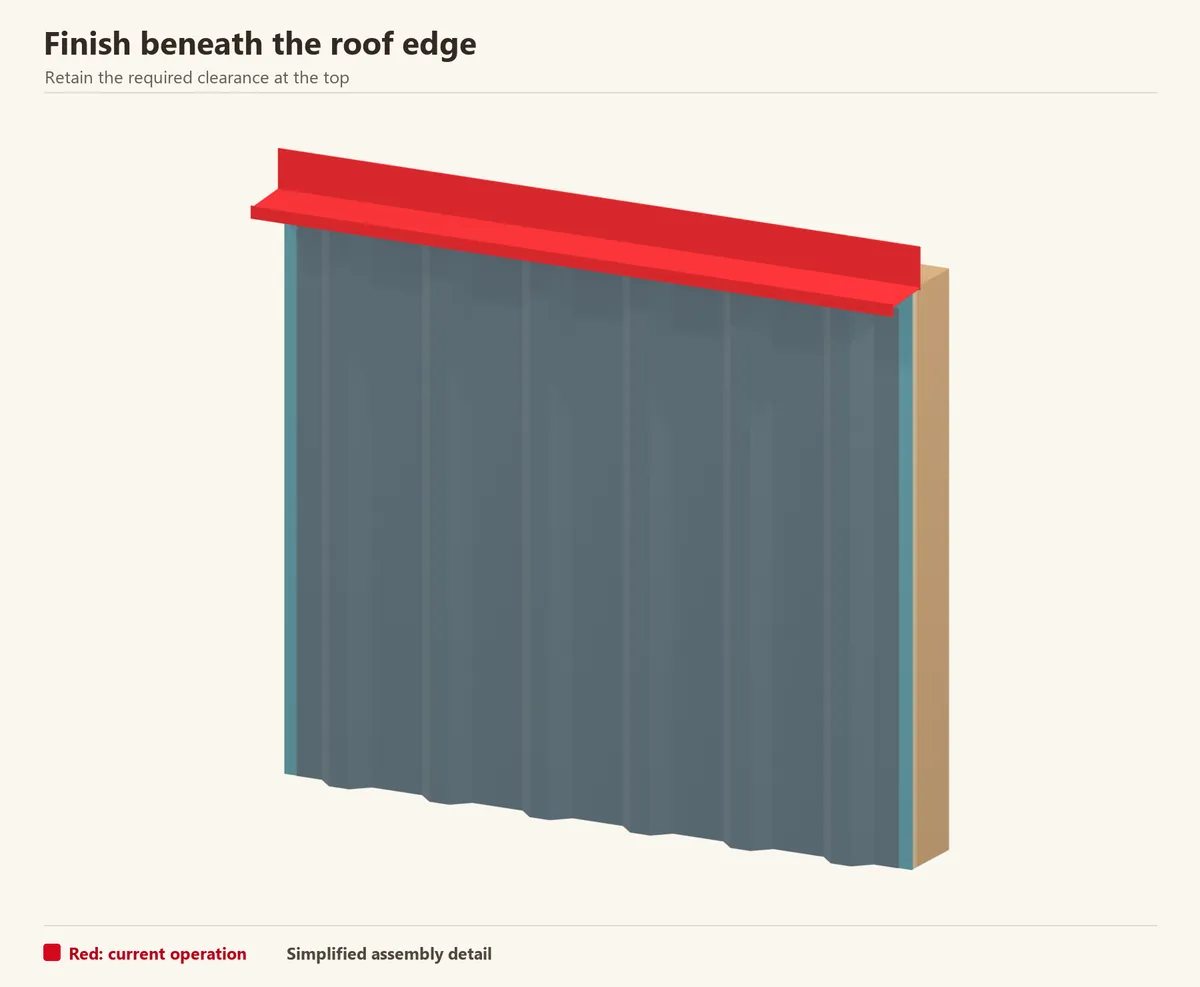
Template the roof slope where necessary, then check the final cut on the wall before trimming the sheet. Fit the matching top or rake flashing with the overlap and closures its detail requires.
Keep the wall’s intended drainage and ventilation paths open. Treat the wall-to-roof junction as a junction between two systems; a roof cap used as decorative wall trim may not provide the right cover or water path.
Check before continuing: The upper edges are protected without trapping water behind the sheets.
Step 12 of 12
Remove swarf and inspect the finish
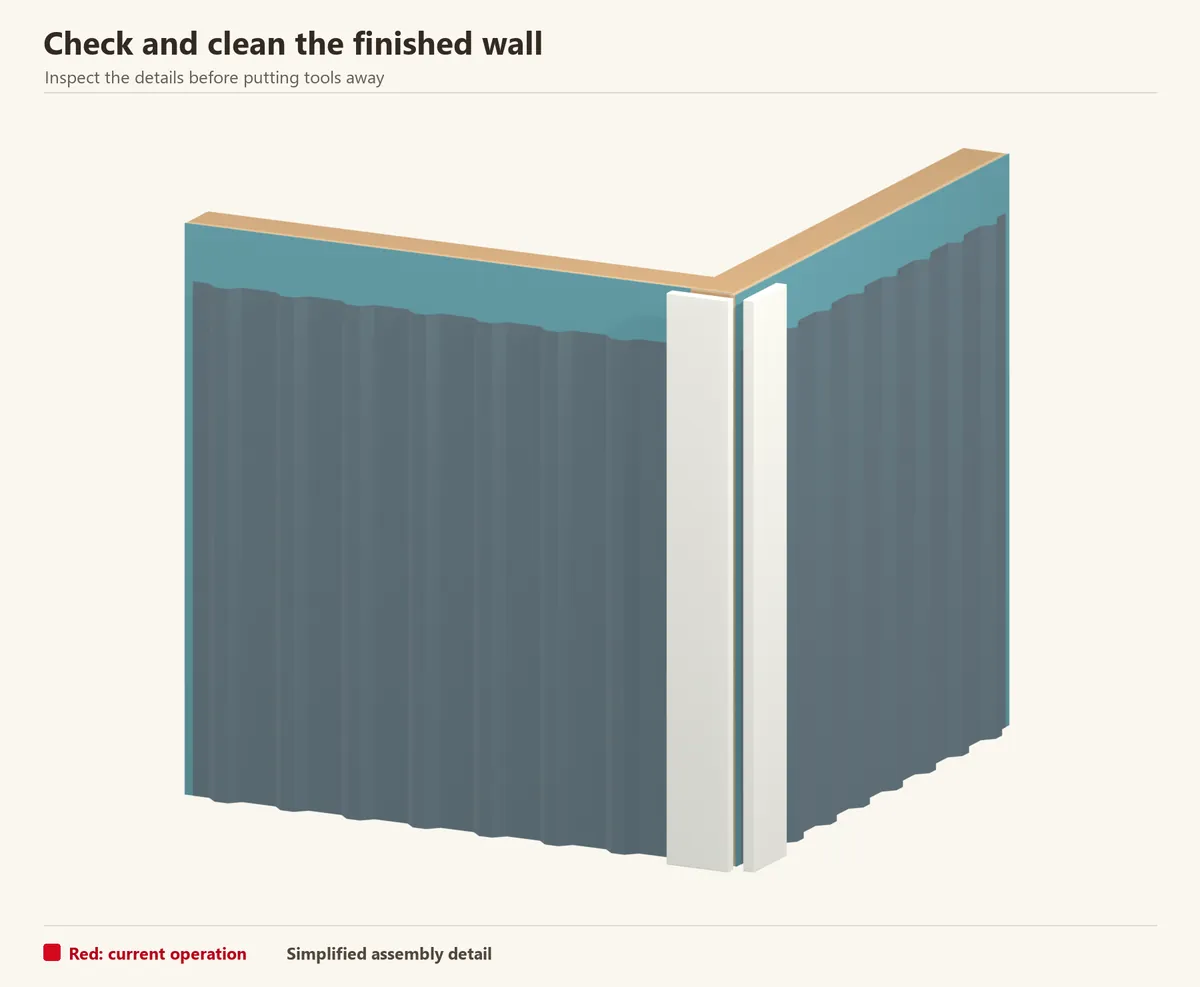
Collect all drill chips and cuttings, remove protective film within the supplier’s time limit and clean the wall with the approved method. Look closely at laps, washers, cut edges and trim fixings.
Keep the base free of soil, wet leaves and piled materials. Inspect after impact damage and repair coating defects by the coating manufacturer’s method rather than spreading general-purpose paint over them.
Check before continuing: The wall is clean, the coating is sound and no washer is loose or crushed.
Reference: ABC — metal building maintenance (PDF)
Common questions
Should screws go in the ribs or the flat parts?
Use the wall schedule for the exact panel. The example shows a flat-part fixing; a different corrugated profile or roof application can require a different position.
Can metal siding replace the shed’s bracing?
Only if the complete structural design explicitly uses an approved panel assembly for that purpose. These illustrations show an exterior finish over an already supported wall.
Can I use horizontal metal boards instead?
Yes, if you choose a wall system designed for that orientation. Metal lap, plank and concealed-fastener profiles need their own backing, joint and trim instructions.
Installation references
Sources checked 24 October 2026. Use the current instructions for your product and region when purchasing and installing.