
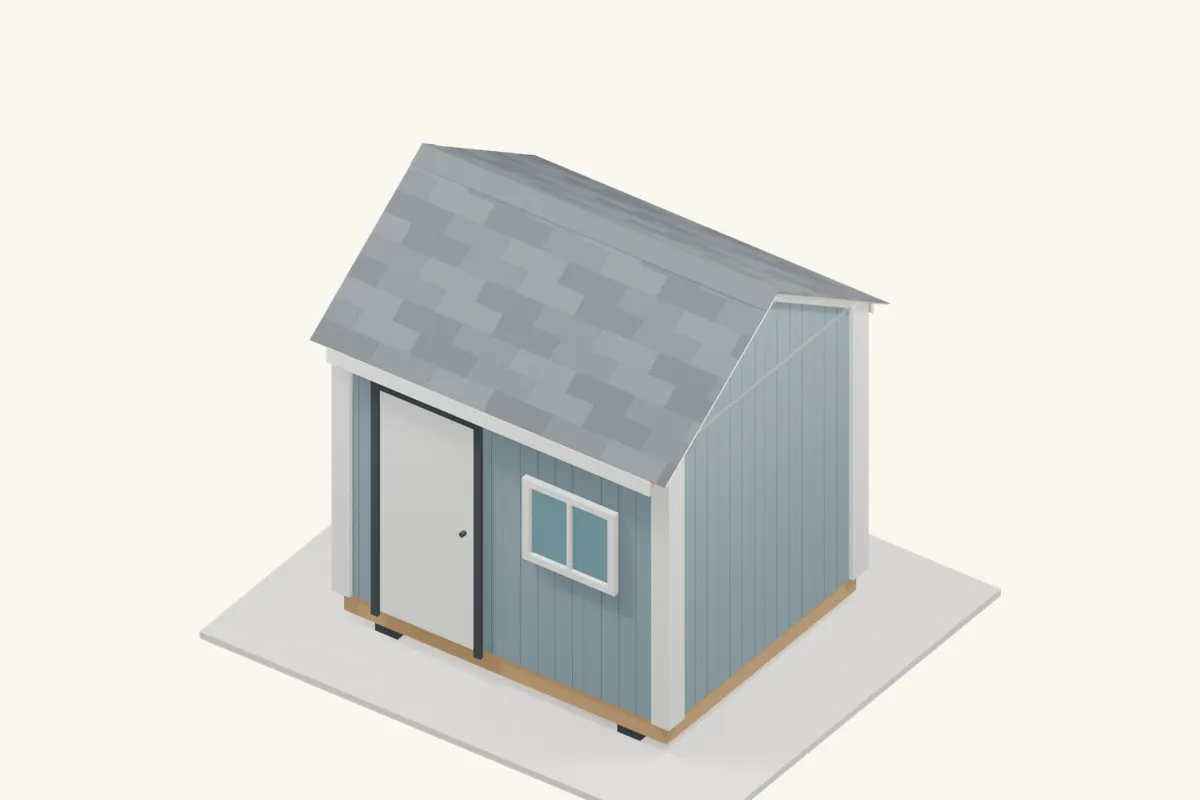
Asphalt shingles give a shed a familiar house-like finish. Work from the eaves toward the ridge, keeping each upper layer over the lower one. The steps show a simple gable roof without valleys, chimneys or skylights; those junctions require additional flashing details.
Before you start this guide
Have the roof frame completed and checked. Confirm the pitch, deck or support arrangement, and drainage suit the exact roofing product. Repair loose, damaged or wet areas before covering them.
Need to build the frame? Start with the roof shapes →- A good fit for
- A pitched shed roof where a shingle finish suits the house and the approved slope.
- Plan for
- A sound deck, the correct underlayment assembly and precise fastening and course layout.
Jump to a step
- 1.Check the pitch and the bare deck
- 2.Fit the eave drip edge
- 3.Install the required eave protection
- 4.Cover the remaining deck with underlayment
- 5.Finish the rake edges and mark course lines
- 6.Install the starter course
- 7.Lay the first field-shingle course
- 8.Set nail depth and keep fixings covered
- 9.Stagger the courses up the roof
- 10.Complete the second roof face
- 11.Install the specified ridge finish
- 12.Inspect and clear the finished roof
Materials and tools
Materials
- Roof-rated deck and its specified fixings
- Compatible eave/rake drip edges, underlayment and any required ice barrier
- Starter shingles, field shingles and compatible ridge caps
- Corrosion-resistant roofing nails of the specified length and shank
- Approved roof cement only for the details that call for it
Tools and access
- Tape, chalk line, straightedge and hook-blade roofing knife
- Hammer or roofing nailer with depth control, and snips
- Roof-access equipment and fall protection; keep cuttings off the walking surface
Measure the actual roof and allow for laps, edge turns and cuts. Work from stable access with suitable fall protection; wet roofs and loose sheets are unsafe work surfaces.
Understand the roof assembly
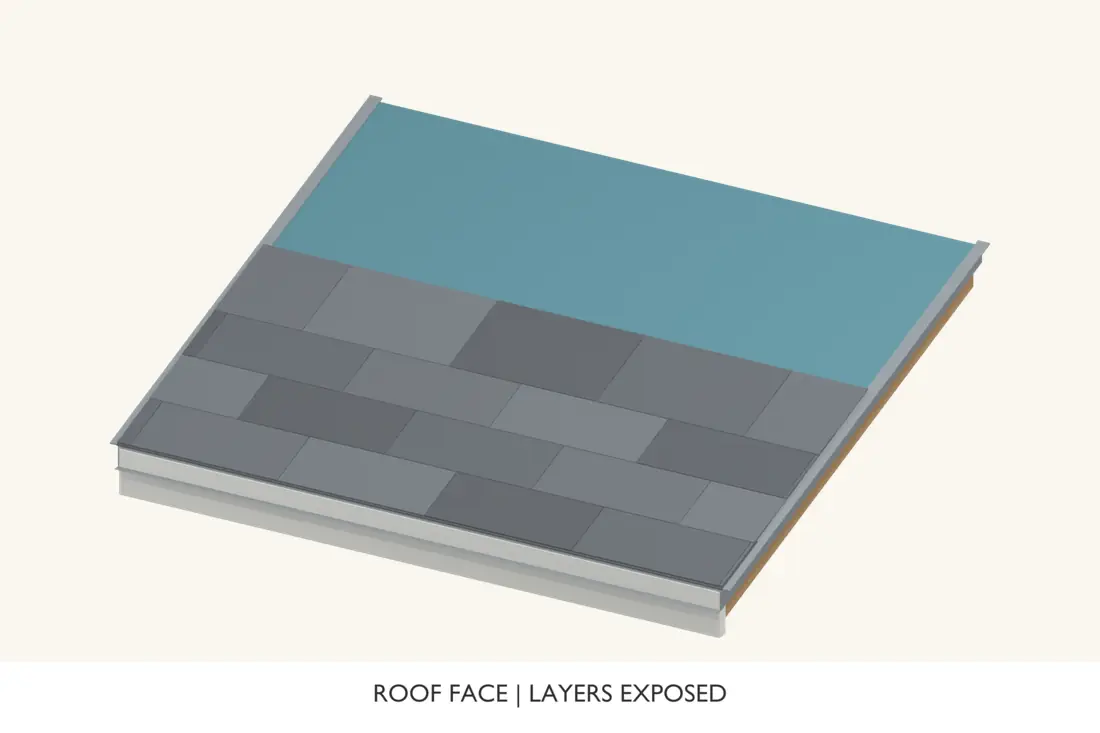
The diagrams show starter shingles and overlapping shingle courses on a fully decked gable roof. Exposure, offsets and nail positions come from the actual shingle wrapper; the illustration is not a substitute nailing template.
Step 1 of 12
Check the pitch and the bare deck
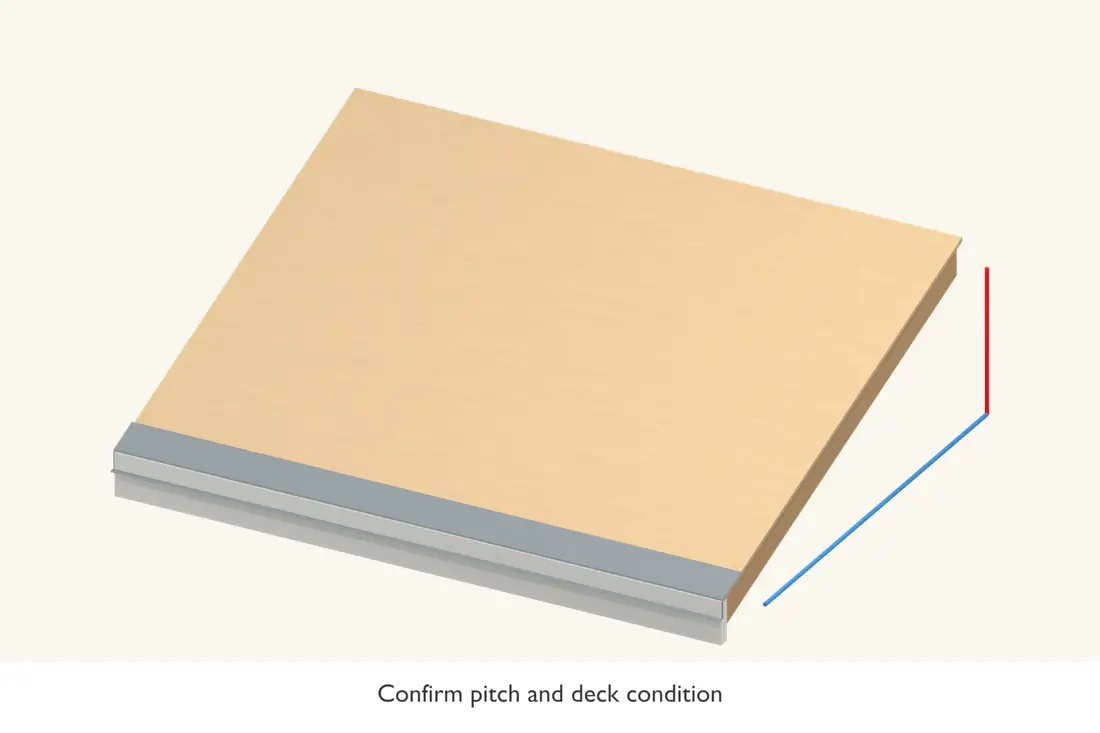
Measure the slope and confirm that the shingles are approved for it. GAF identifies 2:12 to less than 4:12 as a low-slope range needing additional deck protection; below the product minimum, select another roof covering.
Inspect the deck for loose panels, protruding fasteners, wet patches and damaged edges. Replace or refasten defective areas. The surface needs to be clean and stable before any waterproofing is concealed.
Check before continuing: The pitch and the complete underlayment assembly meet the shingle instructions.
Installation reference: GAF — shingle application on low slopes · APA — roof sheathing and roof systems
Step 2 of 12
Fit the eave drip edge
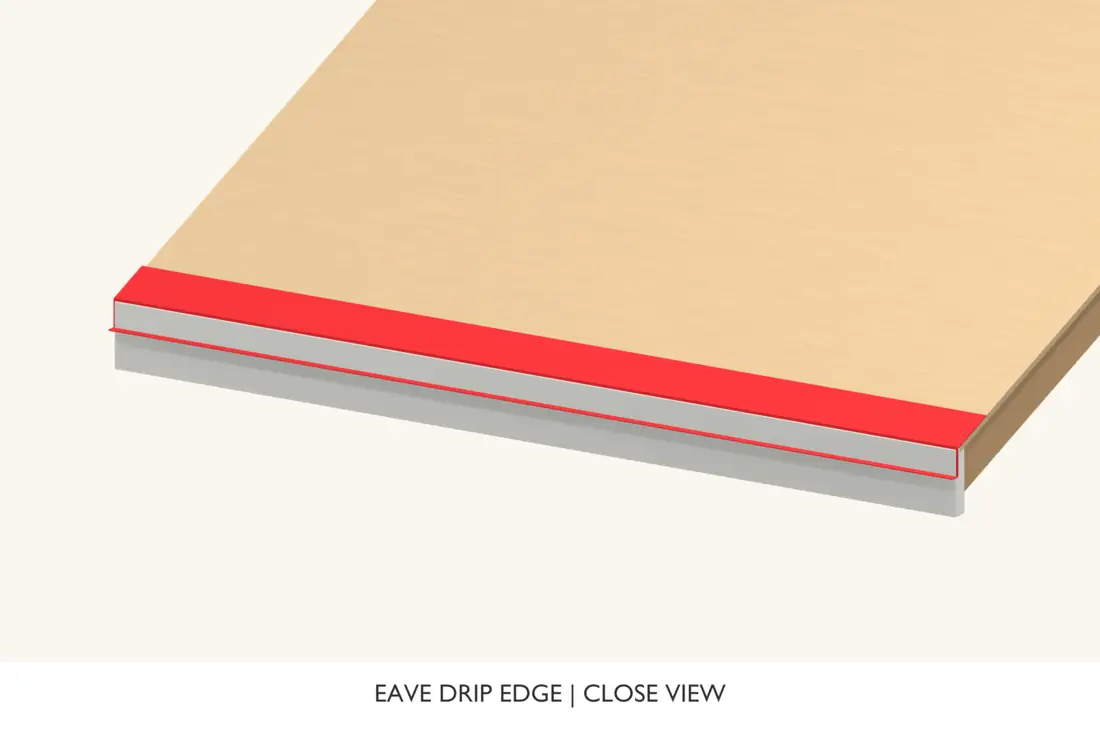
Measure and cut the metal along the low roof edges. Seat the roof flange flat and keep the drip leg projecting clear of the fascia so water can leave the deck edge.
Lap adjoining lengths in the drainage direction and fasten them to the selected detail. The usual eave sequence places this flange below the roof underlayment; follow the local ice-barrier detail where it modifies that junction.
Check before continuing: The eave metal forms a continuous draining edge with no reverse laps.
Step 3 of 12
Install the required eave protection
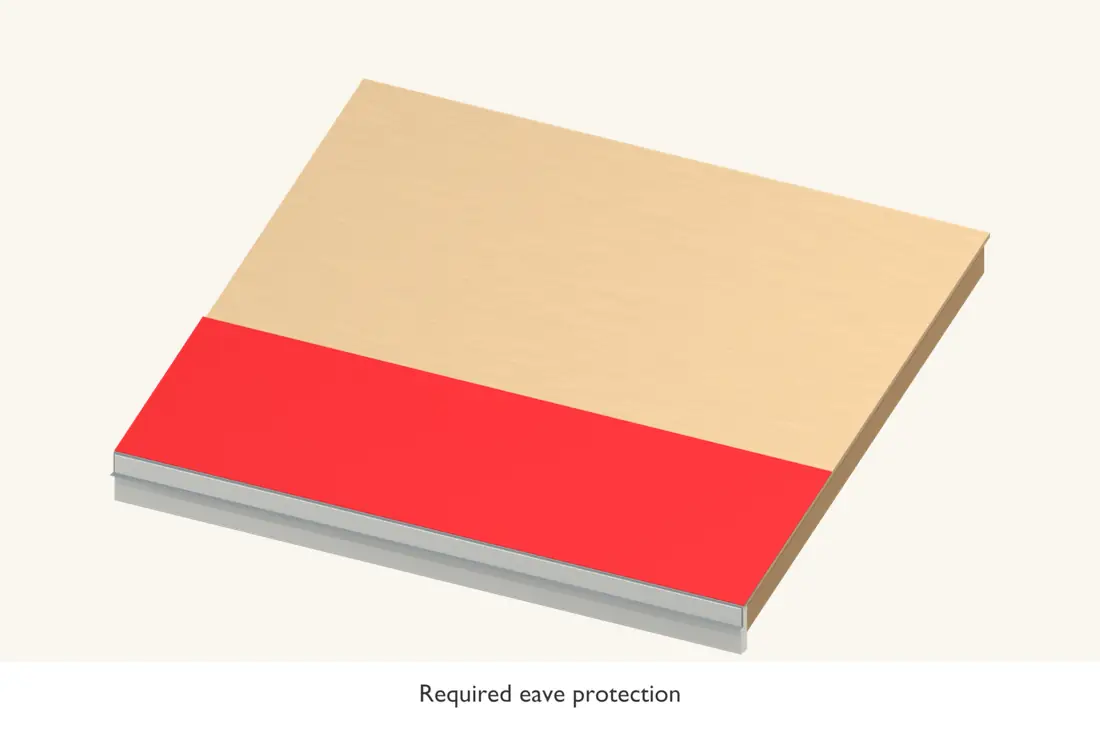
Where the climate, local requirements or chosen roofing system call for an ice barrier, install it across the eaves to the specified extent. Roll or press it as directed onto a clean dry substrate.
Extend and lap the membrane using the manufacturer’s layout, without wrinkles or open fishmouths. Do not assume a strip of tape across deck joints replaces a required ice barrier.
Check before continuing: The prescribed area is protected and the eave junction sheds outward.
Installation reference: GAF — shingle application on low slopes
Step 4 of 12
Cover the remaining deck with underlayment
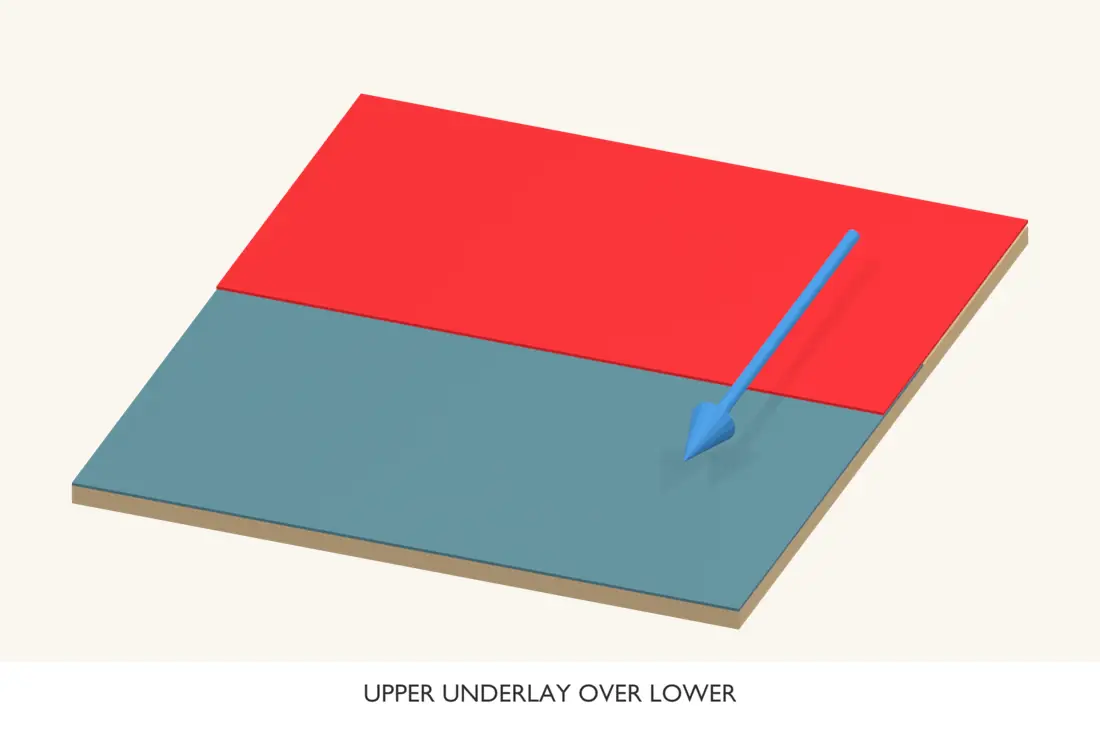
Start low and work upward so each higher course laps over the one below. Keep the material flat and fix it with the fasteners specified for that underlayment.
Use the low-slope arrangement where required, rather than applying a normal single layer to every roof. Observe temporary exposure limits and keep the substrate dry. Coated sheathing only replaces layers expressly allowed by its system.
Check before continuing: There are no reverse laps, tears or exposed deck areas in the required underlay field.
Installation reference: GAF — shingle application on low slopes · Georgia-Pacific — roof sheathing layer limits and tape requirements
Step 5 of 12
Finish the rake edges and mark course lines
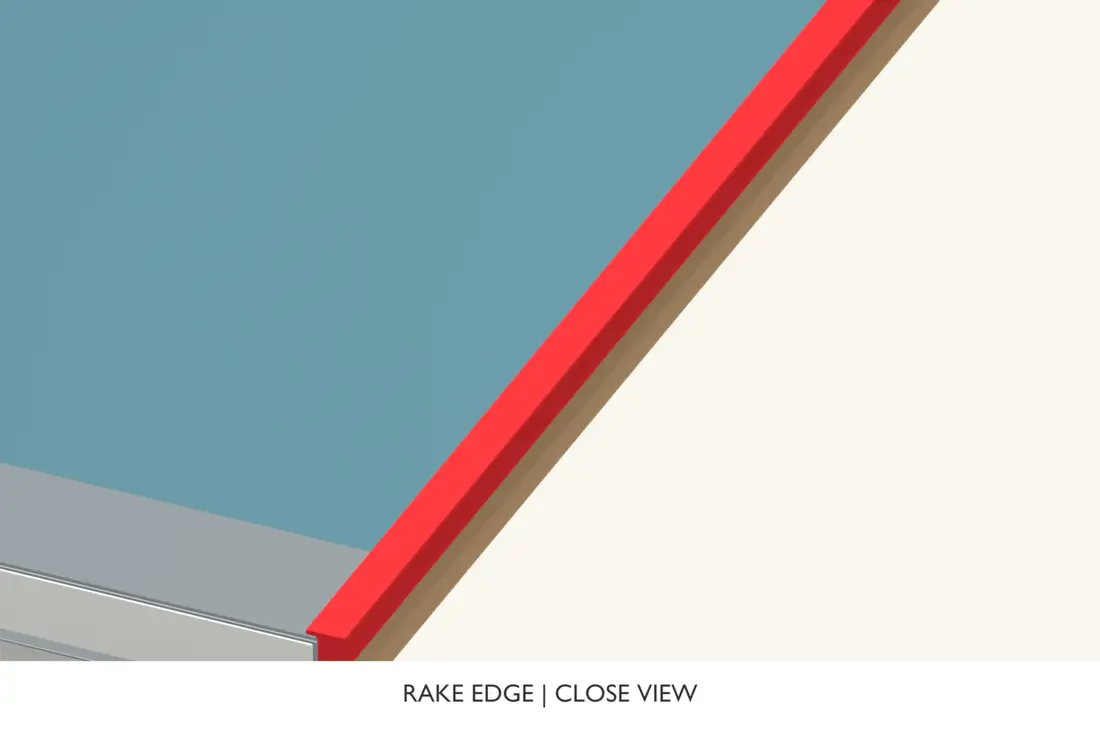
Fit the sloping edge metal in the specified relation to the underlayment; a conventional shingle detail places rake drip edge over it. Work toward the ridge, lapping upper lengths over lower ones.
Snap reference lines square to the eave and across the roof at useful course intervals. Check the roof width before starting so the far edge does not end in an unnecessarily narrow shingle strip.
Check before continuing: Both rake edges drain correctly and the course layout is square.
Step 6 of 12
Install the starter course
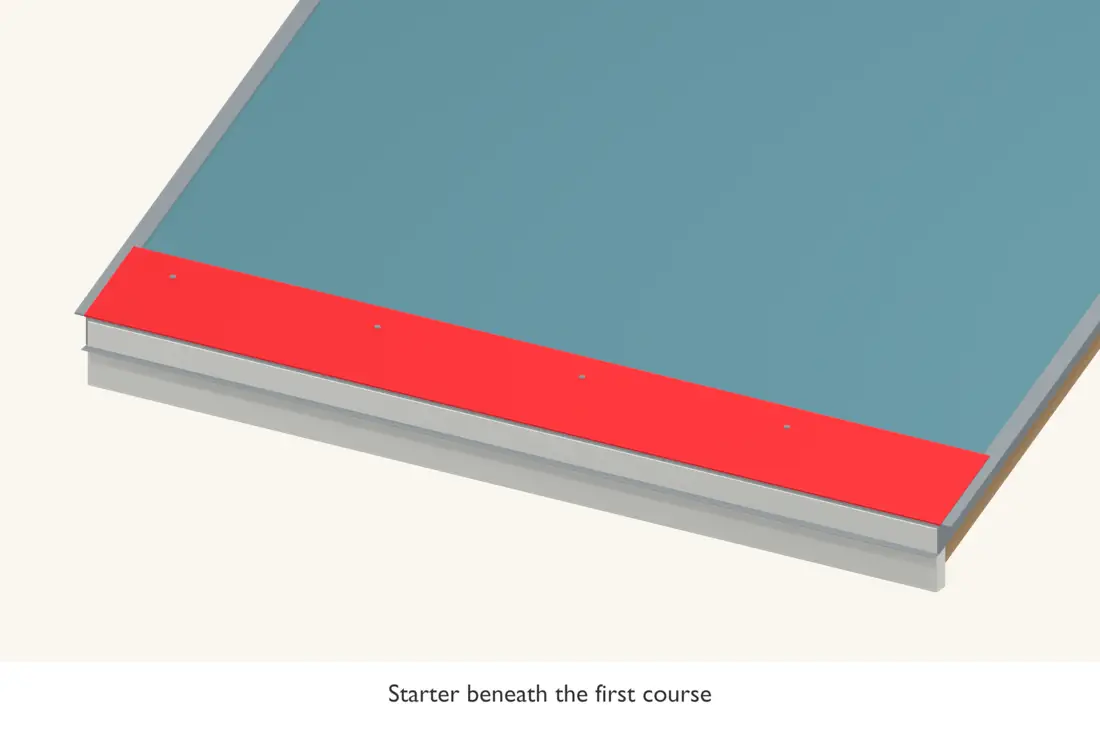
Use the specified starter product and orient its sealing strip as directed. Run it along the required eave and rake edges, maintaining the wrapper’s projection past the drip edge.
Offset starter joints from the first field-shingle joints. Fasten the starter at the prescribed line so its fixings will be covered. Turning an ordinary shingle upside down is not a universal starter detail.
Check before continuing: The starter seal and joint offsets match the chosen shingle system.
Step 7 of 12
Lay the first field-shingle course
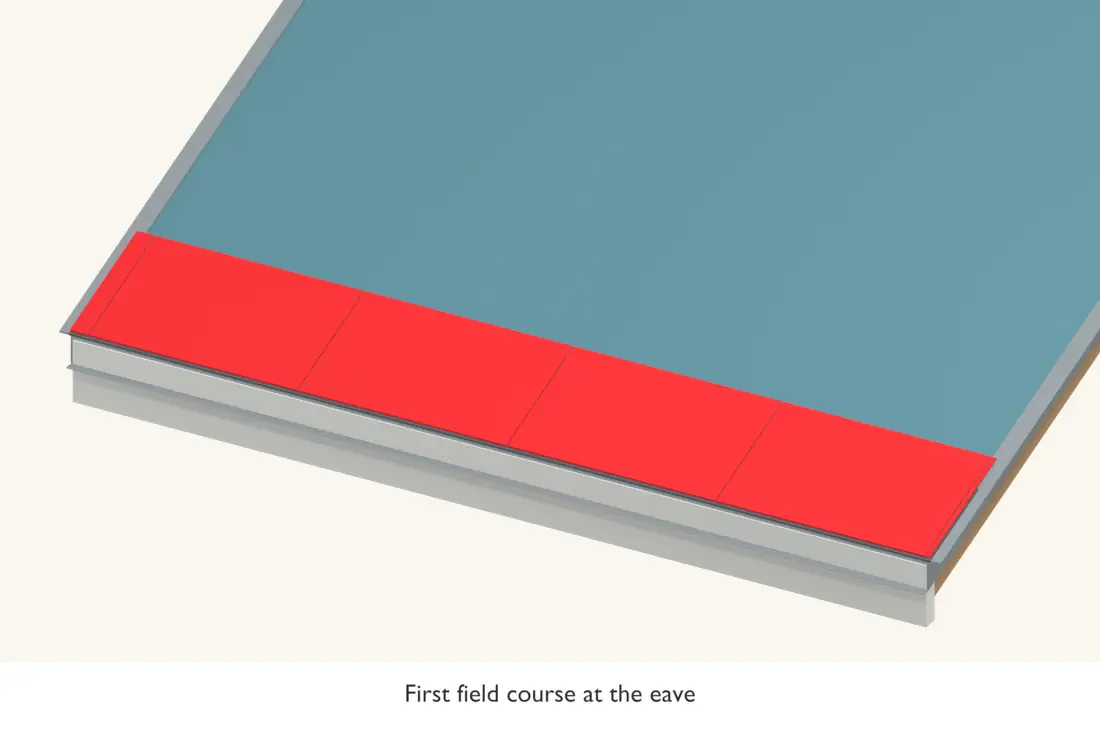
Align the first course with the eave reference and the specified overhang. Work steadily along the roof, keeping joints close as the product requires without forcing buckled shingles flat.
Use the wrapper’s nail count, nail zone and deck penetration. Check the first few shingles carefully; an error here continues through every row above.
Check before continuing: The first course is straight and its nails are in the printed fixing zone.
Installation reference: GAF — Timberline shingle application and nailing details
Step 8 of 12
Set nail depth and keep fixings covered
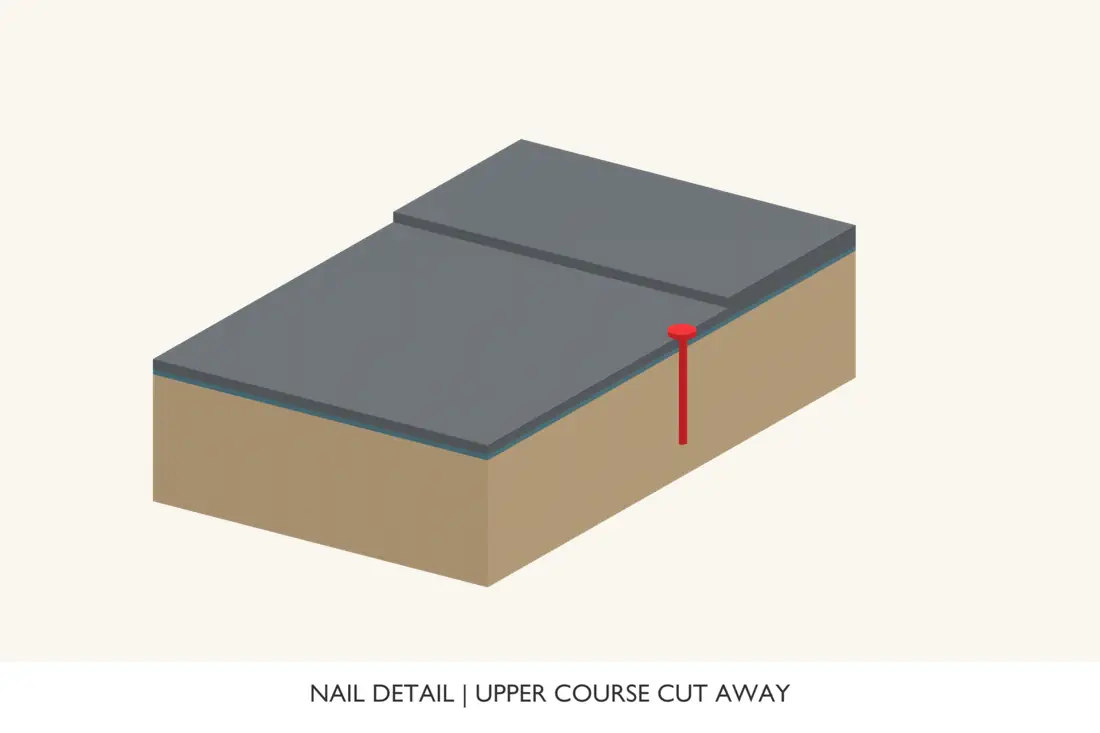
Drive each nail square so the head rests flush on the shingle. A high nail can damage the layer above; an overdriven head can cut through the shingle. Check the nailer setting on the actual roof build-up.
Use the enhanced pattern if the product or local wind requirements call for it. Keep nails away from exposed course areas and the joints specified by the wrapper. Replace damaged pieces before continuing.
Check before continuing: Nails hold the shingles without tearing them and will be covered by the next course.
Installation reference: GAF — Timberline shingle application and nailing details
Step 9 of 12
Stagger the courses up the roof
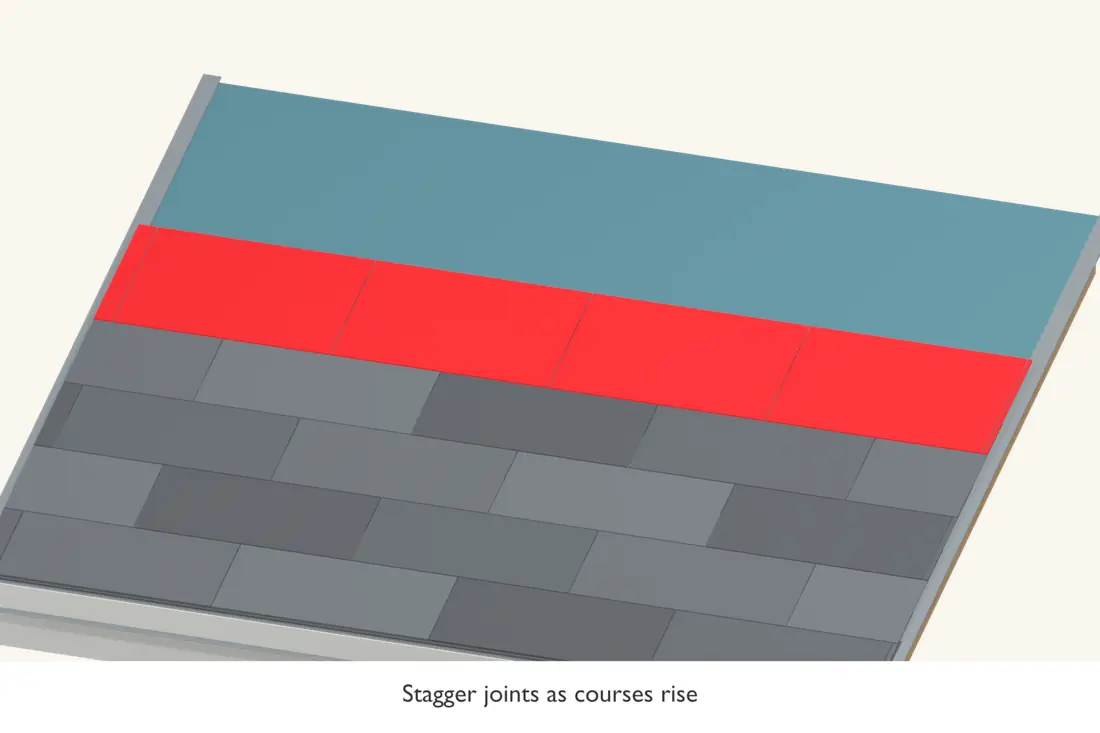
Cut the starter piece for each row using the manufacturer’s offset sequence. Align each course to its exposure marks, then check periodically against the chalk lines.
Keep the roof surface clear of loose granules and offcuts as you go. Do not change the shingle exposure to compensate for a shallow roof pitch; use the proper low-slope assembly instead.
Check before continuing: End joints stay staggered and exposure remains consistent across the slope.
Installation reference: GAF — shingle application on low slopes
Step 10 of 12
Complete the second roof face
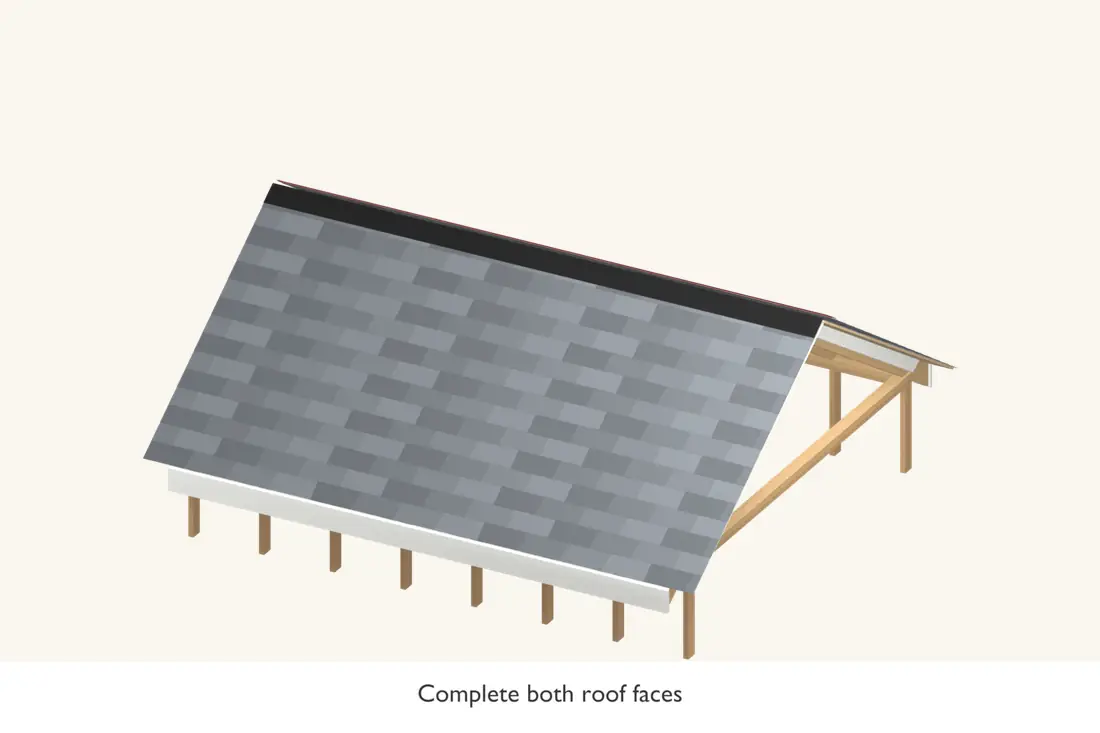
Repeat the eave-to-ridge sequence on the opposite face. Keep the top-course detail and any intended ridge opening consistent with the selected ridge system.
Trim roof-edge pieces neatly while protecting the layers below the knife. Seal only the locations required by the shingle maker, including any specified hand-sealing in cold weather or exposed areas.
Check before continuing: Both slopes are complete with no exposed field nails or damaged edge shingles.
Step 11 of 12
Install the specified ridge finish
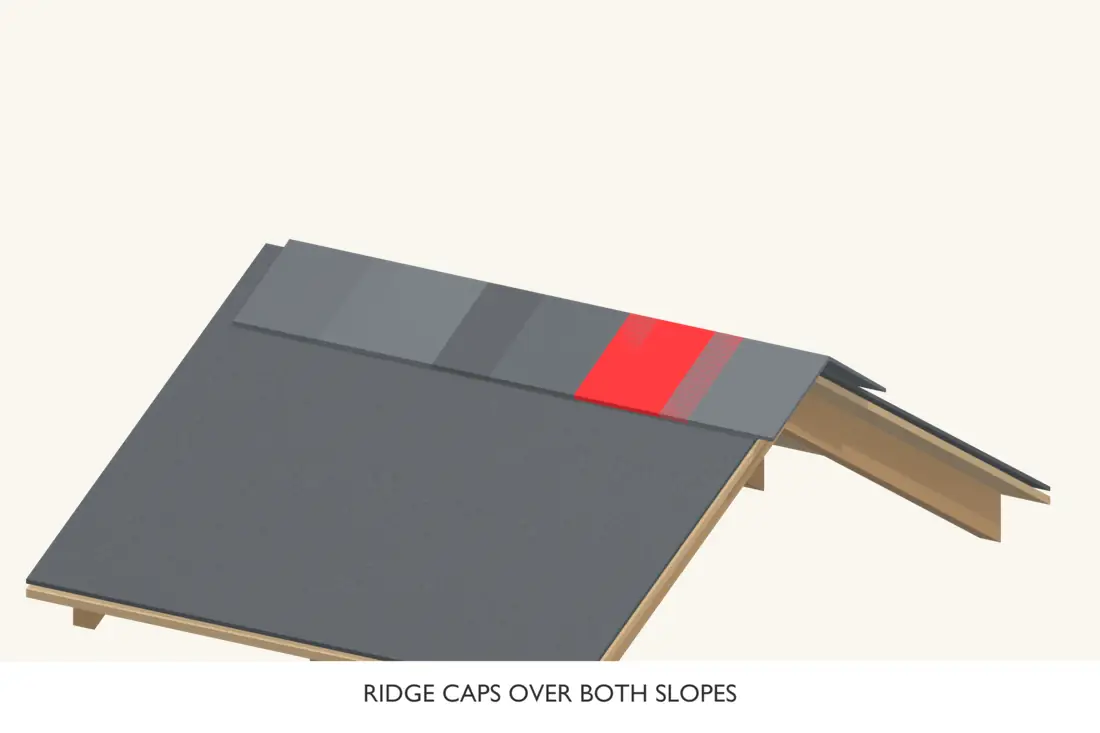
Fit compatible ridge-cap shingles over the ridge, covering their fixings with the next cap. Set the exposure and fastening to the cap instructions. Use the approved final-cap termination at the exposed end.
If the roof has a designed ridge vent, fit that system and its ventilation slot before the caps. Do not cut a slot into a roof that was designed without ridge ventilation or assume cap shingles themselves provide ventilation.
Check before continuing: The ridge finish is secure, weather-lapped and compatible with the ventilation design.
Step 12 of 12
Inspect and clear the finished roof
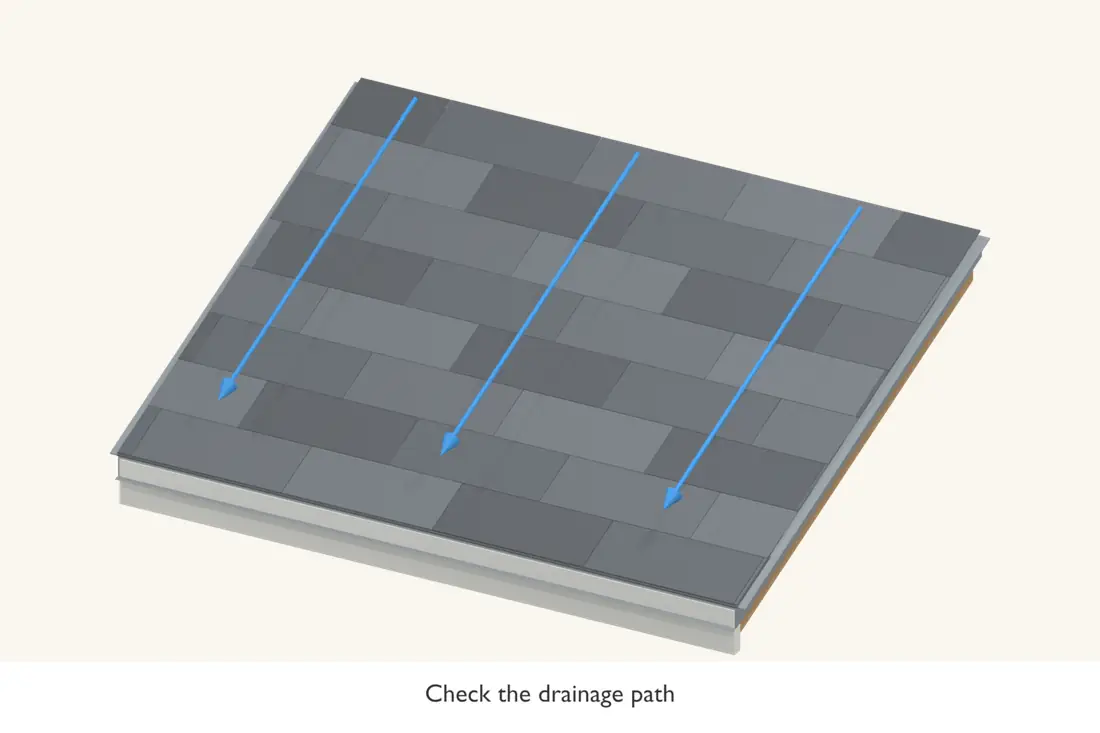
Check eaves, rakes, ridge ends and course joints for loose pieces, unsealed details or exposed nails. Remove offcuts from the roof and gutters and collect nails from the ground.
Inspect from a safe position after the first rain and during routine maintenance. Keep branches off the roof and replace local damage promptly; surface sealant is not a repair for an incorrectly layered flashing.
Check before continuing: The covering drains cleanly and every edge and ridge termination is complete.
Common questions
Can I use wall shingles or cedar shingles with these steps?
No. This is an asphalt roof-shingle sequence. Cedar shingles, siding shingles and other profiles have different exposures, supports and fastening details.
Do I need felt if I use coated roof sheathing?
Check both the sheathing and roofing system. For example, ForceField replaces only the first underlayment layer and is not an ice barrier. It does not automatically remove low-slope or ice-protection requirements.
Can I use fewer nails on a small shed?
Use the specified nail count, location and penetration for the selected shingles and wind conditions. A small roof can still experience substantial uplift at its edges and corners.
Installation references
Checked 24 October 2026. Use the current instructions for your product and region, together with your shed’s framing design.